

Santa coloring pages are a cheerful, low-prep December activity, and every design here is a free printable PDF showing Santa at home, in his workshop, and out in the snow.
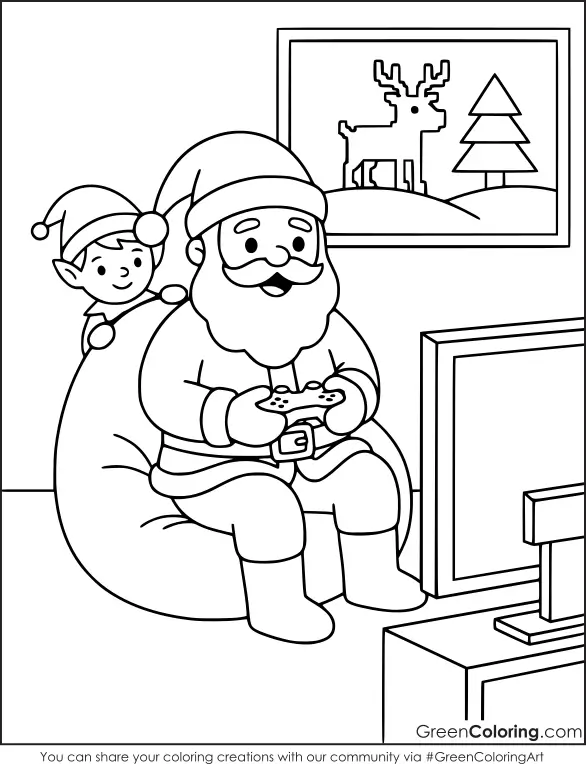
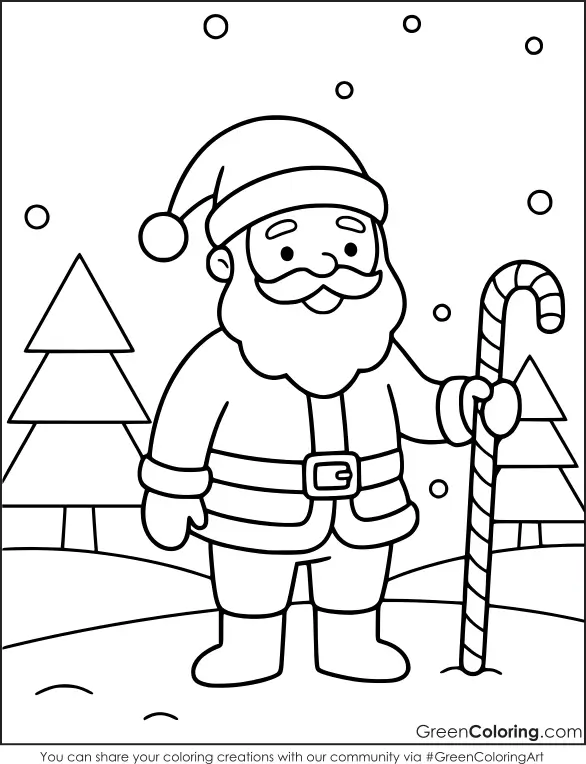
In my private school teaching days, a funny Santa picture made the best December writing prompt. I’d hand out Santa coloring pages, and before anyone picked up a crayon, each student wrote one sentence about what Santa was thinking. Even my most reluctant writers had an opinion about that, and their sentences often led to bigger questions, like where Santa came from in the first place. That one took us back to the story of St. Nicholas, whose Dutch name, Sinterklaas, traveled with settlers to New Amsterdam, now New York.
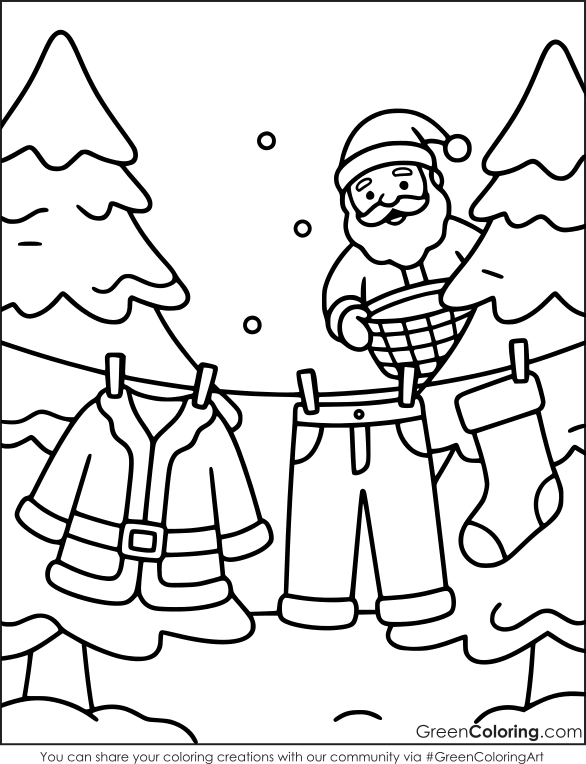
At our house, the countdown starts the minute the first string of lights goes up. Mike asks how many sleeps are left about twice a day, and Lisa wants to know whether Santa really does his own laundry.
What You’ll Find in These Santa Coloring Pages
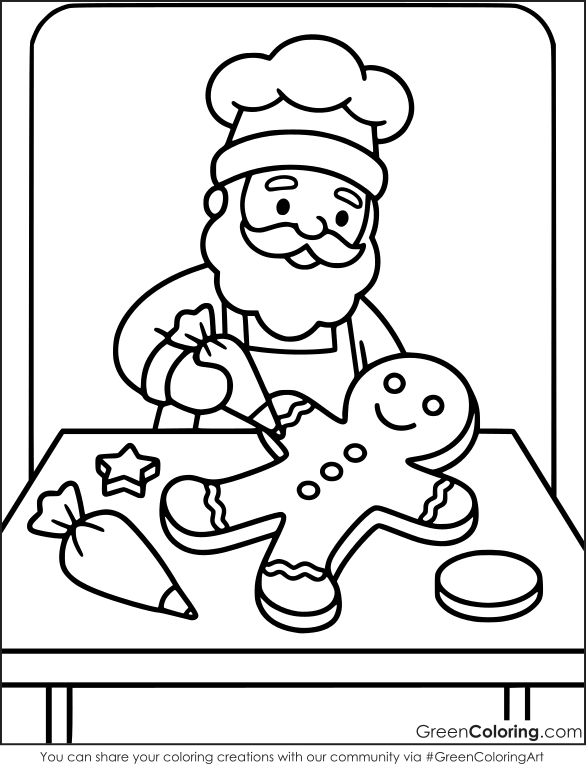
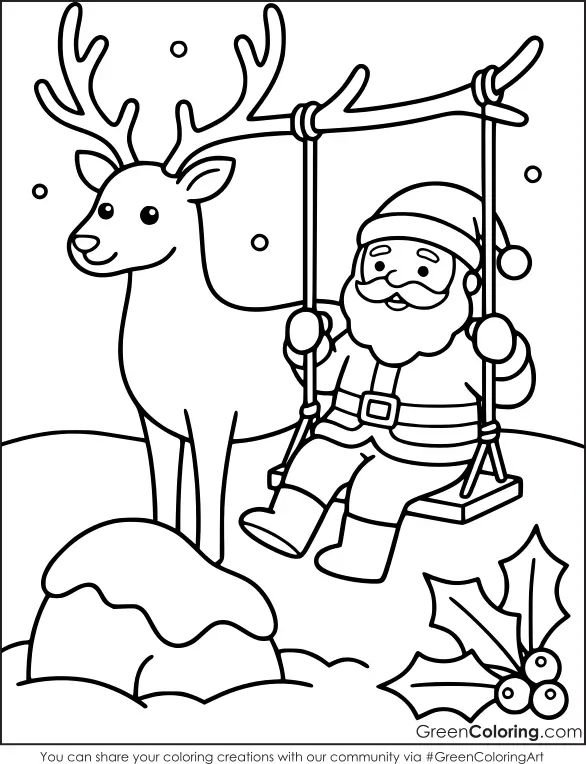
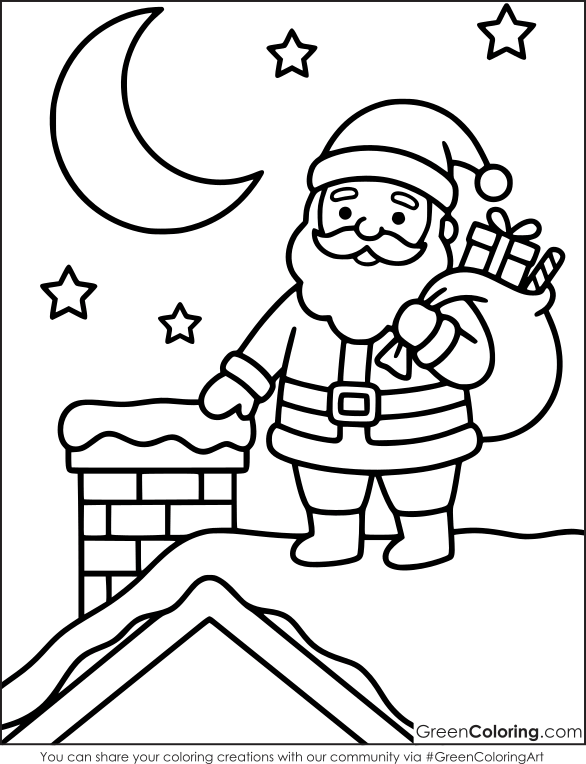
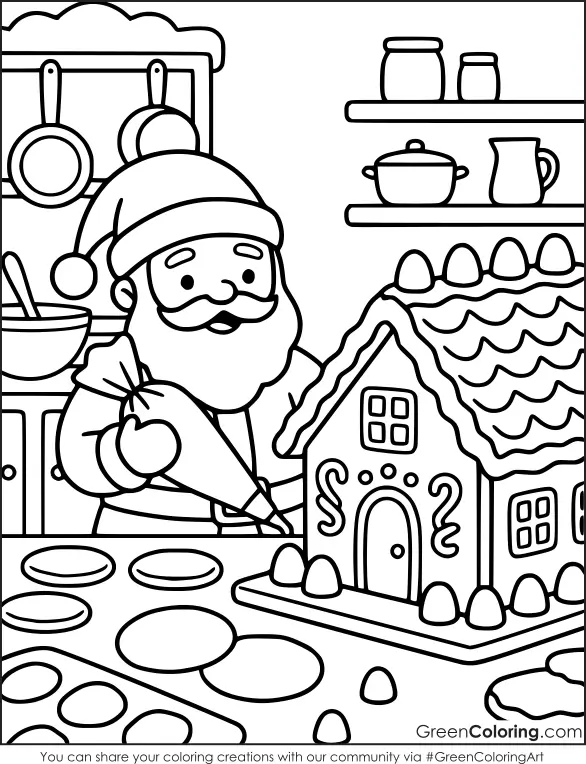
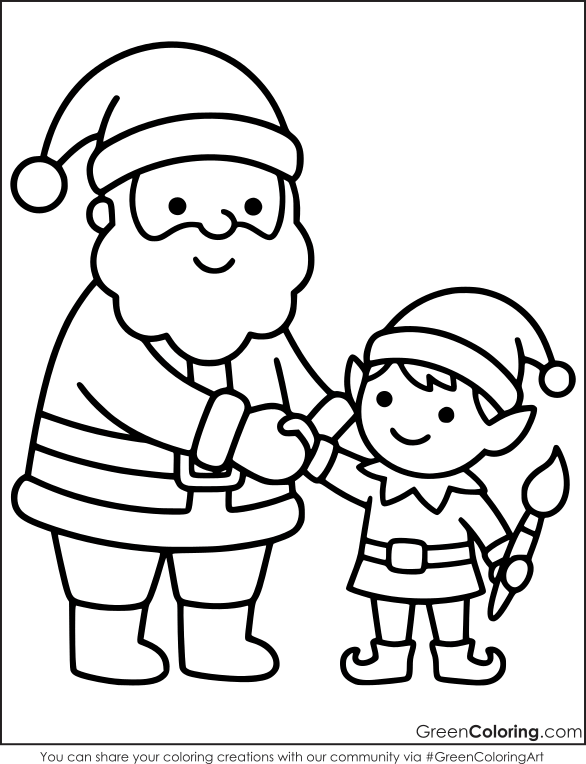
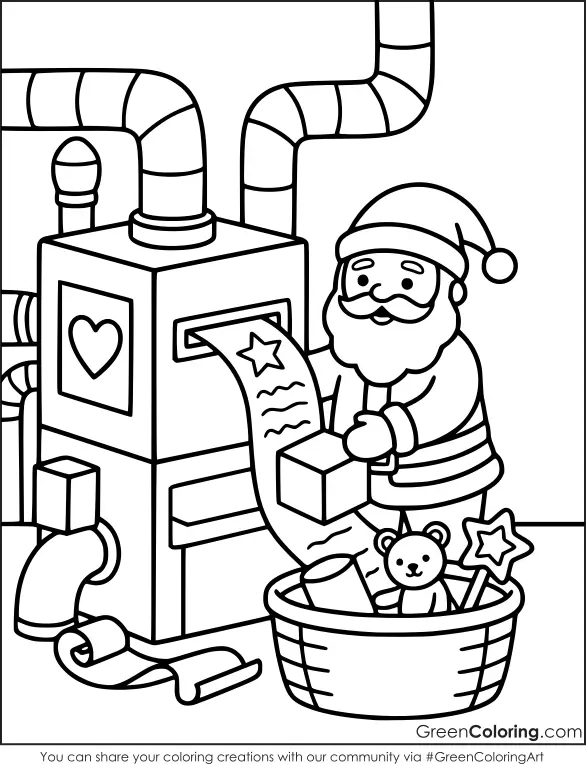
Some of these Santa coloring pages keep things simple, with thick outlines and big open shapes: Santa leaning on a candy cane, smiling behind a giant present, or shaking hands with an elf. These suit younger children. Others lean funny, like Santa’s laundry day, a swing hanging from a reindeer’s antler, or a hot air balloon ride past the moon. Older children and adults will enjoy the busy gingerbread kitchen and the toy-making machine. Each design appears as its own image between the crafts, and clicking it opens that page’s PDF. Our Christmas coloring pages pair well with them.
6 Family Craft Ideas Using Santa Coloring Pages
Each craft starts with one sheet from these Santa coloring pages and turns it into something your family or class can play with, hang up, or give away.
1. Touch-and-Feel Santa Collage
This craft turns a flat coloring sheet into something soft and crinkly. Scrunching tissue and pulling cotton apart is good practice for small hands.
Mike decided the snowy field needed a blizzard. By the time he finished, every spare cotton ball was on the ground, and Santa was buried up to his knees, which Mike said was “more realistic.”
Prep note: Pre-cut the tissue squares if you’re working with a group of young children.
Materials Needed:
- 1 printable Santa page (Santa With a Candy Cane works best), printed at 100% on 1 sheet of white cardstock
- 1 sheet of red tissue paper
- 5 cotton balls
- White school glue, about 2 tablespoons
- 1 jar lid to hold the glue
- 3 cotton swabs
- Crayons
- Child-safe scissors
Steps:
- Color Santa’s face, boots, candy cane, and the pine trees with crayons. Leave his coat, hat, and beard white.
- Cut the tissue paper into squares about 1 inch wide.
- Pour the glue into the jar lid.
- Use a cotton swab to spread glue on one small part of the coat, about the size of a coin.
- Scrunch tissue squares into little balls and press them onto the glue. Repeat section by section until the coat and hat are filled.
- Gently pull the cotton balls apart to fluff them, then glue them onto the beard and any white trim.
- Lay the page flat and let it dry for at least 30 minutes before moving or hanging it.
Learning Idea: Name the textures together as your child works: soft, fluffy, crinkly, smooth. Which part feels most like snow?
Smart Tip: Keep a damp cloth next to the glue lid. Cotton sticks to gluey fingers faster than it sticks to the page.
2. Santa’s Hot Air Balloon Zip Line
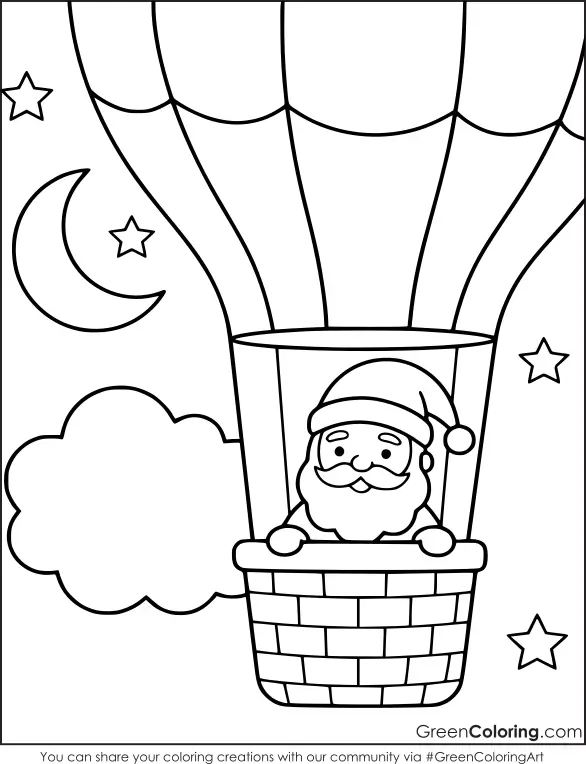
A cut-out Santa from one of these coloring pages rides a straw down a string “zip line,” and your child gets to test what makes him faster or slower. At home it rescues a rainy afternoon; in class, small groups can set up lines side by side and compare results.
On our test run, the string sagged in the middle and Santa stalled halfway down, as if he’d run out of hot air. Lisa retied it tighter, Mike clipped on two paper clips as “passengers,” and the next ride went so fast it bonked straight into the sofa.
Prep note: An adult should tie both ends of the string to heavy furniture that can’t move or tip.
Materials Needed:
- 1 Santa in a Hot Air Balloon coloring page, printed at 50% on 1 sheet of cardstock
- 1 plastic or paper drinking straw, cut to about 3 inches
- Smooth string, such as kitchen twine, about 10 feet
- 2 to 4 metal paper clips
- Clear tape
- Crayons or markers
- Child-safe scissors
Steps:
- Color the balloon and basket, giving each balloon panel a different color.
- Cut out the balloon and basket as one piece, leaving a little white paper between them if needed so they stay connected.
- Tape the straw across the back of the balloon near the top, running side to side.
- Clip 2 paper clips to the bottom edge of the basket.
- Thread the string through the straw.
- Tie the high end around a heavy table leg, just under the tabletop, then tie the low end near the floor of a sofa or bed frame about 8 feet away, pulling the string tight.
- Slide Santa to the high end and let go.
- Try again with a steeper slope (move the low end closer) or a different number of paper clips, changing only one thing at a time, and watch what happens.
Science Moment: Gravity pulls Santa down the slope, and friction between the straw and the string slows him down. A steeper, tighter line usually means a faster ride. The paper clips keep Santa hanging upright, so he doesn’t tip or spin on the way down. Whether they also make him faster is worth testing. Real hot air balloons work the other way around: the heated air inside is less dense than the cooler air around it, and that difference pushes the balloon up. That’s the idea behind the Montgolfier brothers’ balloon, first shown off in Annonay, France, in 1783.
Safety Tip: A tight string across a room is easy to trip over. Run it along a wall, away from stairs, doors, and walkways, and take it down as soon as play is over.
3. Santa’s December Kindness Scroll
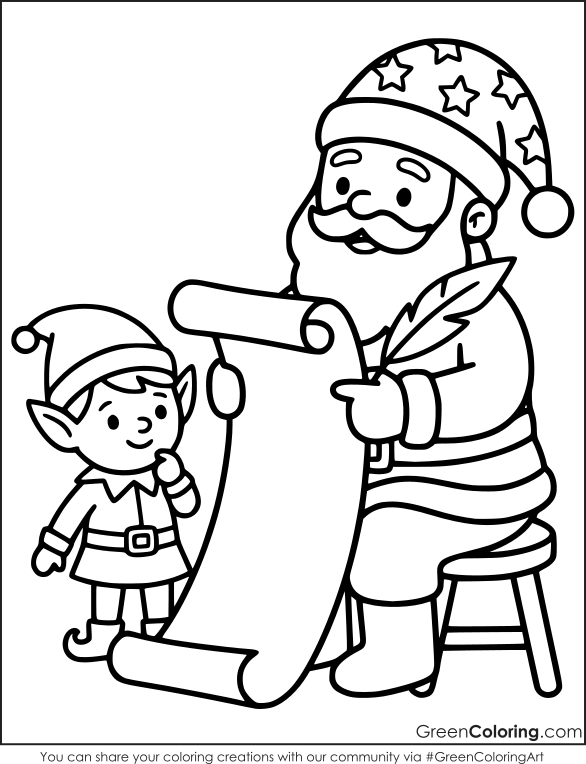
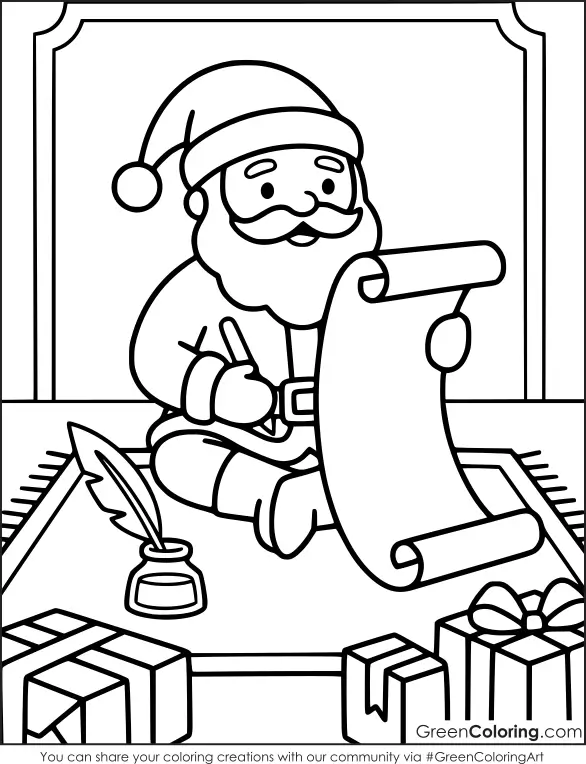
Of all the Santa Claus coloring pages here, the one with Santa on a stool holding a long scroll while an elf peeks at the list makes the best header for a kindness scroll. Your family or class writes down one kind thing someone did each day, and the scroll grows all month. I like it better than a naughty-or-nice chart, because nobody gets marked down. The list only gets longer.
Emily hung ours on the pantry door, where everyone passes it a dozen times a day. The first entry, in Mike’s big wobbly letters, was “Lisa gave me the last pancake.”
Psychologist Hali Kil, in an article shared by UC Berkeley’s Greater Good Science Center, suggests praising children for being kind people instead of handing out gifts or treats for kind acts, so stickers and prizes stay out of it at our house.
Materials Needed:
- 1 Santa and Elf Checking the List coloring page, printed at 100% (1 sheet)
- 3 sheets of plain white paper
- Clear tape
- 1 empty paper towel tube
- Yarn, about 2 feet
- Hole punch
- Ruler and pencil
- Markers or crayons
- Child-safe scissors
Steps:
- Color the page, including Santa’s long scroll and the elf.
- Lay the 3 plain sheets in a column with their short edges touching, then tape the seams on the back.
- Tape the colored page to the top of the column the same way, picture side up.
- Write “Our Kindness List” at the top of the first plain sheet, then rule lines about 1 inch apart.
- Tape the bottom edge of the scroll to the paper towel tube, then roll the plain sheets up around it until only the Santa page and the first few lines show.
- Cover each top corner with a piece of tape, then have an adult punch a hole through each one, about 1 inch from the edges.
- Cut the yarn, thread one end through each hole, and knot both ends.
- Hang the scroll and add one kind act each day, unrolling a little more as the list grows.
Conversation Idea: At bedtime, ask what kind of thing someone noticed today and who should write it down. In a classroom, a quick morning meeting works the same way, with a different student adding the entry each day.
4. A Snow Globe Shaker Made From Santa Coloring Pages
Two plates and a handful of paper snow make a snow globe that really shakes. It’s a fun way to show off finished Santa coloring pages, and younger children love the shake-and-watch part.
Punch the snow from cardstock rather than printer paper. Thin dots cling to the plastic, while heavier cardstock dots tumble around the way you want. Plate sizes also vary between brands, so set the clear plate on the paper plate before you start and make sure the rims line up.
Prep note: If you’re making these with a class, punch the snow ahead of time and give each child a small cup of dots.
Materials Needed:
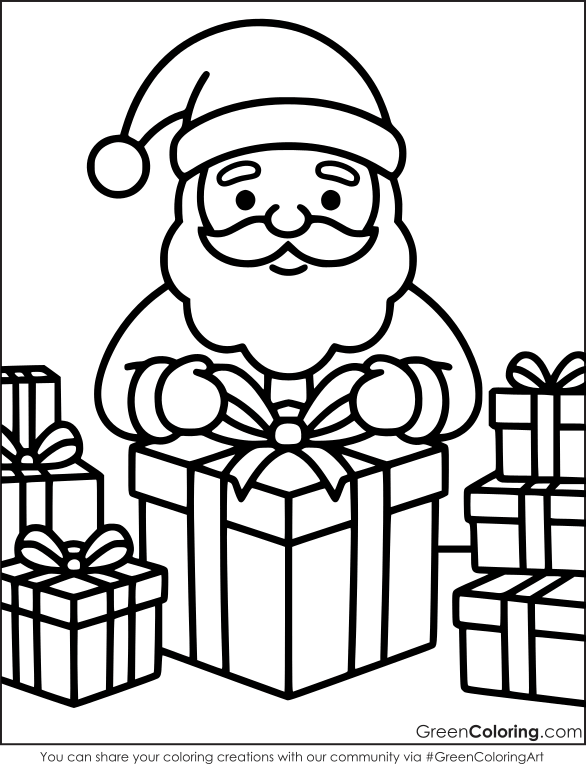
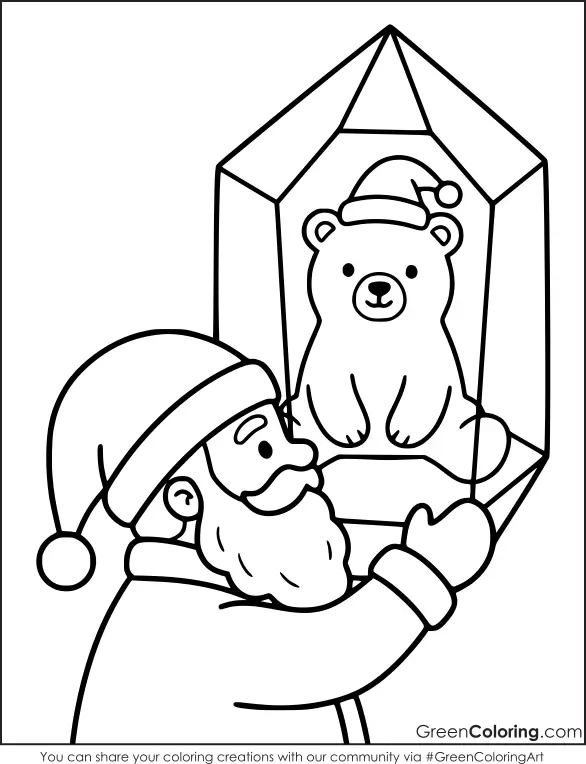
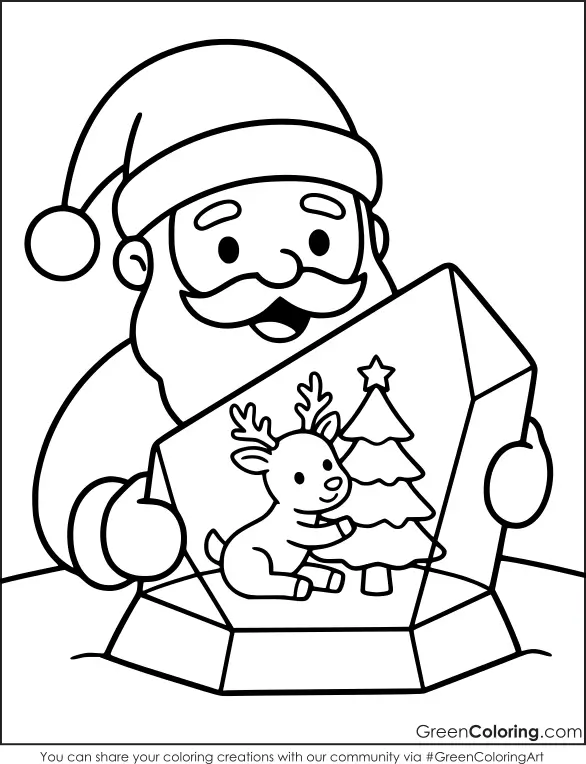
- 1 Santa page with one big main picture, such as Santa With a Reindeer Ice Crystal or Santa Behind a Big Wrapped Present, printed at 50% (1 sheet)
- 1 white paper plate, 9 inches
- 1 clear plastic plate, 9 inches
- 1 sheet of white or light blue cardstock for the snow
- 1 piece of brown cardstock, about 2 x 6 inches
- Hole punch
- Glue stick
- Clear tape
- Crayons or markers
- Child-safe scissors
Steps:
- Color the Santa coloring sheet.
- Cut out the main picture along the outer edge of the drawing.
- Color the center of the paper plate light blue or dark blue for the sky.
- Glue the cut-out picture in the middle of the plate and press it flat.
- Punch about 40 dots from the white or blue cardstock and drop them onto the plate.
- Set the clear plate upside down on top so the rims meet, then tape all the way around with overlapping pieces of clear tape.
- Tape the brown cardstock to the back of the bottom edge so about half of it shows below the plate, like the base of a real snow globe.
- Shake gently and watch it snow.
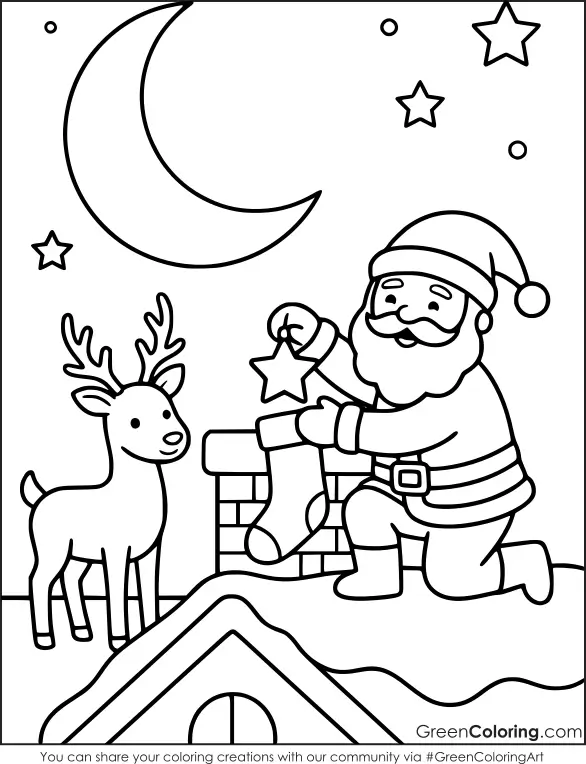
Learning Idea: If you pick the reindeer crystal page, share a real fact: both male and female reindeer grow antlers, and females keep theirs through the winter, long after most males have dropped theirs. That means a reindeer still wearing antlers on Christmas Eve is often a female. Then talk about why a reindeer might need antlers in the snow.
Make It Harder: Older children can cut a snowy hill from white paper and glue it under Santa before sealing the plates, so the scene has a foreground.
5. Christmas Eve Door Hanger
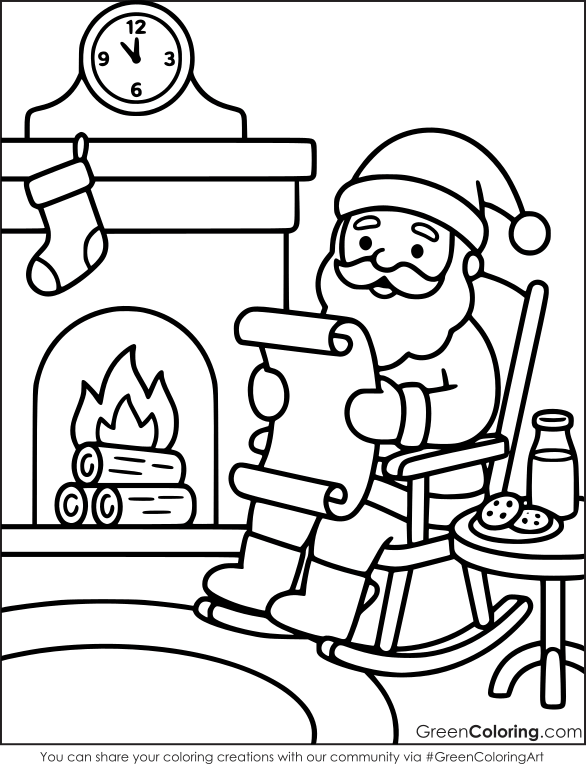
With its rocking chair, crackling fireplace, and milk and cookies, the Santa Relaxing on Christmas Eve page is made for a door hanger. At home it can say “Shh, Santa’s Resting” on a bedroom door. In a classroom, write “Quiet Workshop” and hang it outside during independent work time.
Before cutting, hold the jar lid up to your door handle to make sure the circle will slide over it. One sheet of cardstock makes two hangers, and a few of our cozy coloring pages round out a slow December evening.
Prep note: Cut the cardstock into strips ahead of time if you’re making these with a whole class.
Materials Needed:
- 1 Santa Relaxing on Christmas Eve coloring page, printed at 50% (1 sheet)
- 1 sheet of cardstock, 8.5 x 11 inches
- 1 jar lid or small cup, about 2.5 inches across
- Ruler and pencil
- Glue stick
- Markers
- Crayons or colored pencils
- Child-safe scissors
Steps:
- Cut the cardstock in half lengthwise to make a strip about 4.25 x 11 inches.
- Trace the lid near the top of the strip, centered from side to side, with about 1 inch between the top of the circle and the top edge.
- Have an adult cut out the circle, then cut a straight slit from the circle to one side edge.
- Color the Santa page, then cut out the picture along the outer edge of the drawing.
- Glue the picture onto the strip, just below the hole.
- Write a message in the space under the picture, such as “Santa’s Resting” or “Quiet Workshop.”
- Add a second message on the back, then slide the hanger over the doorknob.
Classroom Idea: Read A Visit from St. Nicholas aloud while students finish their hangers. The poem was first printed, unsigned, in a Troy, New York, newspaper in 1823, and students can listen for details like the stockings and chimney that also show up in the picture.
6. Cookie Gift Bags With Santa Coloring Pages
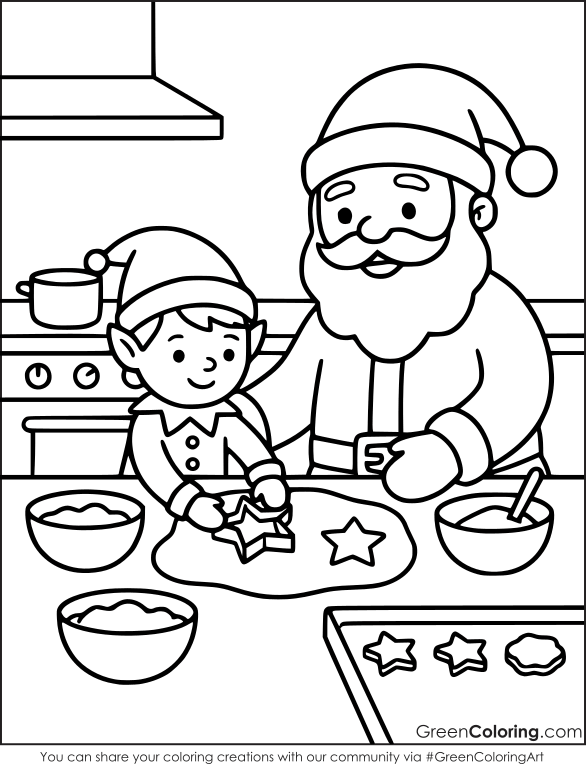
The page with Santa and an elf cutting star cookies was practically made for gift wrap. Glued onto a plain paper lunch bag, it turns a few homemade or store-bought cookies into a neighbor gift your child decorated from start to finish. In a classroom, the same bags can hold a few printed pages and a handful of crayons for a younger buddy class.
Lisa wrote each neighbor’s name above Santa in her best bubble letters, which took longer than packing the cookies.
Materials Needed:
- 1 Santa and Elf Cutting Star Cookies coloring page, printed at 50% (1 sheet)
- 1 white or brown paper lunch bag
- 1 resealable sandwich bag or a sheet of wax paper
- A few cookies
- Glue stick
- Ribbon, about 18 inches
- Hole punch
- Crayons or colored pencils
- Markers
- Child-safe scissors
Steps:
- Color the page, including the cookies on the tray.
- Cut out the picture along the outer edge of the drawing.
- Lay the lunch bag flat with the folded bottom flap underneath, so the smooth side faces up.
- Glue the picture to the smooth side, about 1 inch above the bottom edge.
- Write the recipient’s name above the picture with a marker.
- Put the cookies in the sandwich bag or wrap them in wax paper, then place them inside the lunch bag.
- Fold the top 2 inches of the bag down toward the back, so the name stays visible.
- Have an adult punch two holes through the fold, about 1 1/2 inches apart, then thread the ribbon through and tie a bow.
Smart Tip: If the cookies are going to another family, tape a short ingredient list to the back of the bag for anyone managing food allergies.
Easy Variation: A deer from our deer coloring pages, printed at 50%, makes a nice second design when you’re packing several bags.
Choose Your Favorite Santa and Start Coloring
Print whichever free Santa coloring pages make your family laugh first. At our house, Santa with the game controller won by a mile, and he’s already taped to the fridge. A few spare coloring sheets in a folder by the printer come in handy on slow December mornings. For snowy scenes without Santa, try our winter coloring pages, and our penguin coloring pages bring a few more cold-weather friends to the table.
Leave a Reply