

These free printable winter coloring pages bring snowy outdoor fun and cozy indoor moments to your home or classroom, with easy designs for toddlers and more detailed scenes for older children. Print a single coloring sheet for a quiet afternoon or a stack for your class.
During my years in a private school classroom, I learned that the weeks between the first frost and winter break need a backup plan for every indoor recess. Students had energy to burn and fewer chances to run outside, and one simple project with a few coloring sheets often kept my class happily busy until the dismissal bell. Reading Rockets shares some lovely winter break reading and learning ideas for families, and the crafts below fit right alongside them.
At home, Mike has been checking the forecast for snow since the first frosty morning of the season, and Lisa has already picked out the sleepy cat scenes for herself. So our dining room turned into a little winter workshop, with craft sticks, crumpled paper, and a bottle of white glue that’s now half empty.
From Sledding Hills to Fireside Naps
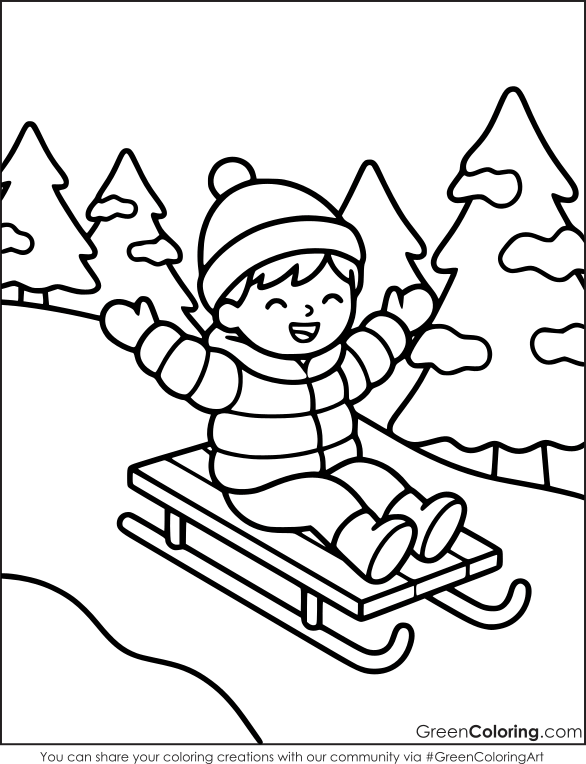
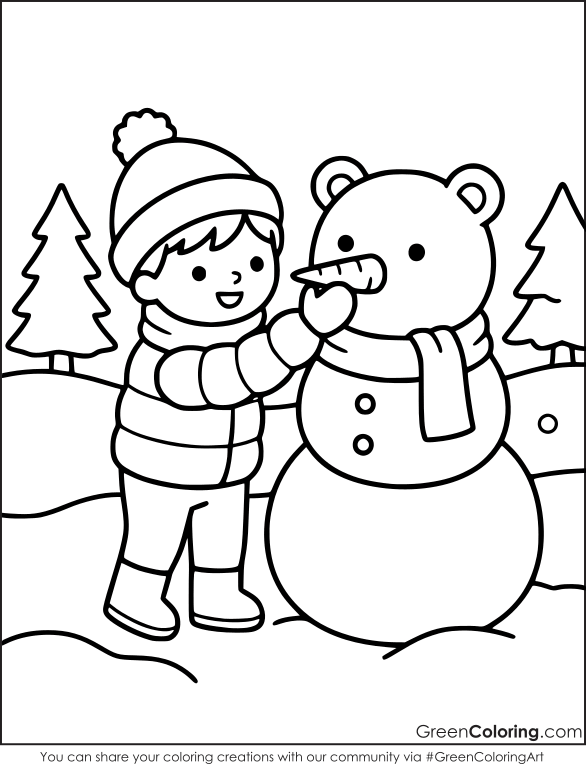
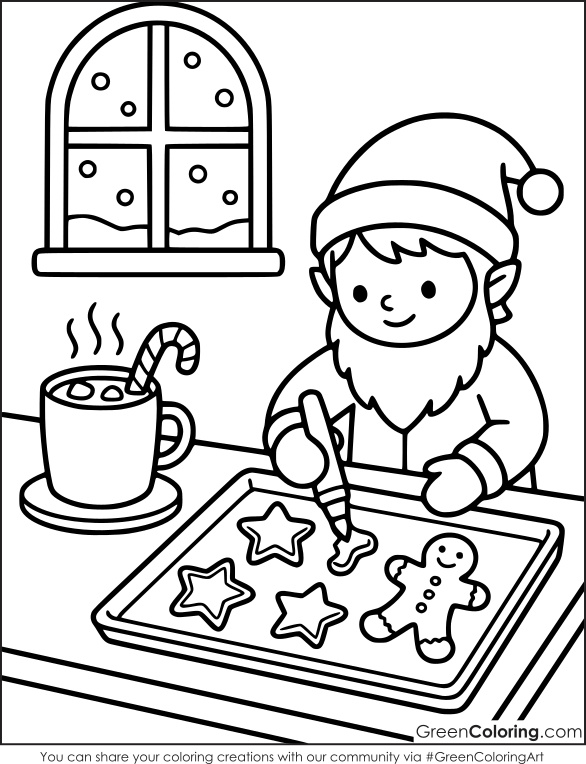
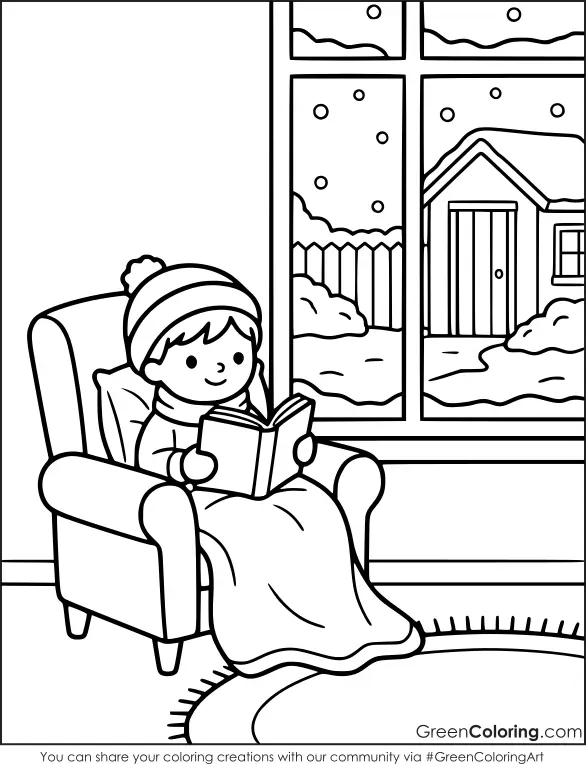
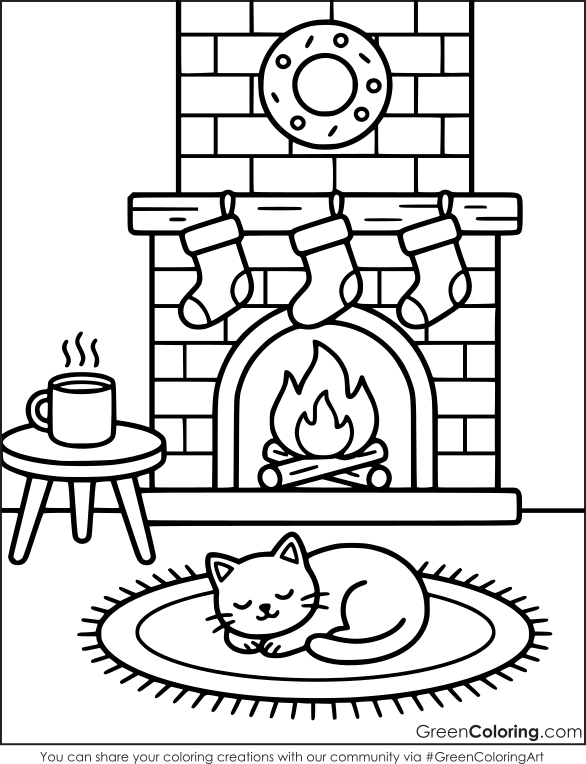
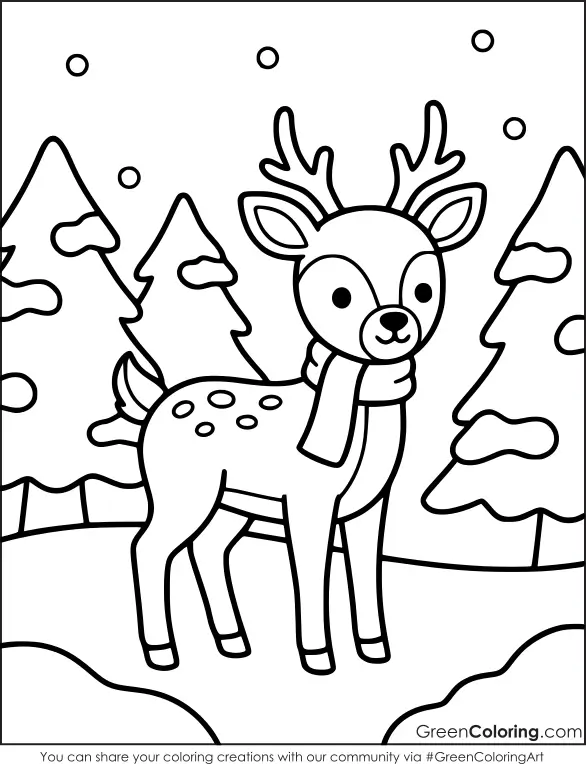
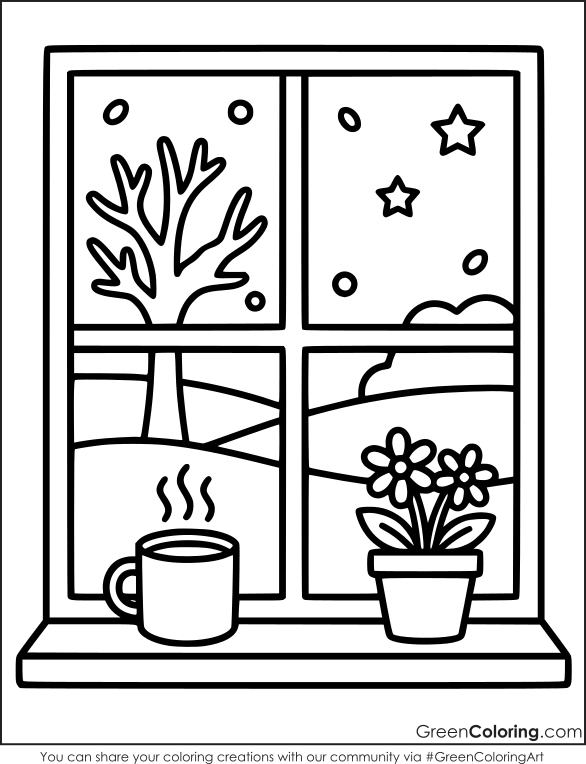
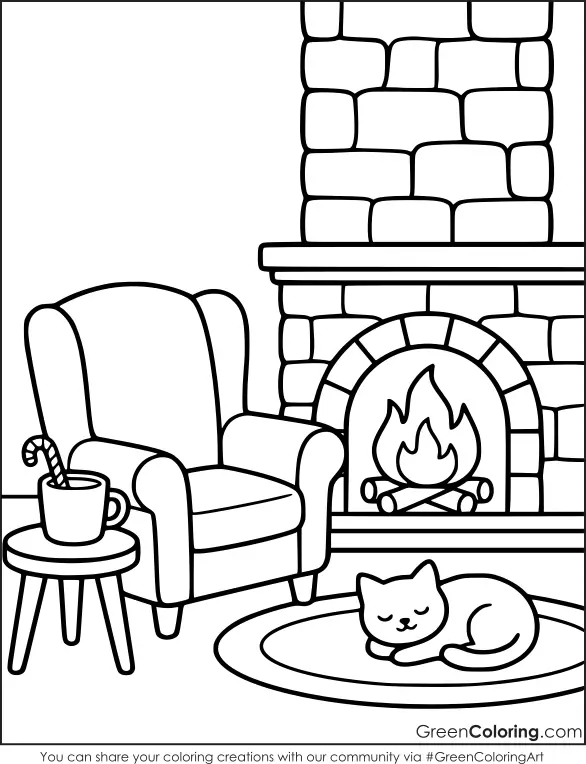
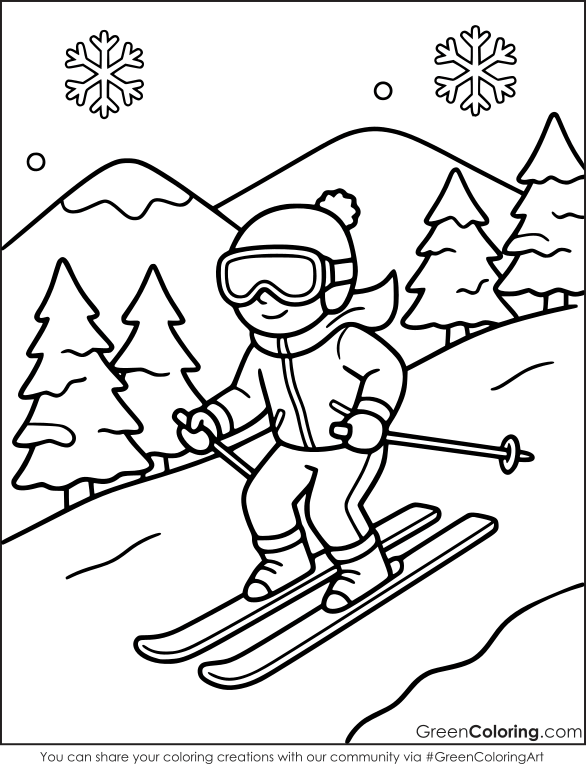
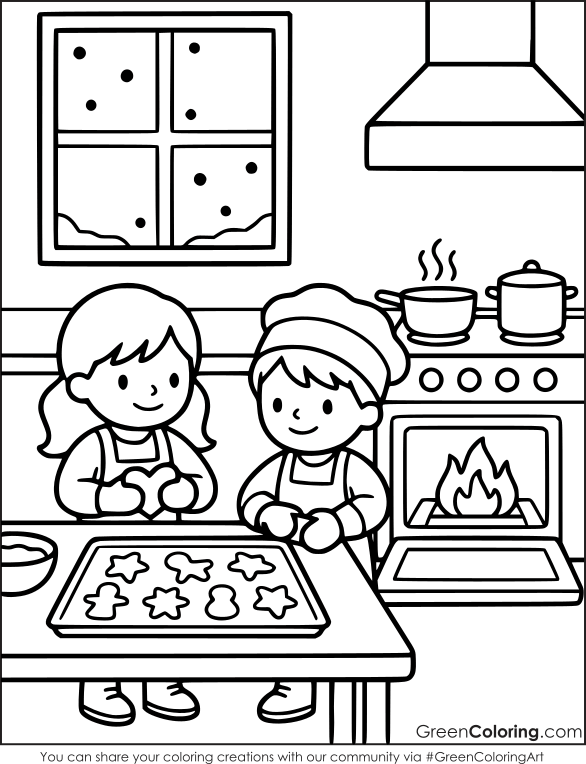
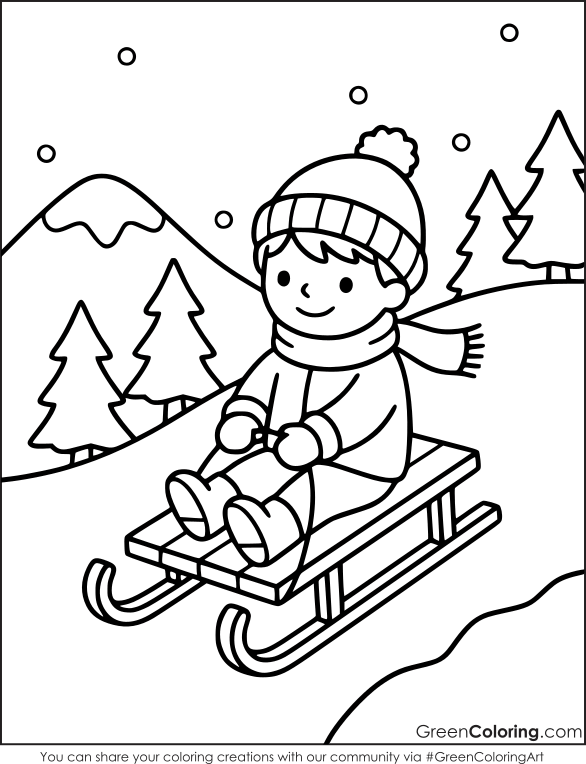
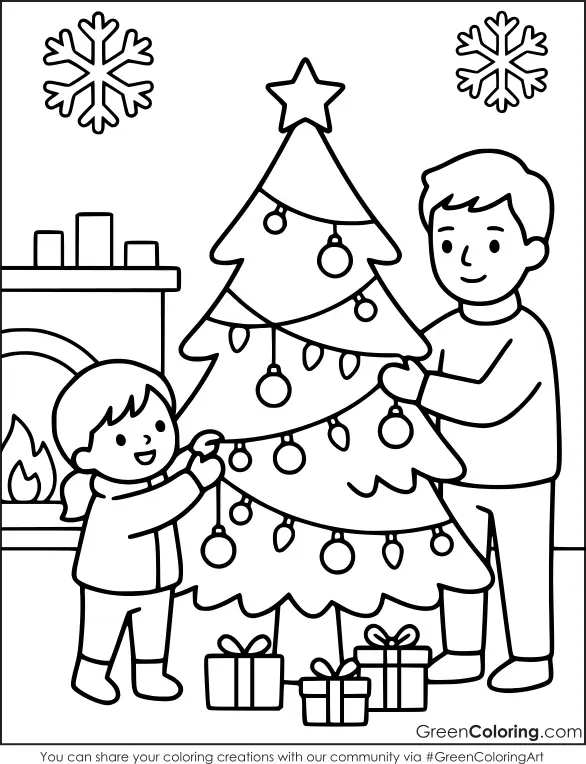
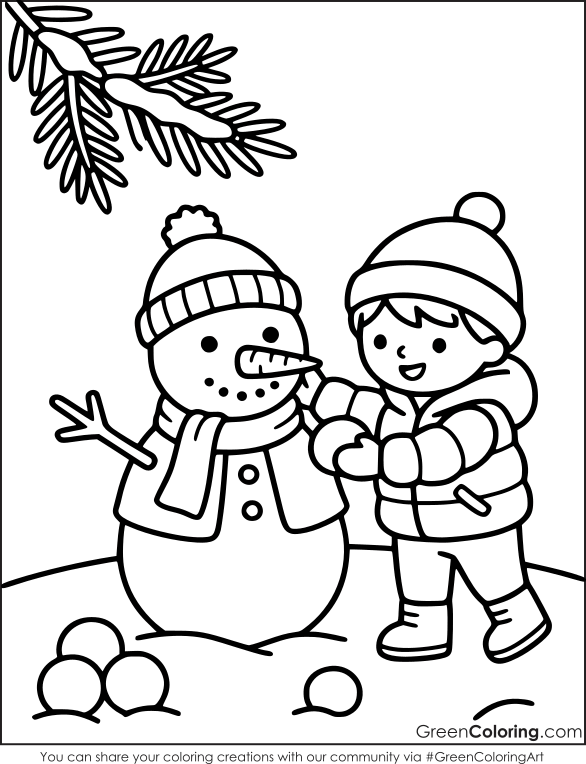
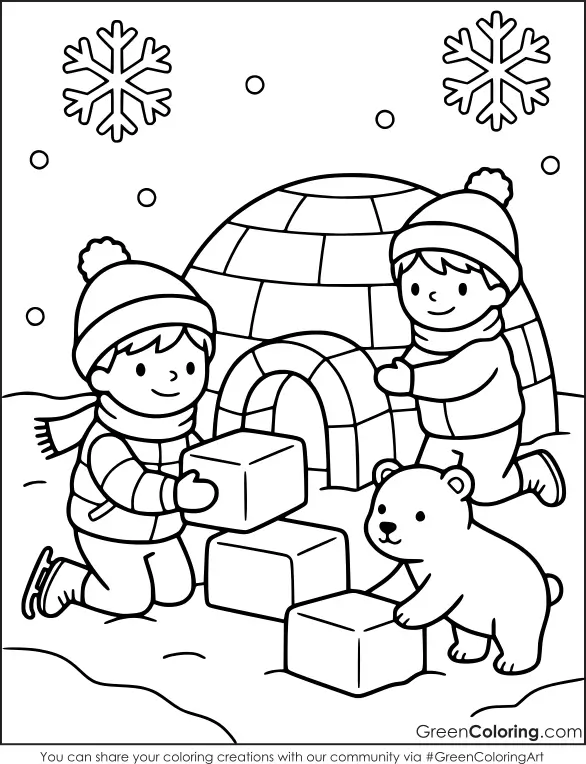
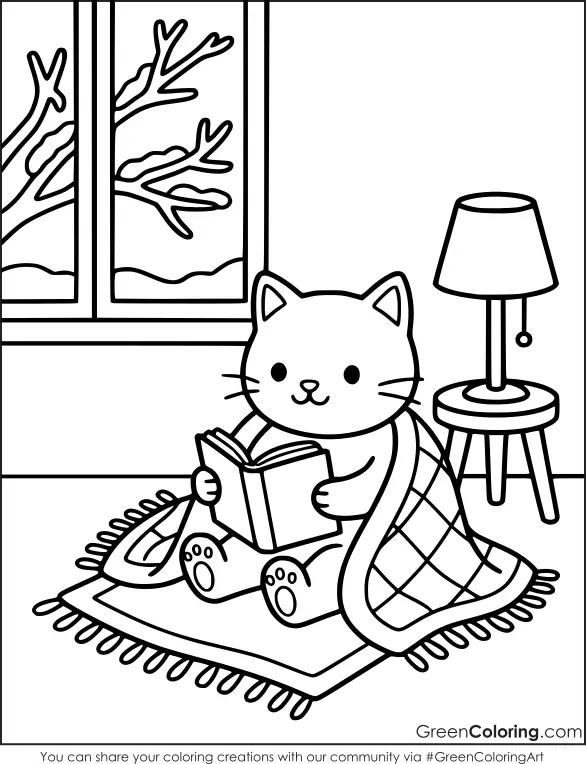
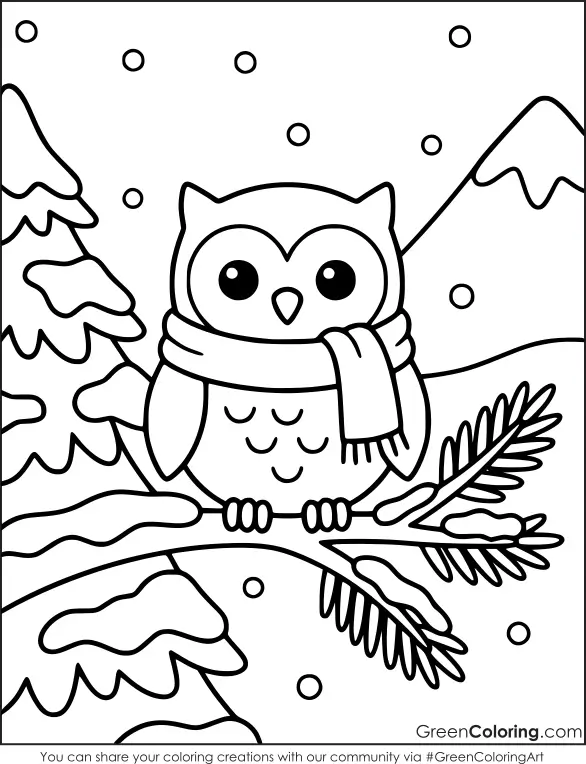
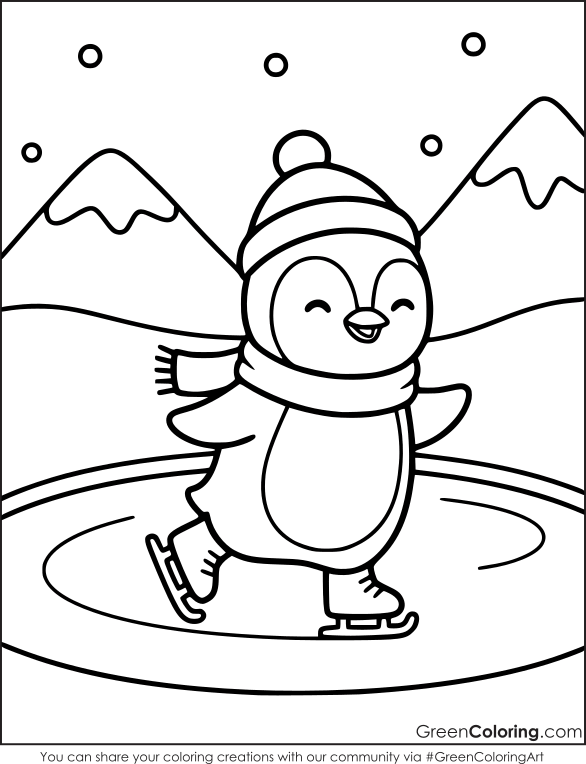
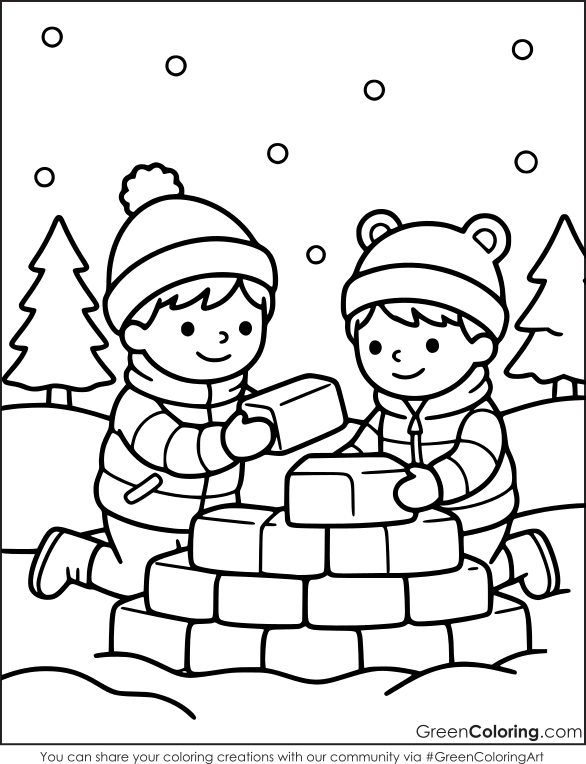
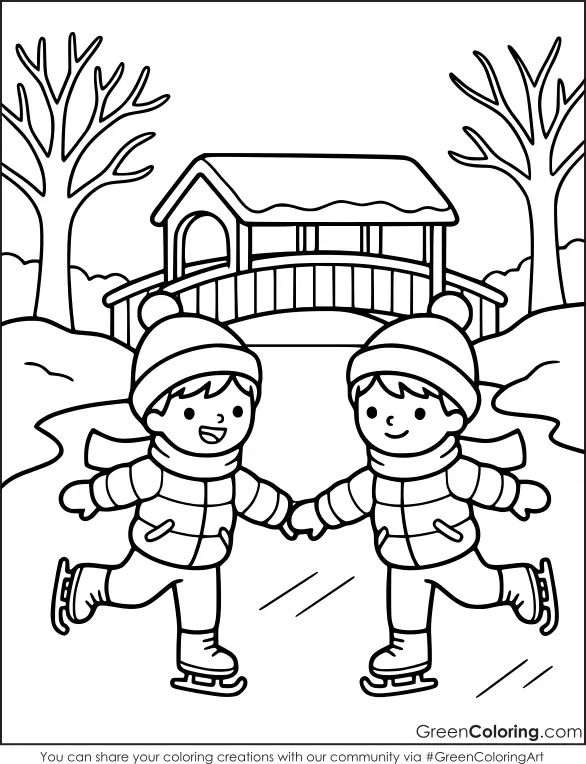
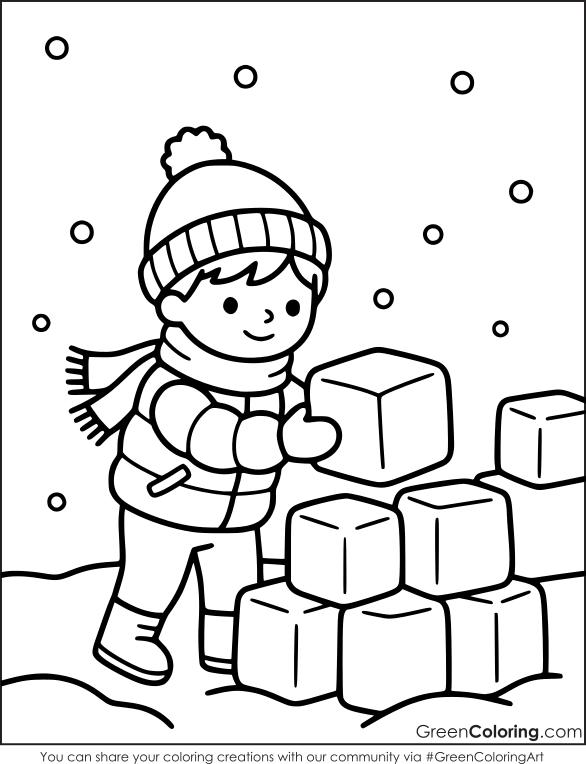
Toddlers and preschoolers get big shapes and thick outlines, like a baby reindeer in a scarf, a round owl on a snowy branch, and a smiling penguin on skates. Early elementary children can enjoy sledding, skating, snowmen, and snow forts, plus cozy scenes of baking cookies, reading by the window, and decorating a Christmas tree. A stone fireplace and a husky dog sled add detail for older kids. Each free printable PDF sits between the crafts below, one per image. Fireside fans will find even more warm, quiet designs in our cozy coloring pages.
6 Crafts for Kids Using Winter Coloring Pages
None of these projects needs a trip to the craft store, and the longest one wraps up in under an hour. Each one works for one child at home or a small group at school.
A quick safety note for all six: stay close while scissors and hole punches are in use, and keep cotton balls, yarn, binder clips, and other small pieces away from little ones who still put things in their mouths.
1. Craft Stick Snowflake Ornaments
Three craft sticks and one small winter picture are all it takes to make a snowflake for a window or the tree. It’s quick and sturdy, and it sneaks in a little science about the shape of real snowflakes. Any of the winter coloring pages works since you’ll only use a small circle from the scene.
The first time we tried it, Mike glued four sticks together and proudly showed me his eight-armed snowflake. That led to a good chat about why real ones stop at six, and his second snowflake came out blue and green with exactly six arms. One warning from testing: a glue stick couldn’t hold the craft sticks at all, so use white school glue.
Materials Needed:
- 3 craft sticks (standard 4 1/2-inch size)
- 1 winter coloring page, scaled down so the drawing is about 2 1/2 inches tall (start at 30% scale and adjust)
- Crayons or colored pencils
- Markers in blue, green, or silver
- White school glue
- A jar lid or cup about 2 inches across, for tracing
- Pencil
- Child-safe scissors
- Yarn, about 8 inches
Steps:
- Color the small printed picture with crayons or colored pencils.
- Set the lid over the part of the scene your child likes best, trace around it, and cut out the circle.
- Decorate all three craft sticks with markers, using dots, stripes, or zigzags.
- Arrange the three craft sticks so they cross at the center and are spaced evenly, about 60 degrees apart.
- Add white school glue at the center, between each layer of sticks, to hold the six arms in place.
- Let the snowflake dry flat for about 20 minutes.
- Spread a thin layer of glue on the back of the circle and press it over the spot where the sticks cross.
- Tie the yarn around the tip of one arm, knot it into a loop, and let the glue dry completely before hanging (usually 30 minutes or more, depending on how much glue you used).
Science Moment: Ice crystals grow in a six-sided pattern, which is why snowflakes share a sixfold symmetry. NOAA has a short explanation of how snowflakes form, with snowflake pictures you can study together.
2. Indoor Snowball Toss Movement Game
When it’s too cold or icy for outdoor recess, this game gets everyone moving without anyone leaving the room. Colored pages mark four target boxes, and each one comes with a winter movement. Land a paper snowball in a box, and the whole group acts out that picture.
Lisa wrote the action cards for Mike’s first round, then added a “spin like a snowflake” card when he begged for one more. A few minutes later, the whole family was spinning in the living room.
Materials Needed:
- 4 winter coloring pages printed at full size, each showing a different activity or animal (skating, sledding, a snowman, a penguin, or a reindeer)
- Crayons or markers
- 4 open cardboard boxes or laundry baskets
- 4 index cards and a marker
- Clear tape
- Painter’s tape or masking tape
- 6 sheets of scrap paper
Steps:
- Color the four pages.
- Write one movement on each index card that matches its page (ideas below).
- Tape each page and its card to the front of a box or to the wall just above a smaller box.
- Line the boxes up against a wall, about 2 feet apart.
- Mark a throwing line with painter’s tape about 6 feet away, or closer for preschoolers.
- Crumple each sheet of scrap paper into a ball and wrap a strip of masking tape around it so it holds its shape.
- Players take turns tossing a snowball, and when one lands in a box, everyone does that movement for about 10 seconds.
Movement ideas (pick your four favorites): glide in place with arms out like a skater, sit down and lean side to side like you’re steering a sled, freeze like a snowman, waddle with arms pressed to your sides like a penguin, or prance with high knees like a reindeer.
Classroom Idea: Split the class into teams and give each team one round of tosses while the others do the movements.
Easy Variation: For toddlers, skip the throwing line and let them walk up and drop the snowball into the box of their choice.
3. A Story Cube Made from Winter Coloring Pages
An empty tissue box becomes a storytelling cube once you cover each side with a different winter scene. Roll it, look at the picture on top, and add the next part of the story. You can also swap in a picture from our deer coloring pages when you want a new character in the mix.
In one of our early games, Mike rolled the dog sled twice in a row and decided the dogs were now in charge of the entire plot. Nobody argued. Skip the glue stick for this one: the glossy coating on most tissue boxes won’t hold it, so clear tape around the edges works much better.
Materials Needed:
- 1 empty cube-shaped tissue box (sides about 4 1/2 inches wide)
- 6 different winter coloring pages, scaled down so each drawing is about 4 inches tall (start at 50% scale and adjust), one per sheet
- Crayons or markers
- 1 sheet of plain paper to cover the opening
- Clear tape
- Ruler and pencil
- Child-safe scissors
Steps:
- Pull out any plastic film from the box opening.
- Measure the top of the box, cut a square of plain paper to match, and tape it flat over the opening.
- Color all six pictures.
- Cut out each picture, trimming it so it fits on one side of the box with a small border.
- Tape one picture to each side, running tape along all four edges.
- The first player rolls the cube and starts a story about the picture that lands on top.
- Players take turns rolling and adding one or two sentences that use their new picture.
- End the story once every picture has appeared at least once.
Learning Idea: NAEYC notes that storytelling helps preschoolers learn new words and get ready to read and write, and it offers tips for encouraging storytelling at home. Words like first, next, then, and finally help children put their events in order.
4. Crayon Resist Snowy Night Painting
This one turns a coloring page into a small art lesson. Your child colors the scene with crayons, adds hidden snowflakes in white crayon, and then brushes watercolor across the sky. The wax pushes the paint away, and the snowflakes appear as if someone just turned on the snow.
Lisa chose a deep purple wash for the night sky over the skating pond, and her white snowflakes popped out one by one as she painted. She immediately asked for a second page to try a starry sky.
Prep note: Use cardstock your printer can handle, and brush a little water on a scrap first. Thin printer paper wrinkles when wet, and some cardstock does too.
Materials Needed:
- 1 outdoor winter coloring page printed at full size on white cardstock
- Crayons, including a white crayon
- Watercolor paint set
- A wide paintbrush and a cup of water
- Paper towels
- Newspaper or a plastic placemat to protect the table
Steps:
- Color the people, animals, and trees with crayons, pressing hard so the wax goes on thick.
- Leave the sky uncolored, then draw snowflakes and dots across it with the white crayon, pressing firmly.
- Cover the table with newspaper or a placemat.
- Wet the brush and mix a thin, watery wash of dark blue or purple paint.
- Brush the wash across the sky in long strokes, going right over the white crayon.
- Watch the snowflakes appear as the paint slides off the wax.
- Dab any puddles gently with a paper towel.
- Let the painting dry flat for about 20 minutes.
Smart Tip: Light crayon strokes let paint soak through, so have your child test a few white snowflakes on a scrap of cardstock first. If the paint covers them, press harder on the real page.
Learning Idea: Crayons are mostly wax, and wax repels water. Ask your child to predict what the paint will do before the first brushstroke.
5. A Snowy Windowsill Scene of Winter Coloring Pages
Cut out a few colored figures, stand them up with binder clips, and you have a small snowy scene for a windowsill, a bookshelf, or a classroom ledge. Animal lovers can add a figure or two from our penguin coloring pages.
Ours lives on the living room windowsill, with Mike’s snowman and Lisa’s skaters standing in a cotton ball snowdrift. Every morning Mike moves his snowman to a new spot, and the rest of us have to guess where it went overnight.
Materials Needed:
- 3 winter coloring pages, scaled down so each drawing is about 4 inches tall (start at 50% scale and adjust)
- Crayons or markers
- 2 sheets of cardstock
- Glue stick
- Child-safe scissors
- 3 medium binder clips (about 1 1/4 inches wide)
- A strip of white felt, a white hand towel, or white tissue paper for the snow
- About 6 cotton balls
Steps:
- Color the three pictures.
- Glue each picture onto cardstock with a glue stick, pressing flat from the center out (two pictures fit on one sheet).
- Cut around the main figures, such as a snowman or a sledder, leaving about 1/4 inch of border and a flat bottom edge.
- Clip a binder clip to the bottom center of each figure.
- Fold the clip handles back so they rest flat as feet (an adult step for younger children).
- Lay the felt, towel, or tissue along the windowsill or shelf.
- Pull the cotton balls apart into fluffy drifts and tuck them around the clips to hide them.
- Arrange the figures with the tallest ones in the back.
Word Game: Each time you add a figure, ask your child what it might hear: crunching snow, sled runners, or a crackling fire. It’s an easy way to build descriptive words.
6. Hot Cocoa Calm-Down Cards
These cards pair cozy winter pictures with simple breathing and body prompts, so your child has something to reach for when feelings run high. Keep them in a calm corner at home or in a classroom quiet area. The cozy indoor winter coloring pages suit this best, since a warm mug or a sleeping cat already looks peaceful.
The cards help more when children have tried each prompt a few times while they’re already relaxed, and PBS KIDS for Parents also suggests practicing breathing during calm moments. Slow, simple breathing may help some kids settle a little faster.
Materials Needed:
- 4 cozy winter coloring pages printed at 50% scale, which fits each one on a half-sheet card
- 2 sheets of cardstock
- Crayons or colored pencils
- Glue stick
- Child-safe scissors
- Marker
- Hole punch
- 1 binder ring (about 1 inch), or yarn, about 12 inches
Steps:
- Cut each sheet of cardstock in half to make four cards, each 5 1/2 by 8 1/2 inches.
- Color the four pictures.
- Trim the margins and glue one picture to the front of each card.
- On the back of each card, write one short prompt that matches its picture (ideas below).
- Punch a hole in the top left corner of each card (an adult step).
- Thread the cards onto the binder ring, or tie them together with yarn.
- Try every card together once or twice while your child is calm, so the prompts feel familiar later.
Prompt ideas:
- Cocoa breath: breathe in slowly as if smelling hot cocoa, then blow out gently to cool it.
- Blanket hug: wrap your arms around yourself, squeeze for a slow count of five, then let go.
- Snowflake float: lift your arms on a breath in, then let them drift down slowly on a breath out.
- Fireplace fingers: wiggle your fingers like flickering flames, then rest your hands still in your lap.
Classroom Idea: Make one shared set for the quiet corner, and let students vote on which prompt goes with which picture. A set the class helped design is one they’re more likely to use.
Bring a Little Snow Indoors
Snow or no snow outside, a few printable winter coloring pages and a box of crayons can make any afternoon at home or school feel like a snow day. Start with the snowflake ornament if you only have twenty minutes, or save the snowball toss for the next indoor recess. Once December arrives, our Christmas coloring pages are ready for the holiday stretch.
Leave a Reply