

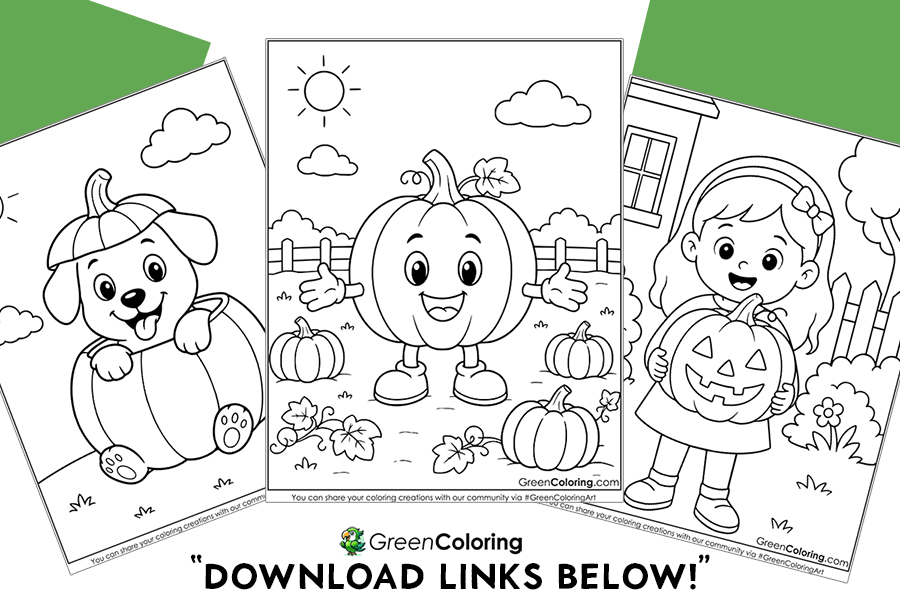
6 Crafts for Kids Using Pumpkin Coloring Pages
Pumpkins are one of those things kids never seem to get tired of. They can be silly, spooky, cute, or bright orange. That makes pumpkin coloring pages a great starting point for crafts that go beyond crayons and paper.
As a former private school teacher, I enjoy crafts that give children something to do with their hands while leaving room for their own ideas. A coloring page doesn’t have to stay flat. With a little cutting, folding, or decorating, it can become something completely new. This kind of open-ended art is also encouraged by the National Association for the Education of Young Children, which highlights how creative activities can support children’s expression and thinking.
A few days ago, Emily brought a small basket of craft supplies to the kitchen table. Lisa wanted to make something pretty, while Mike immediately announced that his pumpkin needed a funny face. Before long, we were all laughing at the strange pumpkin characters he was creating.
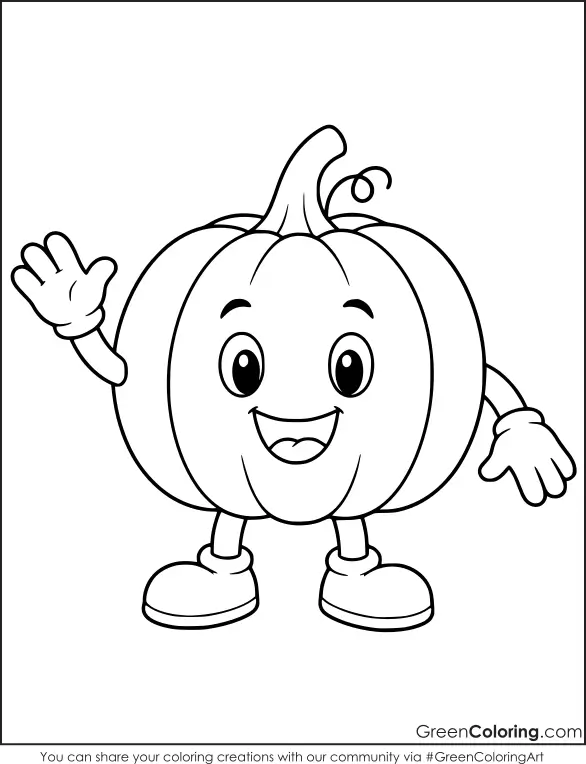
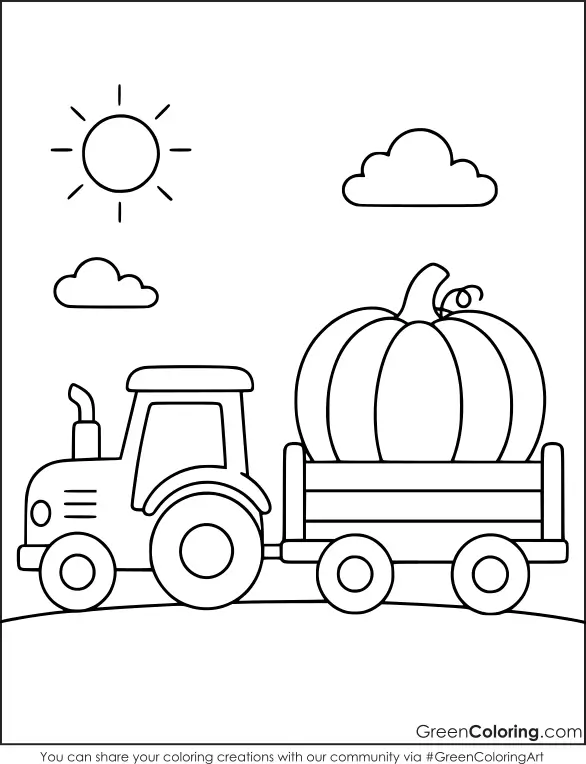
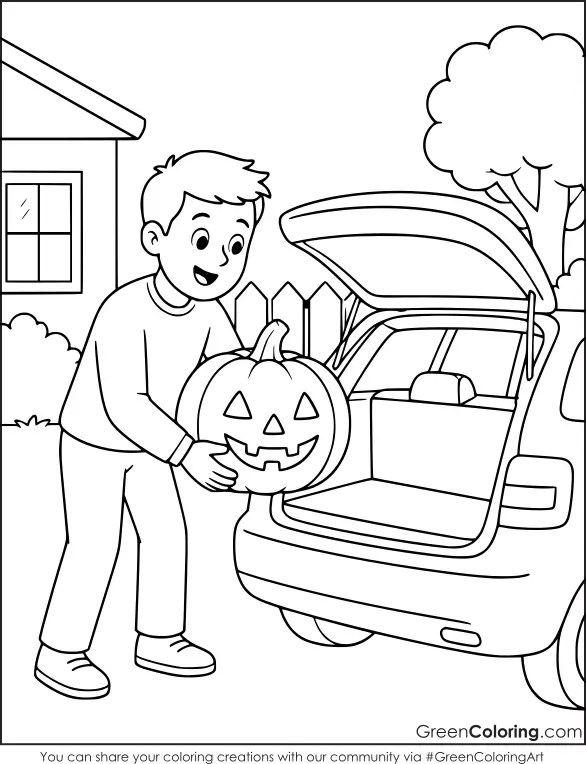
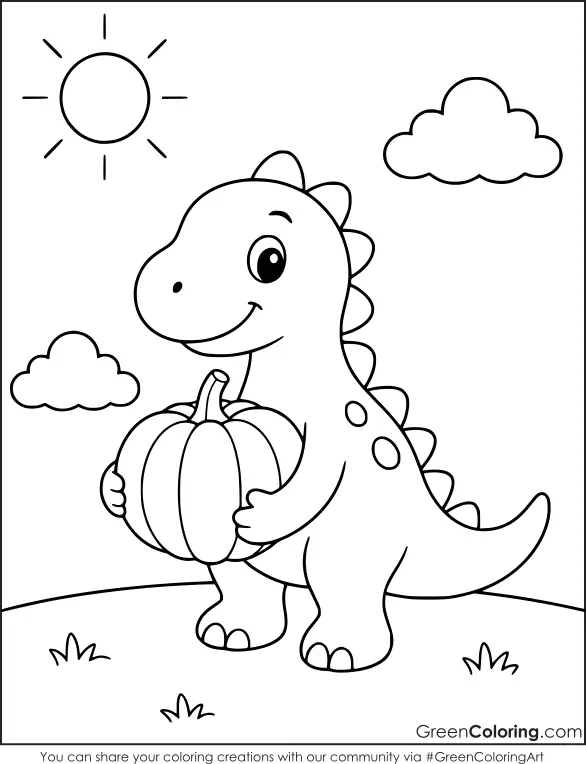
1. Pumpkin Puppet Theater
Bring Your Pumpkin Coloring Pages to Life
Why let a pumpkin sit on a coloring sheet when it can become the star of a little family show? This craft turns colored pumpkins into simple puppets that kids can use to create their own stories.
Mike loved this idea because he could give every pumpkin a different personality. One was happy, another was grumpy, and one apparently had a very loud voice!
Materials Needed:
- Pumpkin coloring pages
- Cardstock or thin cardboard
- Child-safe scissors
- Crayons or markers
- Glue stick
- Craft sticks
- Shoebox or cardboard box
- Colored paper
Steps:
- Print a few pumpkin coloring pages with different shapes and faces. Bigger designs are easier for young children to cut and decorate.
- Let your kids color each pumpkin. Encourage your child to give each pumpkin a unique expression, hairstyle, hat, or funny detail.
- Cut the pumpkins out carefully. Younger kids will need an adult nearby to help with scissors.
- Glue each pumpkin onto a craft stick to make a simple hand puppet.
- Turn a shoebox on its side and decorate the front with colored paper. This becomes your little theater.
- Help the children create a simple story. Maybe the pumpkins are preparing for a party seeking a lost hat or trying to find their way home.
- Take turns performing the story for everyone. Parents can join too!
When we tried this at home, Lisa created a whole pumpkin family, while Mike gave his smallest pumpkin a superhero cape. Emily became the audience, although Mike kept asking her to clap after every single sentence.
Storytelling Tip: Don’t worry about writing a perfect script. Let children make up the dialogue as they go. If the story suddenly changes direction, follow it. Those unexpected ideas are often the funniest part.
Easy Variation: Make a few extra pumpkins and leave them uncolored. During the next play session, children can create new characters and continue the story with a completely different adventure.
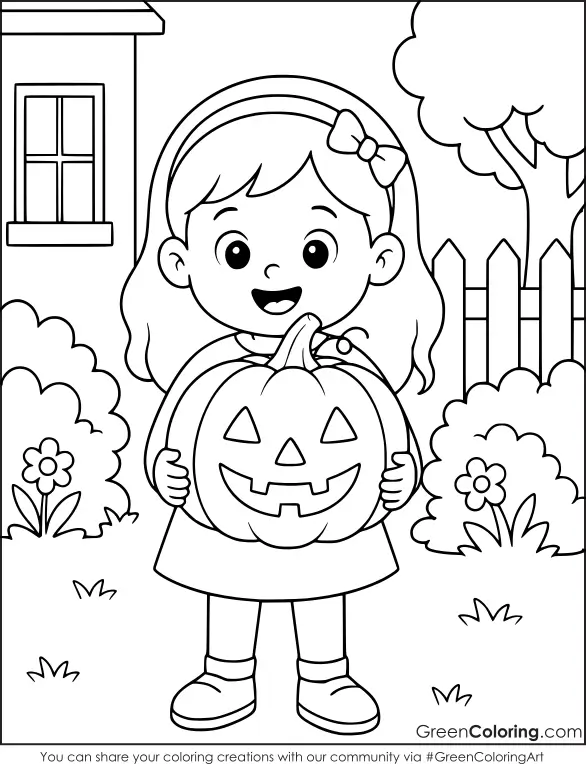
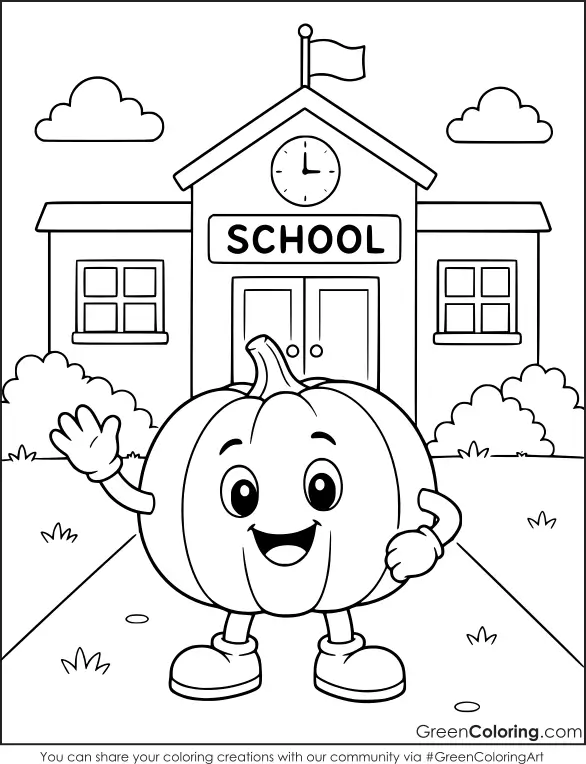
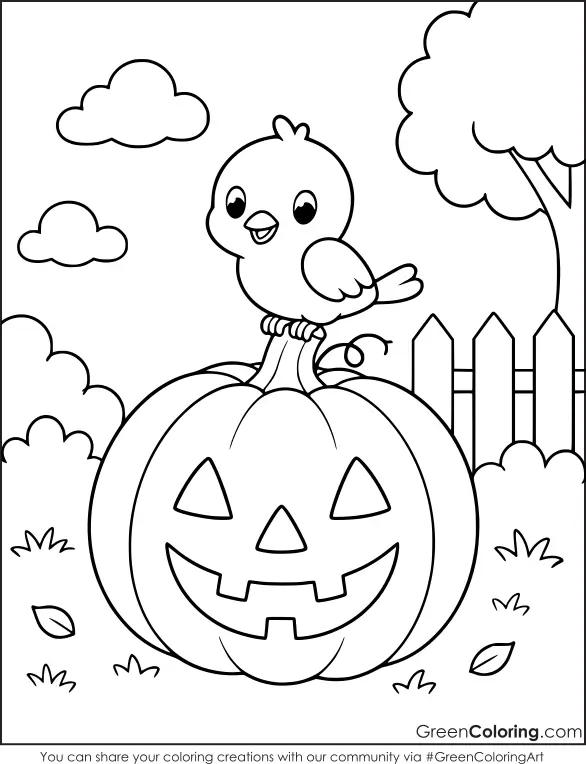
2. Pumpkin Puzzle Tray
Turn Pumpkin Coloring Pages into a Homemade Puzzle
Kids don’t always need a store-bought game to have a good challenge. With a finished pumpkin coloring page, you can make a simple puzzle that children can color, cut, mix, and rebuild.
Mike enjoyed this one because he could make the puzzle as easy or tricky as he wanted. Lisa made a much harder version by adding lots of different colors to her pumpkin.
Materials Needed:
- Pumpkin coloring pages
- Cardstock
- Crayons or colored pencils
- Glue stick
- Child-safe scissors
- Small tray or flat box lid
- Pencil and ruler
Steps:
- Choose a large pumpkin design from your pumpkin coloring pages. Simple outlines are best for younger children.
- Print the page and color the pumpkin together. Try using different patterns so the pieces are easier to recognize.
- Glue the finished page onto cardstock and let it dry completely.
- Turn the picture over and draw several large puzzle pieces on the back. Use fewer pieces for younger kids and more for older children.
- Carefully cut along the lines. An adult can do the cutting if the pieces are too difficult for your child.
- Mix the pieces inside a tray or box lid.
- Challenge your child to put the pumpkin back together without looking at another copy.
Mike once mixed two pumpkin puzzles together and then insisted it was a “super puzzle.” It took us much longer to separate everything, but he had a great time.
Smart Tip: Write a tiny symbol on the back of each puzzle set. If several children are making puzzles at the same time, this makes sorting the pieces much easier.
Make It Harder: For older children, don’t draw the puzzle lines in straight rows. Add gentle curves and unusual shapes to make the finished challenge more interesting.
3. Pumpkin Counting Garland
Add a Little Math to Your Pumpkin Coloring Sheets
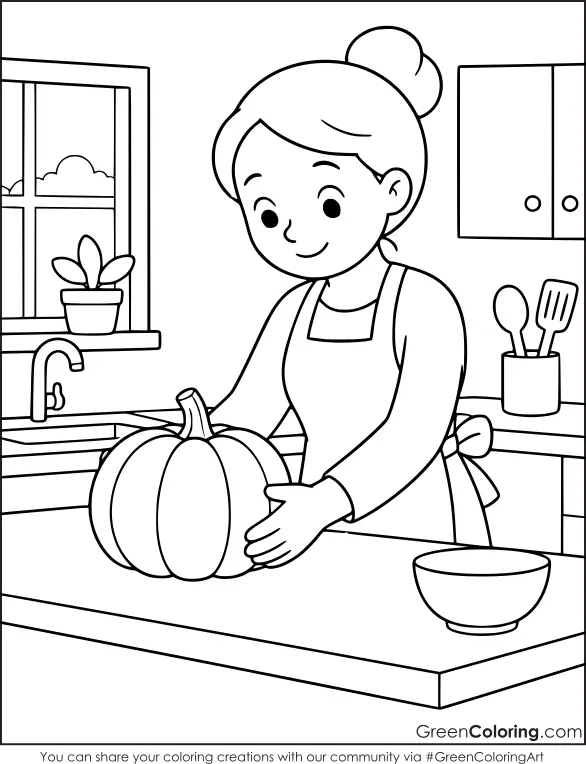
This craft combines decorating with a simple counting game. Kids create a string of pumpkins and use it to practice numbers, patterns, or even simple addition.
I tried this with Mike when he was practicing counting. He didn’t realize we were doing a little math because he was too busy deciding which pumpkin should come next.
Materials Needed:
- Pumpkin coloring pages
- Crayons or markers
- Cardstock
- Child-safe scissors
- Hole punch
- String or yarn
- Tape
- Number stickers or marker
Steps:
- Print several pumpkin designs from your pumpkin coloring sheets. Choose different shapes if you have them.
- Let your child color the pumpkins. Try making some orange, some yellow, and some completely unusual colors.
- Cut out each pumpkin and punch two small holes near the sides.
- Write the numbers on the pumpkins, starting with 1 and going up.
- Thread the pumpkins onto string in the correct order.
- Once the basic garland is finished, ask your child to create a pattern, such as orange, yellow, orange, and yellow.
- Hang it across a playroom, craft corner, or classroom wall.
Mike decided that his garland needed a “number 100 pumpkin.” We didn’t have enough pumpkins for that, so he drew one himself and proudly added it to the end.
Learning Idea: Change the numbers into simple math problems for older children. For example, one pumpkin can say “3 + 2” and the next can show the answer.
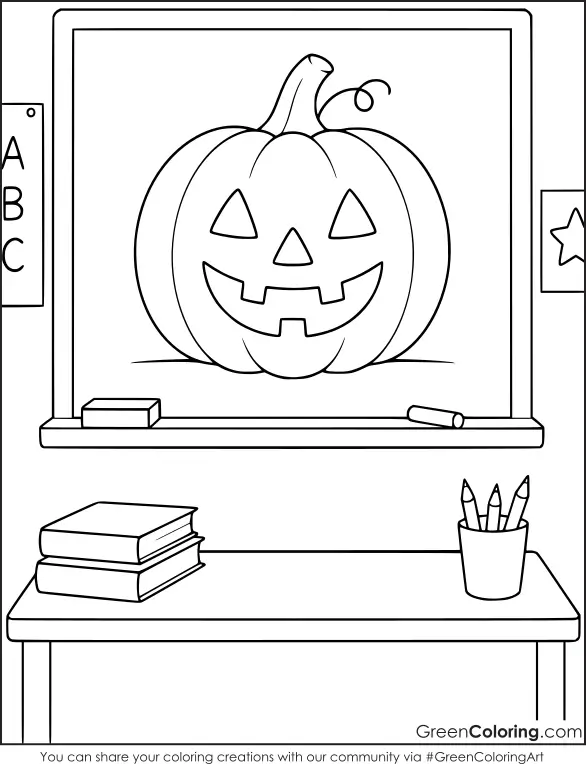
4. Pumpkin Emotion Wheel
Explore Feelings with a Pumpkin Wheel
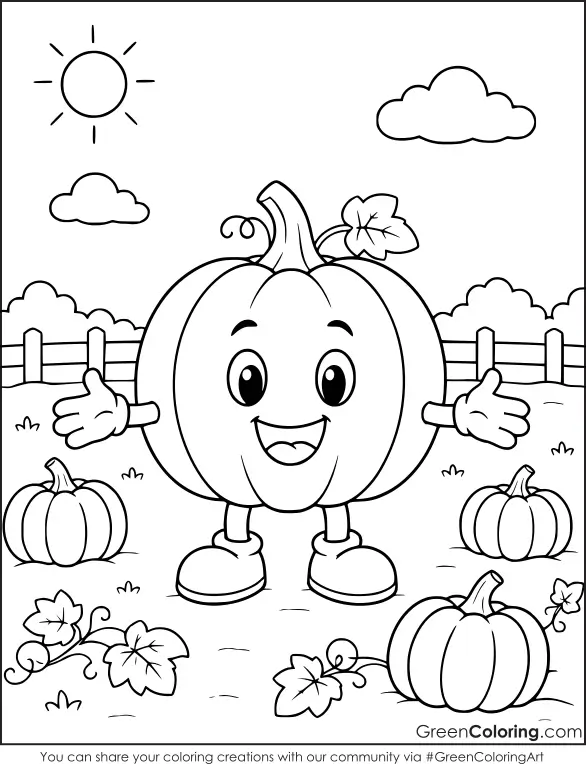
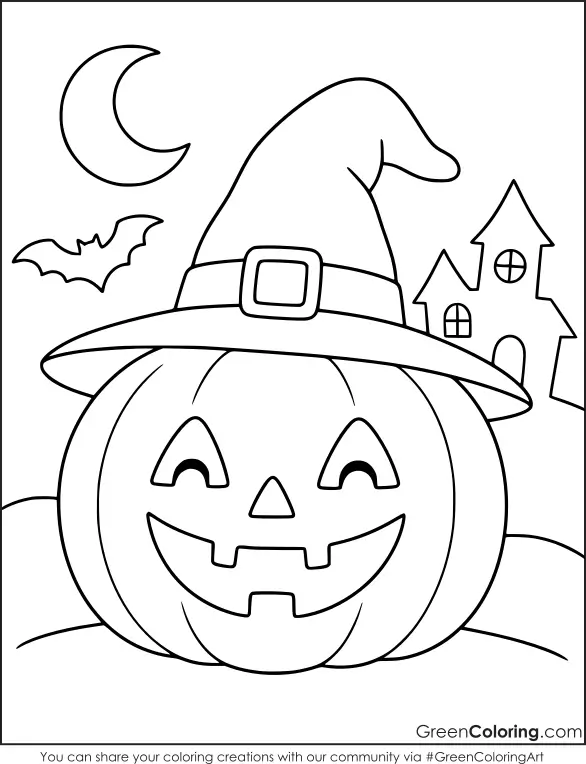
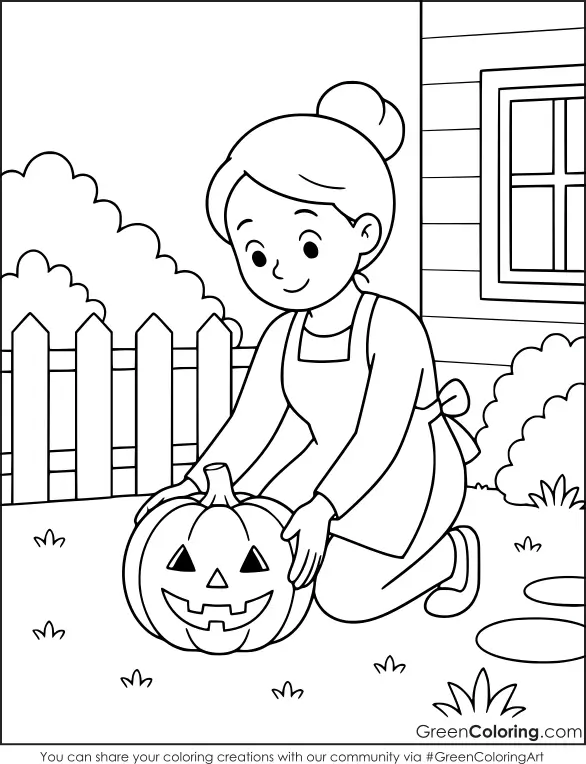
Pumpkins don’t always have to look happy. This craft gives children a playful way to show different emotions while creating something they can use for conversations at home or in the classroom.
Materials Needed:
- Pumpkin coloring pages
- Cardstock
- Crayons or markers
- Child-safe scissors
- Paper fastener
- Pencil
- Glue stick
Steps:
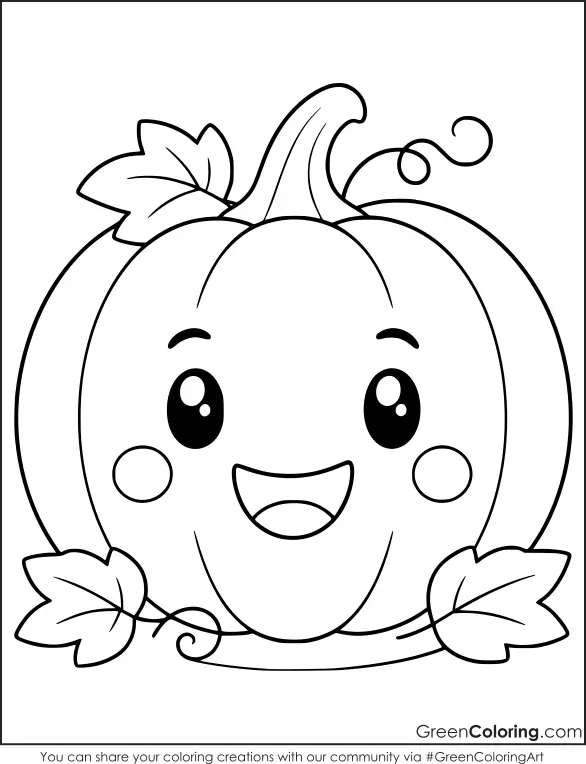
- Use your pumpkin coloring pages to print out a big pumpkin that you and your child can color together.
- Cut out the pumpkin, and glue it to card stock for strength.
- Draw different pumpkin shapes with a range of expressions—happy, sad, surprised, worried, or excited.
- Cut out faces and position them in a circle behind the main pumpkin.
- Cut a small opening in the front pumpkin so one face can be seen at a time.
- Attach the layers with a paper fastener so the faces can rotate.
- Spin the wheel and ask your child to name the emotion showing through the opening.
Conversation Idea: Ask, “When did you feel this way?” Children may surprise you with their answers. It can open a gentle conversation without making it feel like a serious talk.
Make It More Fun: Give the wheel silly expressions too. Mike added a “hungry pumpkin” and an “I need a nap pumpkin,” which quickly became everyone’s favorites.
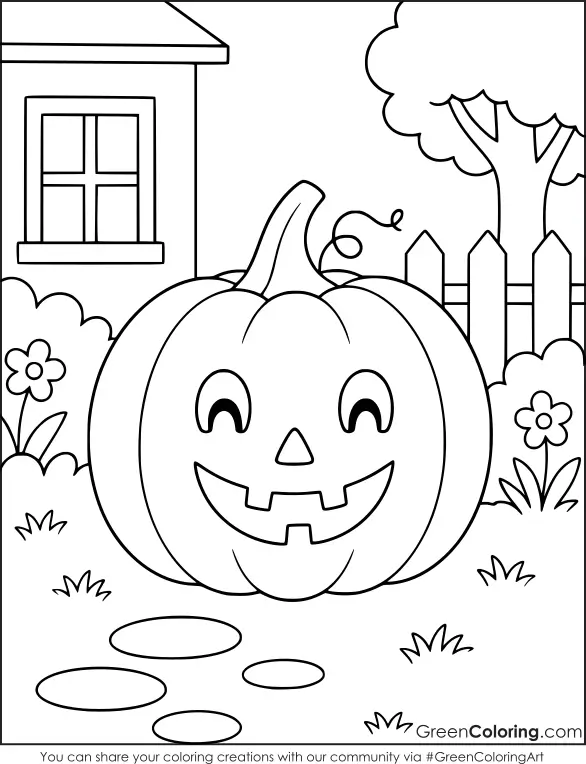
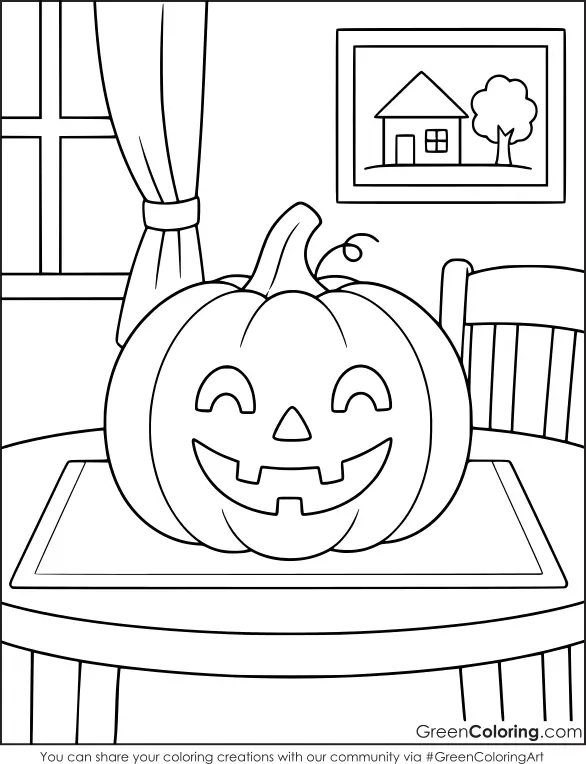
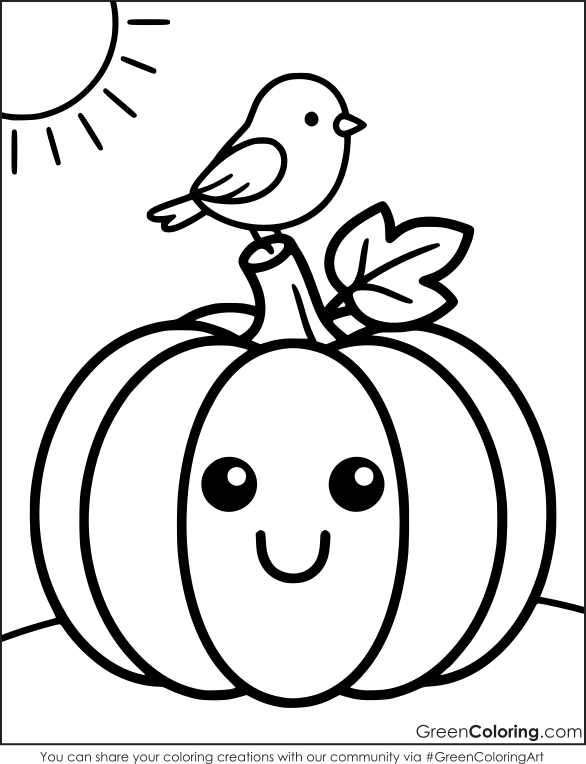
5. Pumpkin Shadow Story
Create a Little Pumpkin Theater with Coloring Pages
This craft is a fun mix of art and storytelling. Kids color their pumpkin characters first, then use light and shadows to create a tiny theater show. It feels a little magical when the room gets darker.
Mike was fascinated the first time we tried it. He moved his pumpkin slowly across the wall and announced that it was “flying over the haunted house.”
Materials Needed:
- Pumpkin coloring pages
- Cardstock
- Crayons or markers
- Child-safe scissors
- Craft sticks
- Small flashlight
- White wall or sheet
- Tape
Steps:
- Print a few large pumpkins from your pumpkin coloring pages.
- Let your kids color them with different faces and decorations.
- Glue the finished pumpkins onto cardstock and carefully cut them out.
- Attach a craft stick to the back of each pumpkin.
- Hang a white sheet or choose a clear wall as the screen.
- Turn off the main lights and shine a flashlight toward the screen.
- Move the pumpkin puppets between the light and the wall to create different shadows.
- Let the children invent a short story using their pumpkin characters. Storytelling through play can be a great way to encourage language and imagination. Reading Rockets’ guide to story dramatization also discusses how acting out stories can support children’s language and literacy skills.
Science Moment: Ask your child what happens when the puppet gets closer to the light. One simple way to explore how light works is to watch the shadow grow and shrink.
6. Pumpkin Snack Holder
Turn a Pumpkin Coloring Page into a Party Table Treat
Kids love making things they can actually use. This little paper holder turns a pumpkin coloring page into a cheerful container for dry snacks, wrapped treats, or small party favors.
Materials Needed:
- Pumpkin coloring pages
- Cardstock
- Crayons or markers
- Child-safe scissors
- Glue or tape
- Small paper cup
- Optional: ribbon or stickers
Steps:
- Print a pumpkin design from your pumpkin coloring pages and color it with your child.
- Cut around the pumpkin while keeping the shape large enough to wrap around a small paper cup.
- Glue or tape the pumpkin around the outside of the cup.
- Add a paper strip underneath if you want to make the holder stand more firmly.
- Use simple shapes, leaves, or a funny face to decorate the pumpkin.
- Fill the finished holder with dry snacks or individually wrapped treats.
- Place the pumpkin holders around the table for a fall party, family movie night, or afternoon snack.
Emily filled ours with small crackers, and Mike spent more time admiring his pumpkin than eating them. Lisa made another one for Emily and decorated it with little purple stars.
Food Safety Tip: Use clean food-safe containers inside the paper decoration rather than putting food directly against printed paper. For younger children, choose snacks that are appropriate for their age.
I hope these pumpkin coloring pages give your family a few new ways to enjoy creative time together. From silly pumpkin puppets to glowing shadow stories, each idea can become something different when kids add their own imagination. If you’re ready to start printing your favorite sheets, let the pumpkin fun begin. In our house, the funniest creations are usually the ones nobody planned. So don’t worry about making everything perfect—let your kids experiment, laugh, and see where their little pumpkins take them.
Leave a Reply