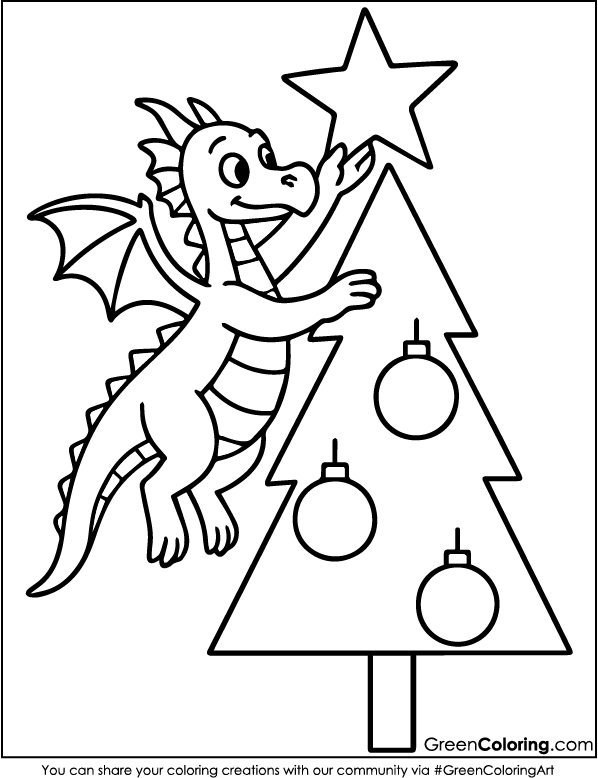
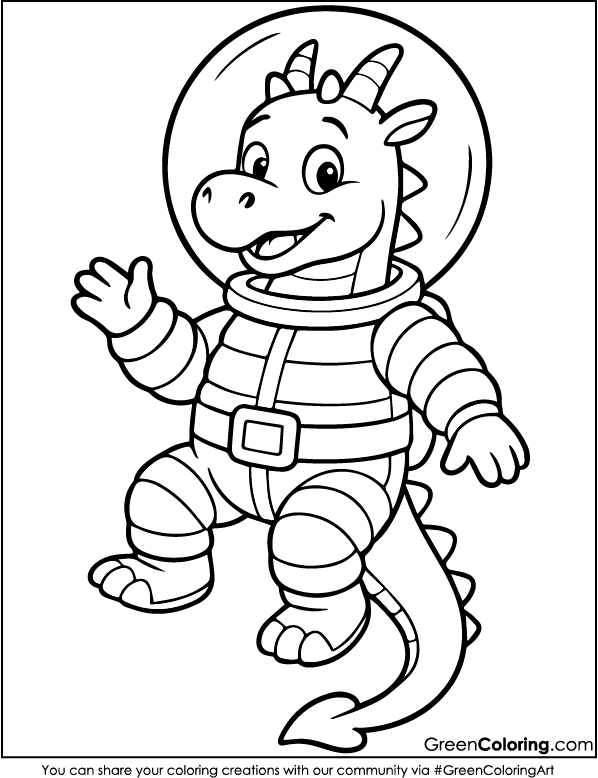
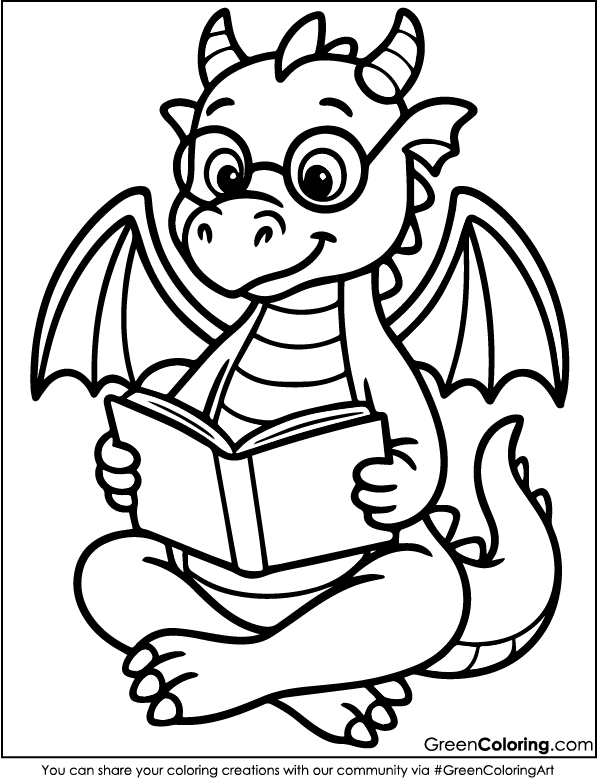
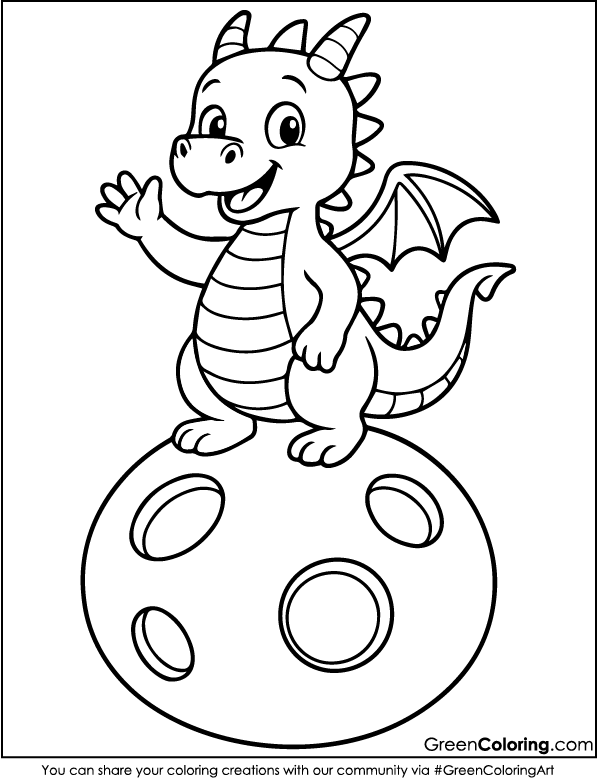
7 Crafts for Kids Using Dragon Coloring Pages
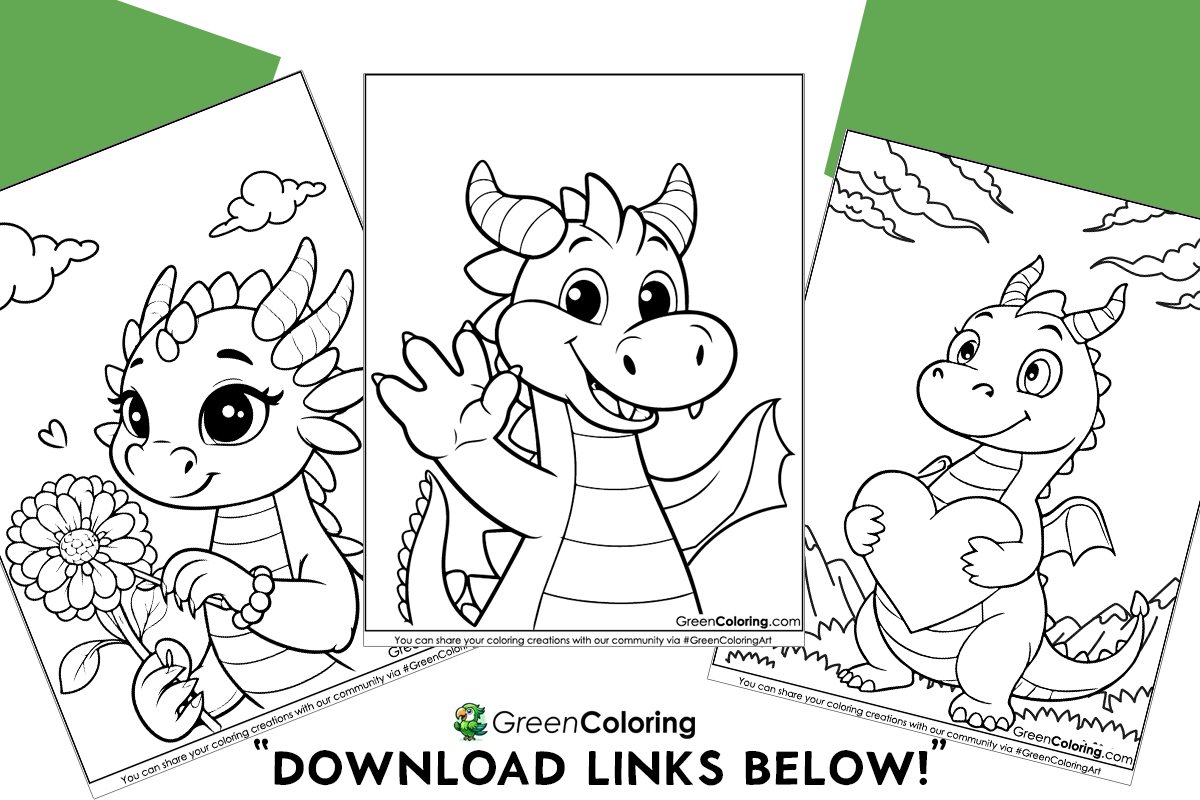
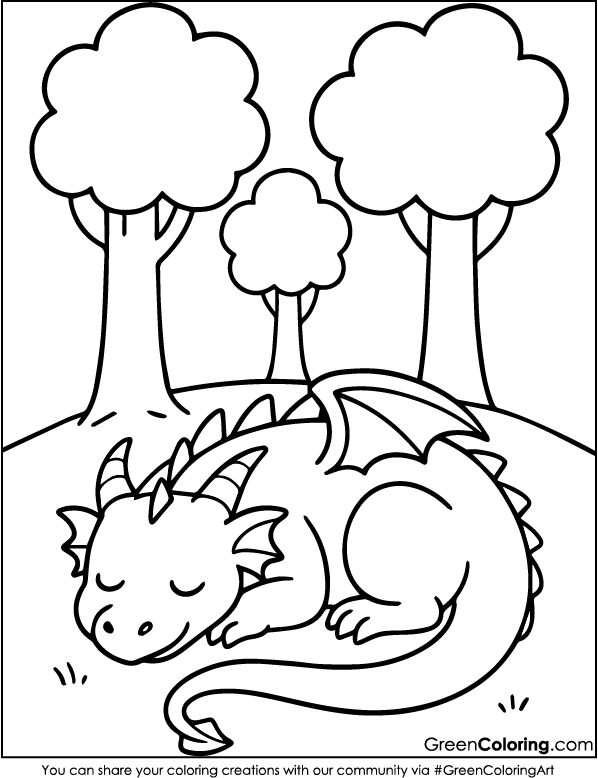
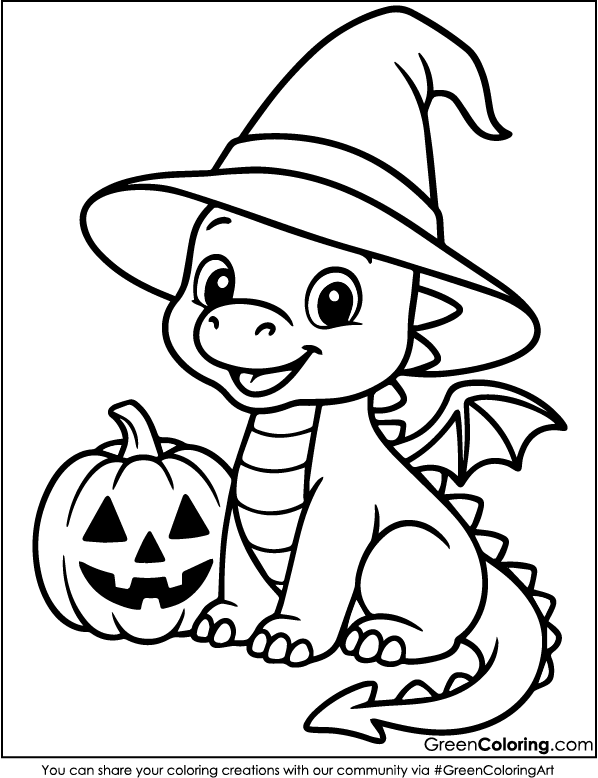
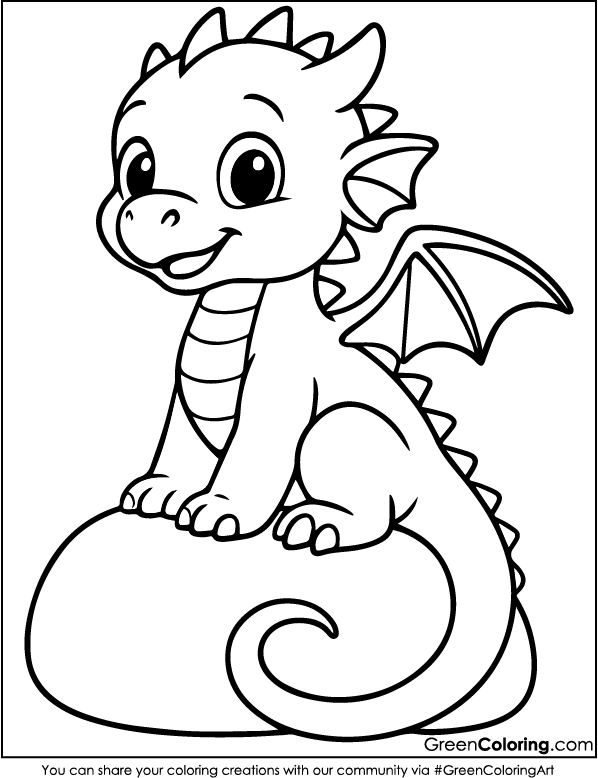
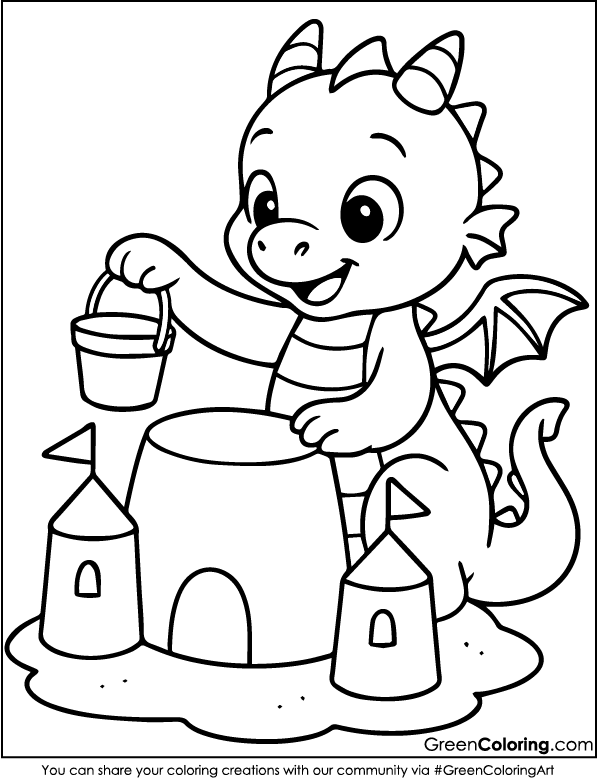
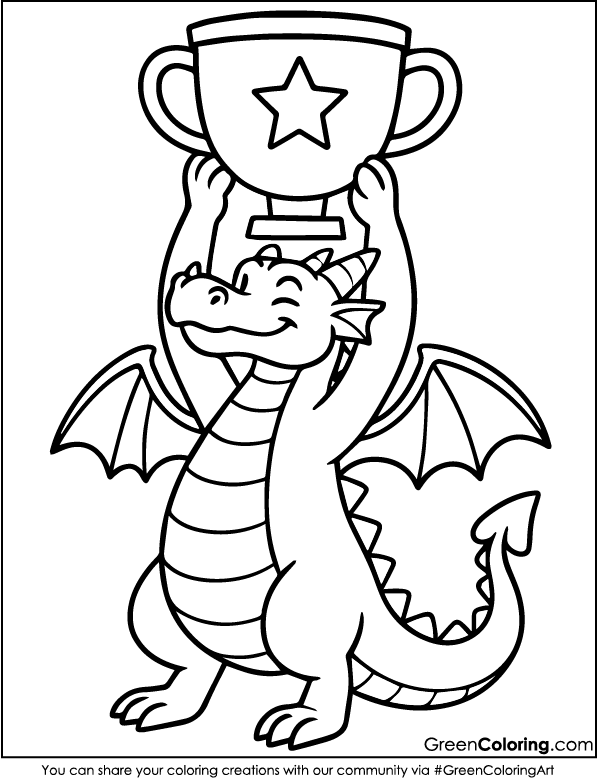
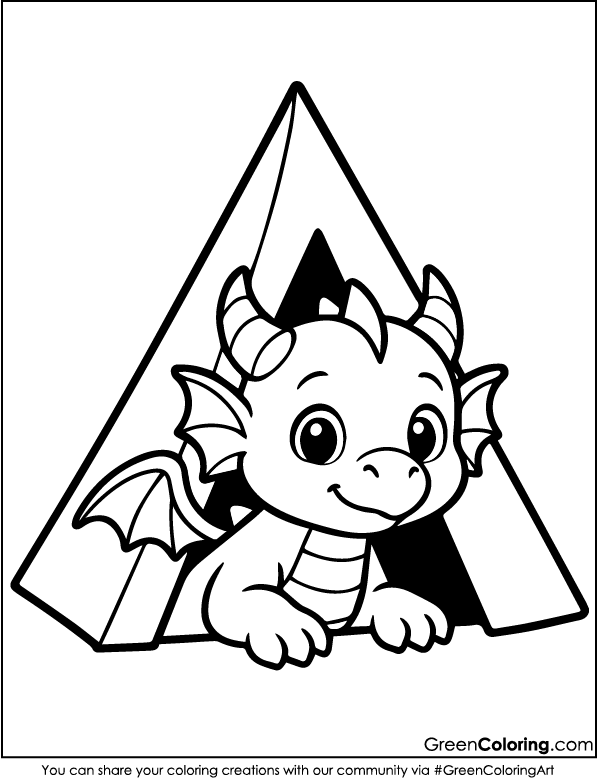
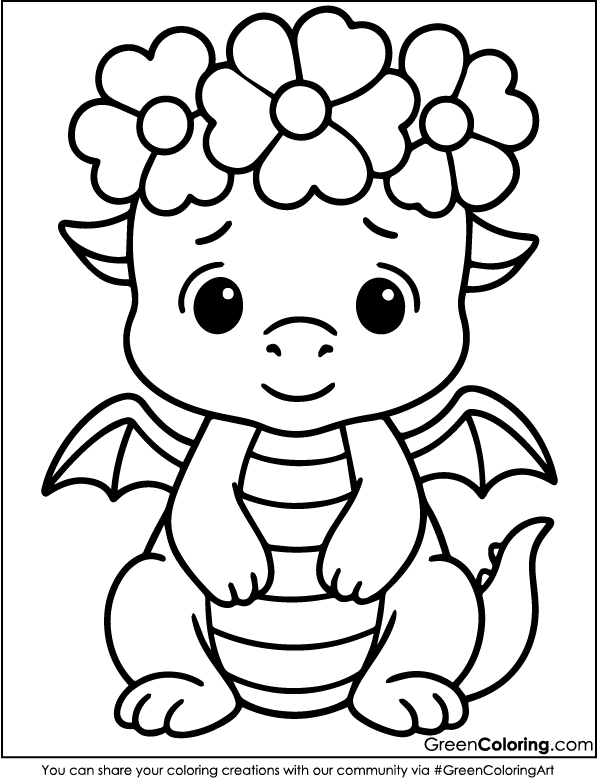
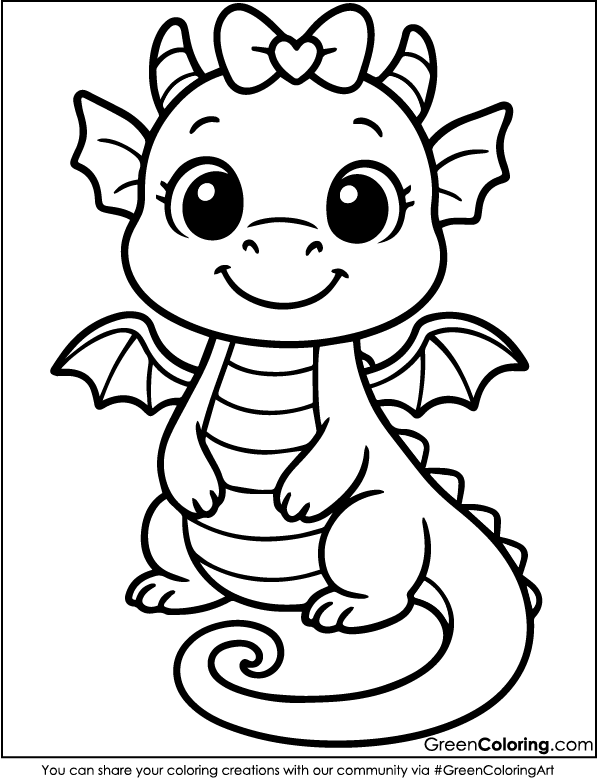
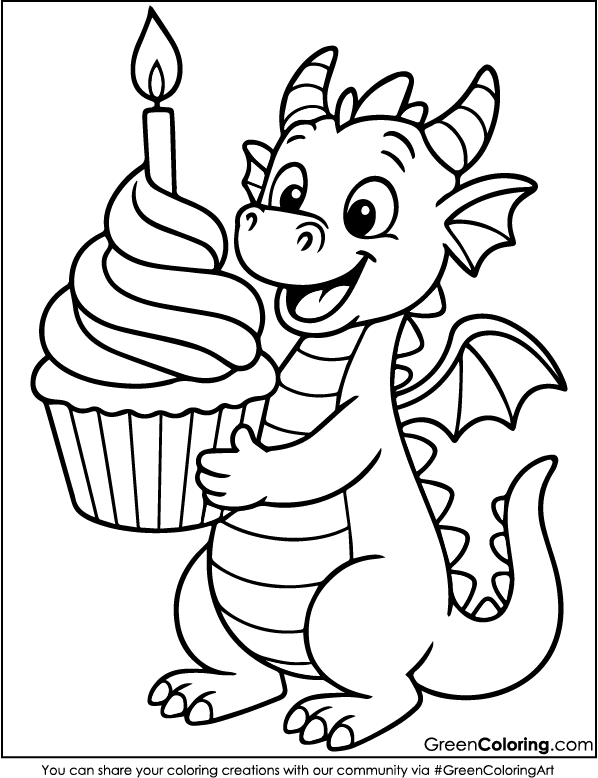
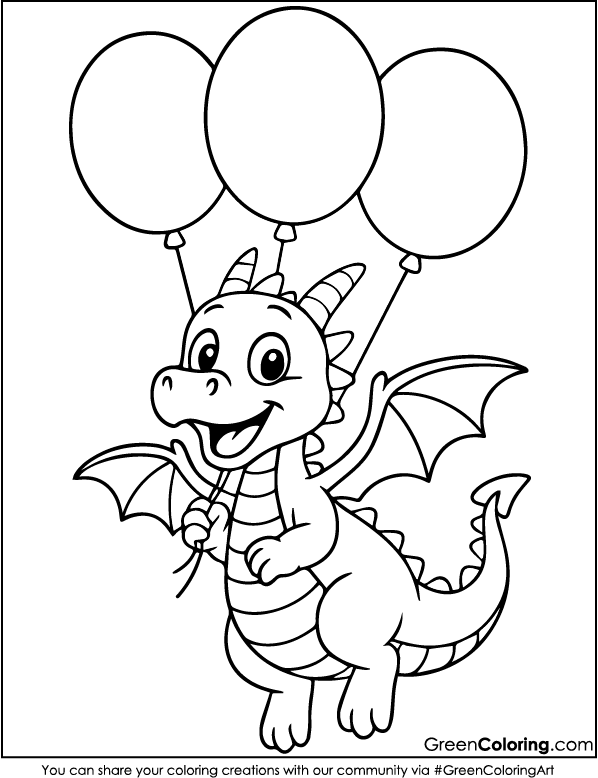
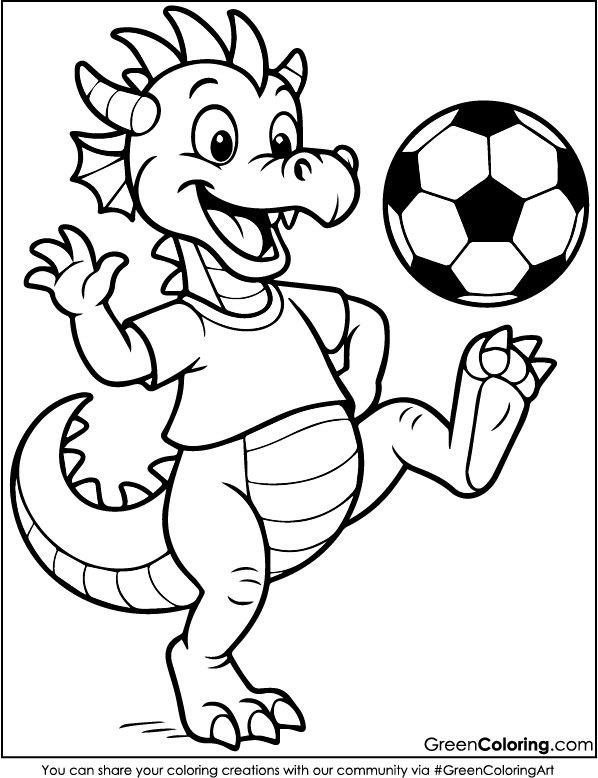
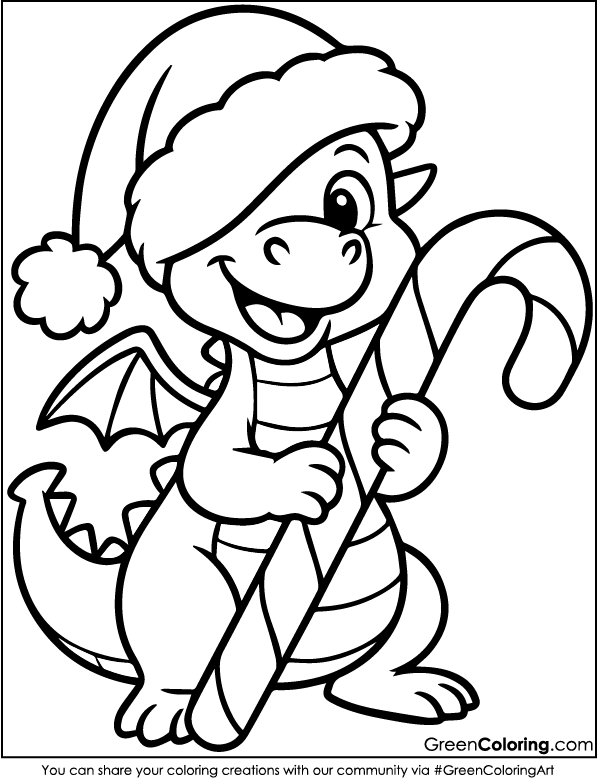
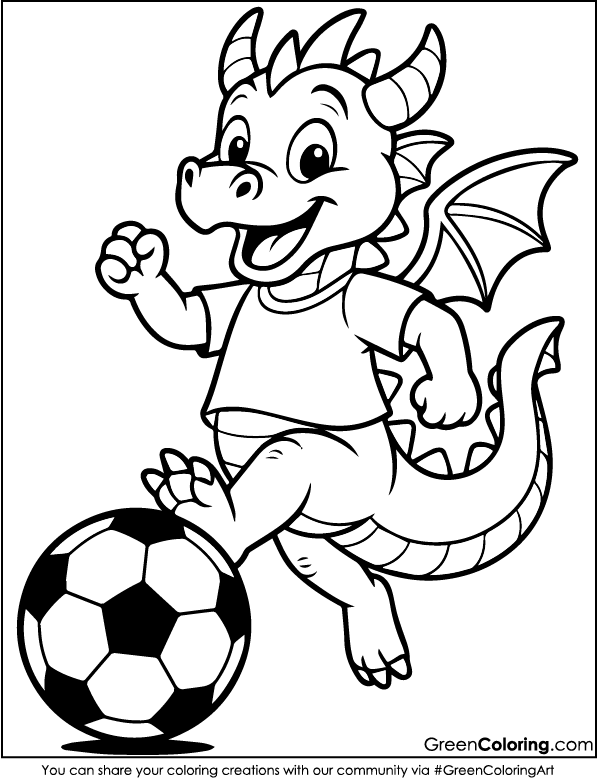
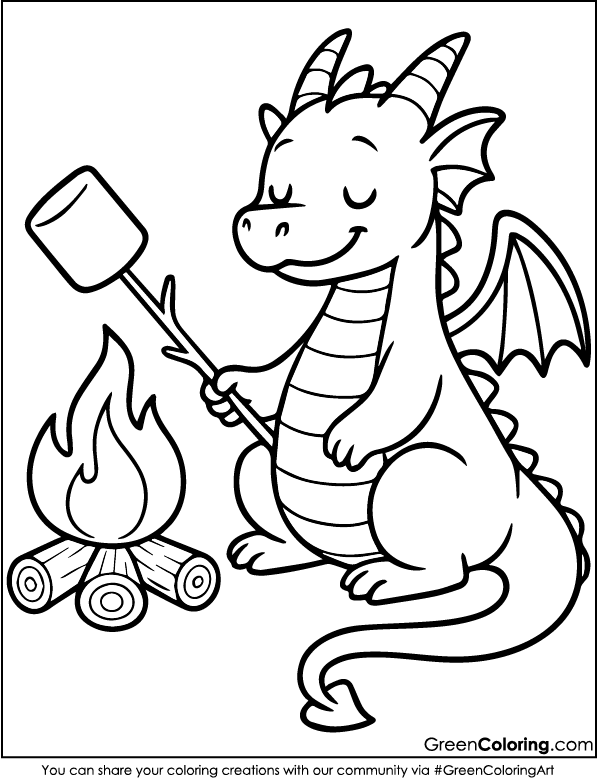
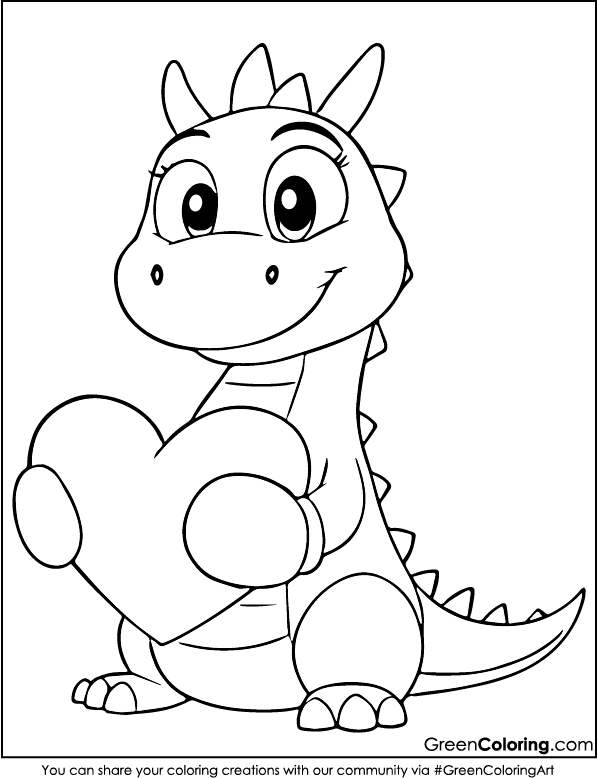
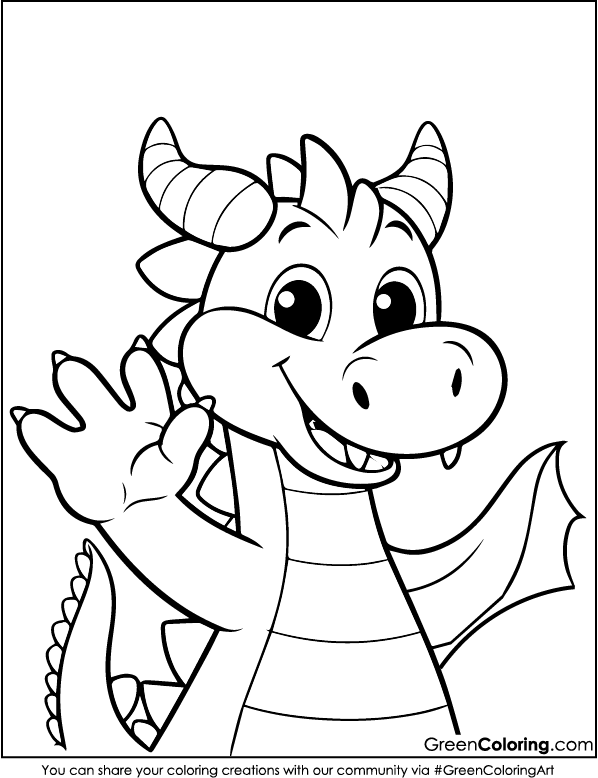
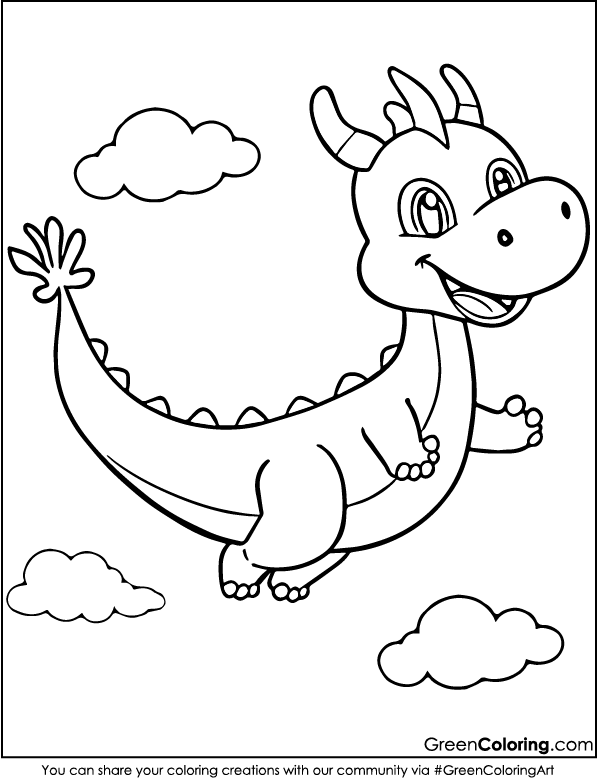
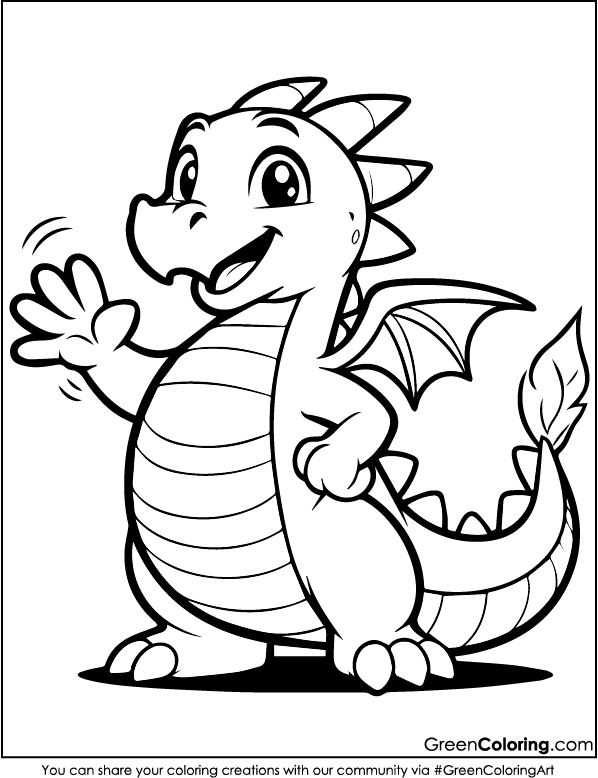
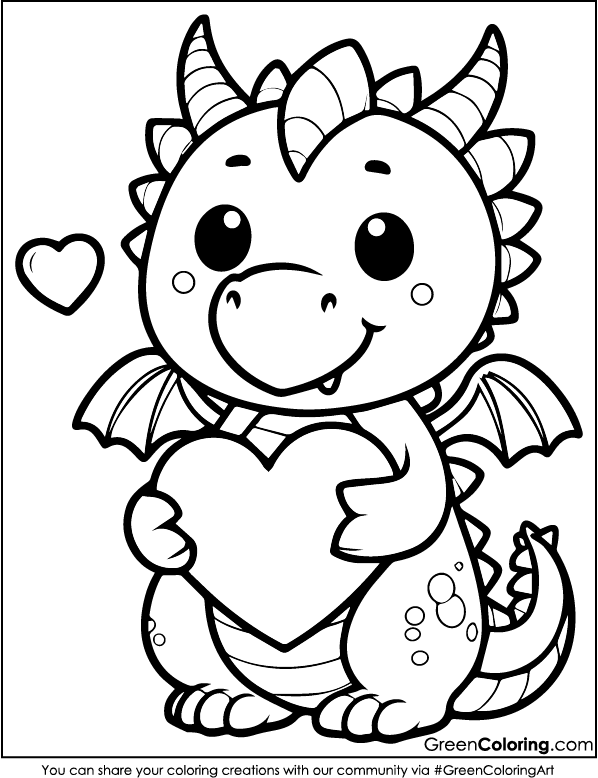
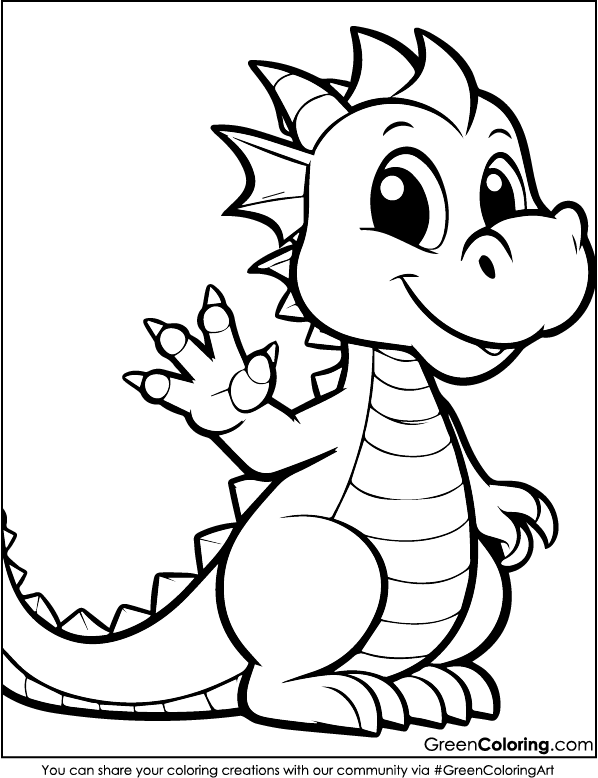
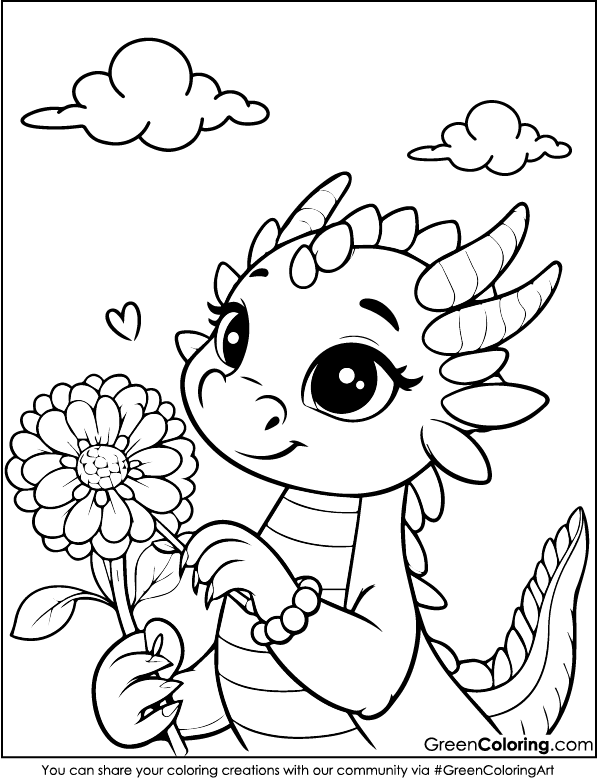
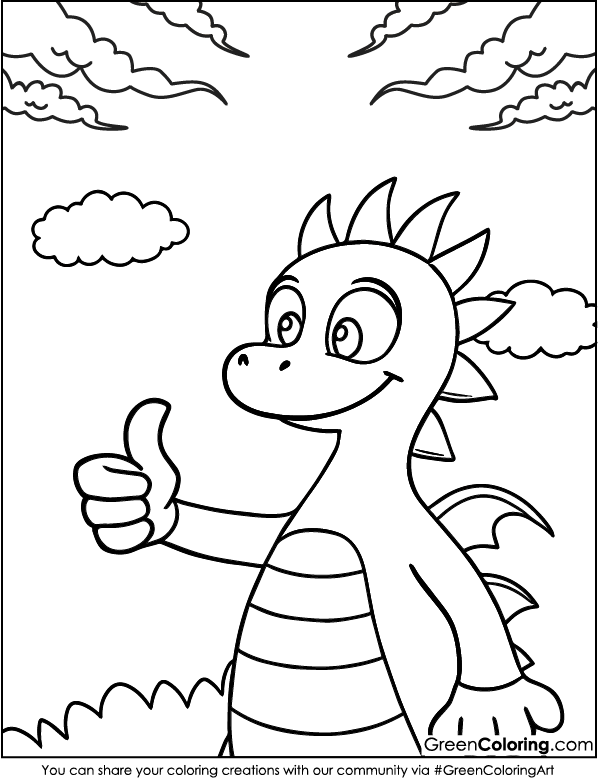
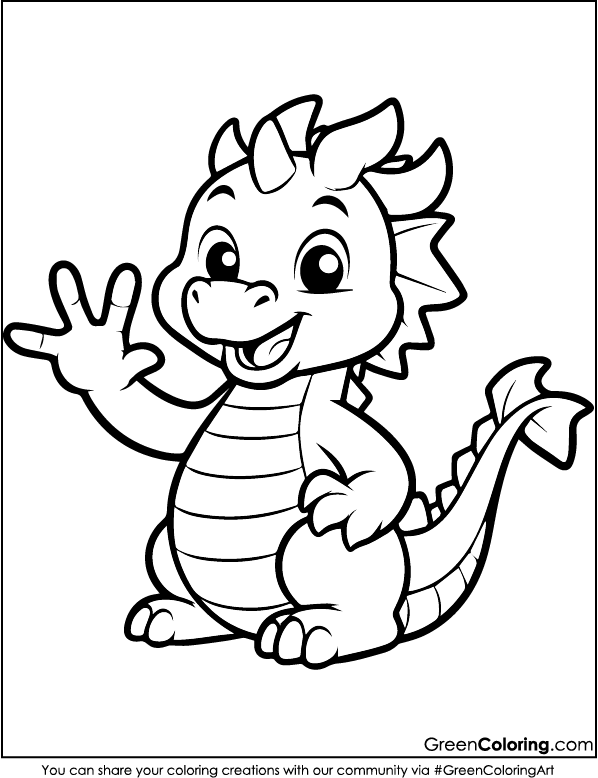
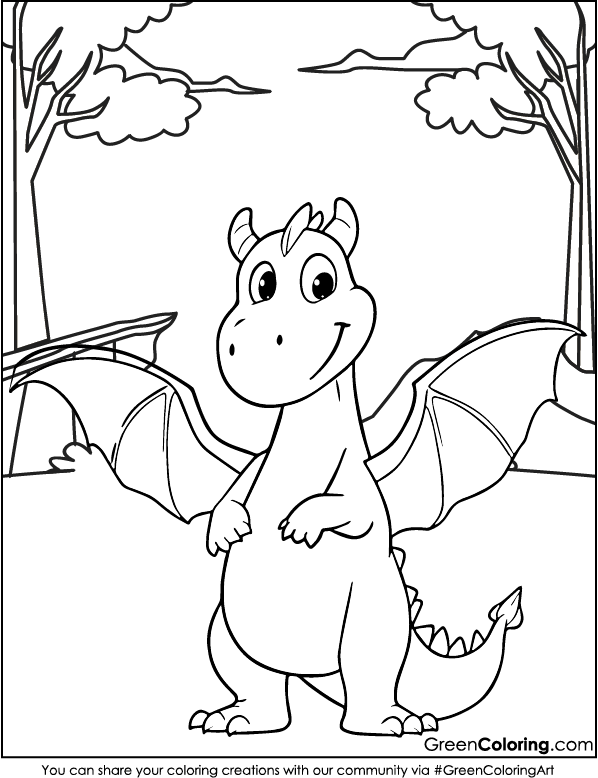
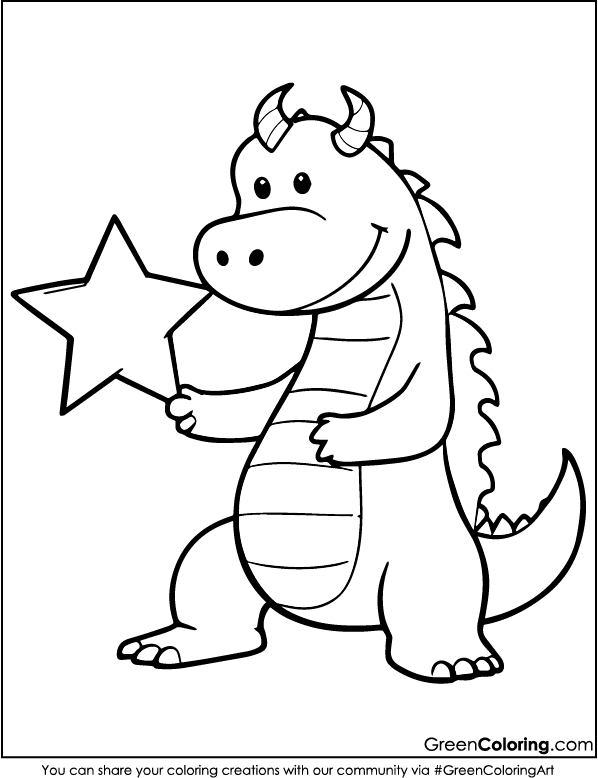
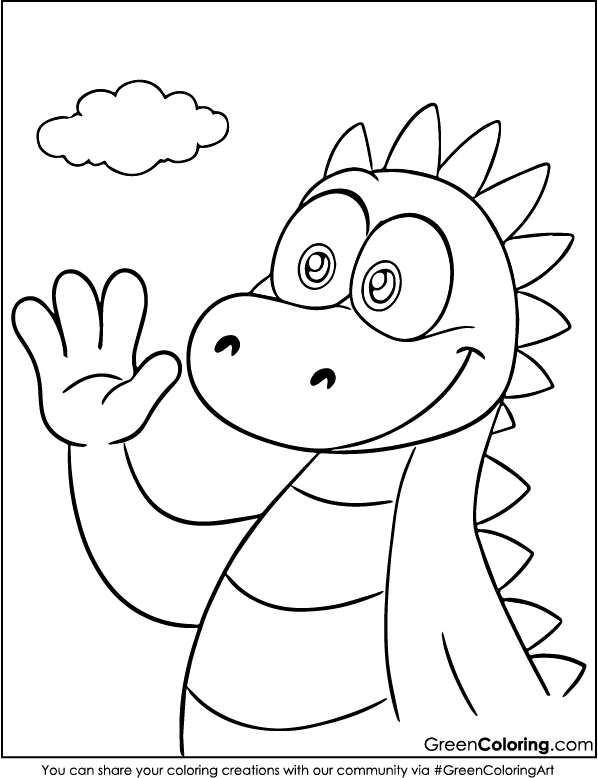
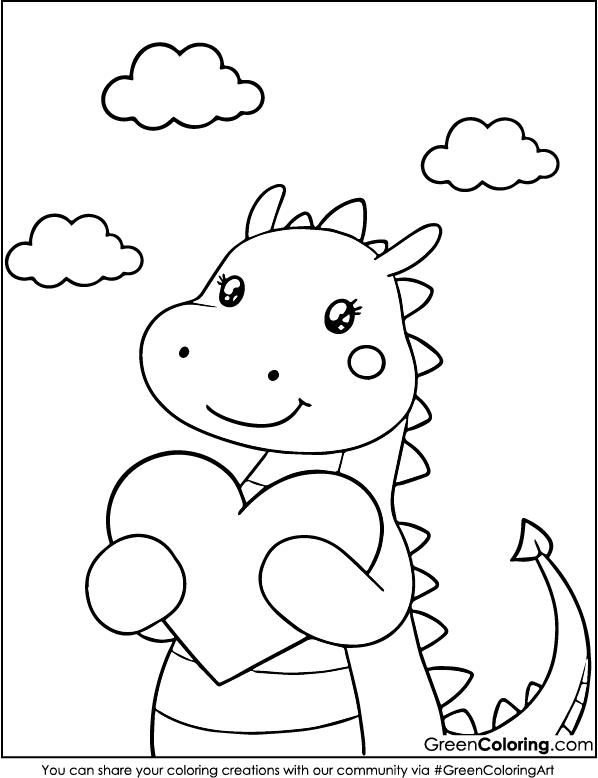
On a quiet, rainy afternoon, our living room turned into a cozy place to work on dragons. Lisa got the glitter, Mike got his favorite markers, and I got the glue and coloring pages. I’m James, and I used to be a teacher at a private school. Now I’m a hands-on dad who shares fun and safe craft ideas on GreenColoring.com. We turned a boring day into a world of fire-breathing fun with just a few things and our free PDF dragon coloring pages. There are 48 printable dragon sheets below that you can download and use.
If you’re searching for screen-free, skill-building activities that bring families together, you’re in the right place. Below, I’m sharing 7 original, safe, and engaging dragon crafts your kids will absolutely love. And if you enjoy these, don’t miss more creative ideas in our Color & Celebrate section.
1. Dragon Scale Collage
Materials Needed:
- Dragon coloring pages
- Old colored magazines or tissue paper
- Glue stick
- One large dragon outline from our sheets
- Child-safe scissors
Steps:
- Print a large dragon outline on thick paper to give your collage a strong base. Thick paper holds glue and decorations better, especially when kids get a bit enthusiastic, like Mike often does.
- Gather some old magazines, wrapping paper, or tissue paper. Let your kids tear or cut them into small shapes. Lisa takes her time creating perfect tiny ovals to mimic real dragon scales, while Mike just loves the ripping sound.
- Help them glue the pieces to the dragon’s body, starting at the tail and moving up so that the pieces are slightly overlapping. This layering gives it a realistic feel. You could say that real reptiles and dragons have skin that looks like armor.
- Mixing shiny, matte, and metallic textures can help kids be more creative. Lisa once used leftover party foil to make her dragon’s back look like it was glowing.
- Let the art dry on a flat surface. This is a great way to decorate a wall or a classroom.
Creative Tip: Try adding a few sequins or buttons to the wings or tail for a sparkling finish that looks magical when it catches the light. Learn more about developing fine motor skills through collage on NAEYC’s early childhood education site.
2. Dragon Color Sorting Craft
Materials Needed:
- Multiple dragon coloring pages
- Markers or crayons in 4 to 5 color families
- Envelopes or folders
- Labels
Steps:
- Print out a lot of dragons and give each child a color scheme to follow. Lisa chose pink and purple dragons, while Mike chose green and red ones. This gives them control over their “dragon team.”
- Let them color all their dragons within the chosen color family. Use this as a learning moment to talk about shades and tones. Lisa loves combining pastel and neon versions of the same color.
- Cut out all the dragons once they’re finished. Encourage your child to help with safe cutting, or do it together as a bonding activity.
- Put together folders or envelopes with the names of the colors on them. Now, start to sort. Mike is excited to guess which folder the dragons go in.
- You can make it a game by mixing them up and timing how long it takes them to sort them again once they are in order.
Educational Tip: This fun craft sneakily helps kids with color recognition, grouping, and pattern logic.
3. Dragon Trail Adventure Map
Materials Needed:
- Dragon coloring pages
- Big sheet of paper (or taped printer paper)
- Markers
- Stickers or stamps
Steps:
- Grab a big sheet of paper and lay it flat on a table or the floor. Help your child draw a long path or winding trail across the paper. This could be a road through a jungle, a bridge over lava, or a tunnel in the clouds. Lisa always includes a secret garden, and Mike adds exploding volcanoes.
- Let your kids color and cut out a dragon to become their trail explorer. You can tape it to a coin or bottle cap so it slides easily across the map.
- Create exciting checkpoints along the path. Add stickers, draw treasure chests, lakes, or even silly places like Donut Valley or Pizza Island.
- Move the dragon along the trail, telling a story at each stop. Emily and I love jumping in and giving voices to different creatures the dragon meets.
Genius Tip: Laminate the map with transparent sheet protectors and use a dry erase marker to change paths and events for a new adventure every time.

4. Dragon Shadow Box
Materials Needed:
- Small cardboard box (shoebox size)
- Dragon coloring pages
- Construction paper (blue for sky or black for night)
- Glue and tape
- Child-safe scissors
- String or fishing line
Steps:
- Let your child pick out a scene to color on our free dragon coloring pages. Mike wanted a dragon breathing fire in the night sky with lots of stars, but Lisa chose a calm dragon flying over a castle. Give them lots of time and care to color their dragon. Now is a great time to play soothing music or tell dragon stories from TV shows or books.
- Take a shoebox and line the inside with construction paper. Blue works great for a daytime sky, but when we made this on a rainy evening, Mike asked for black paper with star stickers to create a night adventure.
- Once the dragon is colored, carefully cut it out. For younger children, handle the scissors yourself or use safety scissors together. Then punch a small hole at the top of the dragon’s head.
- Use fishing line or thread to suspend the dragon inside the shoebox. Tape or tie the string to the top inside part of the box. This creates the illusion that your dragon is floating in its world.
- Add background details with more paper or drawings. Lisa made fluffy clouds and cut out a rainbow, while Mike added lightning bolts and a volcano.
Shine a flashlight from different angles in a dark room to cast shadows and bring the dragon scene to life. We even turned it into a bedtime story theater for Lisa and Mike. For more creative box craft ideas, visit thenymelrosefamily.com.
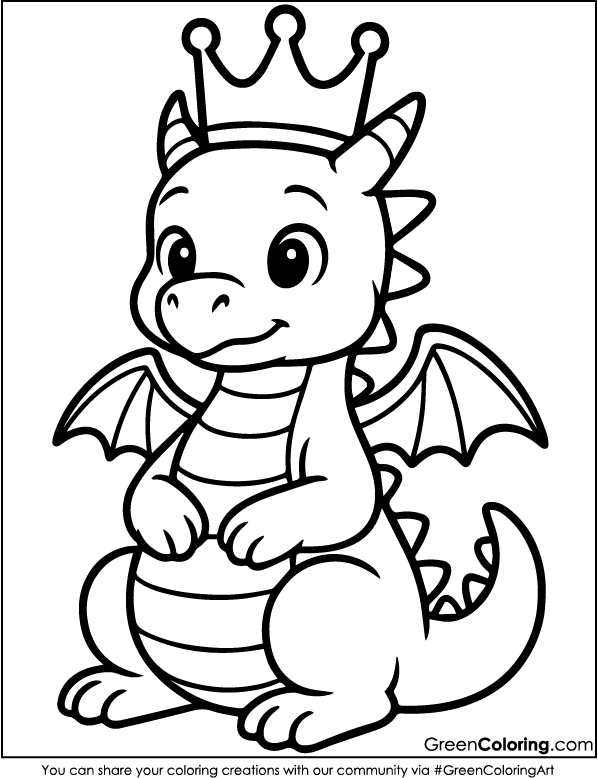

5. Dragon Crown for Little Rulers
Materials Needed:
- Dragon coloring pages
- Long strip of construction paper (for the crown)
- Tape or stapler
- Glue
- Crayons, glitter glue, stickers
Steps:
- Let your kid pick out a dragon face to color from the dragon coloring pages. Lisa chose a dragon with long eyelashes and a heart-shaped snout that looked like a princess. Mike chose a wild, roaring dragon with flames around the edges.
- After coloring, cut out the dragon head. Take your time with the details like horns or teeth, and don’t worry if it’s not perfect. The goal is to make it special.
- Take a strip of construction paper and wrap it around your child’s head to measure the size. Secure it with tape or a stapler so it forms a comfortable crown band.
- Glue the dragon head to the front center of the crown strip. Make sure it’s straight so the dragon looks like it’s guarding their forehead.
- Now comes the decorating part. Let them go wild with stickers, glitter glue, and doodles. Lisa added tiny jewels along the top edge, while Mike glued on some paper flames.
- Once it’s ready, let your kids wear their crown and have a mini royal walk around the house. Lisa made a pink version for her Hello Kitty plushie too.
Fun Memory: We had a full family photo shoot with everyone wearing dragon crowns. Emily and I still laugh when we see Mike posing like a fierce king.
6. Flying Dragon Spinner
Materials Needed:
- Dragon coloring pages
- Paper plate
- Brad fastener
- Yarn or ribbon
- Hole punch
Steps:
- Let your child pick and color a dragon from our coloring sheets. Lisa loves adding tiny heart details on the wings, while Mike draws lightning bolts across his dragon’s belly.
- Carefully cut out the dragon. Encourage your kids to follow the lines and take their time. Lisa usually helps Mike with tricky corners.
- Take a paper plate and punch a hole right in the center. This is where your dragon will be fastened.
- Use a brad fastener to connect the dragon to the plate. This allows the dragon to spin when turned. It’s fun to show kids how the movement works and teach a little about how pivots function.
- Punch two holes on the top edge of the plate and tie yarn or ribbon to hang the spinner.
- Hang it near a window or fan for airflow. As air moves, the dragon circles. Mike loves hand-spinning and shouting, “Take off, dragon!”
Pro Tip: Decorate the back of the plate with sparkly stars or clouds so it looks cool from every angle when it spins.

7. Dragon Flame Blower
Materials Needed:
- Dragon Coloring Pages
- Toilet paper roll
- Red, orange, and yellow tissue paper
- One dragon head from the coloring sheet
- Tape or glue
- Markers or crayons
Steps:
- Pick a dragon head from the dragon coloring pages to color first. Mike likes to pick the one that looks the most dangerous. Use bright, fun colors or make rainbow flames to color it in.
- Cut out the dragon head carefully. This is another good bonding moment. I usually handle the scissors while Mike proudly announces which parts to cut first.
- Prepare the tissue paper by cutting strips of red, orange, and yellow. These will represent fire. Lisa loves curling the ends of the strips with a pencil to give the flames a realistic look.
- Tape or glue the tissue paper inside one end of the toilet roll. Make sure they are secure enough to flutter when blown.
- Attach the dragon head on the outside of the opposite end, making it look like the dragon is breathing fire.
- Now let your kids gently blow into the tube and watch the fiery tissue blow outward; it’s a lot of fun and sparks tons of giggles.
Fun Tip: Add cinnamon scent to the tissue paper for a surprise “hot breath” experience!
Every dragon craft is a chance to use your imagination, learn new things, and spend time together in a meaningful way. These fun, interactive ideas turn plain dragon coloring pages into stories, lessons, and fun. If your kids like magical worlds or exciting adventures, don’t stop here. Check out our Unicorn Coloring Pages for some sparkle and charm or our Dinosaur Coloring Pages for some fun from the past. Every sheet on GreenColoring.com is meant to spark creativity and bring families closer together with every color and cut.
Download Free Coloring Pages:


Leave a Reply