7 Crafts for Kids Using Fox Coloring Pages
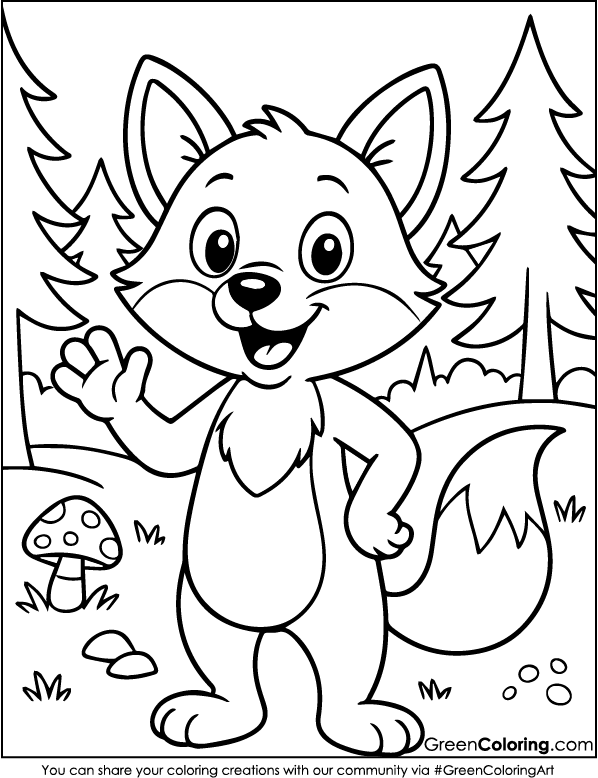
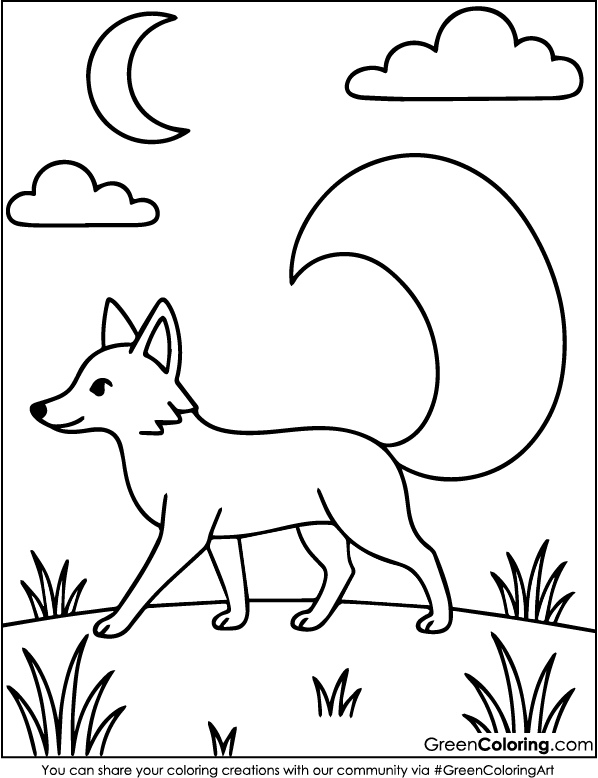
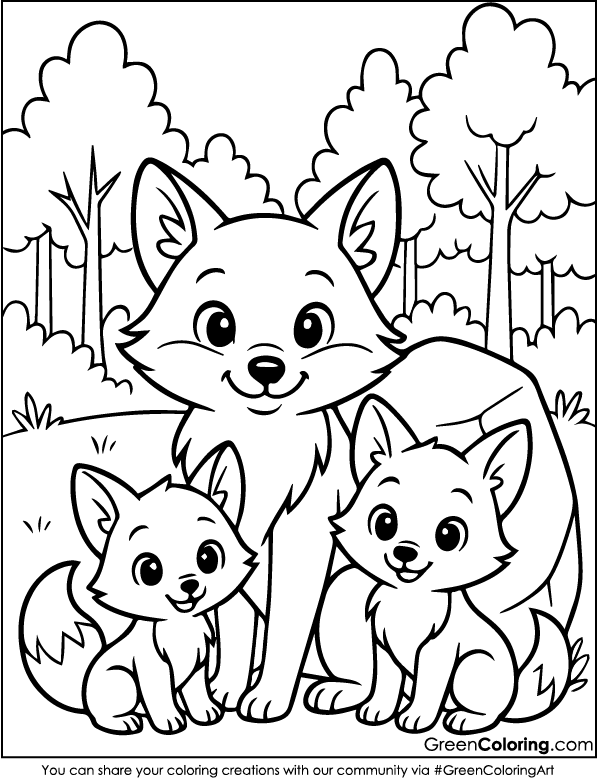
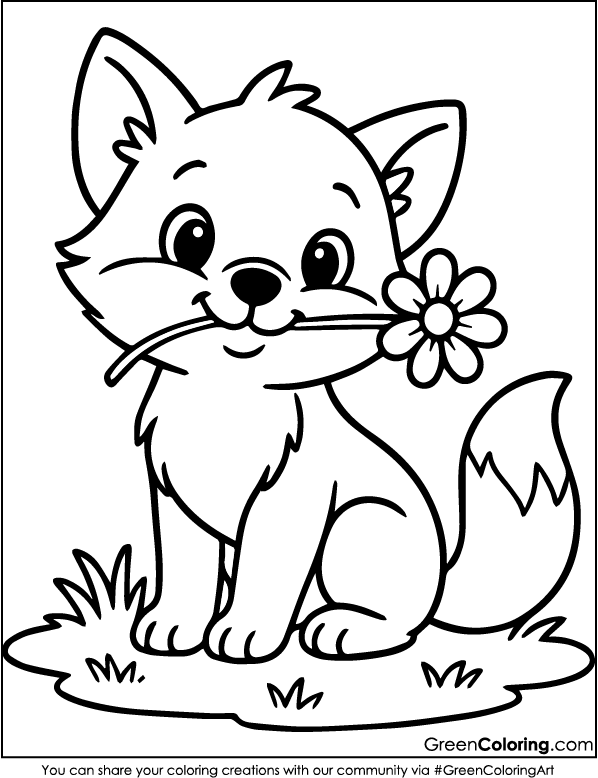
Hi, I’m James, a dad of two, former private school teacher, and part of the GreenColoring team. I’ve spent years designing playful, creative projects that help kids grow their fine motor skills, boost imagination, and, most importantly, have fun. In this article, I’m sharing 7 original fox-themed crafts using our free printable fox coloring pages just below. Each activity is kid-tested, mess-friendly, and packed with ways to spark learning through creativity.
1. Fox Paper Puppets Show
Materials Needed:
- Printed and colored fox coloring pages
- Wooden sticks or straws
- Scissors
- Glue or tape
- Googly eyes (optional)
Steps:
- First, let your kids choose their favorite fox from the printable set below. Mike always picks the one with the biggest tail.
- After coloring, carefully cut out the fox shapes. Since Mike is only six and not confident with scissors, I do the cutting for him while Lisa, who’s a pro by now, insists on helping too.
- Tape or glue the fox to a wooden stick or straw, making sure it’s firmly attached. Let it dry for a minute.
- For added personality, glue on googly eyes or draw your own silly eyes. Lisa made one with heart-shaped eyes and named it “Princess Foxy.”
- Build a simple puppet stage using an old shoebox or cardboard piece. Cut a window and decorate it with colored paper and glitter.
- Act out little stories with the puppets. You can even turn it into a family show night! We did this last month during a cozy evening, and it turned into an entire forest adventure.
Pro Tip: Use different voices and make sound effects for each fox. It builds storytelling skills and adds endless laughter.
2. Fox Family Tree Craft
Materials Needed:
- Multiple fox coloring pages
- Colored paper
- Glue stick
- Markers
- A big sheet of white paper or cardboard
Steps:
- Make a selection of fox coloring pages and print them out. Tell them to color each one in a different way. Lisa really enjoys making girl foxes with bows, but Mike likes making green and blue superhero-style foxes more.
- Once colored, help your kids cut out each fox character. For younger children like Mike, you can pre-cut the shapes to avoid any accidents.
- On the large cardboard sheet, draw a big tree using brown and green markers. Let your kids add leaves, apples, or acorns to make it more fun.
- Now, glue each fox on a different branch. Underneath each fox, write names like “Mommy Fox,” “Grandpa Fox,” or even silly ones like “Captain Naptime.”
- Add decorative borders with stickers, washi tape, or colored dots. It turns into a personalized family memory.
Fun Tip: Lisa once created a baby fox called “Snuggle-Tail” and made a crib from popsicle sticks next to the tree. Let your child’s imagination lead!
3. Fox Tail Headband
Materials Needed:
- Fox coloring pages (tail part)
- Orange construction paper
- Scissors
- Glue
- Tape
Steps:
- Choose a foxtail design from the coloring pages and invite your kids to color it any way they like. Lisa once made hers with rainbow stripes, while Mike added lightning bolts. Encourage their wildest imaginations.
- Cut out the tail carefully. For little ones like Mike, I usually hold the paper steady while he tries to follow the lines with blunt scissors. It’s a great opportunity to build fine motor skills and patience.
- Take a piece of orange construction paper and wrap it around your child’s head gently. Check to see that it isn’t too tight. Put tape on the ends to make the headband.
- Put glue on the back of the headband and stick the colored fox tail on there. This will make it look like a real fox tail. Wear it only after it has dried completely.
- When it’s done, let your kids act like foxes and run around the house or yard. Lisa and Mike played “Fox Tag” for almost an hour last summer. Lisa would hide behind the trees and jump out, yelling, “Sneaky Fox!” Mike would laugh and chase after her.
Pro Tip: Add triangle-shaped ears to the front of the headband for a full costume experience. You can even use face paint to draw a little black nose and whiskers.

4. Fox Footprint Trail
Materials Needed:
- Printed fox coloring pages
- Cardboard
- Scissors
- Paint
- Large sheets of paper
Steps:
- Find a coloring page with a fox paw print as your first step. After cutting it out, make a strong stencil by drawing the shape on cardboard and cutting it out. Mike always wants to help with tracing, which is a fun way to work on his hand-eye coordination.
- Pour some washable paint into a tray and help your child dip the stencil into it gently. Press it down on the large sheet of paper to create a series of paw prints. Be sure to supervise this part closely to keep things safe and tidy.
- Last week, Mike and I turned this into a backyard adventure. We made paw prints all around the garden and pretended they led to a hidden treasure. He squealed with joy every time he found another paw.
- Let the prints dry fully, then use the trail to play games. You can hide small toys or snacks at the end, calling it the “fox den.” It turns crafting into active play.
- Use the prints as a way to teach directions, like left and right. Lisa helped Mike understand which paw was which by making the right one purple and the left one green.
Safety Tip: Lay out old newspapers or use an outdoor space. Have wet wipes ready. Emily always has a cleanup kit nearby, and it saves us a lot of time. For more information on using washable, kid-safe paints, check the Crayola safety guide.
5. Window Art Craft with Fox Coloring Pages
Materials Needed:
- Fox coloring pages
- Wax paper
- Tissue paper
- Glue stick
- Scissors
Steps:
- Pick a fox on the coloring pages and cut around it, leaving a space for a window. When the sun hits the window, this lets the light shine through.
- Tear or cut small pieces of tissue paper in various colors. Lisa loves mixing red, orange, and pink for a sunset effect. Mike insists on adding blue for “cool fox powers.”
- Help your child glue the tissue bits behind the fox cut-out, filling the window space. Press everything down firmly.
- Once it’s dry, glue the entire piece to a larger piece of wax paper. This adds a light filter and makes the colors pop when the sun shines through.
- We made these during a quiet, rainy afternoon, and Lisa called her finished fox “Starlight.” It glowed in our living room window and made the space feel warm and happy.
Smart Tip: Use double-sided tape or small suction hooks to hang the art on a window. Laminate the final piece if you want to reuse it season after season.
6. Fox Sticker Storyboard
Materials Needed:
- Fox coloring pages
- Sticker paper or glue
- A big sheet of poster board
- Crayons or colored pencils
Steps:
- Print out multiple fox coloring pages and let your kids decorate them freely. Lisa creates story characters with names and backstories, while Mike draws superhero foxes with capes and action poses.
- Cut out each fox and stick them onto sticker paper. If you don’t have any, glue works just fine. Let your kids help with this part to build independence.
- On a large poster board, draw a landscape. It could be a forest, a village, or even a space station if your child is feeling creative.
- Place the fox characters across the scene. Let your kids create a storyline and move the foxes as they act it out. Last time, Lisa set up a fox school with a playground, while Mike turned it into a fox battle arena.
- Add speech bubbles, food, or small objects with crayons. Encourage your kids to tell the story out loud. It’s a great way to build confidence and imagination.
Pro Tip: Keep a folder of extra characters. We reuse ours with Velcro so each playtime is different. Lisa calls it her “fox drama club.” To explore more window-friendly craft projects, check out Hands On As We Grow’s creative ideas.
7. Backpack Tag Made from Fox Coloring Pages
Materials Needed:
- Fox coloring pages
- Cardboard or thick paper
- Scissors
- Tape or clear contact paper
- Hole punch
- Ribbon or string
Steps:
- Pick a small, bold fox design from our coloring set. Mike chose a fox that was winking and called it “Zoomtail” because it looked like it could go fast.
- Be careful when you color the fox. Tell your child to add more details, like stars or hearts. Lisa likes to use glitter pens to outline her.
- Glue the finished fox onto cardboard for strength. Cut out the shape again, following the outline, after it has dried completely.
- Cover both sides with clear tape or contact paper to make the tag waterproof. We learned this trick after Mike’s first tag got wet from his juice box.
- Punch a hole at the top, loop through a ribbon or string, and attach it to a backpack zipper. Make sure it’s tied securely so it doesn’t fall off during play.
Helpful Tip: Use a permanent marker to write your child’s name and an emergency contact number on the back. It’s a little thing that makes you safer when you’re out and about.
You’ll find crafts for rainy days, playing outside, and school projects. All of them have easy instructions and materials that you probably already have at home. Free to download in PDF format, these fox coloring pages are great for both kids and adults. When you’re done, use our elephant, cow, or llama coloring pages to keep the fun animal-themed!
Download Free Coloring Pages:


Leave a Reply