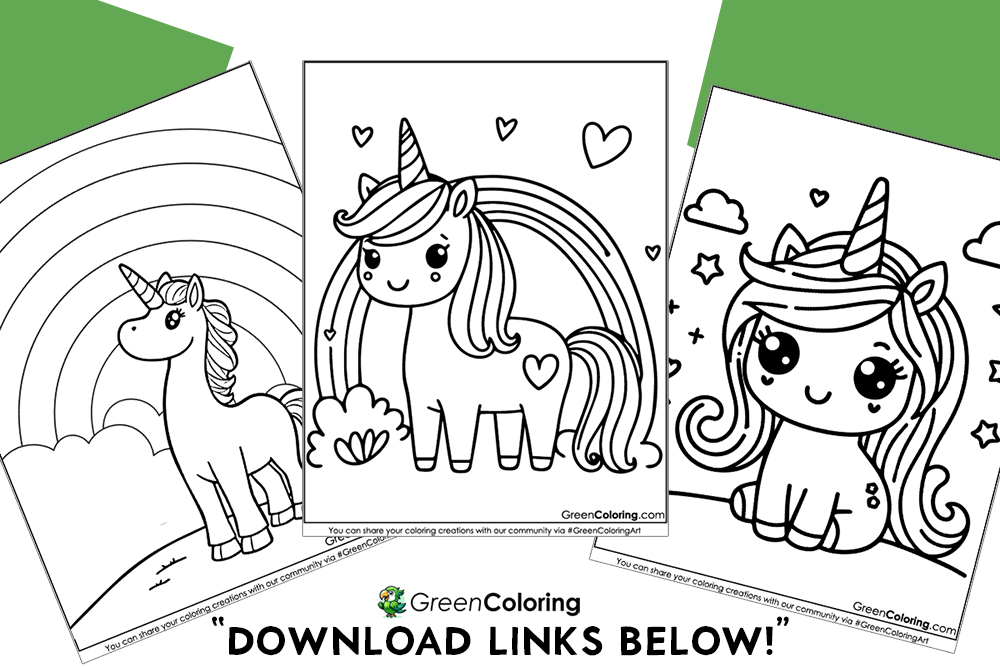
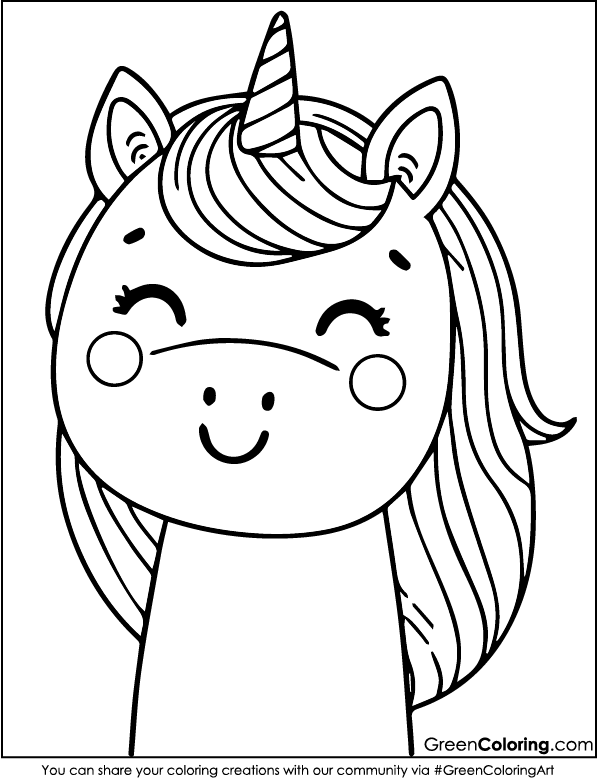
Make Magical Crafts with Unicorn Coloring Pages
Unicorns spark joy and ignite imagination, making them perfect for kids’ creative projects. Just last weekend, Lisa and Mike dove into a whole afternoon of unicorn-inspired crafting, and the giggles didn’t stop! If your little ones are into all things sparkly and magical, these unicorn crafts are sure to be a hit. Also, I’ve put together a collection of 56 printable unicorn coloring pages in PDF format. They’re available just below this article. Be sure to grab your favorites and print them out before you start crafting!
1. Unicorn Dream Jar
Materials Needed:
- A small glass or plastic jar with a lid
- Cotton balls
- Glitter (pink, purple, blue)
- Unicorn coloring pages
- Glow-in-the-dark stars
- Glue
Steps:
- Allow your child to choose a unicorn coloring page and color it with brilliant, magical hues.
- Cut the unicorn image precisely. Help your young child with this stage while letting them decide how they want the unicorn to look if they are too young to handle scissors.
- Load the jar with cotton balls, then layer glitter between each layer to produce a dreamy effect. Lisa loved adding extra pink glitter, and Mike, naturally, went all in with blue!
- Drop among a few glow-in-the-dark stars. This will make the jar seem to be a genuine unicorn dreamland at night!
- Glue the unicorn cutout to the inside of the jar. You might arrange it flying, standing, or even peering out of the cotton clouds.
- To mix the glitter and fluff, tightly secure the lid and gently shake.
- Younger children should use plastic jars to prevent breakage.
Genius Hack: To double this jar as a calming nighttime aid, add a few drops of lavender essential oil!
2. Unicorn Wands
Materials Needed:
- Wooden dowels or straws
- Unicorn coloring pages (colored and cut out)
- Ribbons
- Glue
- Glitter
Steps:
- Have your child color their unicorn and cut it out. Lisa made hers sparkle with metallic markers, while Mike kept insisting his unicorn needed a lightning bolt on its side!
- Attach the unicorn cutout to the top of the wooden dowel using strong glue.
- Tie colorful ribbons just below the unicorn. Encourage your kids to pick different textures like satin, lace, or even tulle for a fairy-like effect.
- Sprinkle some glitter onto the wand while the glue is still wet. Be prepared for some mess; I found glitter in Mike’s hair hours later!
- Once dry, let your kids wave their wands and cast “magic spells.” Lisa transformed our living room into a unicorn kingdom in no time!
Fun Tip: Mike waved his unicorn wand and declared himself a “Unicorn Wizard!” Kids love the imaginative play this craft brings!
3. DIY Unicorn Puzzle
Materials Needed:
- Unicorn coloring pages
- Thick cardstock or cardboard
- Scissors
Steps:
- Have your child color their unicorn in the hues they like. While Mike went all out with strong neon colors, claiming his unicorn was a “space unicorn,” Lisa created hers pastel and dreamy.
- Making sure there are no bubbles or wrinkles, glue the completed coloring page onto a strong piece of cardboard.
- Before cutting it into puzzle pieces, let it totally dry. For Mike, I typically cut out big, basic forms; Lisa likes the challenge of smaller, detailed cuts.
- When the bits are ready, mix them and let your child reassemble their original unicorn puzzle. This always becomes a race between Lisa and Mike to determine the first finisher!
Safety Tip: Cut the pieces yourself and let your young child enjoy the puzzle fun if she is too small for scissors!
Pro Tip: Laminating the puzzle pieces or covering them with clear tape increases their lifetime for frequent usage.
4. Unicorn-Themed Pencil Holder
Materials Needed:
- Empty tin can or toilet paper roll
- Unicorn coloring pages
- Glue
- Decorative stickers
Steps:
- Let your youngster color a unicorn page of their liking. While Mike once turned his unicorn into a superhero by sketching a cape, Lisa enjoys adding extra stars and hearts.
- Once colored, meticulously cut out the unicorn or the design element meant to encircle the pencil holder.
- Glue the back of the paper and softly wrap it around the toilet paper roll or tin can. Press down firmly to make sure it holds tightly. Once we overused glue, Mike developed sticky hands, which resulted in a funny five-minute cleanup session.
- Let your child decorate their holder however they like. Stickers, sequins, or even small buttons can add a fun touch. Lisa carefully arranged tiny rhinestones into a pattern, while Mike took a more “random” approach (meaning he stuck all his stickers in one spot!).
- Once dry, use it to store pencils, crayons, or even small toys. Lisa keeps hers on her study desk, while Mike’s ended up as a mini storage bin for his tiny action figures.
Fun Tip: Wrap the holder in clear contact paper to make it last longer and prevent stains!
5. Unicorn Greeting Banner
Materials Needed:
- Multiple unicorn coloring pages
- String or ribbon
- Clothespins
- Scissors
- Hole puncher (optional)
- Decorative items like glitter, stars, or buttons
Steps:
- Let your child color several unicorn coloring pages. Urge them to be imaginative with their designs and experiment with several colors. Mike made his unicorn a superhero with lightning bolts; Lisa made a pink-and-gold unicorn. This lets one be endlessly creative!
- Cut the pages into forms once they have color. While conventional triangle or flag forms look great, you could also play about with other forms like hearts or circles for a more distinctive appearance.
- Cut out minute details around the unicorns if you wish for more complex designs. This can involve cutting around the mane or embellishing the unicorn’s design with additional stars or hearts.
- Punctuate the top corners of every piece, then use a hole puncher. If you have none, just cut tiny slits with scissors. Alternatively, especially if you are doing this with younger children, clothespins are great for fastening the artwork to the string.
- Weave the bits onto a long ribbon or string. Space them out anyway you like, either evenly or with a little more room between some pieces for a more whimsical impression.
- For more glitter, rhinestones, or buttons, embellish the pieces. Mike likes to cover his unicorns in vibrant stickers; Lisa enjoys glittering around them.
- Hoist the banner when everything is ready. This magical banner will brighten any area, over a bed, across a doorway, on a wall, etc.
For maximum durability, laminate the cutouts before threading them! For more creative banner ideas and decoration inspiration, visit Crayola’s DIY Crafts page.
Fun Tip: For a brilliant impact, put fairy lights on the banner!
6. Unicorn-Themed Coasters
Materials Needed:
- Small square cardboard pieces
- Unicorn coloring pages (colored and cut)
- Contact paper or clear tape
- Glue
Steps:
- Help your kid color and cut out unicorn pictures that they like. Lisa picks out pastel colors with care, while Mike works quickly because he wants to get to the next step.
- Put the unicorn pictures on squares of strong cardboard and glue them down. Flatten out any wrinkles for a neat look.
- To keep the coaster clean, put clear tape or contact paper over the whole thing. We learned this step was important the last time Mike knocked over his juice cup while testing how durable our coaster was.
- Let the kids play tea party or snack time on their coasters. Mike likes to see “how fast it slides” on the table (spoiler: sometimes too fast!). Lisa always puts hers away neatly.
Fun Tip: To make things more interesting, tell the kids to make a whole set of unicorn faces.
7. Unicorn Snow Globe
Materials Needed:
- Unicorn coloring pages
- A small, clear plastic or glass jar with a lid
- Glitter
- Water
- A colored unicorn cutout (laminated or sealed in plastic)
- Glycerin (optional for slowing the glitter movement)
- Super glue or a glue gun
- Small decorative items (tiny stars or beads)
Steps:
- Start by almost filling the jar to the top with water, leaving a tiny space for movement. Last time, Mike became so enthralled that he packed too much, which let water leak out when closing the lid!
- If you have glycerin, stir a tiny bit into the water. This slows down the glitter so the unicorn looks to float elegantly when shaken.
- Make sure the laminated unicorn cutout is oriented straight inside the jar. Before screwing the lid back on, if necessary, glue or tape it inside.
- Add some glitter. Lisa chose soft pink and silver, while Mike added far too much gold, producing what he referred to as a “unicorn glitter storm.”
- Tightly seal the lid with a glue gun or strong adhesive to stop any leaks. Maintaining the magic inside depends on this stage!
- Shake it and see the unicorn dance and glitter in the whirl-action. It’s like having a little magical snowfall inside a jar!
Safety Advice: To stop burns, always watch children using a glue gun.
Fun Tip: For a further magical impact, toss small star-shaped confetti! For a detailed guide on using glycerin in snow globes, check out this step-by-step tutorial from National Geographic Kids.

8. Unicorn Keepsake Box
Materials Needed:
- Small cardboard or wooden box
- Unicorn coloring pages (colored and cut)
- Glue or Mod Podge
- Stickers and gems
- Paint or markers for extra decoration
- Scissors
Steps:
- Let your toddler select and color a unicorn page. Suggest to them adding a name or message to make it more unique, fostering imagination.
- Cut the unicorn design precisely, then choose where on the box to put it. The design will dictate whether you glue it to the sides or the lid.
- Glue the unicorn cutout’s back and then press it down onto the box’s surface. Get any air bubbles smooth and let it dry totally.
- Stickers, jewels, or even a layer of Mod Podge will help to gloss the box. While Mike stuck on exactly one sticker and called it done, Lisa spent extra time arranging tiny rhinestones into a heart shape.
- Add extra designs with markers or paint. It can be more intimate depending on the borders, small stars, or name of a child.
- The box is ready to keep small treasures once dry. Mike uses his to conceal little mystery toys; Lisa keeps hers for unique rings.
Fun Tip: For a surprising secret message, write one inside the lid.
Need More Inspiration?
These unicorn crafts are not only fun, but they’re also great for getting kids to be creative and improve their motor skills. Mike and Lisa had a great time last week making their unicorn banners. If your child enjoys magical or royal adventures, they might also want to try our dragon coloring pages for something bold and fiery or explore the charm of our princess coloring pages full of twirls and tiaras. All of these magical themes and more are waiting for you in our Color & Celebrate section, a place where creativity takes the lead and every page is an invitation to play.
Don’t forget to get the 56 free unicorn coloring pages in PDF format that I put up below this article. They are great for these projects! Tell me which one your kid liked best.
Download Free Coloring Pages:


Leave a Reply