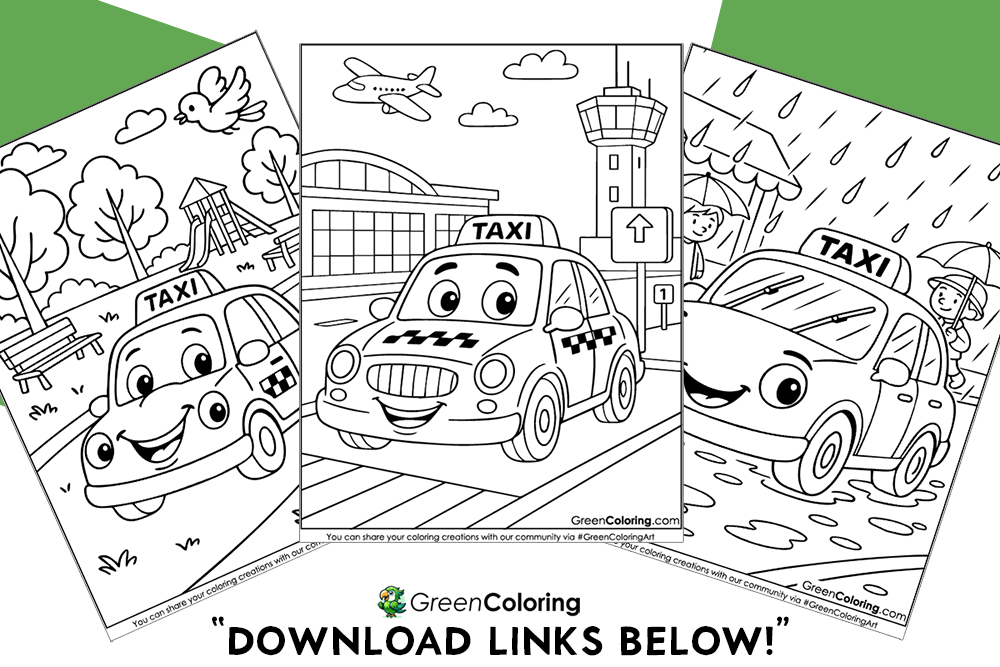
7 Crafts for Kids Using Taxi Coloring Pages
Hi! As a hands-on dad and lifelong craft lover, I’m James. My kids, Lisa and Mike, and I have spent many a cozy afternoon making things and laughing. Welcome! This is the right place for you if your family enjoys taxi rides, art time, and stories that go on and on. Here are some free taxi coloring pages that you can print out. They are organized into different PDF files so that you can easily pick the ones you like best. Each one is safe for kids, creative, and ready to get you thinking. With these crafts, you can turn plain sheets into fun ways to learn on rainy days or over the weekend. All of them have been tried and loved at our kitchen table, so you can trust me that they’ll work.
1. Taxi Traffic Town Craft
Materials Needed:
- Printable taxi coloring pages
- Crayons, markers, or colored pencils
- Safety scissors (for older kids or with adult help)
- Glue stick
- Construction paper (gray, black, and white)
- Toy figures or LEGO people (optional)
Steps:
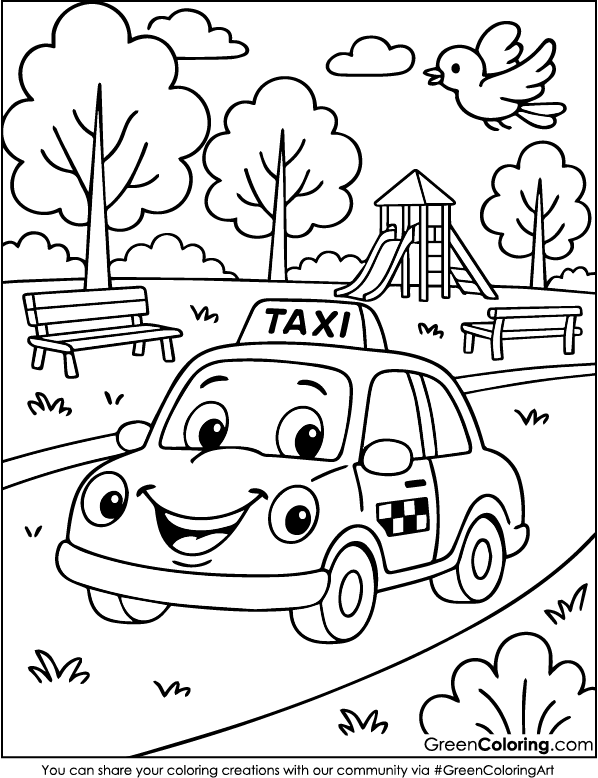
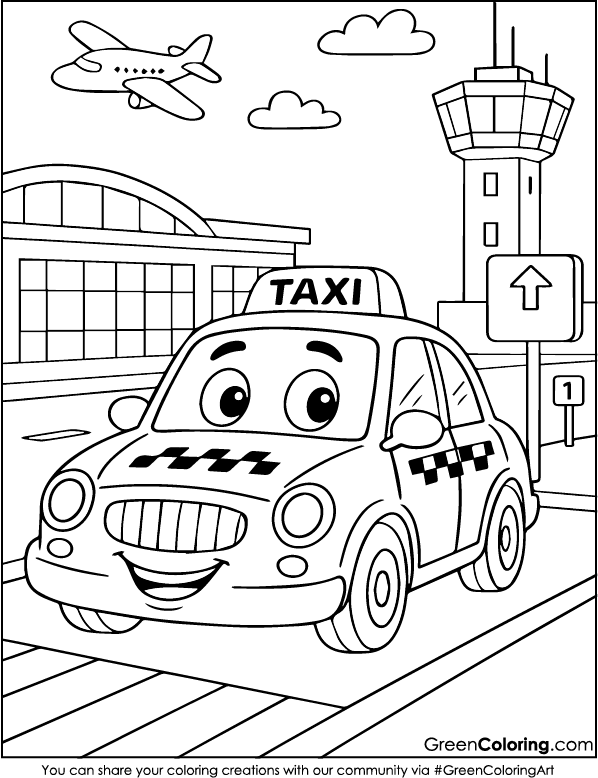
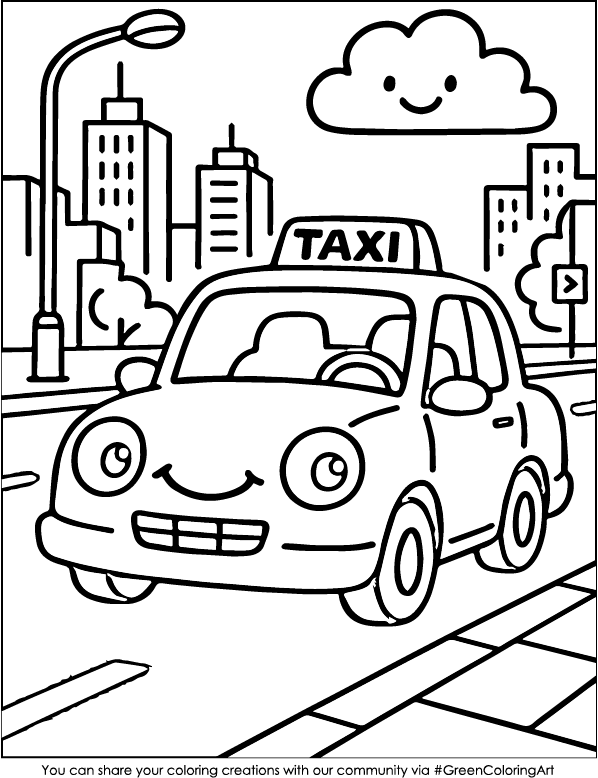
- Begin by choosing your favorite taxi coloring page from the free printable pack below. Lisa always picks the smiling cartoon taxi; it reminds her of the one we saw on a trip to New York last year.
- Sit down together and let your child color the taxi. Encourage them to use their imagination. Lisa adds pink hearts, and Mike goes full-on racing stripes in blue and green. I always tell them, “Every city needs colorful taxis!”
- Carefully cut out the taxi once it’s colored. I handle the scissors when Mike is around, since he’s still practicing cutting safely. If your child is learning to use scissors, guide their hands slowly and praise their progress.
- Grab a sheet of gray construction paper for the road. You can draw white dashed lines with a marker or cut out tiny rectangles from white paper to make it feel more real.
- Now the fun part: glue the taxis on the road. Let your child place them however they like, zooming down the road, stopped at a light, or parked near paper buildings.
- Add buildings, trees, signs, or even a toy figure waiting for a ride. Lisa once added a tiny Hello Kitty waiting at the corner with a pink suitcase.
Fun Tip: Ask your kids to name their traffic town. Lisa called hers “Taxi-topia” and made up a full story about a festival going on in the city. It sparked so much creativity.
2. DIY Taxi Lacing Cards
Materials Needed:
- Printed taxi coloring pages
- Hole punch
- Yarn or shoelace
- Laminator or thick paper
Steps:
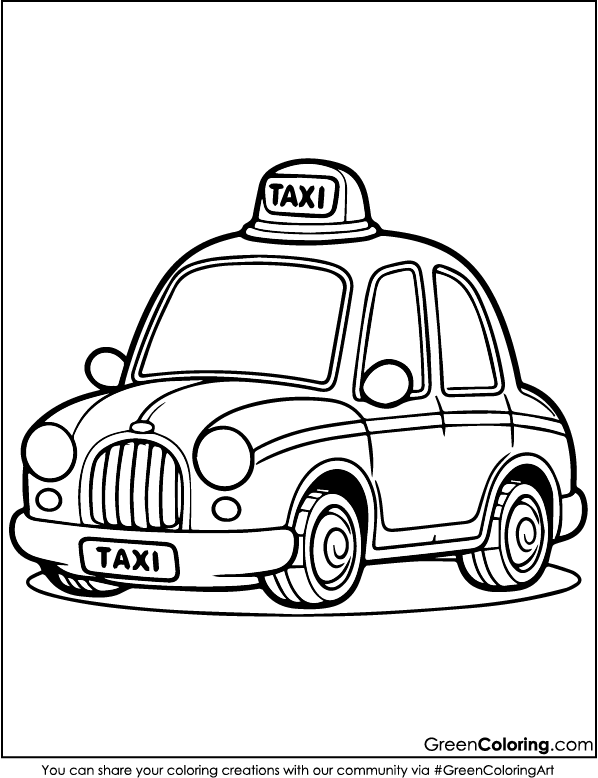
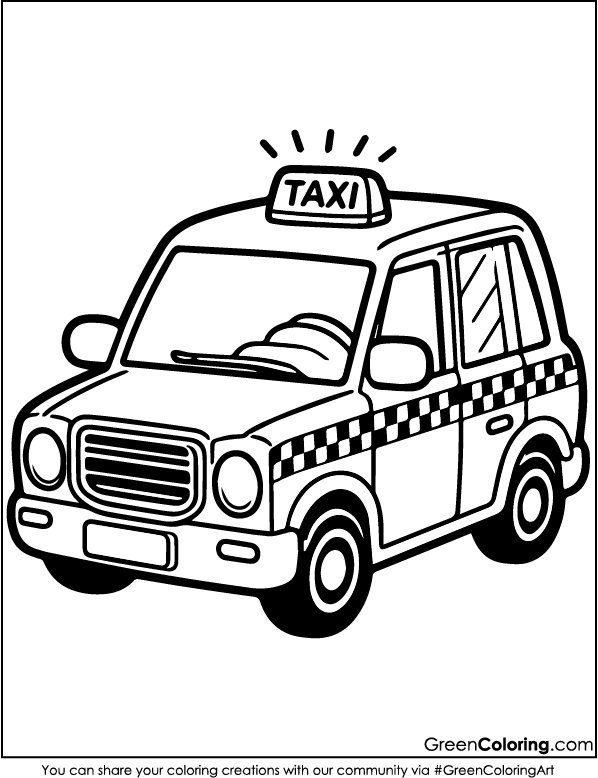
- First, let your child vividly color a bold taxi design you chose. Lacing goes better when the outline is simple to follow. Mike loved the boxy taxi with large wheels since his small hands would find easier operation with them.
- Laminate the page or glue it on thick cardstock to create strength once you have colored it. Lisa loves uniformly pressing down the glue and helps with this part.
- Around the taxi’s outside edge, create evenly spaced holes with a hole punch. Usually we space them an inch apart, but depending on your child’s degree of ability, you can adjust.
- To lace, now take a long piece of yarn and wrap some tape on the end to simplify things. Another use for an old shoelace with a plastic tip is for this.
- Let your youngster start lacing across the holes. Invite them to enter and exit like sewers. Mike smiles broadly when he finishes even half. I guide him gently.
Pro Tip: Create a few cards with various hole patterns so that every time your child faces a fresh challenge.
Safety Tip: Particularly with younger children, always supervise during lacing exercises to avoid any tangling or frustration.
3. Shadow Match Using Taxi Coloring Pages
Materials Needed:
- Taxi coloring pages
- Printer and scissors
- Cardboard backing (optional)
Steps:
- Choose 3–5 different taxi designs and print two copies of each. Let your child color one set. We usually do this after school as a way to wind down. Lisa gets creative with colors, while Mike sticks to his favorite greens.
- Leave the second set black and white; it will serve as the “shadow” version.
- Cut all the taxis out. I do the cutting for Mike, but Lisa likes to do her own and even helps smooth out the edges.
- Lay all the black-and-white taxis out on a flat surface. Now shuffle the colored ones and let your child match them to the correct outline.
- If you’d like to make it a bit sturdier, glue the taxis to cardboard. We sometimes use cereal boxes for this easy-to-find and perfect thickness.
Smart Tip: Turn it into a memory game by flipping them upside down and letting your child guess pairs.
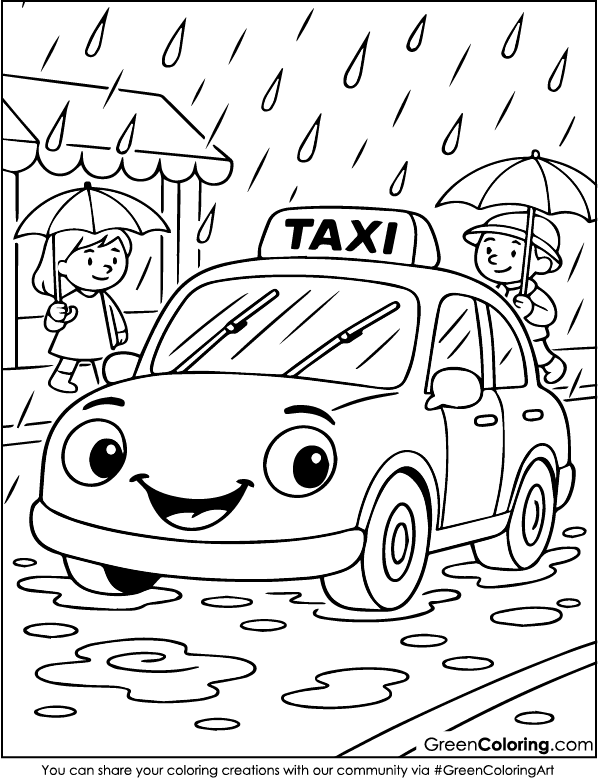
4. Taxi Weather Craft
Materials Needed:
- Printable taxi coloring pages
- Colored paper (blue for rain, yellow for sun, white for clouds)
- Cotton balls
- Markers
- Glue
Steps:
- Start by choosing a taxi page your child loves. Ask them to imagine what kind of weather the taxi is driving through. Lisa once made a taxi stuck in a blizzard, while Mike made one under a rainbow.
- Let your child color the taxi however they like. While they work, I ask them what the taxi might be doing—rushing to the airport, picking up a passenger, or heading to a candy store.
- Take a big background paper and glue the colored taxi in the middle. Now comes the fun part: building the weather! Use cotton balls for puffy clouds, blue paper raindrops, yellow paper suns, or silver glitter for snowy sparkle.
- You can add extra things like umbrellas or lightning bolts. We used small seashells we found in our craft box to decorate Lisa’s beach taxi one time. It looked really happy!
- Let your kid read out loud what happened in the taxi. Mike said that his taxi was sad because it got lost in the storm, but it was happy when it saw a rainbow. Those kinds of moments make my heart melt.
For more creative ideas on teaching weather to kids through crafts, visit National Weather Service Education Resources.
Helpful Tip: This craft is perfect for teaching about seasons. Try falling leaves in autumn or flowers in spring.
5. Pop-Up Taxi Street Scene
Materials Needed:
- Printed taxi coloring pages
- Scissors
- Cardstock folded into a card
- Tape or glue
Steps:
- Begin by coloring your chosen taxi page. Mike made his look like a race car last week with blue flames and all. Lisa added tiny hearts on her windows.
- Fold a cardstock sheet in half like a greeting card. This will be the base for your pop-up scene.
- Make two cuts across the fold that are about an inch long and an inch apart. To make the pop-up platform, open the card and gently push that tab inward.
- Get the colored taxi cut out and glue it to the tab. After opening the card, the taxi appears like magic.
- Make the background look nice! You can use crayons or stickers to make pictures of houses, trees, clouds, or even the kids waving hello. Lisa put a sticker of me with the words “Dad Taxi” on it one time.
- Add 3D details like street signs using folded paper or soft foam. Mike enjoys using his action figure stickers to pretend they’re passengers waiting on the street.
Creative Tip: Use glow-in-the-dark stickers for a night scene; it’s a fun surprise when the lights go off!
For inspiration on more creative pop-up card techniques, check out Red Ted Art’s Pop-Up Projects.
6. Safety Signs from Taxi Coloring Pages
Materials Needed:
- Taxi coloring pages
- Red, yellow, and green paper circles
- Popsicle sticks or straws
- Tape or glue
Steps:
- Let your kid pick out a taxi picture to color. We talk about the rules of the road while Lisa colors. Mike always wants to know more about stop signs and crosswalks.
- Cut out the taxi and glue it to the center of a larger piece of paper. This will be your street scene.
- Make your own stoplights! Cut three paper circles—red, yellow, and green—and stack them vertically. Glue them to a popsicle stick.
- Attach your traffic light to the scene with tape. Add more road signs using markers or magazine cutouts. Lisa once made a “Unicorn Crossing” sign!
- Use this craft as a learning moment. Talk about safety tips like looking both ways and stopping at red lights. Mike loves shouting “Go, go, go!” when the green circle shows.
- Make it interactive. Ask your child to point out which sign means what. It helps with learning through fun.
For more fun and educational road safety activities for kids, visit Safe Kids Worldwide.
Educational Tip: Reinforce road safety by playing a little game: say a color and have them act it out. Red means freeze, green means run in place, and yellow means tiptoe.
7. Emotion Art with Taxi Coloring Pages
Materials Needed:
- Taxi coloring pages
- Crayons
- A simple color guide (e.g., red = angry, blue = calm, yellow = happy)
Steps:
- Sitting down with your child, create a basic chart matching colors to emotions. Lisa chose pink for love; Mike said green meant enthusiastic.
- Let them choose a cab design and then ask, “How does this taxi feel today?” Perhaps it’s a content taxi returning home or one headed to a birthday or a sleep-deprived one.
- Let them color the taxi in the matching hues depending on that feeling. This is a creative approach to investigating their emotions.
- Promote narratives later on. Lisa created a little comic about a taxi making its depressed friend happy. Until he came upon a yellow taxi, Mike claimed his blue taxi was lonely.
- Add additional details to convey the mood: happy faces, teardrops, hearts. It is therapy for children, not only art.
Helpful Tip: Keep a little journal of the stories they create. Over time, you’ll see how their imagination grows and how they express emotions.
Final Thoughts
These taxi crafts aren’t just fun; they can help your child explore the world around them. Kids get better at focusing, showing how they feel, and telling stories with every cut, crayon, and glue stick they use. Taxi coloring pages let them explore and learn through fun, whether they make a taxi that goes through a storm or one that zooms through space. Who knew that a little yellow car could make such big thoughts come to life?
If your kids enjoy these, don’t miss out on our other creative adventures. Check out the bus coloring pages or the lively car coloring pages for even more hands-on fun.
Download Free Coloring Pages:
Leave a Reply