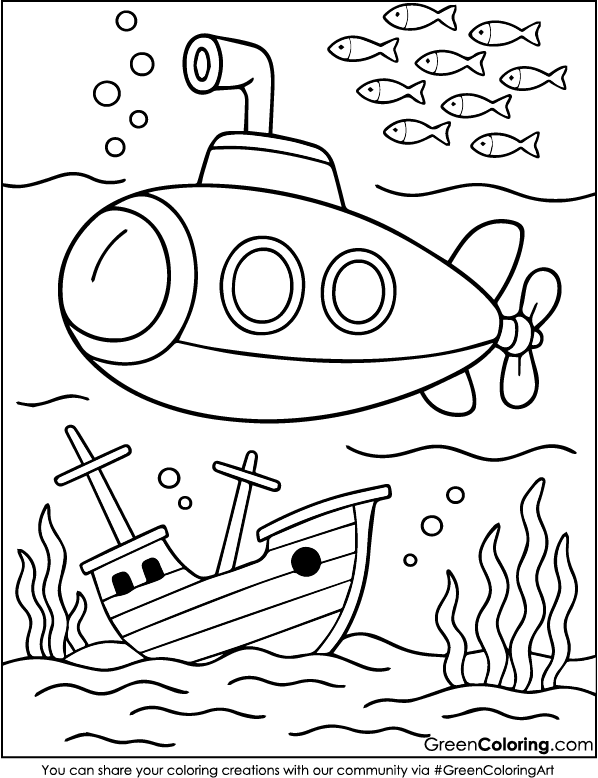
7 Crafts for Kids Using Submarine Coloring Pages
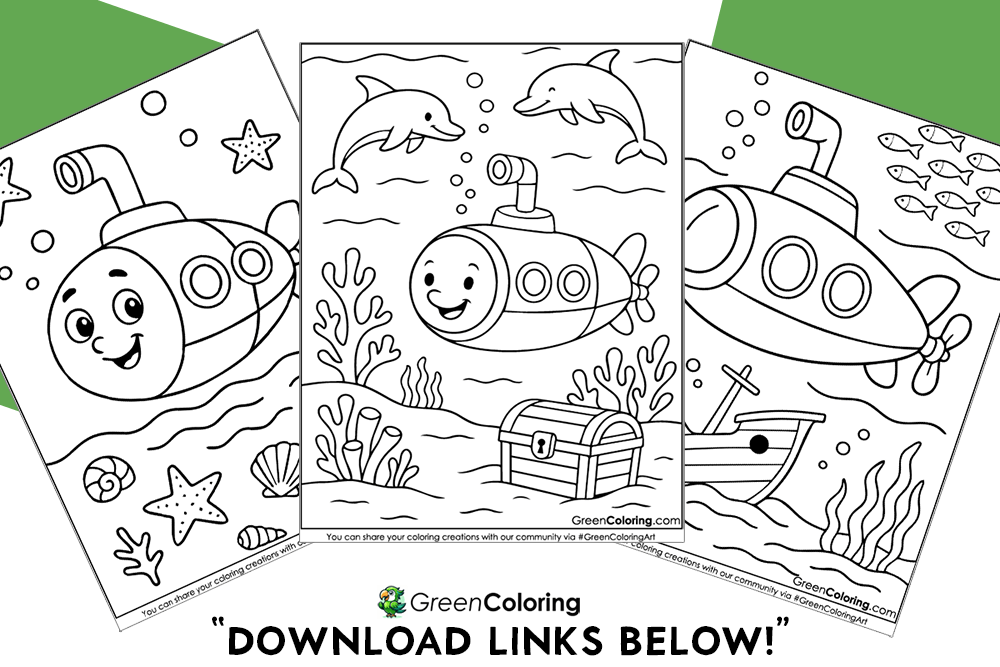
Hi there, I’m James, the man behind the most amazing projects on GreenColoring, a creative father, and a former teacher. Having spent years helping children learn and play creatively, I think that doing hands-on crafts is not only enjoyable but also a great way to help them grow. For this reason, I’ve created these fantastic kid-friendly submarine coloring pages and crafts that will transform basic printables into amazing underwater experiences (the free downloads are right below!).
From shadow puppet shows to handcrafted periscopes, these ocean-themed projects encourage imagination, creativity, and fine motor skills. Whether your kid likes coloring, cutting, or creating goofy characters with names like “Captain Bubble,” they will find something to appreciate here.
And rest assured that my own small team, Lisa and Mike, tests and approves every project. The best kind of mess is when you’re crafting with kids, so get your glue, crayons, and some laughter.
1. Submarine Pop-Up Card
Materials Needed:
- Submarine Coloring Pages
- Construction paper (any bright color)
- Safety scissors
- Glue stick
- Markers or crayons
- Double-sided tape
Steps:
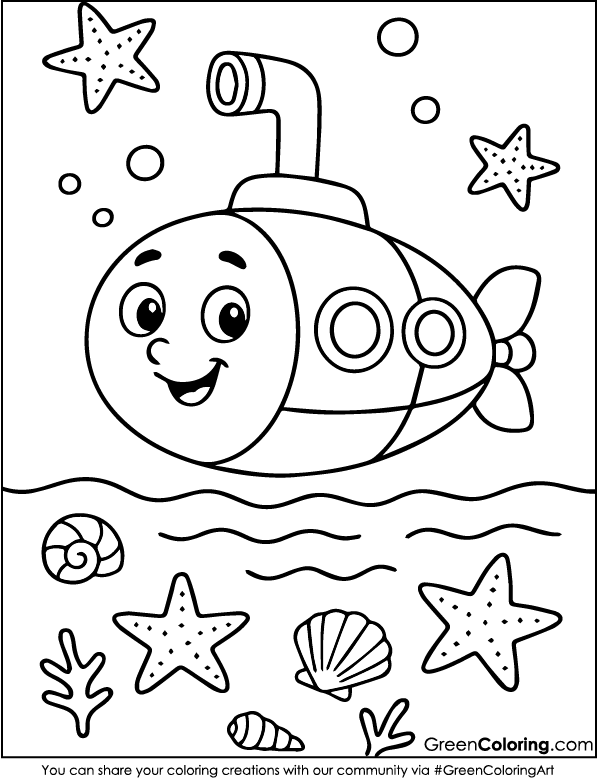
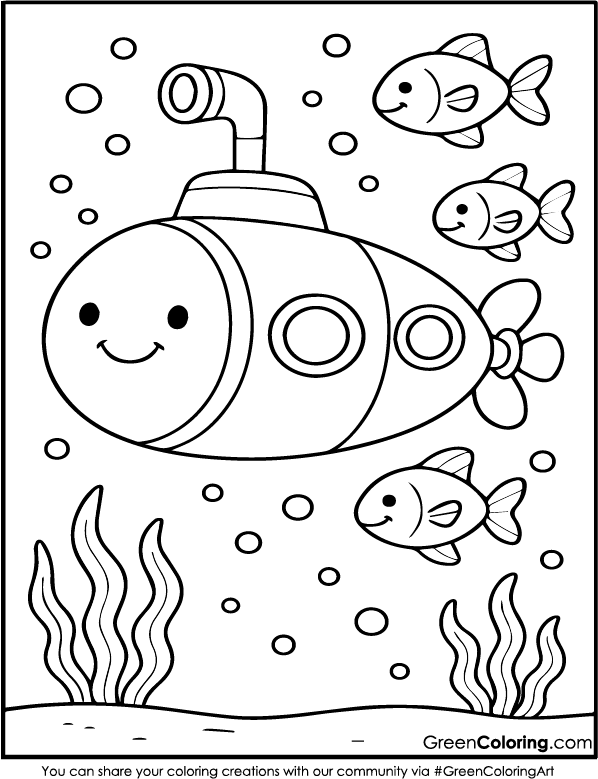
- Print one of the submarine coloring pages first here. Let your child choose a favorite design. Mike chose a bright yellow submarine last week and colored it with his green and blue crayons. Lisa was quite sweet in helping him keep inside the lines.
- Once it’s fully colored, carefully cut out the submarine with safety scissors. If your child is still learning, like Mike, be sure to help them with this step.
- Fold a piece of colorful construction paper in half to create the card base. Let your child choose the color. Lisa always picks pink or purple.
- Use double-sided tape or a folded paper tab to glue the submarine inside the card so that it pops up when opened. The trick is to fold the tab inward, then glue one side to the submarine and the other inside the card.
- Decorate the card’s background with extra fish, bubbles, or waves. Lisa even drew a treasure chest once! Let their imagination take the lead.
Genius Tip: Try gluing a small piece of clear plastic (like from toy packaging) behind the submarine for a cool “window” effect. It looks like it’s underwater!
2. Deep Sea Explorer Storyboard
Materials Needed:
- Printable submarine coloring pages
- Cardboard or a cereal box
- Colored paper
- Glue
- Scissors
- Markers
Steps:
- Let your children color two or three submarine coloring pages anyway they choose. Urge them to envision several submarine missions. Lisa once created one examining a magical underwater castle.
- Cut the colored submarines and any sea animals out carefully. If your cardboard has logos or designs, glue colored paper over it first to create a clean ocean background.
- Help your child lay out a simple story using the submarines. For example, one might be exploring while another finds treasure or helps a dolphin.
- Use glue to attach each element to the cardboard. Arrange them in a way that tells the story from left to right.
- Add labels or dialogue bubbles using markers to bring the story to life. This really helped Mike learn to think about what happens first, next, and last.
Pro Tip: Encourage your child to give names to the submarines. Mike’s was called “Captain Bubble,” and Lisa’s was “Princess Aqua.”
3. Submarine Window Clings
Materials Needed:
- Clear plastic sheet (like from packaging)
- Submarine coloring pages
- White glue (Elmer’s)
- Food coloring or markers
- Paintbrush
Steps:
- Begin by printing and coloring a favorite submarine page. Encourage your child to use bold and contrasting colors. Lisa used her favorite purples and added glitter glue. The sparkle looked amazing once the sun hit it through the window. This is where your child’s personality can shine literally!
- Place a clear plastic sheet over the coloring page. Packaging from toys or cookie trays works great. Tape it down gently to prevent slipping while working.
- Mix white glue with a drop or two of food coloring. Stir slowly to avoid bubbles. This is your homemade paint. Let your child pick the colors and talk about how they’ll look in the sunlight. Mike created a swirling ocean mix of blue and green that he called “Sea Storm.”
- Use a fine paintbrush to carefully paint over the lines on the plastic. Remind kids to stay inside the lines for a cleaner look. It’s okay if it gets a little messy; part of the charm is in the creativity. We usually listen to ocean sounds while we paint to make it feel like we’re really underwater.
- Let the painted sheet dry overnight. Once dry, gently peel it off and stick it to a sunny window. Watch your child’s face light up when they see their creation glowing with color.
Smart Tip: These look stunning on east-facing windows in the morning. Try hanging them near the breakfast table to brighten your family’s day.
4. Submarine Diorama in a Shoebox
Materials Needed:
- Shoebox
- Submarine coloring pages
- Blue construction paper
- String
- Tape and glue
- Crayons and safety scissors
Steps:
- Insert blue construction paper into the shoebox’s inside, or let your kids color it in with crayons. Let them make their ocean world however they want. Lisa destroyed green paper to make seaweed and red paper to make coral one time. For treasure, she even added silver paper. The mood for the whole diorama is set in this step.
- Print and color the submarine pages. Encourage kids to add expressions or stickers for fun details. Mike colored one yellow and drew sunglasses on the captain. He giggled the whole time, calling it “Cool Sub.”
- Cut out the submarines and tape a string to the top of each one. Tape the other end of the string to the inside top of the shoebox so the submarines hang and sway. This makes them look like they’re floating.
- Add sea creatures, mermaids, or even alien jellyfish to the diorama’s floor and sides. Encourage wild imagination. Lisa once made a family of sea pigs wearing bow ties. It’s the little surprises that make these crafts special.
- Stand the box up and show off the scene. Your child can go back to this underwater world over and over again.
Fun Tip: Shine a flashlight through the top hole and move it around in a dark room. It feels like a real submarine trip because the shadows are moving around. For more ideas on making ocean dioramas, visit Pinterest.com.
5. Submarine Shadow Puppet Show
Materials Needed:
- Submarine coloring pages
- Cardstock
- Craft sticks or straws
- Scissors
- Flashlight
- Tape
Steps:
- To begin, color in your submarine characters and sea life. Then, glue the colored pages to cardstock to make them stiff enough to use as puppets. Lisa loved putting sparkly stickers on her fish puppets, and Mike used glow-in-the-dark crayons to draw the outline of his submarine.
- Carefully cut out the characters. For young kids, pre-cutting is a helpful option. Then tape a straw or craft stick to the back of each one. Mike turned his fish into a “dancing dolphin” by attaching two sticks so he could wiggle it.
- Set up your puppet theater. Use a blank wall or hang a white sheet from a table. Shine a flashlight from behind the sheet, and suddenly your puppets come to life as shadows. Lisa said it looked like magic!
- Dim the room lights and begin the storytelling fun. Mike gave his submarine a deep voice and shouted, “Captain on deck!” while Lisa narrated a story about a lost pearl. Their creativity really blossomed.
- Get your kids to switch places. Let them try out different characters, voices, and plot twists. Giving them more confidence and helping them speak better.
Pro Tip: Take a picture of their puppet show with your phone. Grandparents also love these little performances that kids will remember forever. For more examples of DIY puppet theater fun, check out Sparkle Stories Guide.
6. Submarine Adventure Bracelet
Materials Needed:
- Submarine coloring pages
- Clear tape
- Scissors
- Ribbon or yarn
Steps:
- Choose submarine pictures that are smaller or resize bigger ones before you print them. Lisa and Mike loved looking for the tiniest submarines that would fit on their bracelets.
- Let your kids color them using markers or crayons. Encourage them to create themes. Lisa went for a love-themed bracelet with hearts and pink submarines, while Mike’s had lightning bolts and a mischievous-looking sea lion perched on top.
- Line up the small pictures across a piece of paper that is long enough to fit around your child’s wrist. Mike liked adding stars and underwater volcanoes to his designs to make them more interesting.
- Put clear tape on both sides of the strip to protect the art and make it shine. Using a ruler or spoon, flatten out any bubbles.
- There should be a hole in each end. To make a bracelet, tie ribbon or yarn through the holes. Allow your kid to try it on and make any necessary changes. Lisa was very proud of herself when she made one and gave it to her cousin as a present.
Fun Tip: Before you tie the yarn, add some colorful beads to it. The bracelet feels like real jewelry because of this. Like friendship bracelets, kids love to trade them!
7. Submarine Wall Art with Puffy Paint
Materials Needed:
- Submarine coloring pages
- Shaving cream
- White glue
- Food coloring
- Cardstock or thick paper
- Cotton swabs
Steps:
- Start by making your puffy paint. In a bowl, mix shaving cream and white glue together until they are equal parts. Color the food a few drops of blue to make the sea, green to make the seaweed, and pink to make the coral! Lisa liked making her own ocean colors, and she laughed when Mike tried to make purple but got “mud gray” instead.
- Color your submarine page as usual, then use cotton swabs to dab the puffy paint onto the page. Create foamy waves, bubbly water, or even decorate the submarine with colorful puffs.
- Let it dry flat in a safe spot for 12 to 24 hours. It will stay puffy and soft, which kids love touching. Mike kept checking on it every hour, calling it his “squishy masterpiece.”
- Put the art on the fridge, the wall, or even in a frame for their room once it’s dry. Lisa liked being an artist when she hung hers up next to her bookshelf.
Creative Bonus: Put in a drop of lavender or ocean-scented essential oil. It makes the art experience more than one sense!
Final Thoughts
Crafting is more than fun. It’s a journey into imagination, a way to build focus, creativity, and motor skills. With just some submarine coloring pages, like the ones I’m offering below this article (they’re totally free and in printable PDF format), you can open up a whole world of underwater adventure for your kids.
And if you enjoy this submarine fun, you might also love the free ship, boat, and beach coloring pages I’ve published recently on our website too. Check those out next!
Remember, always supervise young ones, especially around scissors and small materials. And let your kids be messy and creative. Those are the best memories.
Download Free Coloring Pages:

Leave a Reply