7 Crafts for Kids Using Beach Coloring Pages
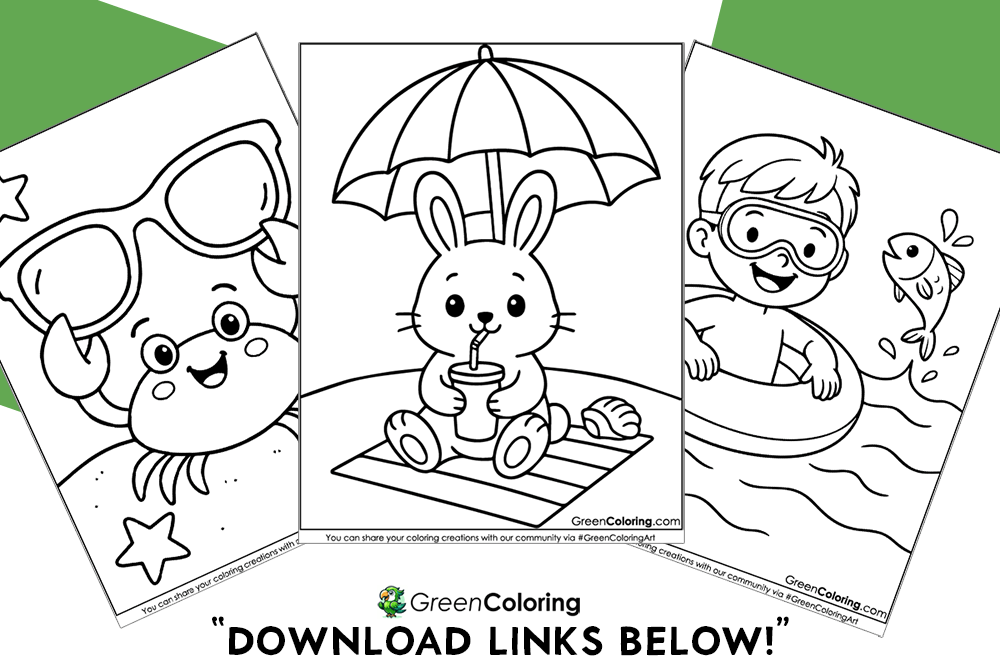
As a former private school teacher and father of two curious kids, I’m always looking for creative ways to make learning fun at home. I’m James, part of the GreenColoring family, and today I’m excited to share seven unique beach crafts you can do with your children using free printable beach coloring pages available in a handy PDF at the end of this post. These ideas are not only fun but also help your child build focus, motor skills, and creativity.
1. Sandcastle Wall Art
Materials Needed:
- Colored beach coloring pages
- Scissors (child-safe)
- Glue stick
- Cardboard or thick paper for background
- Sand or brown sugar (optional for texture)
- Markers or crayons
Steps:
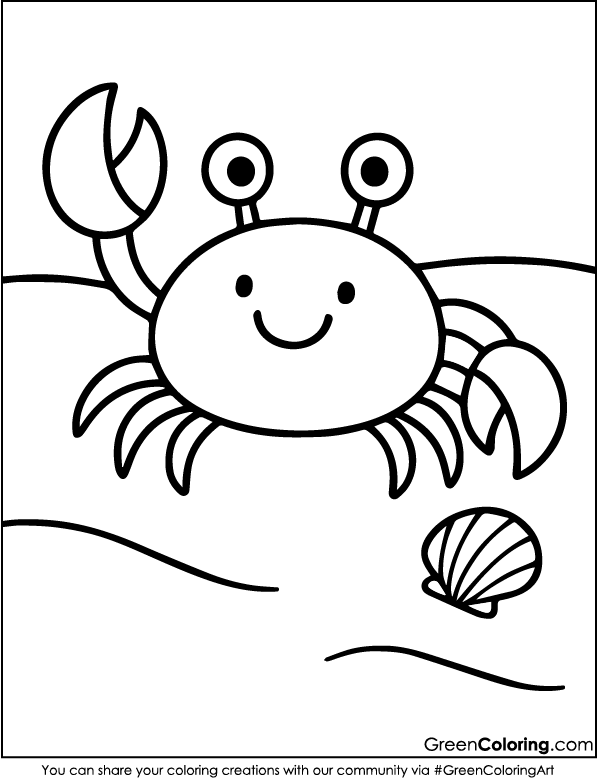
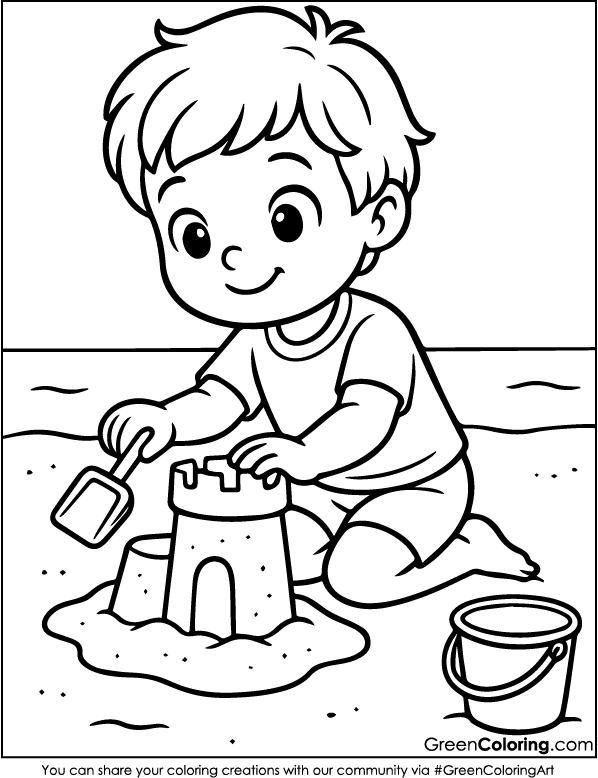
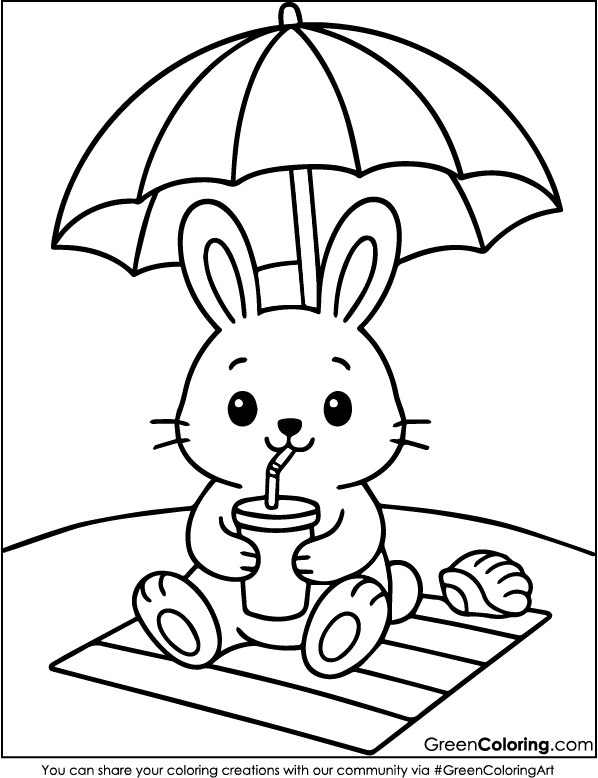
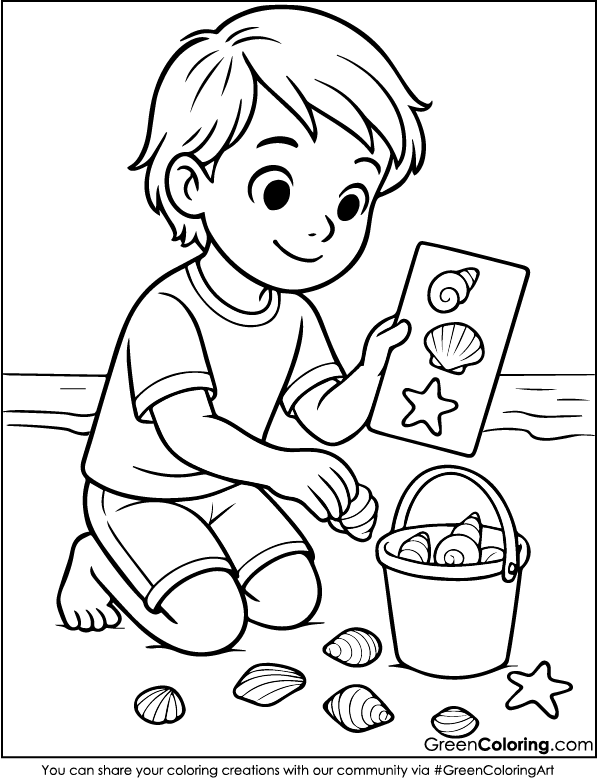
- First, print out our free PDF of your favorite beach coloring page. Lisa picked the one with the happy crab and beach bag because she likes it best.
- Let your kids color the page using crayons or markers. Encourage creativity—Lisa added polka dots to her umbrella!
- Once the page is fully colored, help your child carefully cut out elements like the sun, palm trees, and sandcastle. Mike is still learning to use scissors, so I guided his hand, and he was so proud of the result.
- Take a piece of cardboard or thick paper and have your kids arrange the cutouts to create a new beach scene. We like to make ours like a collage, telling a story as we go.
- Apply glue to the back of each cutout and stick them on the background. Press gently and let it dry.
- Optional but super fun: spread white glue on the bottom area and sprinkle clean sand or brown sugar to create a realistic beach texture. Lisa even added tiny shell stickers from her old craft kit!
Pro Tip: You can also add a title to your artwork using colorful letters. Lisa named hers “Sunshine Island” and hung it on the fridge.
2. Seashell Collage Frame with Beach Coloring Pages
Materials Needed:
- Printable beach coloring pages
- Old cardboard or photo frame
- Glue
- Real or paper seashells
- Tape
- Safety scissors
Steps:
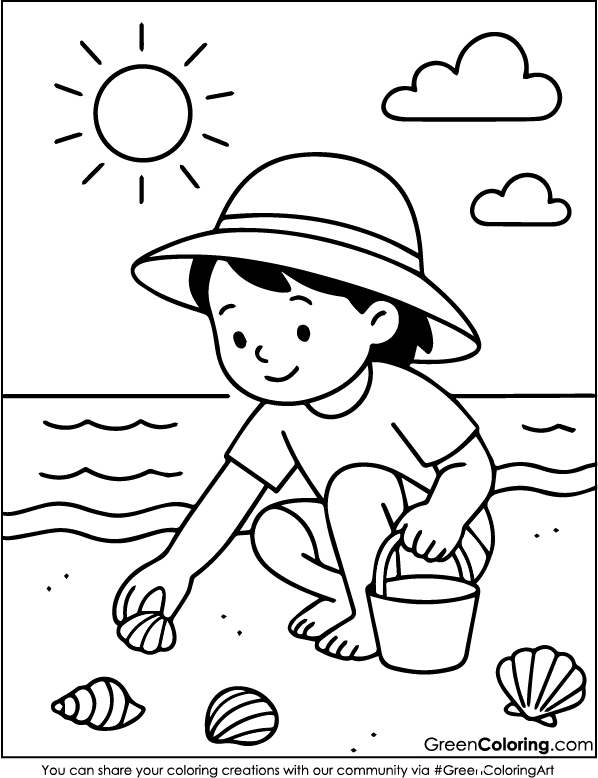
- Pick a coloring page with beachy things on it, like waves, starfish, or a sun umbrella. Print it out and color it. Mike really used a lot of blues and greens for the ocean.
- Trim the finished page to fit into your chosen frame size. We used a cereal box to make our own cardboard frame!
- Tape or glue the artwork into the frame window. If it’s a photo frame, just pop the art in behind the glass.
- Now it’s time to decorate the frame edges. Lisa and I collected tiny seashells during our last beach trip, and we glued them carefully around the edges using strong craft glue.
- Let everything dry flat. Once done, you’ll have a beach-themed frame to display proudly.
Fun Tip: Write your name and the date on the back so you’ll always remember when you made it together.
3. Beach Picnic Place Mats
Materials Needed:
- Beach coloring pages
- Markers, crayons, or colored pencils
- Clear contact paper or laminator
Steps:
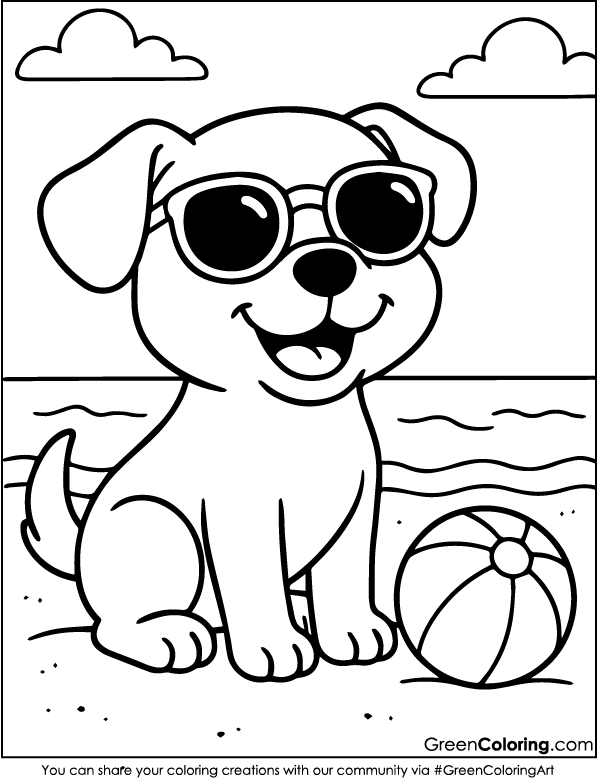
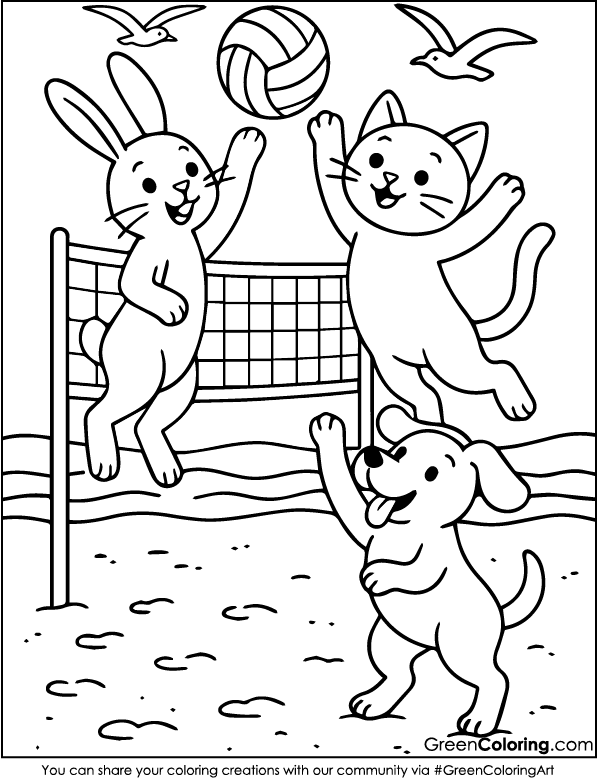
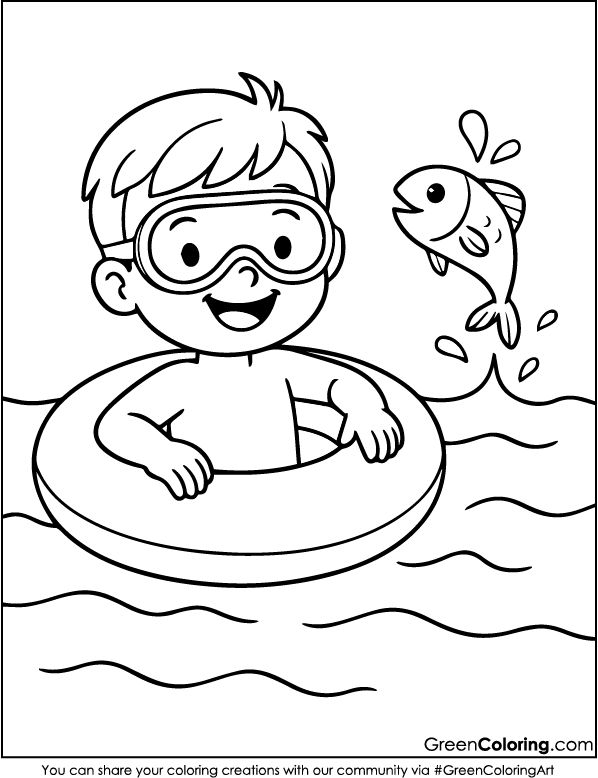
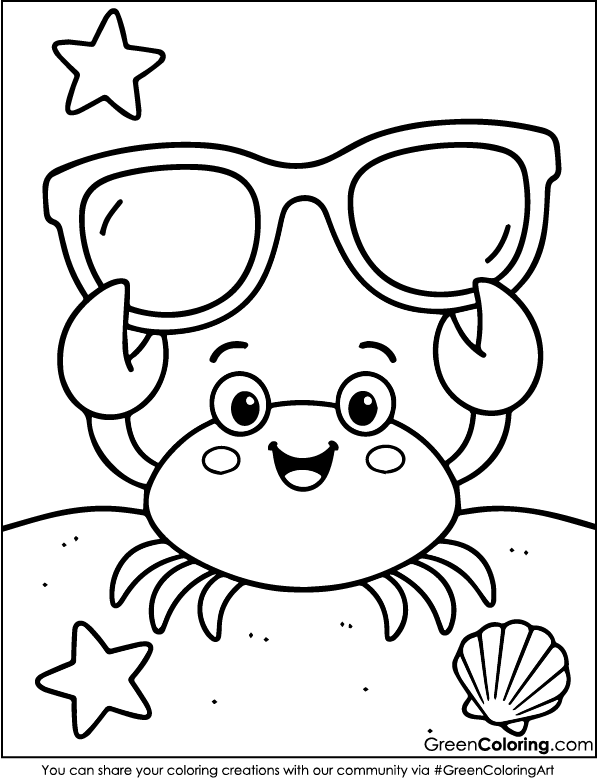
- Let the children pick out their favorite beach-themed coloring page. Lisa went with the one that had a charming flamingo perched on one leg, while Mike went with the one that had a crab wearing sunglasses.
- Set up a coloring area at the table and turn on some relaxing summer tunes. We did this last week on a hot afternoon, and it was such a chill activity. Let them color their pages fully, using bright and cheerful colors.
- When they’re done coloring, flatten the pages if needed. I usually sandwich them between two books for a few minutes. This helps them lay nicely when laminated.
- Cover each page with clear contact paper or laminate them using a laminator. Lisa helped feed the pages into the laminator while I guided her. She felt very grown up!
- Once sealed, trim any excess edges and let your kids use them during meals, snack time, or even outside for a picnic. Mike spilled chocolate milk on his mat, but it wiped off like magic. He gave me a proud grin like it was part of the plan.
Helpful Tip: Add fun names to each placemat, like “Lisa’s Tropical Table” or “Mike’s Seaside Spot.” For more kid-friendly picnic ideas, you can visit Care.com.
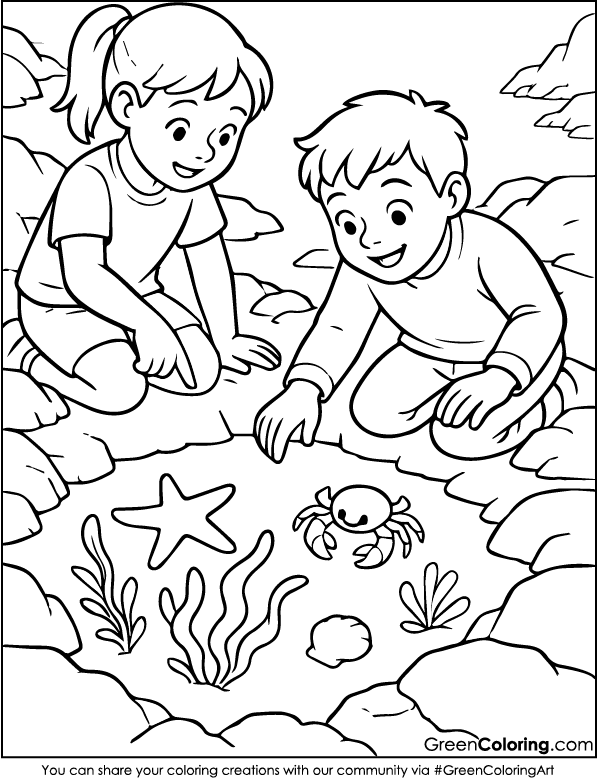
4. Ocean Animal Matching Game
Materials Needed:
- Two copies of beach coloring pages
- Scissors
- Colored pencils
- Cardboard (optional for sturdiness)
Steps:
- Print two identical coloring pages with lots of sea animals. I let Lisa and Mike each color their own copy. Lisa took her time adding fun details like bowties and eyelashes to the fish, while Mike made each one his favorite color.
- Once colored, cut out each animal carefully. I worked alongside Mike, guiding his hand and showing him how to turn the page gently instead of using the scissors. He’s still learning, but he tries so hard.
- To make the pieces sturdy, we glued them onto cardboard and cut them again. It took a bit longer, but it was worth it. Now they don’t bend or tear easily, which is great for little hands.
- Put all the pieces together and turn them upside down. Pick two at a time and try to match them. Lisa got into it and even kept track of the score with tally marks.
- Keep playing until you find all the matches. Then mix them up and play again. We’ve had a lot of fun doing this, especially when Mike accidentally matched two turtles and jumped up and down, yelling, “I beat Lisa!”
Smart Tip: You can store the matching pieces in a small container or pouch. We keep ours in a labeled snack bag that Lisa decorated with stickers. If you’d like to explore more printable memory games or matching ideas, check out Childhood101.com.
5. Beach Bag Tag Using Beach Coloring Pages
Materials Needed:
- Small-sized beach coloring pages
- Markers
- Scissors
- Hole punch
- String or yarn
- Laminator or tape
Steps:
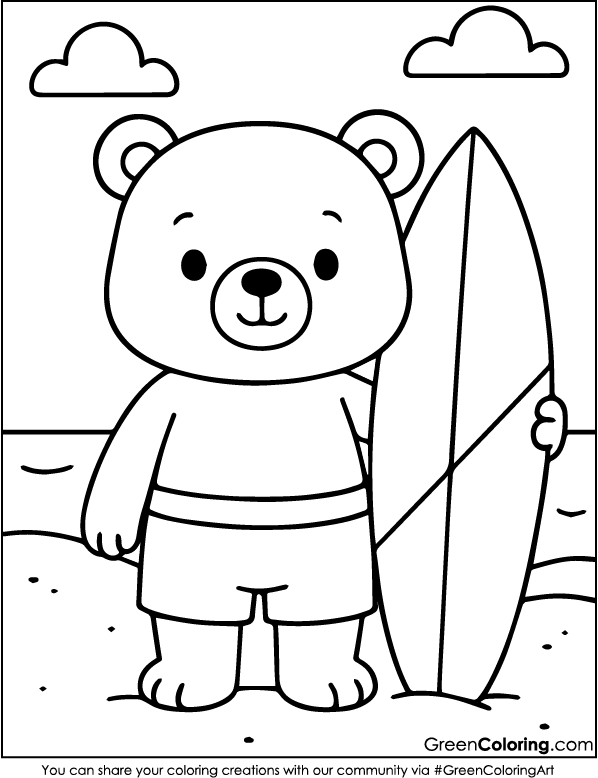
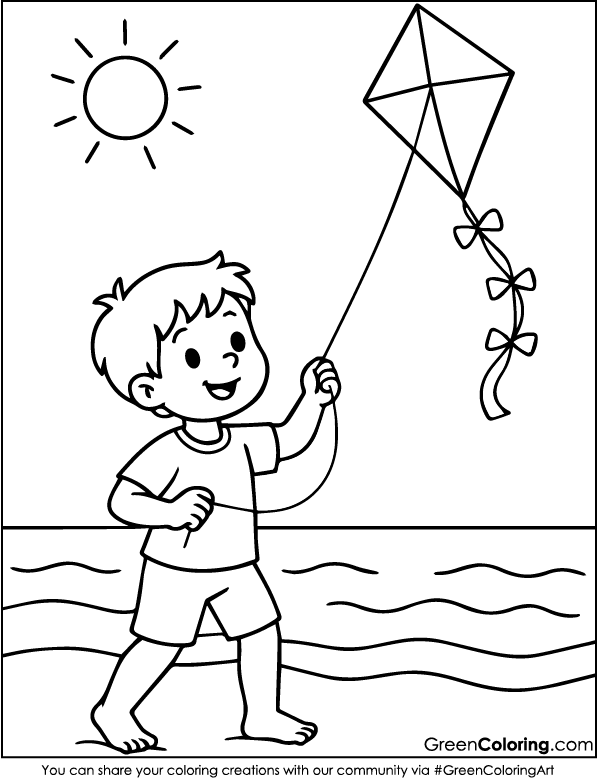
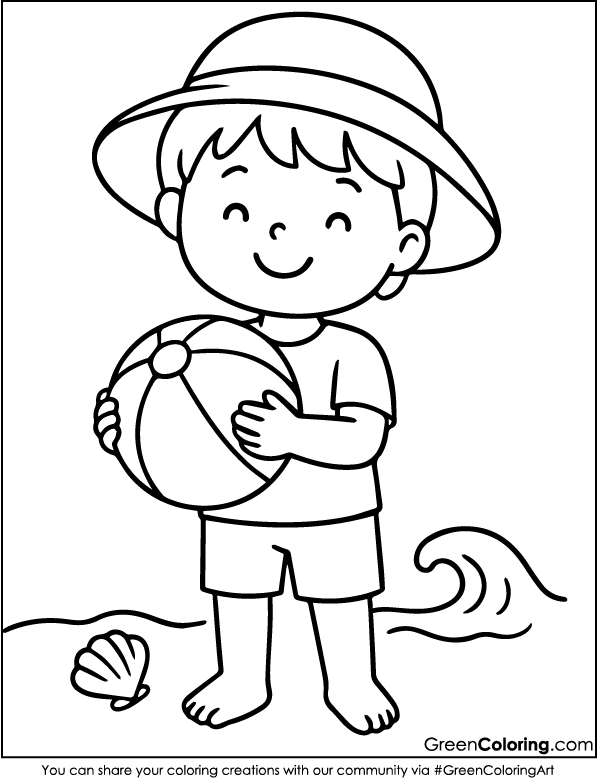
- Pick a coloring page with shapes that are both simple and big. Cut it down if you need to so that a child can hold it. Mike chose the one with the sailboat because it made him think of a cartoon he likes.
- Let your child color it in using bright shades. Lisa used purple and pink, while Mike went with green and blue. Their favorite colors always shine through in their art.
- Cut the artwork into a fun shape like a shell or surfboard. If cutting is tricky, draw the shape for them to follow. Lisa helped trace Mike’s for extra support.
- Cover the cutout with tape or laminate it. This protects it from dirt and water. Mike was amazed to see it come out shiny from the laminator.
- Use a hole punch to make a small hole at the top. Thread string, yarn, or a plastic loop through it.
- Tie it to your child’s beach bag, backpack, or water bottle. Lisa added beads to her string to make it extra fancy. She calls it her “travel charm.”
Helpful Tip: Write emergency contact info on the back in case the tag ever gets lost. For more family travel safety tips, visit Safe Kids Worldwide.

6. DIY Beach Bingo Game
Materials Needed:
- Several copies of beach coloring pages
- Markers
- Ruler
- Scissors
- Small buttons or coins (to use as markers)
Steps:
- Choose coloring sheets with many beach icons. We sought sunglasses, buckets, sea stars, and flip-flops. Lisa helped create the list and drew tiny versions on scrap paper.
- Draw a 3 by 3 grid on blank paper for each bingo card. Place one different beach item in each square. Mike loved using a ruler to make the straight lines.
- Let your kids color their bingo cards, decorating each square with bright colors and personal touches. Lisa added a little sun in each corner just for fun.
- Make multiple bingo cards using different item combinations. This keeps the game interesting when more people play.
- Choose one person to be the bingo caller. Cut out beach item names or images, place them in a bowl, and draw them randomly.
- Mark your bingo card with small buttons, pennies, or coins when a match is called. The first to complete a row or diagonal wins. Lisa always wants to play three rounds minimum.
Smart Tip: Laminate the cards and use dry-erase markers so they can be reused over and over.
7. DIY Beach Story Stones with Beach Coloring Pages
Materials Needed:
- Smooth stones
- Beach coloring pages
- Mod Podge or white glue
- Brushes
- Scissors
Steps:
- Look for small, clear images on your coloring pages that can fit on a stone, such as fish, starfish, sunglasses, or a pail. Lisa and Mike both picked their favorites and got to work coloring.
- After coloring, carefully cut out each small picture. I helped Mike with the cutting while Lisa trimmed her own. She’s become quite precise lately.
- Apply a thin layer of Mod Podge to a clean, smooth stone and gently press the image on top. Press from the center outward to avoid bubbles.
- Once it’s stuck, paint another layer of Mod Podge on top to seal it. Let them dry overnight. The next morning, Lisa lined them up like little beach characters on a stage.
- Use the stones to tell creative stories. We each took turns picking a stone and adding to the tale. Mike turned his fish into a superhero!
- Keep the story stones in a cloth bag and take them on road trips or to Grandma’s house. They’re great for quiet play when kids need to stay calm.
Genius Tip: Add a few blank stones and let your kids draw directly on them using paint pens. It gives them even more room to imagine and create.
Each craft, from bingo cards to story stones, is based on a real afternoon I spent with my son Mike and daughter Lisa. If you want to do something more fun, check out our collections of summer coloring pages, explore more beach coloring pages, or enjoy fun activities with a transportation theme, like coloring pages of taxis and buses. Ready to turn the beach vibes into memories that will last? Allow us to begin!
Download Free Coloring Pages:
Leave a Reply