7 Crafts for Kids Using Ship Coloring Pages
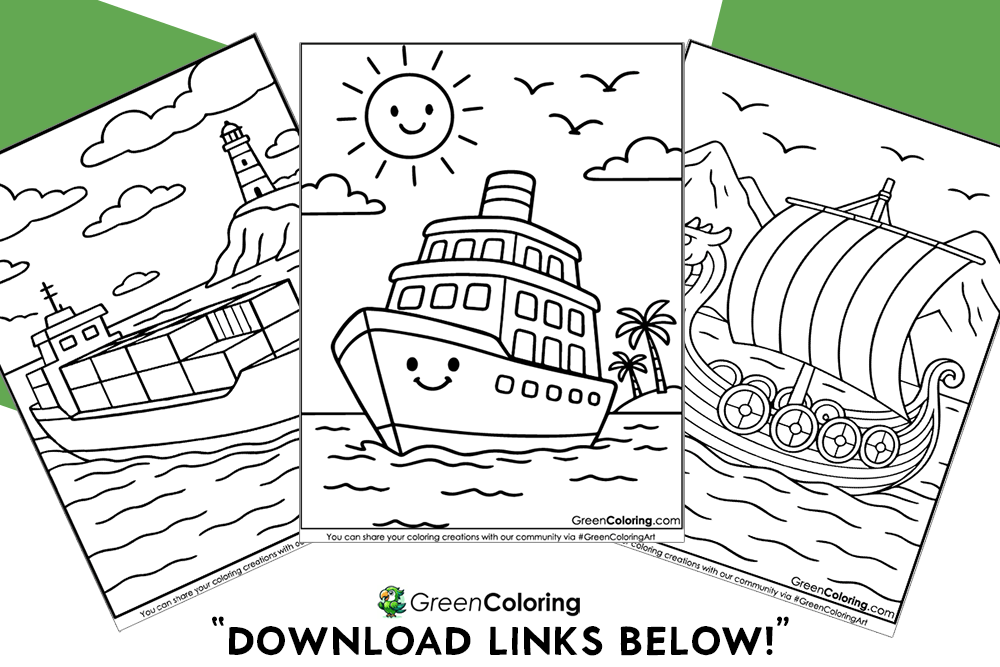
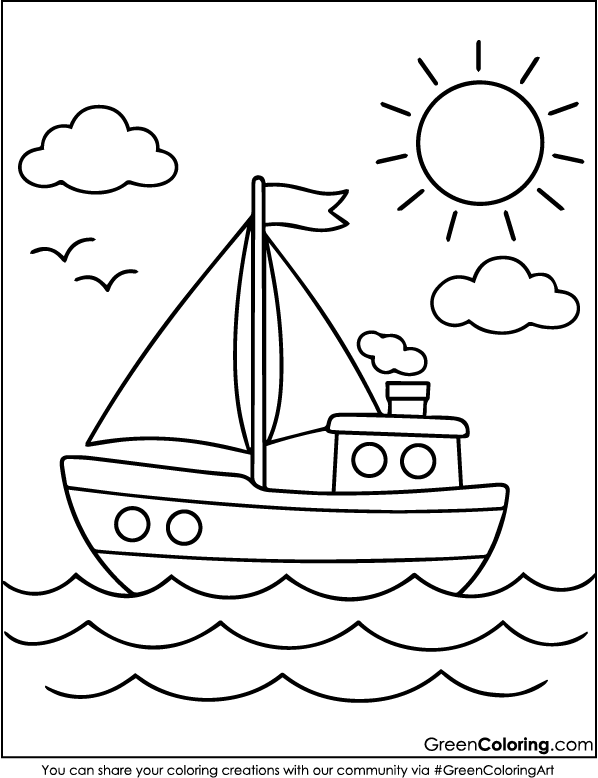
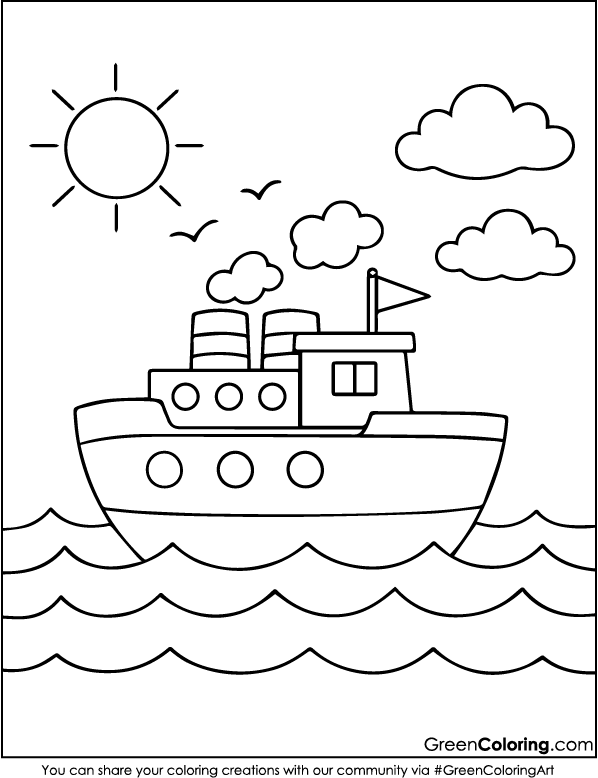
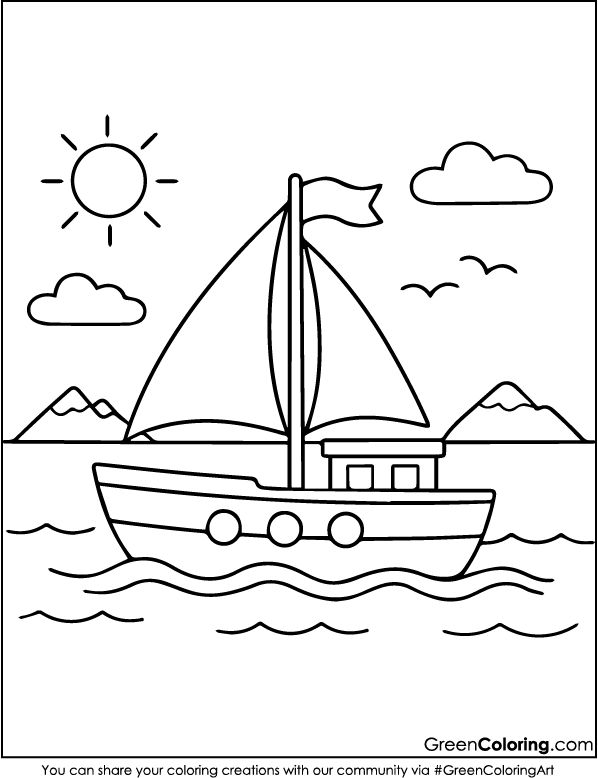
Hey, I’m James! You’re in the right harbor if your kids like ships, pirates, or boating. Crafts are the best way to get kids to be creative, based on my years of experience as a teacher and parent. So today, we’re going to talk about seven different crafts you can make with ship coloring pages. The best part? I already put up ten free ship coloring pages that you can print out in PDF format right below this article. Get them printed and use them right away!
1. Ship in a Bottle Craft
Materials Needed:
- Printable ship coloring pages
- Empty clear plastic bottle (washed and dried)
- Scissors
- Glue stick
- Popsicle stick
- String or thread
- Tape
Steps:
- Start with print and color one of our free ship coloring pages. While Mike loves using blue and green for his ships, Lisa always picks vivid colors like pink and purple.
- Cut out the ship very carefully. If your child is still learning to use scissors and is like Mike, an adult should assist with this. We always make this into a team-building event, which increases the enjoyment.
- Glue the ship to a popsicle stick. This helps keep it straight when inserting it into the bottle.
- Gently roll the paper ship (with the stick) to slide it through the neck of the bottle.
- Model a floating anchor or wave with a piece of thread or string. Let the string dangle over the ship after one end has been fastened inside the bottle cap.
- Tightly seal the bottle and lightly shake it. Your child now carries their own ship within a bottle!
Pro Tip: To replicate sea foam, consider glitzing a little bit. Mike writes it as “pirate magic!”
For more on how to teach kids fine motor skills through crafts, visit Miss Kindergarten.
2. DIY Ship Window Frame
Materials Needed:
- Printable ship coloring pages
- Crayons, markers, or colored pencils
- Sturdy paper plate
- Transparent plastic sheet
- Scissors
- Glue stick or tape
- String or yarn
Steps:
- Print and color your preferred ship design first. Lisa always chooses one with big, grand sails, and last time she embellished them with gold stars and little pink hearts. I started to smile seeing her focus with her tongue sticking out. This is a quiet time when inspiration comes through.
- Take a sturdy paper plate and cut out the center carefully to create a circular window frame. We used child-safe scissors and traced around a bowl to keep it neat. Mike loves holding the plate up to his eye like a pirate’s telescope before we even start the next step.
- Find a piece of transparent plastic, like from old packaging or a clear report cover, and glue it behind the hole. This becomes the pretend glass of your ship’s window. Mike loved pressing his nose against it and pretending it was real glass on a pirate ship. It really adds a touch of magic.
- Cut out the colored ship and tape or glue it behind the plastic so it appears to be sailing just outside your window. Make sure it’s centered so it looks like a real scene. We like tilting it a bit to make it look like it’s bouncing on the waves.
- Add waves, clouds, dolphins, or fish around the edges of the plate using markers, crayons, or ocean-themed stickers. Lisa and Mike added googly eyes to some sea creatures, and we couldn’t stop laughing at the silly expressions they created.
- Tape or glue a loop of string on the top of the plate so you can hang your creation on a window or wall. It becomes a beautiful display of their creativity.
Fun Tip:
Put these on your windows on a rainy day and lower the lights. Like we imagined with Lisa and Mike on one lovely afternoon, it seems like you are sailing over a stormy sea.
Pro Tip: To give the waves or sails a magical, glistening effect when sunlight strikes the window, outline them with glitter glue.
For extra inspiration on water-safe crafting, check out Pinterest.com.

3. Captain’s Log Journal
Materials Needed:
- 2–3 printable ship coloring pages
- Crayons, markers, or colored pencils
- Blank or lined paper sheets
- Hole punch
- Ribbon, yarn, or pipe cleaners
- Stickers, foil stars, and craft decorations
- Scissors
- Optional: envelope for secrets, laminator for cover durability
Steps:
- Let your child color two to three ship coloring pages as the mood calls for it. Usually we make hot cocoa and color while listening to sea shanties in the background. Lisa hums along constantly, while Mike sips more than he colors. Our little evening custom is this.
- Select one colored page as the cover of your journal. Trim the edges to fit standard paper size, or get creative and cut it into a fun shape like a wave or anchor. Lisa once cut hers into a starfish shape; it looked amazing!
- Punch holes along one side after stacking some lined or blank sheets behind the cover. Bind the journal with ribbon, yarn, or even colorful pipe cleaners. Mike enjoys selecting glittering ribbon to complement his ocean motifs.
- Let the children personalize the cover with their names, stickers, sketches, or whimsical titles. Lisa dubbed hers “Captain Lisa’s Logbook of Wonders,” and Mike covered his in shiny foil stars.
- Inside, encourage them to write pretend sea adventures, pirate notes, or daily events, or draw treasure maps. Mike once wrote about a sea dragon that stole Lisa’s cookies. We laughed about it for days.
Genius Hack: Put a small envelope inside the cover and tape it shut to hide maps, secret messages, or fake coins. Lisa codes her messages to her big brother and sends them.
Pro Tip: If your kids love carrying it around like mine do, laminate the cover to make it last longer.
4. Paper Plate Ship Theater
Materials Needed:
- Printable ship coloring pages (2–3 different styles)
- Crayons or markers
- Wooden craft sticks
- 3 paper plates
- Scissors
- Strong tape or glue
- Optional: stickers, glitter, decorative paper
Steps:
- With your children, print and color two to three ship designs. Select several kinds: fantasy, cargo, or pirate ships. Mike made his purple with a giant eyeball on the sail! That sparked lots of giggles.
- Cut out the ships and attach each to a wooden craft stick using strong tape or glue. Let them dry for a few minutes. Mike lines them up like a fleet ready for battle.
- Cut a paper plate in half and attach both halves standing upright on a full plate using glue or tape. These will serve as the theater walls or side curtains. It starts looking like a mini stage!
- Use crayons or markers to decorate the background. Add waves, the sun, or a volcano. Lisa drew a mermaid kingdom, and Mike added a sea monster splashing everyone.
- Sliding the ship puppets behind the stage will set on a performance. Have a ship race, act out rescues, or tell humorous tales. Lisa enjoys narrating while Mike creates dramatic wave sounds.
Fun Tip: Add sound effects like sea noises, splashing water, or dramatic music. We once played pirate music, and Lisa twirled like a ballerina pirate.
Pro Tip: Film the puppet show and play it during family night with popcorn. It becomes a treasured memory for years.
5. Ship-Shaped Wall Garland
Materials Needed:
- Printable ship coloring pages (5–7 ships)
- Crayons or markers
- String or yarn
- Hole puncher
- Scissors
- Tape or glue
- Optional: stickers, glitter, tassels
Steps:
- Print a few ship coloring pages first. We schedule daily after-school activities from here. Lisa claims it helps her unwind; Mike hums pirate tunes while he colors.
- Once colored, cut out each ship carefully. Try using bright and different color themes. Lisa made rainbow-colored ships, while Mike added flames to his battleship.
- Punch a hole near the top of each ship. We used a standard hole puncher, and Lisa helped line up the holes evenly.
- Thread a long piece of string or yarn through each hole. Tie knots behind each one to keep them from sliding around.
- Hang the garland on a bedroom wall, across a window, or even along a bookshelf. Lisa and Mike gave names to each ship and made up silly sea tales about them.
Fun Tip: Add glow-in-the-dark paint for a magical nighttime effect. It looks amazing when the lights go out!
Pro Tip: Laminate the ships before hanging to make the garland last longer, especially near windows or fans.
6. Message in a Ship Bottle
Materials Needed:
- Ship coloring pages
- Crayons or markers
- Clear plastic bottle with lid (recycled water bottles work great)
- Ribbon or yarn
- Glitter, beads, or sand
- Paper strips for messages
- Tweezers (optional)
Steps:
- Print and color a little ship appropriate for a plastic bottle. For his pirate ship, Mike employed a silver sail and brilliant neon markers.
- Cut a paper strip, then pen a small note. Lisa addressed a unicorn sea captain called Captain Sparklewhale. Tightly roll the note, then tie it with ribbon.
- Slink the message softly inside the bottle. Tweezers come in quite handy if your fingers are excessively large.
- Add your colored ship. Fold it slightly to fit through the opening, then let it spring open inside.
- Add some glitter, beads, or even some very small, clean sand bits. To view the enchanted sea world within, gently shake the bottle.
- Top the bottle with a cap. Show it on a shelf or present it to someone very dear.
Fun Tip: Make several and write different sea adventures in each one. Mike called his collection “Secrets of the Sea.”
Pro Tip: Label the bottle with a tag saying “Lost at Sea” or “Found Message.” Adds mystery and fun to the craft.
7. Ocean Map Adventure Mat
Materials Needed:
- Printable ship coloring pages
- Crayons, markers, or colored pencils
- Large poster board or cardboard
- Glue or Velcro
- Decorative items: stickers, glitter, ribbon
- Clear contact paper (optional)
Steps:
- Take a ship page and color it. Lisa made the bow of her ship yellow and shaped it like a dolphin.
- Draw a map of the ocean on a big piece of cardboard or card stock. Bring in islands, monsters in the sea, volcanoes, and hidden treasure chests.
- Your colored ship should be cut out and glued to the board. You could also use Velcro to let it move from island to island.
- Decorate the whole board with glittery waves, shiny shells, or sparkly stickers. Mike turned his map into a full-blown sea battle zone!
- Start telling stories with your kids. Lisa and Mike explored “Laughing Turtle Island,” where all pirates dance.
Fun Tip: Create a compass rose in the corner and teach your kids directions—N, S, E, W—while they play.
Pro Tip: Cover the board with clear contact paper to make it reusable. We use dry-erase markers to change the adventures!
Final Thoughts
Making crafts with your kids is more than just a way to keep them busy. It’s about getting to know each other, learning, laughing, and yes, getting glitter on the table (that happened to us last week!). These 7 unique crafts made with ship coloring pages are great for the weekend, a rainy afternoon, or any time you want to make magic with your family. You can even mix them with submarine or boat coloring pages for extra variety, or bring a sunny twist with fun summer coloring pages.
Just below this article, you can find the ten free ship coloring pages that you can print out. Choose how many to print, color them, and then get creative!
Download Free Coloring Pages:
Leave a Reply