
7 Crafts for Kids Using Back to School Coloring Pages
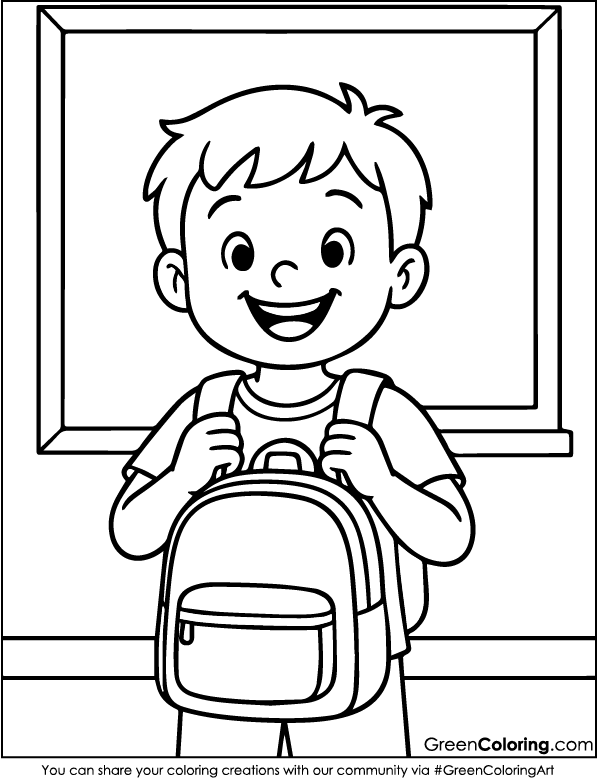
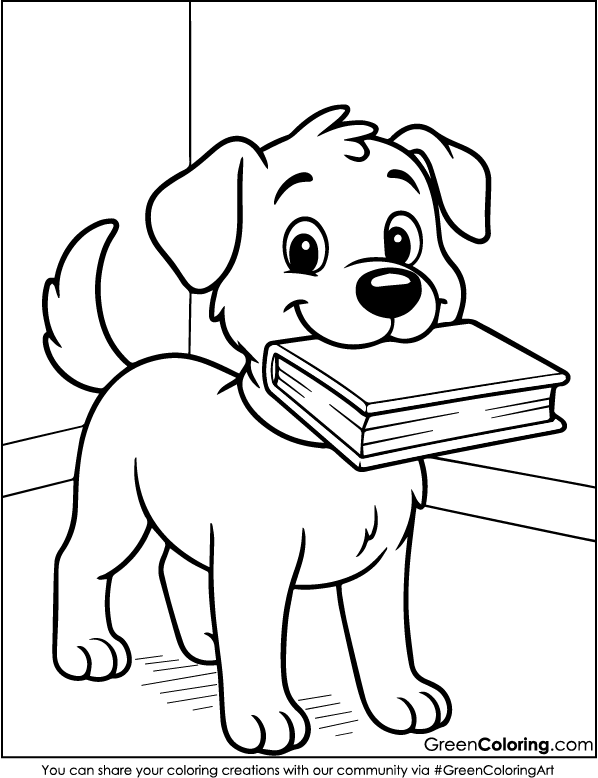
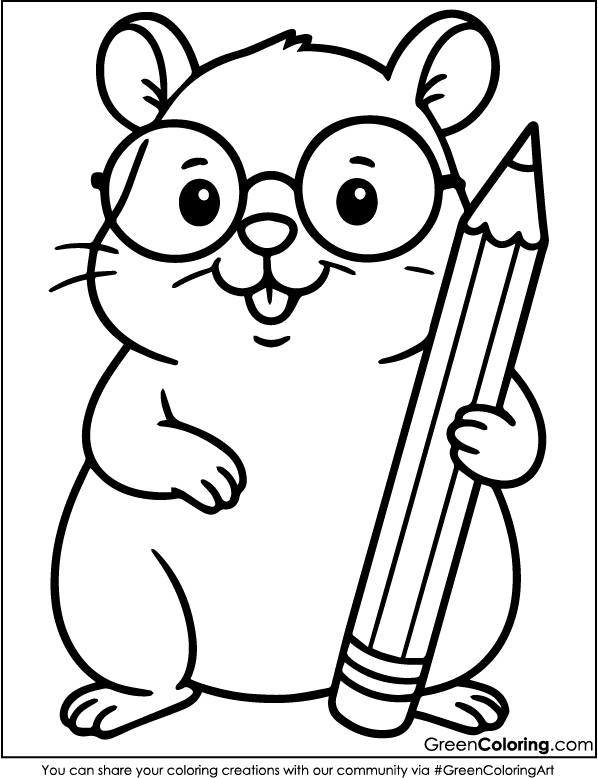
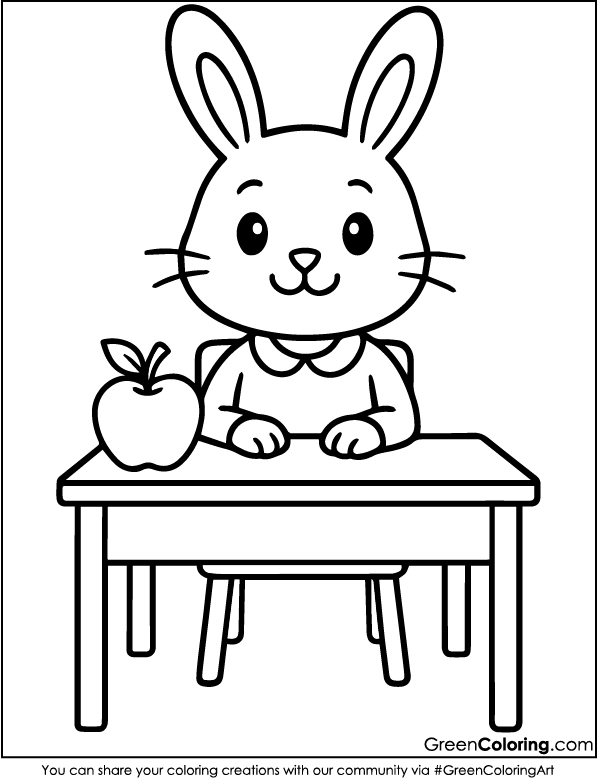
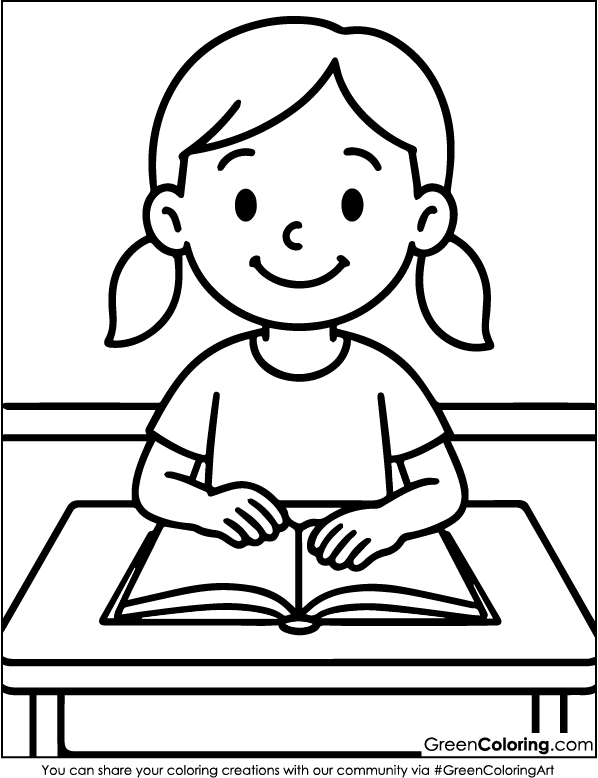
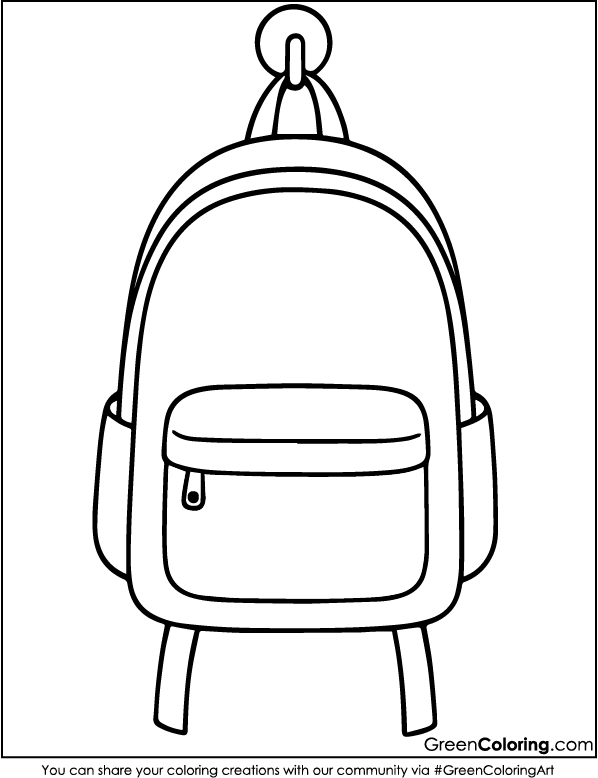
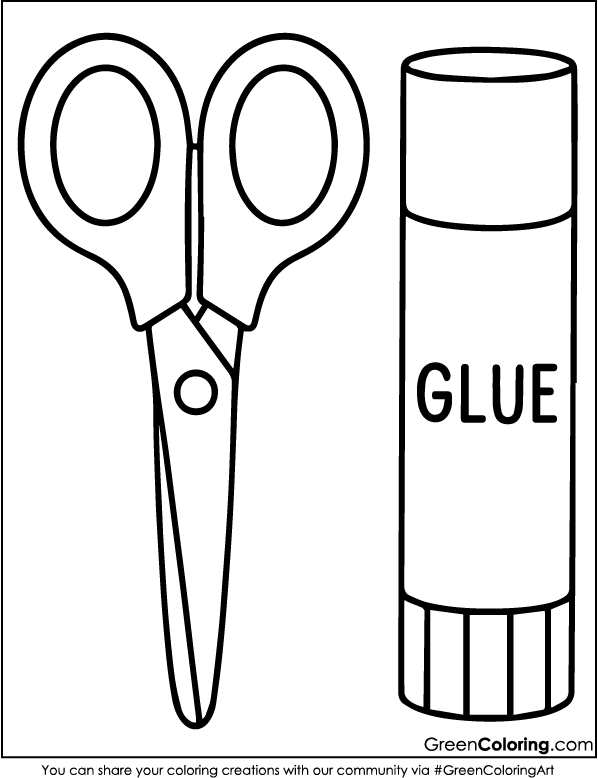
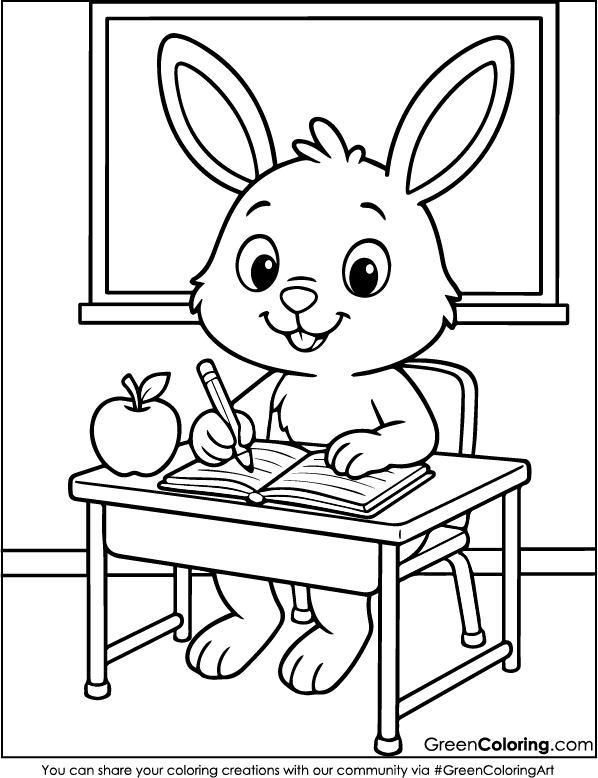
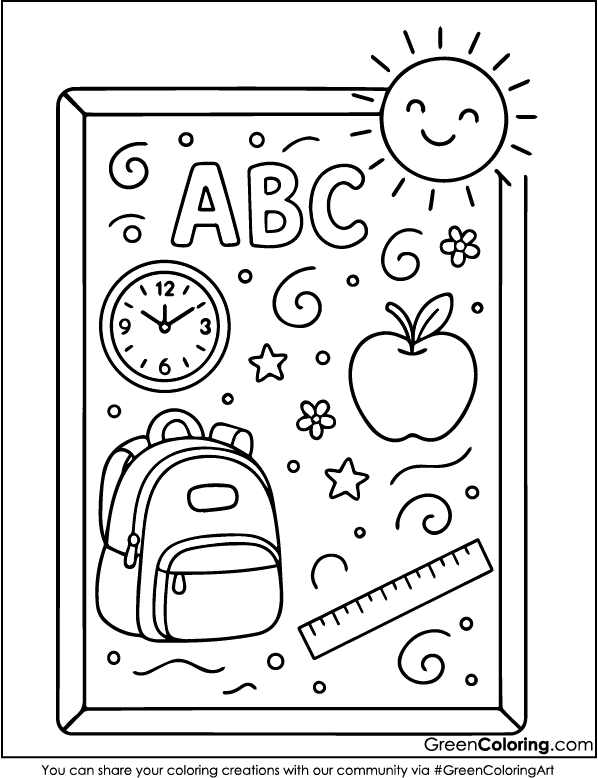
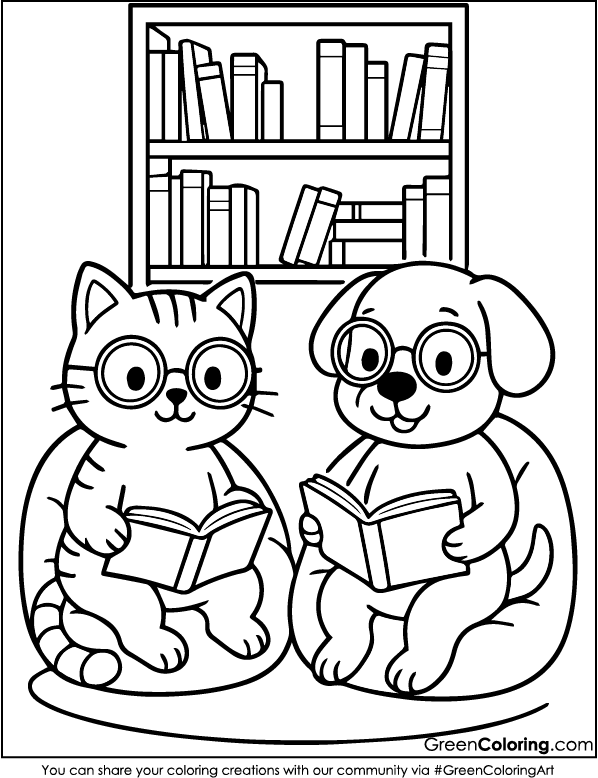
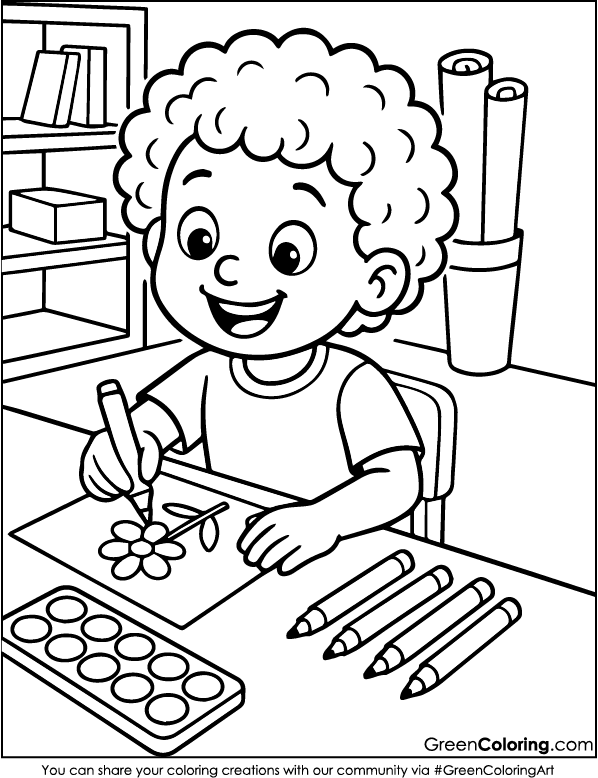
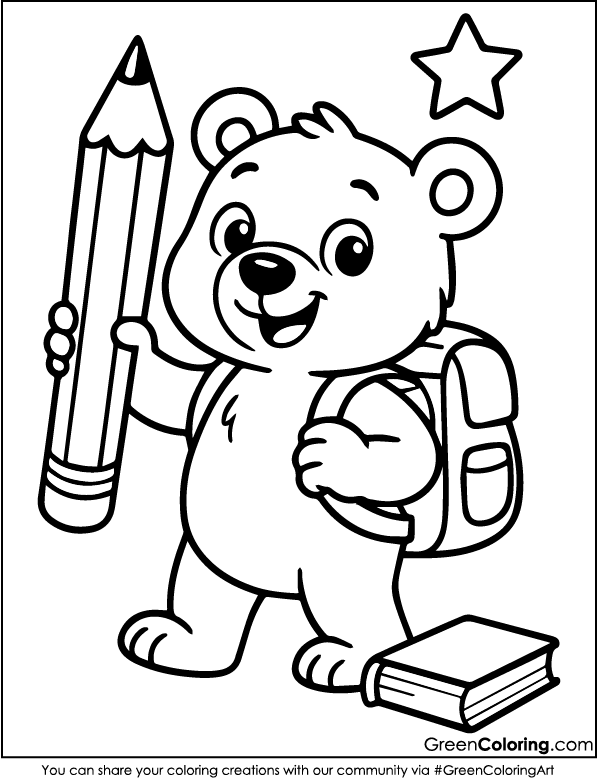
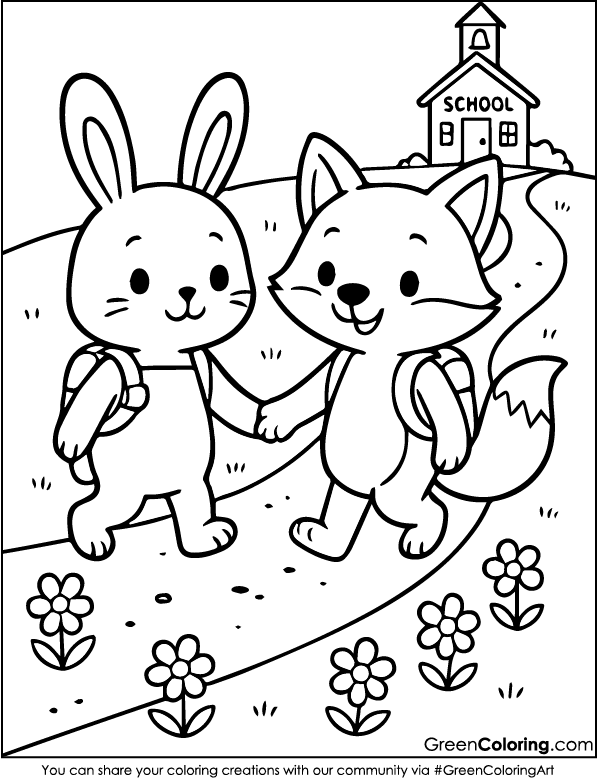
Hi, I’m James. I’m a dad who likes to get involved and a former teacher. I love turning everyday moments into learning adventures. I’ve learned how going back to school can bring out creativity and connection in simple but powerful ways with my daughter Lisa and son Mike. I’m excited to share 7 fun craft ideas with you today that use our special set of free printable back to school coloring pages. There are 28 PDF sheets that you can download right below this article. These back to school coloring pages are great for making memories on a quiet afternoon.
1. DIY School Supplies Labels
Materials Needed:
- Printed back to school coloring pages
- Safety scissors
- Glue stick or tape
- Blank labels or cardstock
- Markers or colored pencils
Steps:
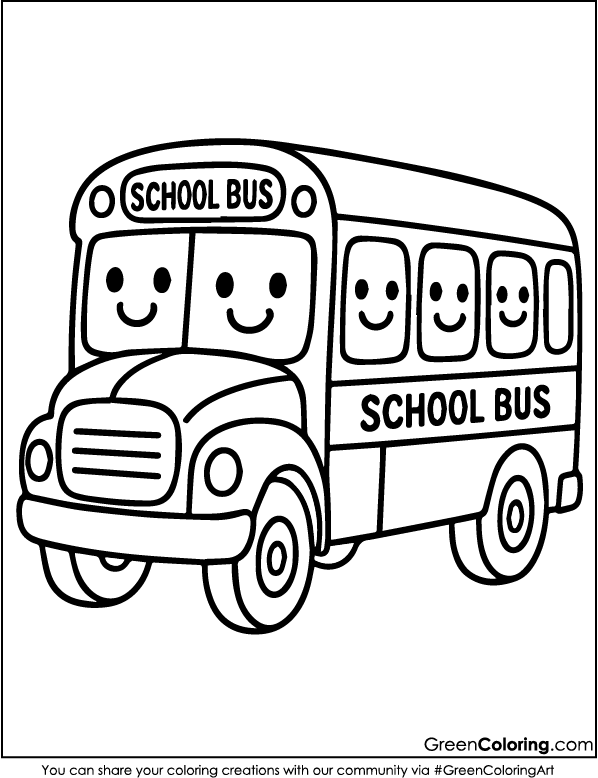
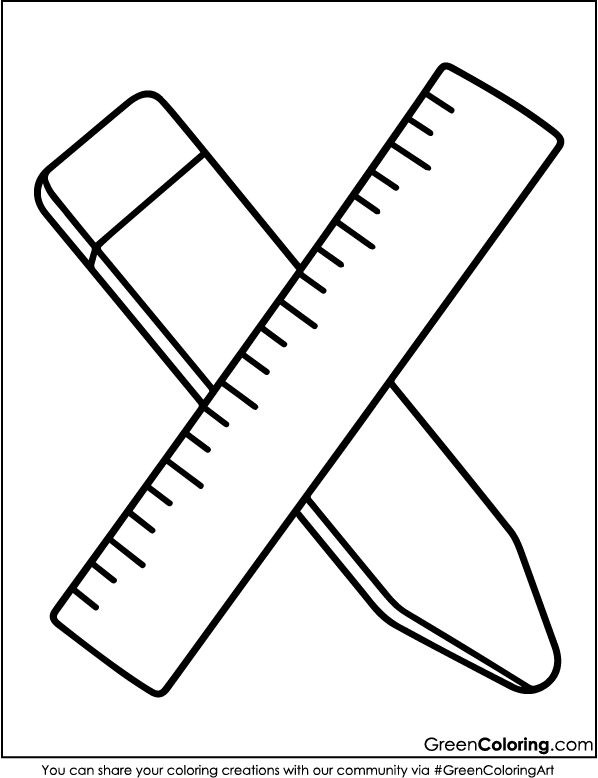
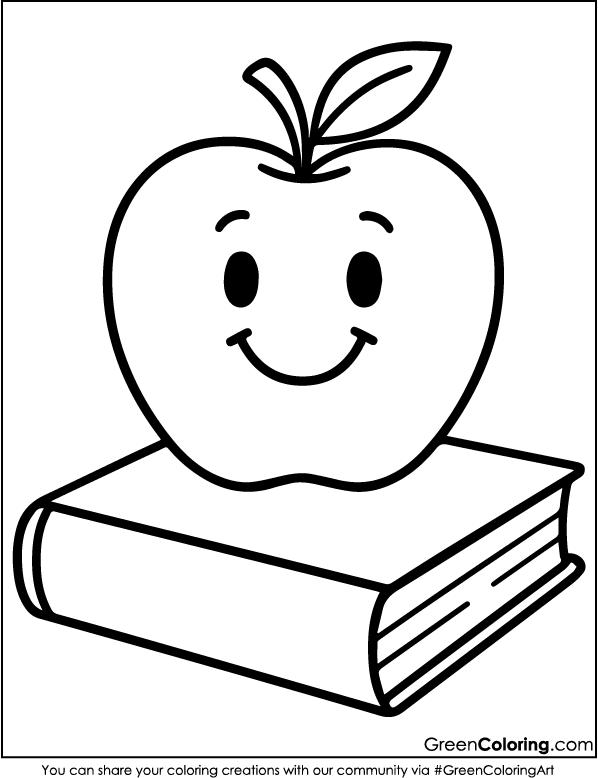
- Get started by picking out small parts of the back-to-school coloring pages that have things on them like apples, rulers, or books that are smiling. Since Mike wants to drive a bus someday, he really enjoyed choosing that picture.
- Let your child color them in using their favorite colors. Lisa enjoys blending pink and purple, while Mike sticks to his favorite green and blue.
- If your kid is still learning how to use scissors like Mike, be extra careful as they cut out the colored shapes. I sit next to him and guide his hand so he doesn’t have to worry about cutting the wrong part.
- Stick the cutouts to blank labels or small pieces of cardstock with glue or tape. They are stronger and easier to stick on notebooks or folders now.
- Let your child write their name or subject on each label. You’ll be amazed at how proud they feel when their supplies are truly personalized.
Fun Tip: Make it a little challenge! Ask your child to design a different label for each subject. Lisa once made a rainbow-themed label just for math.
2. Back to School Door Sign
Materials Needed:
- Back to School Coloring Pages
- Ribbon or yarn
- Hole punch
- Glue stick
- Cardboard for backing
Steps:
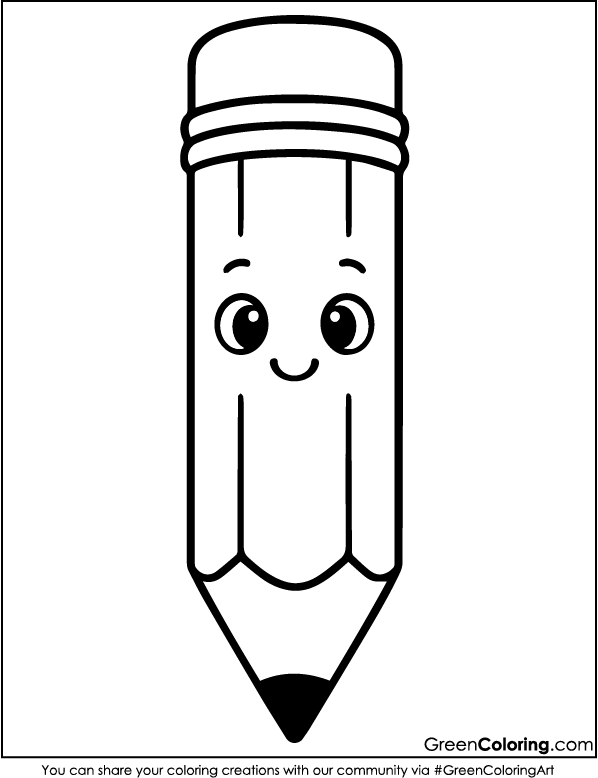
- Invite your child to pick a coloring page they’d love to see hanging on their door. Lisa once chose one with a cheerful pencil waving hello. She said it would greet her every morning.
- Sit together and color the page. Use this moment for conversation or even play some music. Lisa added sparkly stars in the corners and told me it reminded her of her dream classroom.
- After you’ve colored the whole page, glue it to a strong piece of cardboard to make it last longer. It’s also a good time to show your child how to glue things evenly and press down lightly.
- Make two holes in the top of the cardboard with a hole punch. An adult may need to watch this part. Then help your child make a hanger by threading the ribbon or yarn through the holes and tying a knot.
- Let your child hang the door sign on their bedroom or study room door. It adds a personal touch to their space and helps get them excited for school.
Pro Tip: Add extra flair with foam letters or glitter glue. Mike added his name in green and kept checking to make sure it was straight. He was so proud of it.
3. First Day of School Memory Frame
Materials Needed:
- Back to School Coloring Pages
- Markers
- Scissors
- A printed photo of your child
- Glue or tape
Steps:
- First, print out a coloring page in a frame style. Give your kid the freedom to pick out their own colors to decorate it. Lisa adorned the corners with sparkles and opted for pinks and purples.
- Use scissors to carefully cut out the inside of the frame. If your child is still little, it’s safer to cut it out by hand after tracing the center.
- Pick a photo from your child’s first day of school. It could be a selfie at the front door or a picture with their backpack. We used one from Mike’s first day of kindergarten, where he wore his blue dinosaur shirt.
- Put the picture on the back of the frame with tape or glue. Check that it is centered and can be seen through the cutout.
- Write down the date, your child’s name, and maybe even the name of their teacher to help you remember the day. Make it fun by using bright markers or stickers.
Helpful Idea: Each year, create a new frame and keep them in a scrapbook. Lisa loves flipping through her “school memories book” and comparing her artwork from year to year.

4. School Treasure Jar with Back to School Coloring Pages
Materials Needed:
- Back to School Coloring Pages
- Empty mason jar or plastic container
- Small cutouts from coloring pages
- Mod Podge or white glue
- Paintbrush
Steps:
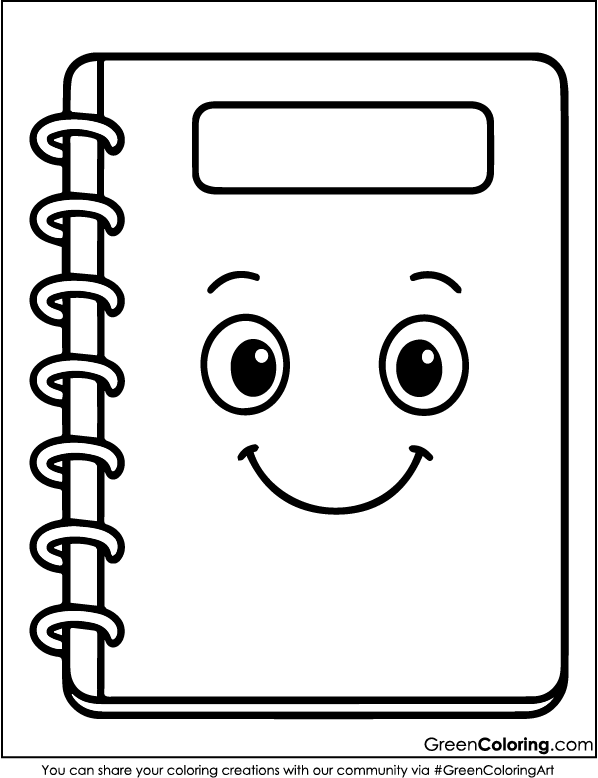
- Settle down with your child and pick small coloring page images like books, rulers, and backpacks. Lisa thought one notepad matched her teacher’s.
- Let your child color them with bright shades. This is a perfect time to chat about school hopes or even tell stories from your own school days.
- Help them cut out the pictures with safety scissors. You can cut the shapes ahead of time for your young child so they can focus on coloring.
- With a paintbrush, put glue on the jar and gently press the pictures on. Go around the jar, overlapping designs to make it look full and fun.
- Once the images are placed, paint a layer of glue or Mod Podge over the top to seal everything. Let it dry completely before using.
Creative Tip: Use it to store surprise school items or write encouraging notes and fold them inside. Mike drops in tiny paper drawings he calls “secret missions.”
5. Lunchbox Love Notes with Back to School Coloring Pages
Materials Needed:
- Small printouts from your back to school coloring pages
- Markers or crayons
- Scissors
- Pen (for parents)
Steps:
- Ask your child to look through the coloring pages and select small, cheerful images like smiling books or silly sandwiches. Let them color these images freely while you chat about their school friends or favorite lunches. Lisa once colored a sandwich pink and purple, added glitter, and named it Princess PB&J.
- Cut the colored parts into pieces that are the size of a card. Use rectangles that are about the same size as an index card so they fit easily into a lunchbox without getting bent. It’s a good time to help your child cut them if they want to and to practice snipping slowly and carefully.
- Write a note on the back of each card that will make your child smile. I like to tell silly jokes like, “Why did the pencil go to the principal’s office?” Because it was acting strange. I also sneak in some words of encouragement, like “I believe in you!” or “You’re a good friend.” For ideas on age-appropriate affirmations, visit Twinkl Blog.
- Slip one card into your child’s lunchbox each day. The look on Mike’s face when he found one of these notes for the first time made my entire day. Lisa even saved a few in her pencil case because she said they made her feel brave during math class.
Smart Tip: Take some time on the weekend to color and write a week’s worth of love notes. Put them in an envelope with a label on it so you can grab them quickly in the morning. It’s a small thing that has a big effect on how you feel.

6. School Desk Organizer Collage
Materials Needed:
- An old shoebox or cereal box
- Printed back to School Coloring Pages
- Scissors and glue
- Tape
- Optional: stickers, buttons, ribbons
Steps:
- To begin, get a used cereal box or shoebox and cut it down to the size you need. Adding cardboard dividers will let you make more than one compartment inside. When Lisa and Mike are cutting, I usually help them because thicker cardboard can be hard to cut and needs an adult’s steady hand.
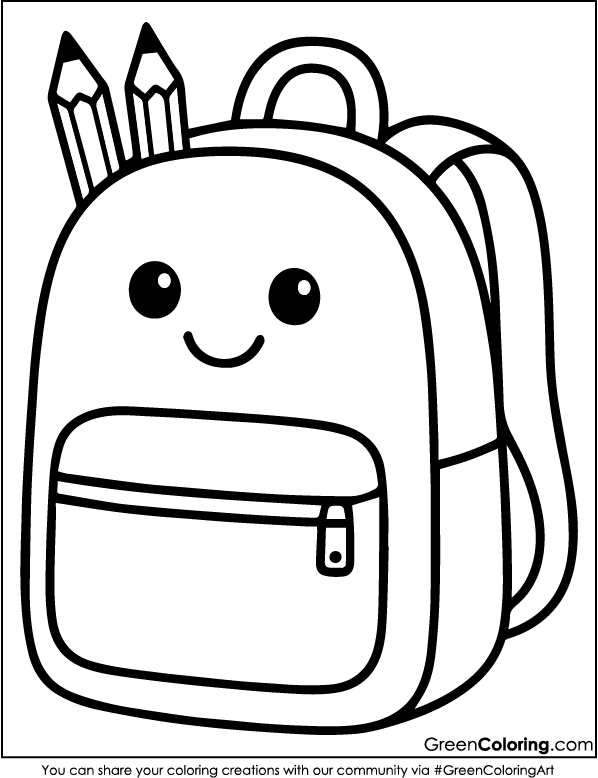
- Let your child choose a few of the back to school coloring pages and pick out items to color that match their desk supplies. Mike once picked clocks and apples for the front panel, and Lisa created an entire Hello Kitty-inspired theme with pink scissors, pastel notebooks, and stars.
- After coloring, help your child cut out the designs and glue them to the sides of the box. Encourage them to overlap pieces for a collage effect. Add buttons or stickers to make it more personal. Lisa likes adding puffy stickers and glitter tape to make hers look “official.”
- Use tape or extra cardstock to reinforce the inside walls, especially if you’re making dividers. I’ve found this step helps the organizer hold up to daily use, especially when Mike decides to stuff it full of Pokémon cards and toy figures.
- Label each compartment with fun tags like “pens,” “highlighters,” “stickers,” or “secret snacks.” This helps your child stay organized and makes clean-up a little easier. Display it proudly on their study desk or craft table. For more tips on organizing kids’ spaces, take a look at The Home Edit.
Pro Tip: Add a small slot in the front for surprise notes or weekly goals. Lisa made a note for herself that said, “Be kind and finish homework,” and it stayed there all semester.
7. Weather-Themed School Planner Cover
Materials Needed:
- Printable coloring sheet with a school scene (pick a rainy or sunny one!)
- Plastic sheet protector
- Binder or planner
- Crayons and markers
Steps:
- Pick a coloring page that goes with the season or the weather right now. Lisa chose one with falling leaves and backpacks on a cold fall day last year. Mike chose one with a summer sun design because it made him think of recess.
- Use colors that match the season, like oranges and browns for fall or blues and yellows for summer, and sit down together to color the page. This is a great time to ask your child what they like about each season. Lisa said that rainy days make her feel comfortable and creative.
- Once the page is finished, gently slide it into a plastic sheet protector. If you want to go the extra mile, laminate it for extra durability. This makes it water-resistant and prevents it from crumpling inside a backpack.
- Insert the sheet into the front cover of a binder or planner. This turns an ordinary school supply into something truly personal. Lisa wrote “My Learning Adventures” in bubble letters on hers, and Mike drew a tiny lion in the corner for bravery.
- Tell your child to change the cover art every month or season. Make it a regular event that helps them keep track of the school year and gives them something to look forward to. It also lets them think about how they’ve changed and grown over time.
Extra Fun: Include a motivational message like “You can do hard things” or “Let your light shine” at the bottom of the design. Lisa says reading that every morning helps her start the day with a smile.
Final Thoughts
These crafts are great for kids of all ages, whether they’re getting ready for the first day of school or winding down after summer. And if you want to have more fun in the summer, check out our summer coloring pages or ride through our happy bus coloring pages. Let your imagination take you on a journey as you make each school year special, one page at a time, with the help of our back to school coloring pages.
Download Free Coloring Pages:


Leave a Reply