
7 Crafts for Kids Using Summer Coloring Pages
Summer is here! And that means more time outdoors, more ice cream, and, if you’re a parent like me, more opportunities to get crafty with your kids using fun summer coloring pages. Hi, I’m James, dad of two creative minds. Lisa, who’s 11 and loves everything pink and purple, and Mike, my curious little 6-year-old who adores lions, Sonic, and all things Paw Patrol. As a former private school teacher, I’ve always looked for ways to turn simple activities into meaningful learning moments.
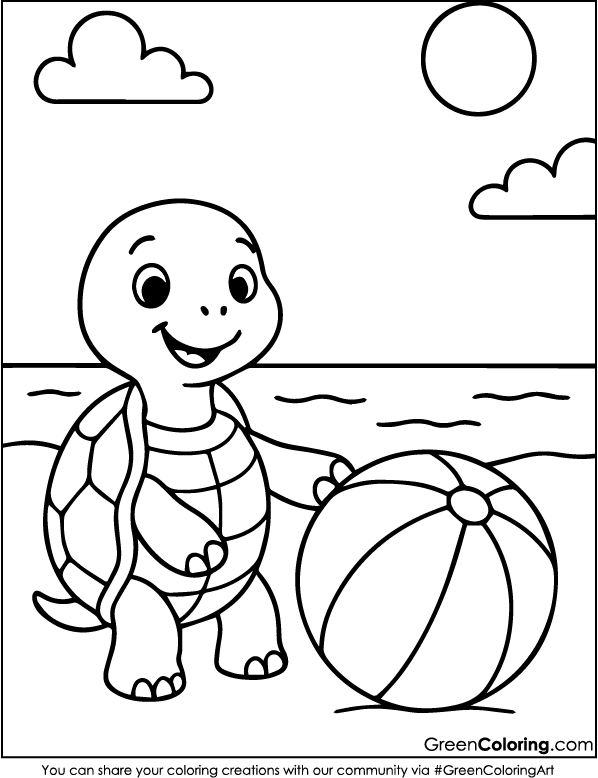
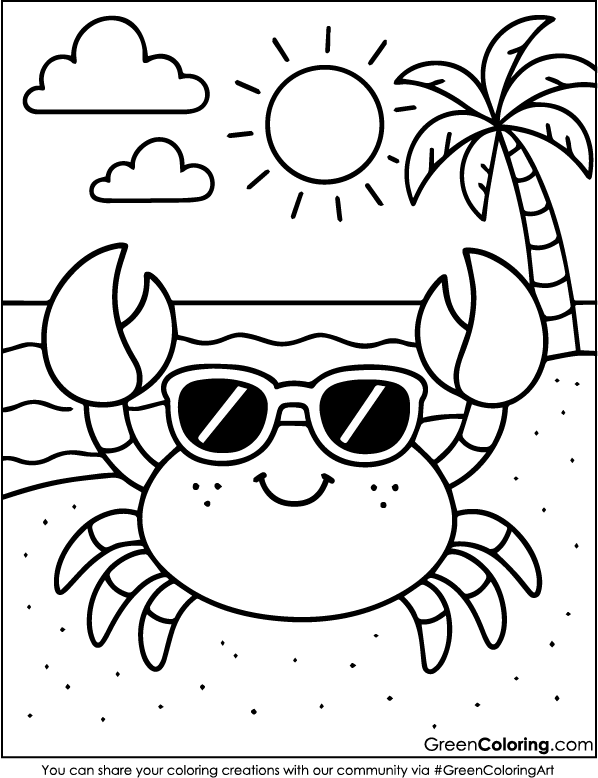
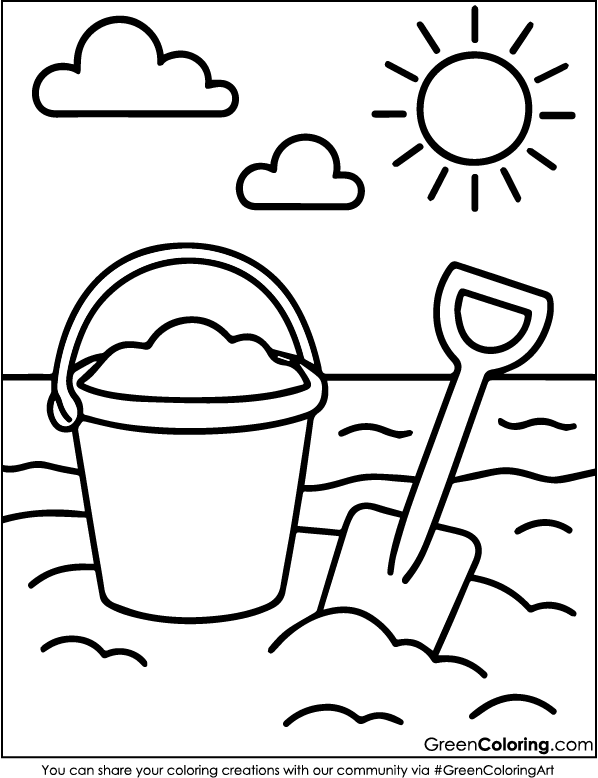
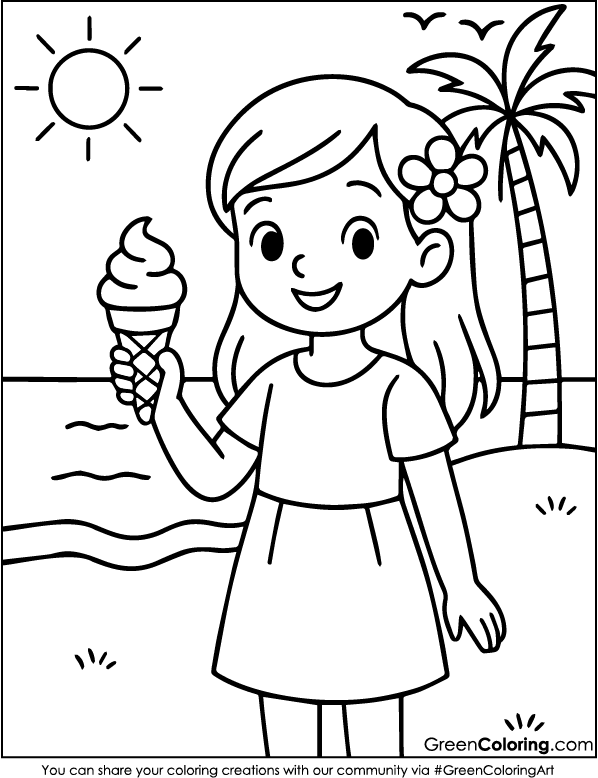
So, let me share 7 fun, safe, and creative crafts you can make using summer coloring pages. (By the way, I’ve published 28 free, printable summer-themed PDF coloring sheets you can download right below this article. Perfect for all these crafts!)
1. Summer Memory Jar
Materials Needed:
- Clean empty jar (mason jar or even an old sauce jar)
- One or two colored summer coloring pages
- Scissors
- Glue or Mod Podge
- Ribbon or string
Steps:
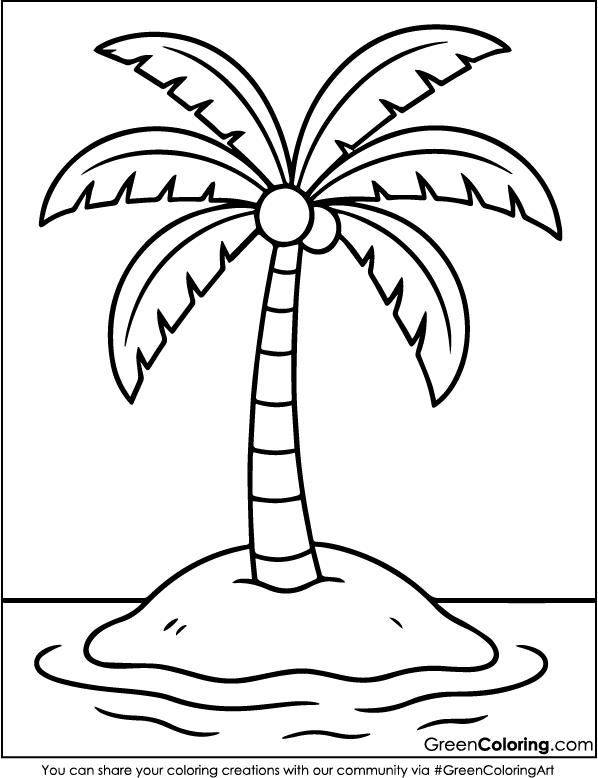
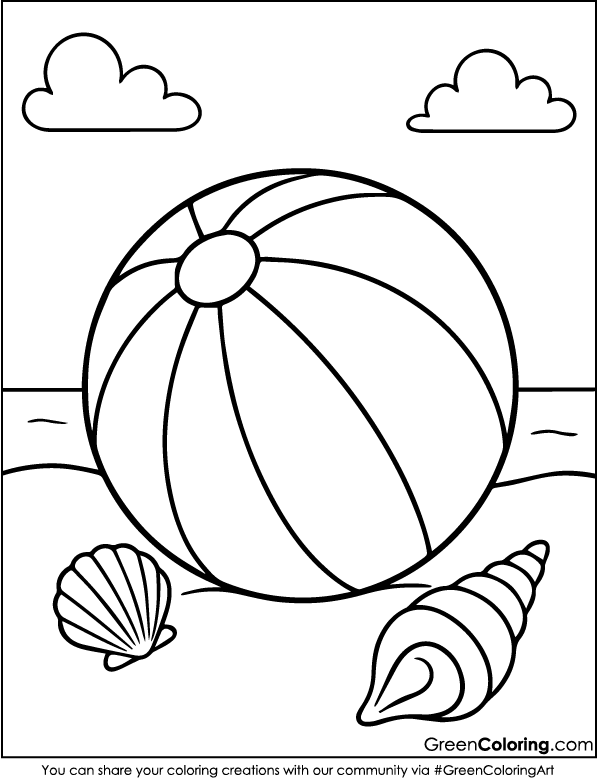
- Choose colorful summer-themed coloring pages featuring lemonade cups, beach balls, or sunshine first. Let your children color them in their preferred hues; Lisa chose pink seashells, while Mike loved coloring green palm trees.
- Carefully cut out each colored piece. If your child is still learning to use scissors like Mike, this is a perfect time for parents to step in and help.
- Use glue or Mod Podge to stick the colored cutouts all around the jar’s surface. It’s fun to overlap some and create a little collage.
- To cap off the jar, tie a ribbon or piece of string around its neck. Lisa put a bow and even glued a button in the middle for decoration.
- Ask your children then to jot down their best summer memories on little bits of paper, such as “swimming at grandma’s” or “eating watermelon in the backyard.” Fold them, then toss them into the jar.
Pro Tip: Add a little label on the jar that says “Summer 2025” to make it a keepsake for years to come.
2. Sunny Day Crown
Materials Needed:
- Printable summer coloring pages
- Headband or paper strip
- Tape or glue
- Crayons or markers
Steps:
- Choose coloring pages with cheerful summer items like the sun, clouds, flowers, or butterflies. Let the kids color them any way they like. Lisa always goes for pink and purple suns, which totally works in our house!
- After coloring, cut out each element. I helped Mike cut out his blue ocean waves and silly crab characters since he’s still practicing cutting in straight lines.
- Take a long strip of paper or use a plastic headband and start taping or gluing the colored images along it. Mix them up, placing some higher and others lower; it doesn’t have to be perfect. It’s more fun when it looks playful.
- Fit the crown to your child’s head and tape it together to secure it. Then, let the royal summer parade begin!
Fun Tip: Add a little sparkle glue or stickers to make the crown feel extra magical, especially if your kids love dressing up.
3. Ice Cream Cone Garland
Materials Needed:
- Printable summer coloring pages with ice cream designs
- String or yarn
- Tape or hole punch
- Safety scissors
Steps:
- Select a set of printable ice cream designs such that cones, scoops, and toppings mix nicely. Mike prefers to color with strong hands and occasionally veers outside the box; thus, I usually print extras.
- Let your kids color each cone with their favorite colors. Talk about flavors as you go. Lisa always draws strawberry scoops with sparkly pink crayon, while Mike insists on green-blue swirls. It makes for fun conversation and helps build vocabulary.
- Once the coloring is complete, carefully cut out each cone. Younger children might need supervision. I sit with Mike and help him navigate the tricky curves.
- Punch a small hole at the top of each cone or use tape to attach them to a long piece of yarn or ribbon. Thread them one by one, mixing and matching colors to create a vibrant summer pattern.
- Hang your finished garland in a place that makes your child feel proud, above their bed, across the kitchen, or even on the porch for a festive summer look.
Fun Tip: Add cotton balls on top of each scoop to mimic whipped cream. Lisa glued googly eyes on a few cones to make “ice cream characters.”

4. Storyboard Using Summer Coloring Pages
Materials Needed:
- Printable summer coloring pages (especially beach or castle scenes)
- Glue stick
- Construction paper (blue or tan preferred)
- Colored pencils
Steps:
- Print summer-themed sheets featuring ocean waves, sandcastles, seashells, and beach toys. Let your children paint them anyway they like. Mike gives all his crabs superhero capes while Lisa enjoys sketching small flags on top of castle towers.
- Help your kids cut out the characters and objects once they’ve finished coloring. Keep a tray nearby to hold all the pieces.
- Choose a background paper. We usually pick light blue for the sky and tan for the sand, but feel free to mix it up. Lay the pieces out without glue first so they can decide how their scene will look.
- Once the layout feels right, start gluing everything in place. Ask questions to guide storytelling. Lisa once created a tale about a sandcastle that grew magical wings and flew across the ocean. Mike added a shark with sunglasses to that story.
- Use colored pencils for last touches like footprints in the sand, sunshine rays, or speech bubbles once everything is glued down.
Smart Tip: Add a short story underneath the scene. Kids can dictate, and you can write it for them. It’s a great way to combine art and language development.
5. Summer Fan Craft
Materials Needed:
- Popsicle sticks
- Summer coloring pages
- Glue
- Scissors
Steps:
- Select a basic coloring page including big summer objects like a palm tree, watermelon, or sun. Lisa once selected a lemonade pitcher and added silver gel pen sparkly ice cubes.
- Let your kids color freely, and remind them it’s okay if they go outside the lines. Mike once made a green sun and insisted it was a “space summer sun.” That’s imagination at its best. For more insights on how coloring supports fine motor skills, visit ResearchGate.net.
- Cut the colored image into a semi-circle or fan shape. If your paper is thin, glue it onto cardboard or use cardstock from the start. This makes the fan more durable.
- Glue two or three popsicle sticks to the bottom edge of the fan to create a sturdy handle. Press them firmly and allow them to dry completely before using.
- Use the fan on hot days or during playtime. Lisa waved hers dramatically during a pretend tea party, while Mike used his to cool down his teddy bear.
Real-Life Tip: Add lavender or peppermint essential oil to the back of the fan for a refreshing scent during warm afternoons.

6. Summer Shoebox Stage
Materials Needed:
- Summer coloring pages
- Shoebox
- Colored summer cutouts
- Glue or tape
- String (optional for puppets)
Steps:
- Turn a shoebox on its side such that the opening runs forward like a small theater. Depending on what your children picture, let them color the inside with parks, beach scenes, or even metropolitan views.
- Print and color summer-themed characters like kids in swimsuits, animals with beach hats, and snacks like popsicles. Cut them out carefully.
- Tape or glue the background scene inside the box. Mike added some real sand from our backyard to the bottom, and Lisa stuck small shells to the corners.
- Attach string to the tops of the characters to make hanging puppets, or tape them to popsicle sticks for easier control. Show your kids how to move them side to side, making it feel like a real play.
- Once set, let your children come up with a short play or story. Record it if possible; it’s a memory you’ll cherish. Lisa once told a tale about a dolphin saving a lost beach ball, and Mike made up a surfer named Captain Splash.
Personal Tip: Keep a few extra characters nearby so they can change the story each time. It’s a great way to boost creativity and problem-solving skills.
7. Weather Wheel Craft
Materials Needed:
- Summer coloring pages
- Paper plates
- Brass fastener
- Scissors
Steps:
- Ask your children to color a happy sun, a rain cloud, a windy swirl, and a rainbow from different weather images. Talk about what each one means. Knowing that clouds could cover a picnic delighted Mike.
- Cut out each weather image and space them around the edge of a paper plate. Glue them down securely.
- Take a second paper plate and cut a triangular window into it. This will act as the spinner window that displays one weather image at a time.
- Top the first plate with the second, line them in the middle, and then slide a brass fastener between them so the top plate can rotate. This generates your interactive weather wheel.
- As a fun habit, use this tool every morning. Mike looks out the window to make sure the weather on the wheel matches the real one while Lisa spins the wheel.
Helpful Idea: Label each image with the word for that weather condition. This helps with early reading and word recognition. For more fun strategies to support young readers, you can visit Reading Rockets.
Final Thoughts
Making crafts using summer coloring pages creates a universe of lighthearted inquiry. Apart from being a fun hobby, it’s a mild approach to help your child to improve their concentration, inspire creative ideas, and develop practical life skills, including coordination and patience. Every project, from turning plain sheets into picnic accessories or small theaters, becomes a little narrative full of laughter, ingenuity, and education. A coloring page can soon turn into a magical moment your child will remember.
I’ve added 12 free printable summer coloring pages in PDF just below this article. These are the same ones I’ve printed at home with Lisa and Mike. You can download them anytime, print as many copies as you like, and use them in all the crafts shared here.
Looking for even more inspiration? You can also explore our free bus coloring pages, hot air balloon coloring pages, or taxi coloring pages. These can be used in similar craft projects and are perfect for transportation-themed activities, especially if your little one is fascinated by vehicles, like my son Mike, who once turned a bus coloring sheet into a rolling paper toy.
Download Free Coloring Pages:
Leave a Reply