Lisa and Mike were buried in their My Melody coloring pages last week at the kitchen table. As Lisa usually does, she carefully colored My Melody’s bow pink; Mike, always the little rebel, decided she would look better in a green dress instead. Coloring in our house is more than just a leisurely pastime; it’s a means of developing skills, igniting imagination, and above all, generating memories with our children.
If your kids love My Melody as much as Lisa does, there are lots of fun things they can do while they color. These pages give kids a lot of ways to be creative, like making greeting cards out of their artwork or using their artwork to decorate their room. Before we get into all the fun options, let’s look at how coloring My Melody can help kids learn useful skills while they have a great time.
How My Melody Coloring Pages Spark Creativity and Joy in Kids
Coloring My Melody is more than just coloring in lines; it’s an adventure that helps kids develop important skills and spark their creativity. These pages are important for kids because:
- Encourages Storytelling: Coloring My Melody is about imagination, not just about colors! Children might dress her differently, arrange a magical environment for her, or even design a whole adventure around her. Lisa once painted My Melody as a fairy princess, then spent an hour narrating to Mike about her magical kingdom!
- Teaches Patience and Focus: Instructs patience and focus since staying within the lines and choosing the appropriate colors calls for concentration. Something Mike is still working on, this is a fun approach for children to learn patience.
- Builds Confidence: Ever seen how children combine the wildest colors? This is so because coloring aids in their understanding of combinations and natural sense of color harmony development. While Mike once created a neon green My Melody (and boldly labeled it “Alien Melody”), Lisa enjoys working with pastels.
- Memory Booster: Children who color activate their visual and motor memory in their brain, enhancing their learning and recall ability.
- Promotes emotional expression by means of art: Choosing soft blues and purples can be relaxing if they had a difficult day; bright yellows and pinks accentuate happiness.
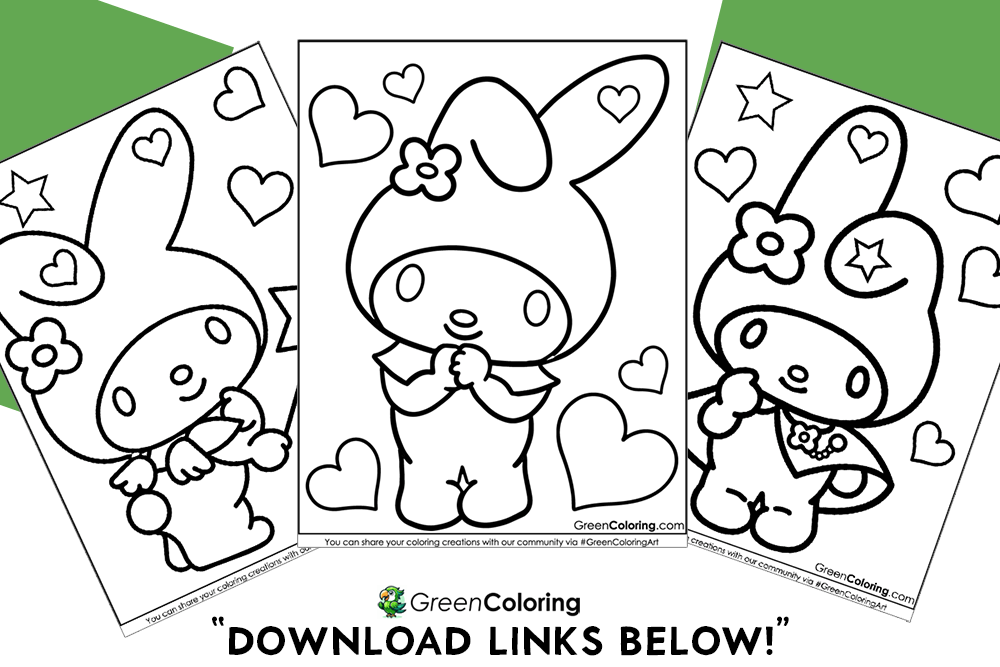
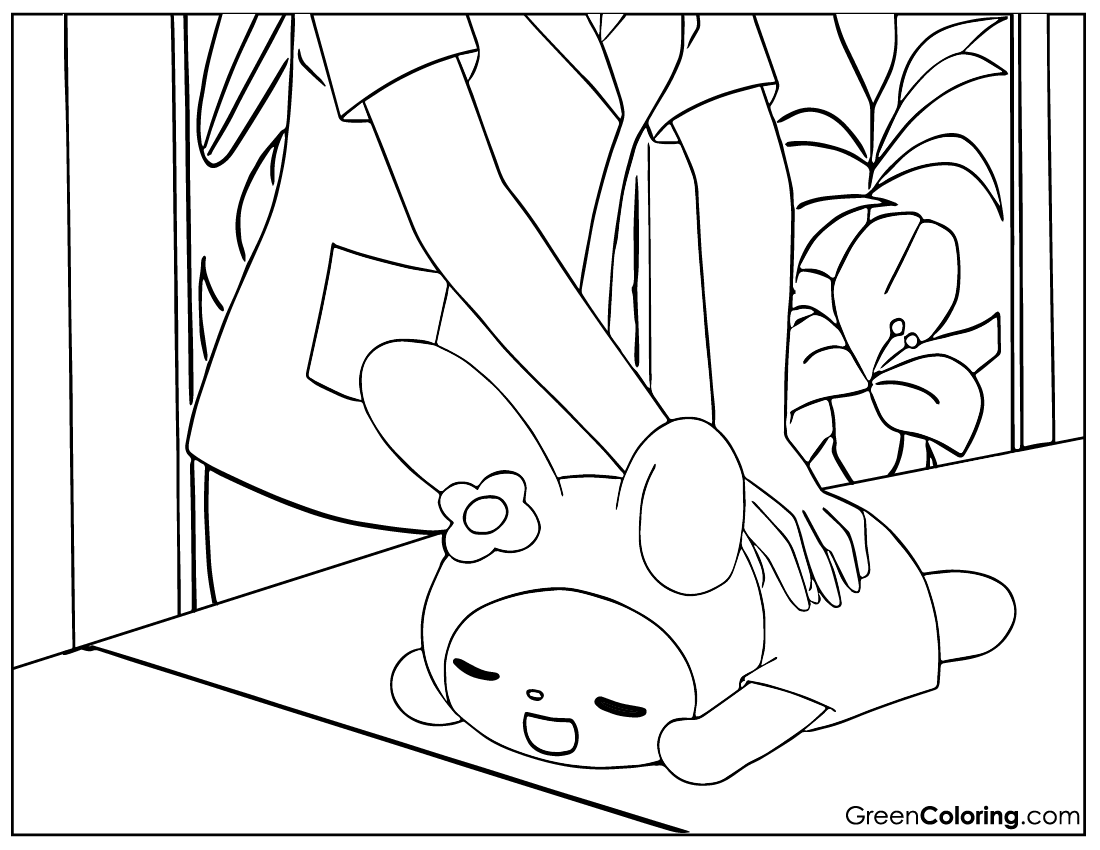
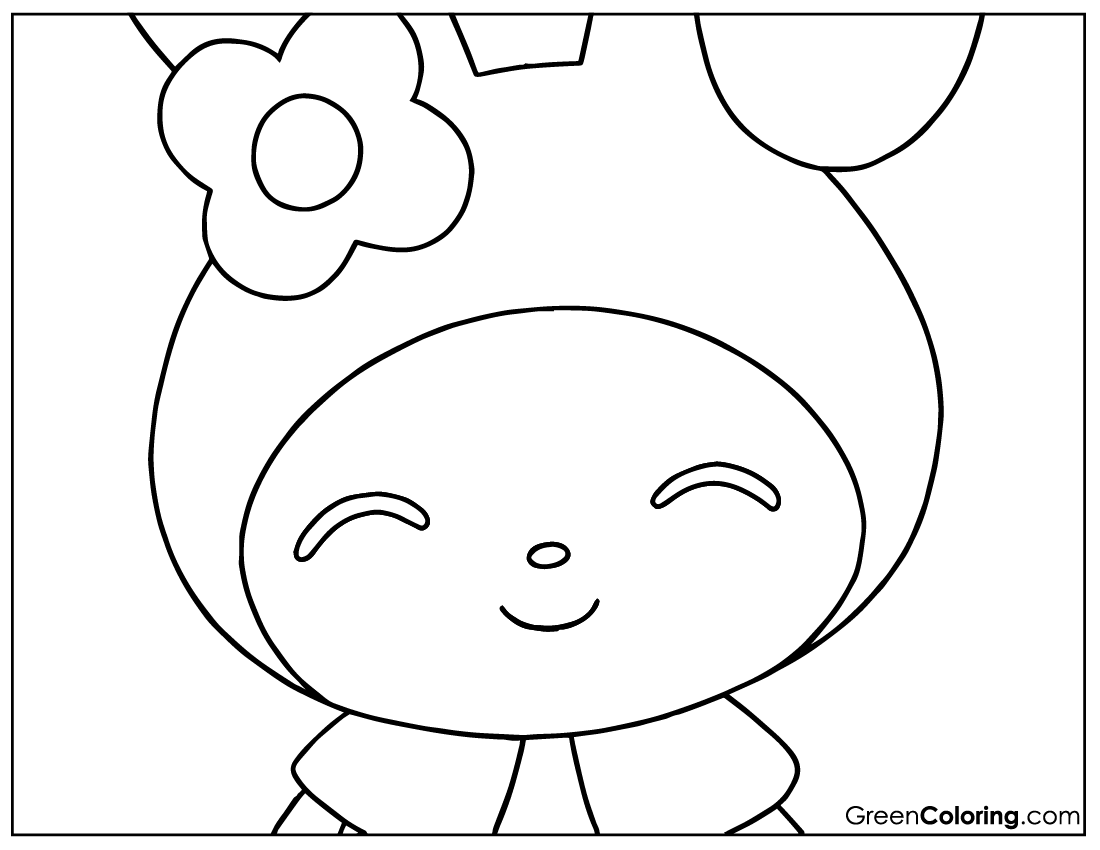
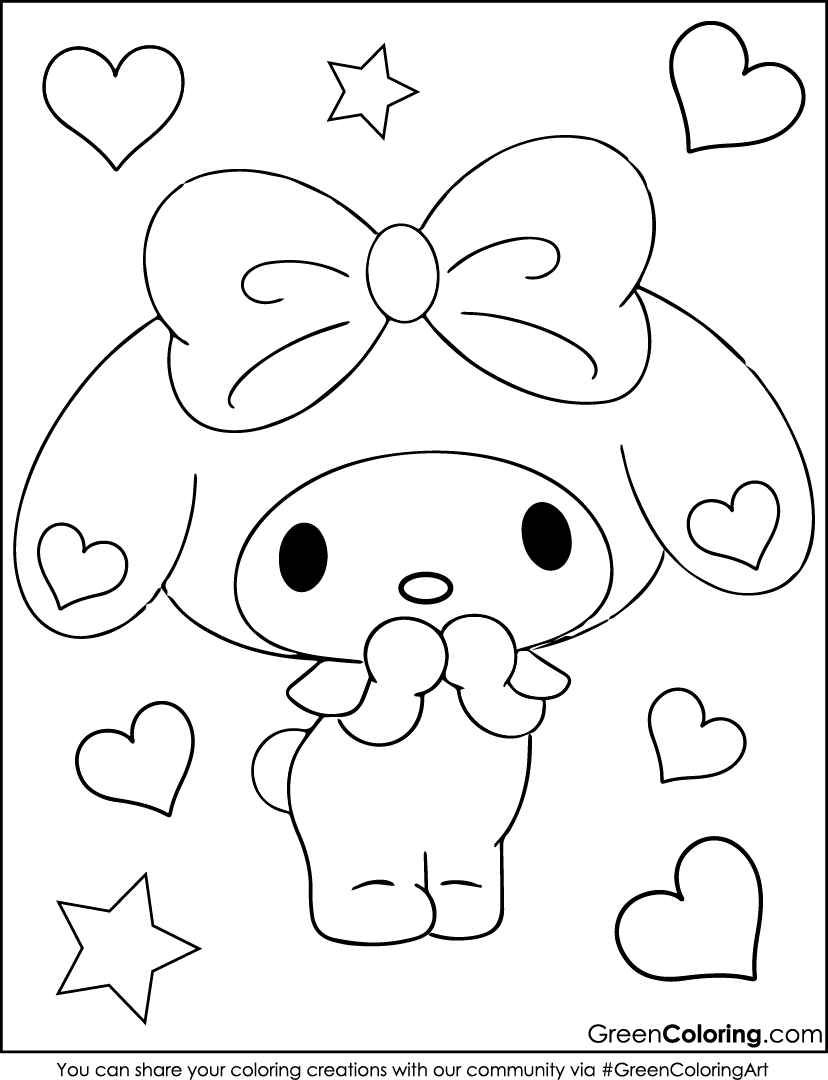
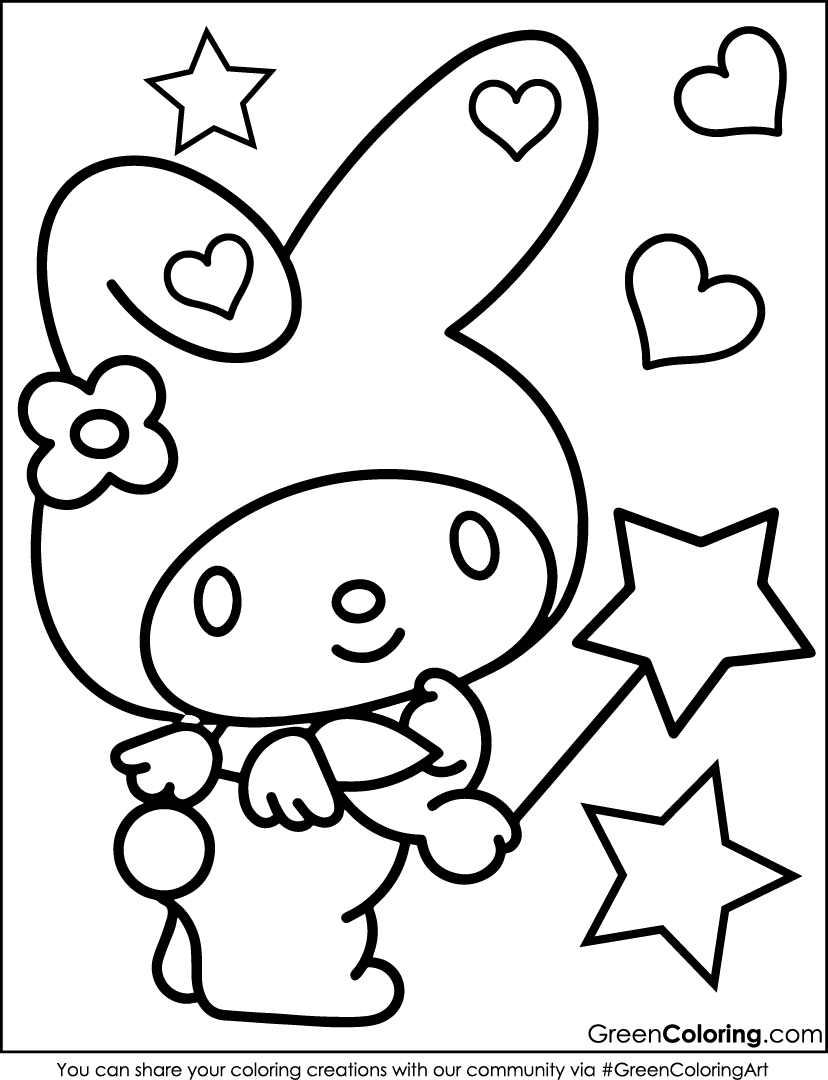
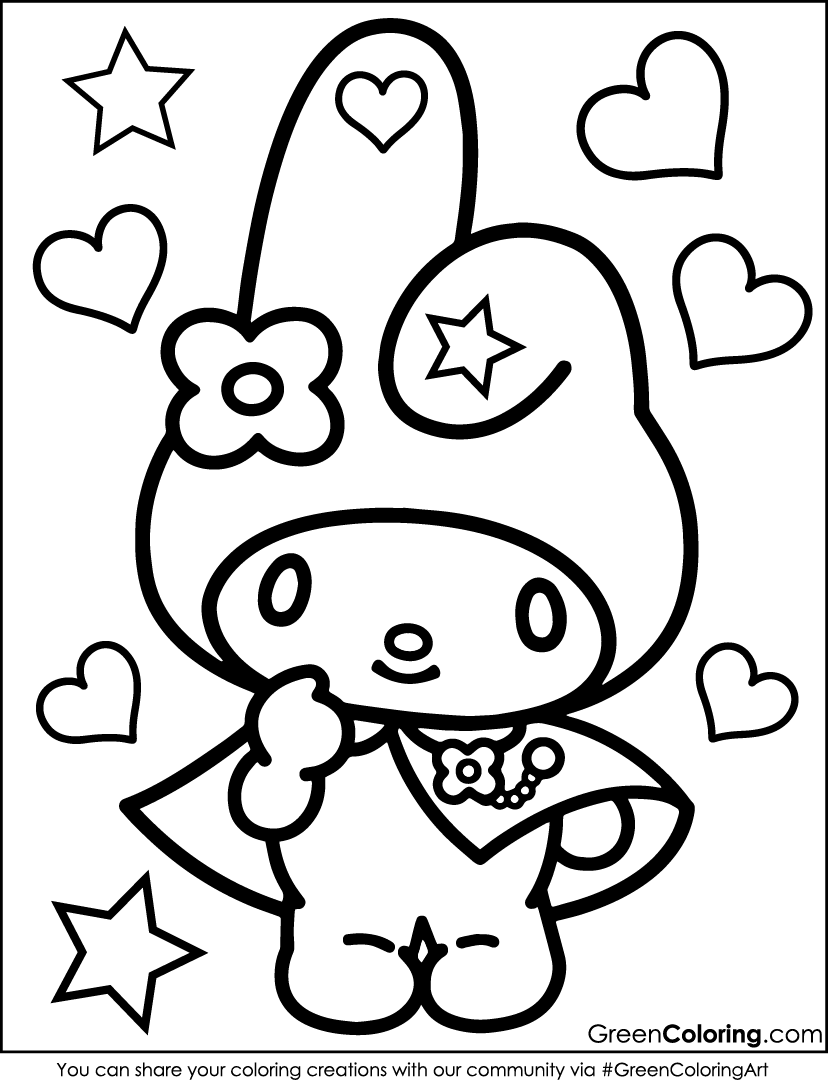
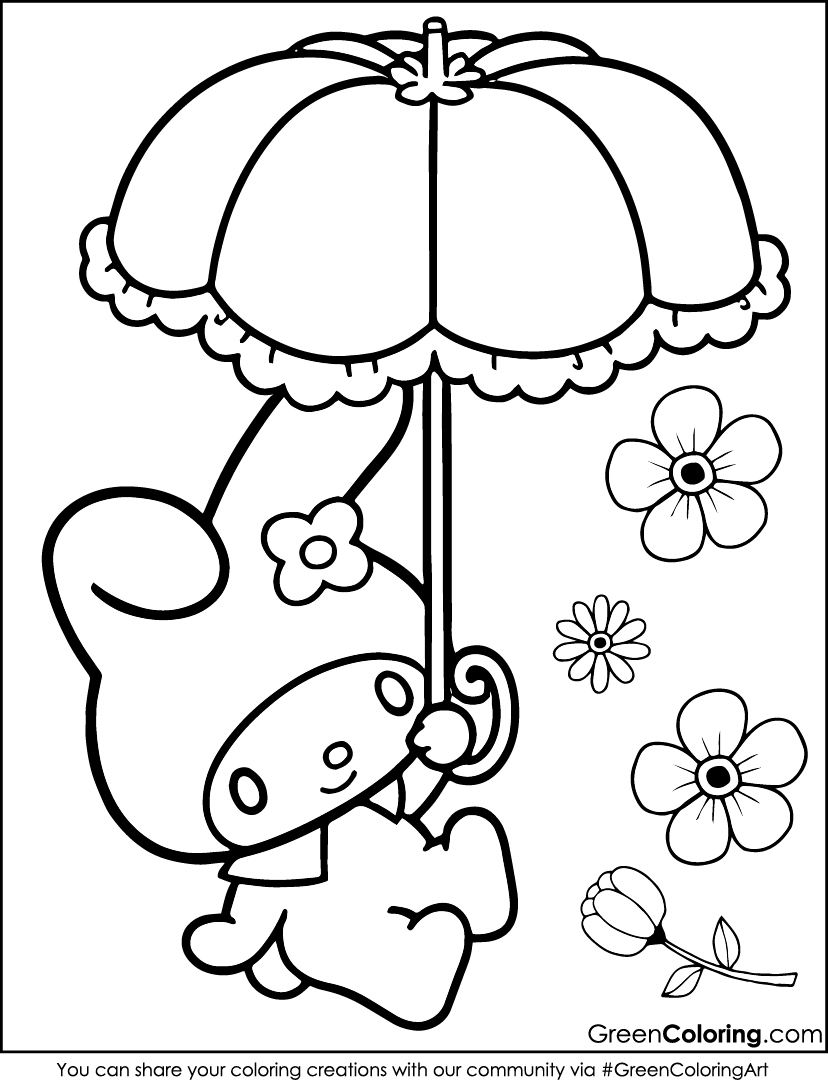
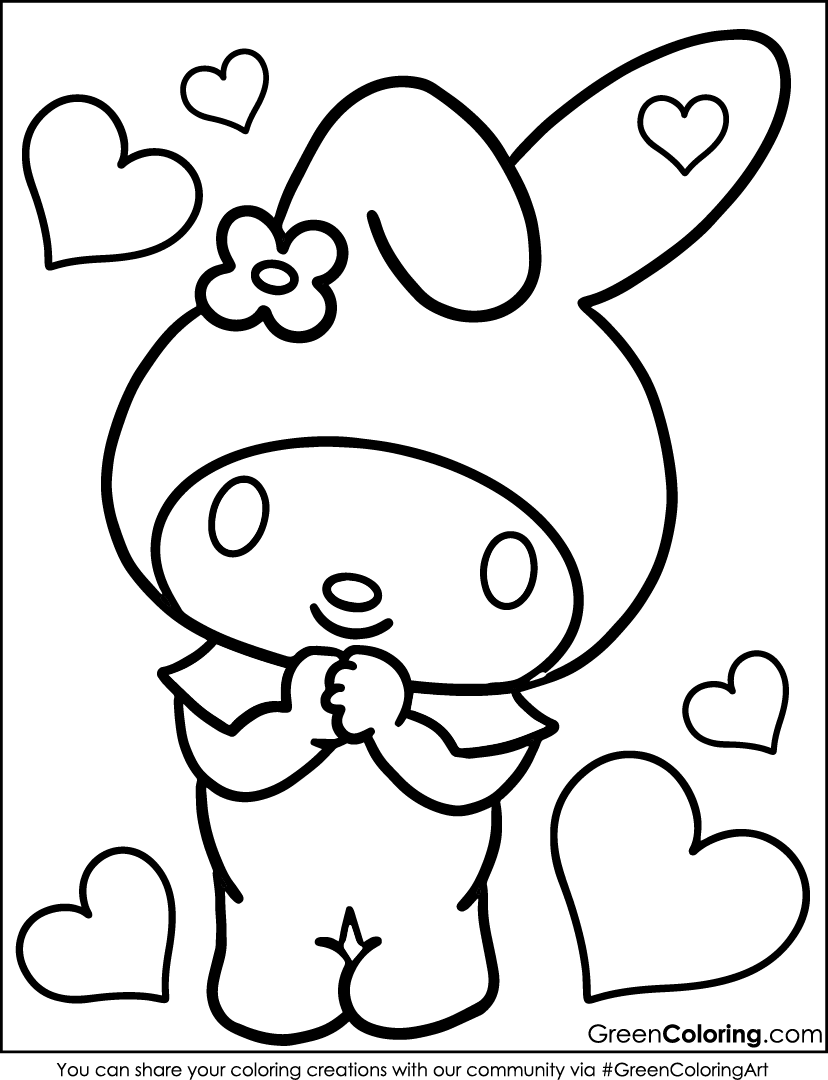
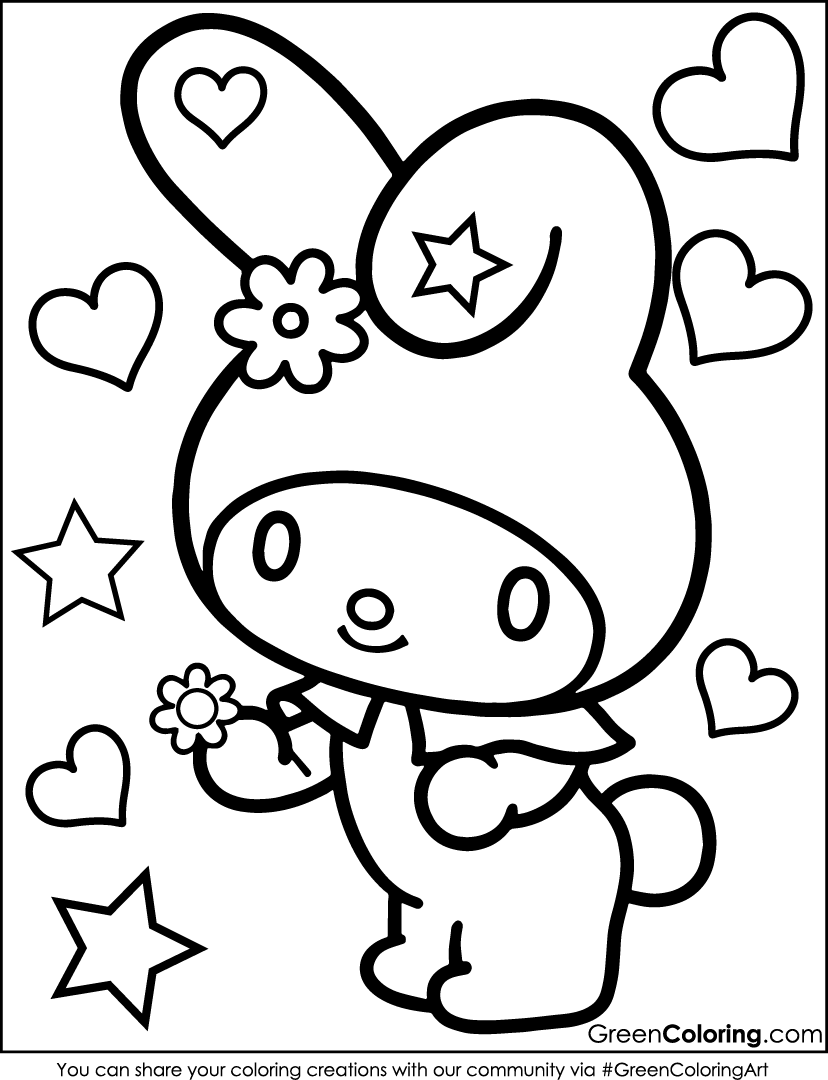
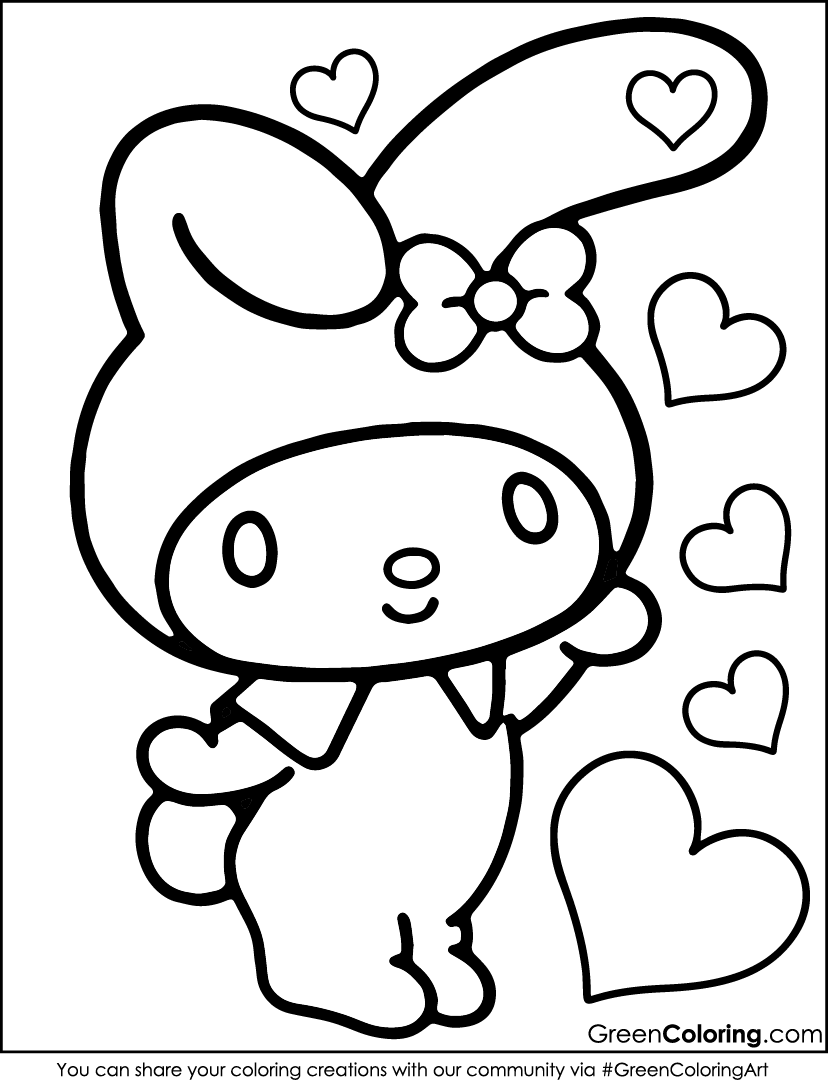
And here’s the best part. I have published 10 free My Melody coloring pages in PDF format below so your kids can jump right into the fun.
Genius Hack: No More Crayon Mess!
If your kids are like Mike and break crayons or leave them all over the place, try this: Melt crayon pieces in a silicone mold to make new crayons with fun shapes.
Download Free Coloring Pages:

8 Crafts for Kids Using My Melody Coloring Pages
Last weekend, Lisa and Mike were feeling creative, so we grabbed some My Melody coloring pages and turned them into fun crafts! Since I already published 10 free My Melody coloring pages in PDF format right above this article, you can easily print them out and join the fun. Here are eight creative crafts you can make with your kids!
1. My Melody Pop-Up Card
Materials Needed:
- Colored My Melody coloring pages (printed and colored)
- Thick cardstock or construction paper
- Scissors
- Glue stick
- Markers or stickers for decoration
Steps:
- First, fold a piece of cardstock in half. Your card will be built upon this. While Mike just grabs the first color he sees, Lisa usually chooses pink or purple; I always let her choose.
- From the coloring page, cut out a wonderfully vibrant My Melody figure. If your child is young like Mike, you would want to help cut to avoid mishaps.
- Making sure the folds are even, fold a little strip of cardstock like an accordion. This will enable My Melody to show up upon card opening.
- Glue one end of the folded strip to the inside of the card and the rear of My Melody. Press firmly; let it dry.
- Now comes the enjoyable part. Cover the card with stickers, glitter, or any creative accentuation. Lisa enjoys including small stars and hearts.
- Write a nice note within the card. Usually, we send something like, “You are as cute as My Melody!” to Emily, who always beams upon receiving one.
Fun Tip: To give the card a distinctive and polished look, run patterned washi tape around its edges!
Safety Tip: I always cut out the challenging sections while letting Mike practice on simpler shapes since he still learns how to use scissors.
2. My Melody Paper Crown
Materials Needed:
- A My Melody coloring page
- Scissors
- Glue or tape
- A strip of cardstock (long enough to fit around a child’s head)
- Markers and glitter (optional)
Steps:
- Have your child color My Melody in the hues they like. While Mike tries to keep in the lines, Lisa enjoys adding extra elements like sparkles.
- Cut out My Melody’s face and ears very carefully. Should your child be younger, help them cut to prevent any mishaps.
- Measuring around your child’s head, cut a strip of cardstock. Make sure it is neither overly tight nor overly loose.
- Glued the My Melody cutout to the front of the cardstock strip. Holding it in place for a few seconds will help it to stick correctly.
- Wrap the strip around your child’s head, then glue or tape the ends together. Let them test it on to be sure it fits.
- Add whimsical decorations including glitter, stickers, or even small bows. Lisa fashioned one for her stuffed Hello Kitty and one for herself!
Laminate the My Melody cutout before fastening it if you want the crown to be particularly robust.
3. My Melody Dream Catcher
Materials Needed:
- My Melody coloring pages
- Embroidery hoop or sturdy circular frame
- Yarn or string
- Beads and feathers for decoration
- Glue
- Hole punch
- Scissors
Steps:
- Cut out the character carefully from a color My Melody coloring page. While Mike made his extra bold with blue and green, Lisa went with soft pinks and purple!
- Cut a small circular piece of cardstock somewhat less than your hoop. Glue My Melody to the middle of this work.
- Punch little holes around the cardstock’s edges, then thread yarn through them to cross like a web. As necessary to keep it in place, tie knots.
- For a decorative element, fasten feathers and beads on the hoop’s bottom. Mike created his extra long for a dramatic impact, and Lisa loved adding glittering beads!
- Attach your dream catcher above a bed or close to a window from a loop of string at the top.
Fun Tip: For a magical nighttime impact, paint some of the webbing glow-in-the-dark.
4. My Melody Pencil Holder
Materials Needed:
- An empty tin can or toilet paper roll
- My Melody coloring pages
- Glue
- Decorative tape or stickers
Steps:
- First, clean and dry the toilet paper roll or tin can. Check to see if the tin can has any sharp edges. If it does, tape them off to keep little fingers safe.
- Let your youngster creatively and funly color My Melody. Mike prefers strong markers; Lisa enjoys using glitter gel pens.
- Cut carefully the colored My Melody page and wrap it around the can or roll. To prevent wrinkles, equally apply glue on the back.
- Press the paper hard and flatten any bubbles. Hold it there for a few minutes until it adheres strongly.
- For more flair, finish with stickers, sequins, or washi tape. Lisa enjoys glittering her own with small rhinestones!
- Before using it as a pencil holder for school supplies or even tiny toys, let it totally dry.
If your child wants a more robust holder, cover the entire design with clear tape or a Mod Podge layer to guard it from spills.
5. My Melody Paper Fan
Materials Needed:
- My Melody coloring pages
- Popsicle sticks
- Glue
- Tape
Steps:
- Hand your child a My Melody coloring page and let them embellish it with vivid hues. Mike enjoys creating strong, solid patterns; Lisa likes to mix several tones.
- Once colored, accordion-like folds the paper back and forth. To help your child press down on every fold firmly so the fan maintains its form,
- Glue two popsicles to the bottom folds of every end. These will be handles, allowing one to easily open and close the fan.
- For additional reinforcement, tape the handles; then, let everything dry totally.
- Once dry, gently open and close the fan to observe performance. On sunny days, Lisa enjoys using hers; Mike finds it funny to pretend he is a royal waving to his imaginary realm!
Fun Tip: Coloring the fan with scented markers will make it smell great for use. A fan with a lavender or strawberry scent surprises you rather nicely!
6. My Melody DIY Stickers
Materials Needed:
- Colored My Melody coloring pages
- Packing tape or clear adhesive laminate
- Scissors
- Wax paper
- Double-sided tape (if you want reusable stickers)
Steps:
- Select small My Melody pictures from the coloring pages and paint them in vibrant, interesting tones. Lisa enjoys adding sparkles, while Mike prefers using wild patterns to create his extra vivid colors.
- Carefully cut out the images. If younger kids are helping, use child-safe scissors and supervise them. Mike once accidentally snipped part of My Melody’s bow—luckily, we made it into a cool custom design!
- Lay a piece of wax paper down and place the cut-out designs on top. This will help prevent them from sticking to unwanted surfaces while working.
- Cover each image with clear packing tape, pressing down firmly to remove any air bubbles. If needed, use the edge of a ruler to smooth everything out.
- Carefully cut any extra tape around the edges to leave a small border, ensuring the stickers’ durability.
- If you are using double-sided tape, stick a small piece to the rear of every cutout so they may be quickly removed and reassembled.
- Now your stickers are ready! Lisa decorated her school notebooks, and Mike stuck his all over his toy chest (with my permission, of course!).
Genius Hack: If you use waterproof laminate, your stickers can go on water bottles and lunchboxes without getting ruined! For more creative sticker-making techniques, visit Crayola’s DIY Sticker Guide.
7. My Melody Paper Dolls
Materials Needed:
- My Melody coloring pages
- Scissors
- Cardstock
- Glue
- Markers for extra decoration
- Small Velcro dots (for interchangeable outfits)
Steps:
- Choose a My Melody coloring page and wonderfully color it. Lisa always adds whimsical elements like glitter shoes, and Mike enjoys dressing her in superhero gear.
- Cut the My Melody figure very precisely. If using thinner paper, first glue it onto cardstock for strength before cutting.
- On extra paper or coloring pages, sketch and cut out several clothing designs. Let your children be creative; Lisa created a princess dress, and Mike created a firefighter’s outfit!
- Add little fabric bits, glitter, or stickers to accentuate the ensembles. The more original, the better!
- Attach little Velcro dots to the doll and the clothes pieces if you wish for changeable outfits. Children can thus quickly combine and match styles.
- Let the dress-up fun start once everything is set. Lisa and Mike alternated in writing short tales around their dressed-up My Melody figures.
- To keep the clothing orderly for the next performance, store it in a little envelope or box.
Fun Tip: The paper dolls will last much longer if you laminate My Melody and the clothes before adding Velcro! For more paper doll templates and customization ideas, check out First Palette’s Paper Doll Projects.
8. My Melody Wall Garland
Materials Needed:
- Several My Melody coloring pages
- String or ribbon
- Hole punch
- Scissors
- Beads (optional for extra decoration)
Steps:
- Select and accentuate several My Melody coloring pages are organized in a theme. Mike went for a rainbow mix; Lisa wanted a pastel princess feel!
- Cut off each one. My Melody designs meticulously to ensure they match in scale so the garland appears balanced.
- Make holes at the top of each cutout using a hole punch. Adults should handle this part; if you do not have a hole punch, gently poke a hole with scissors.
- Evenly space the cutouts on a string or ribbon. Use little knots to secure them if they slide excessively.
- Between every My Melody image, add beads for additional embellishment. Mike went with glow-in-the-dark beads while Lisa chose glittering beads!
- To keep everything in place, knot strong ties at both ends of the string.
- Hanging your garland across a wall, window, or door will create It creates a lovely accent for every child’s room!
Laminate the My Melody cutouts before stringing them so they last longer and may be used several times.
These My Melody crafts were a huge hit at home! Lisa adored making the paper crown, pretending she was a Hello Kitty princess, while Mike had the most fun playing with the paper fan. We later mixed in a few Kuromi and other Sanrio coloring pages to keep the fun going, and it turned into a full afternoon of laughter and creativity.
I hope you and your little ones enjoy these crafts just as much as we did. Do not forget, I have published 10 free My Melody coloring pages in PDF format right above this article, so be sure to download and print them for more crafting fun. Let me know in the comments which craft your kids loved the most.
Leave a Reply