7 Crafts for Kids Using Helicopter Coloring Pages
On a rainy afternoon, Lisa and Mike, my two kids, and I were stuck at home. To pass the time, we printed out a few simple helicopter coloring pages. What came next was one of our favorite craft days ever as a family. With just paper, crayons, and our imaginations, we made a world of flying fun, from make-believe rescue missions to glowing window suncatchers.
So, in this article, I’ve put together our 7 favorite helicopter crafts. They are all simple and fun to make. Additionally, I have provided 28 free helicopter coloring pages for you to download and print below to assist you in starting.
1. Helicopter Rescue Play Mat
Materials Needed:
- Printed helicopter coloring pages
- Large sheet of cardboard or craft paper
- Glue stick
- Crayons, markers
- Scissors (safety scissors for kids)
- Cotton balls, string, and tape
Steps:
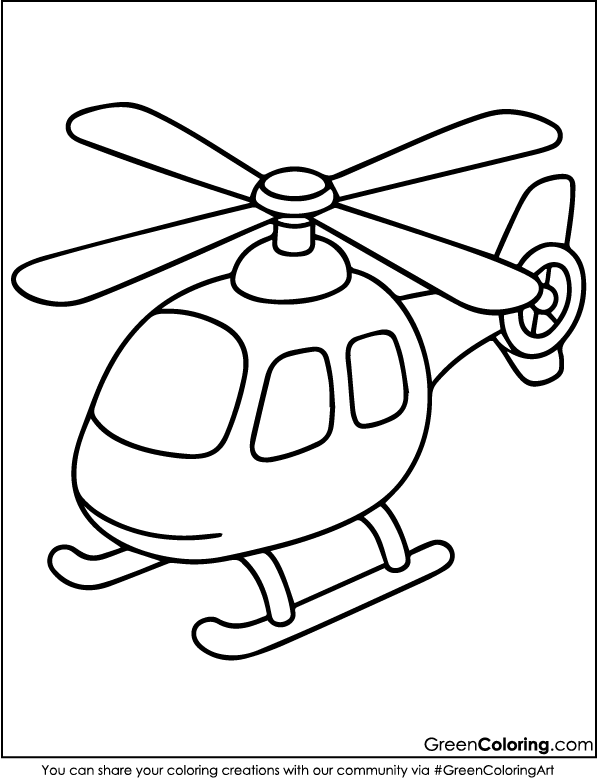
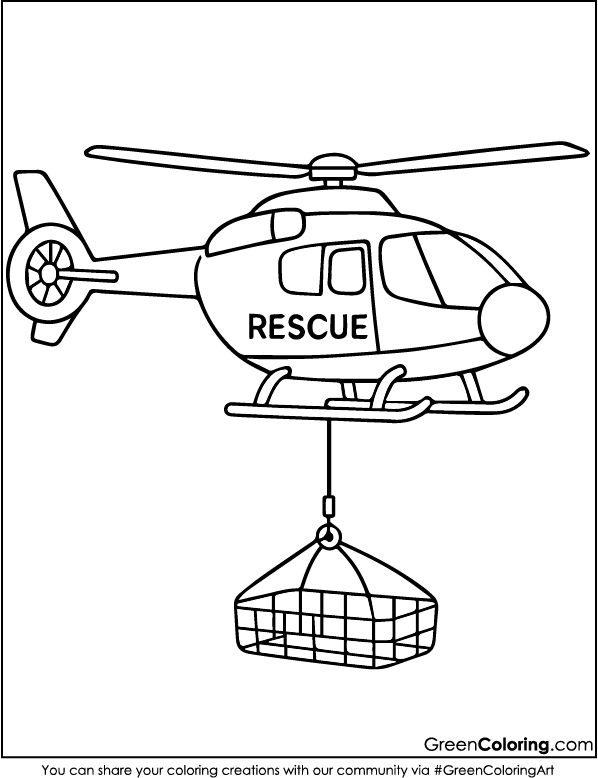
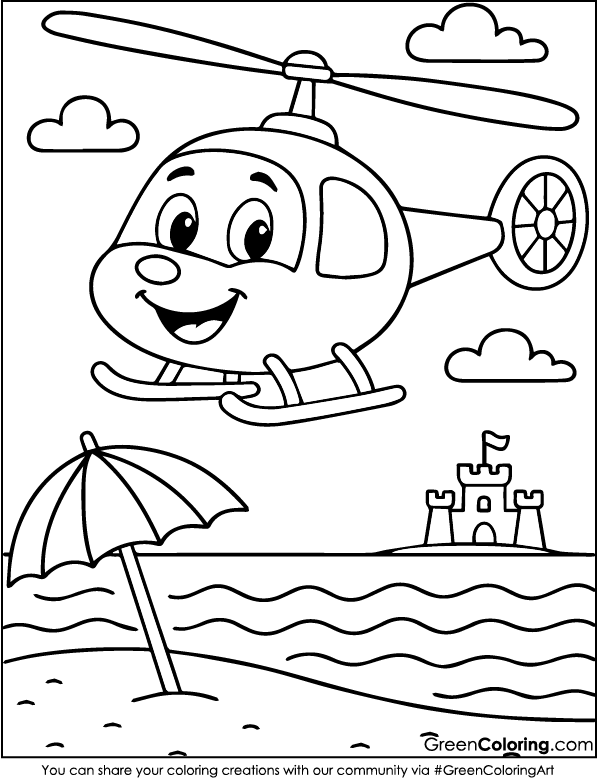
- First, have your kids pick out and color their favorite helicopter coloring page from the PDF file below. Mike, my son, always picks the one with the big rescue blades because it makes him think of his favorite cartoons.
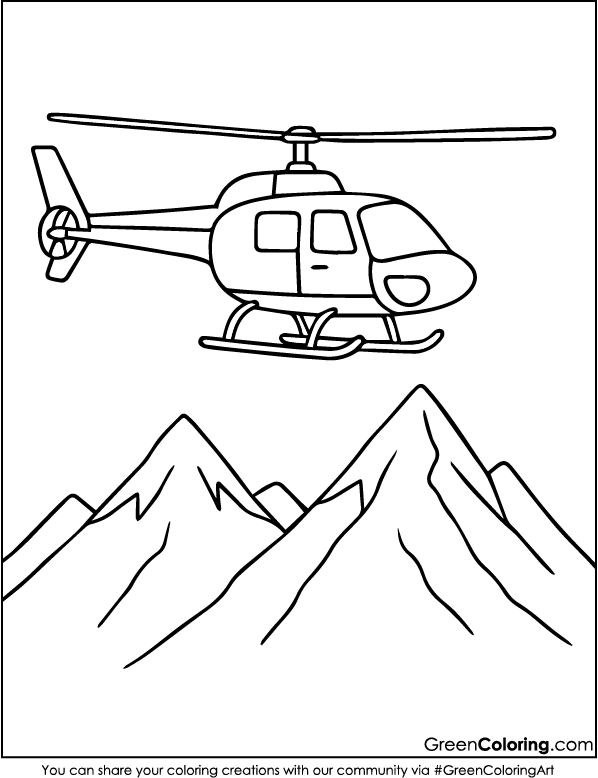
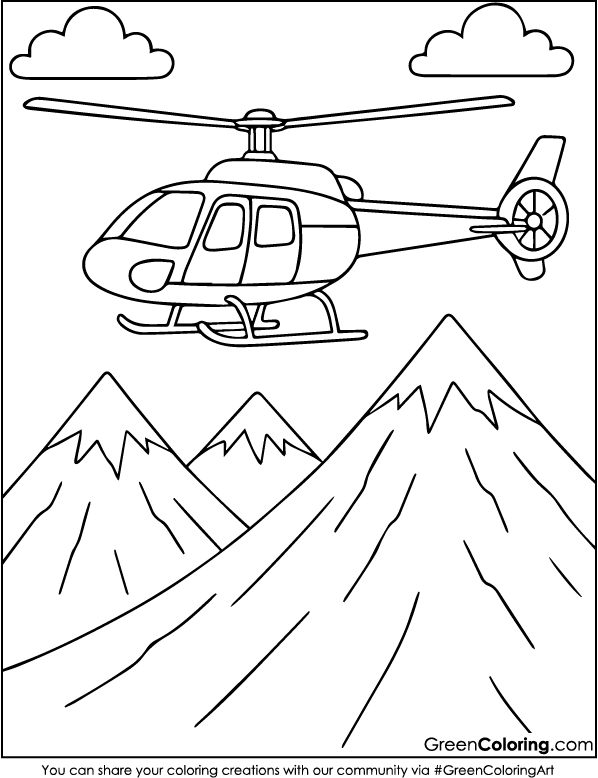
- While the coloring is in progress, grab a large cardboard piece and draw a basic landscape: a mountain, river, road, and a landing pad.
- Once your child has colored the helicopter, help them carefully cut it out. I do this part for Mike because he’s still learning how to use scissors.
- Use glue to attach the helicopter to a string, and tape the string to the top edge of the play mat. Now your helicopter can fly across the scene during rescue missions.
- Give the kids cotton balls to use as clouds, and let them use their hands to move the helicopter around.
Pro Tip: Make little stick figures of people who need help. This makes the mat come to life and the stories more fun.

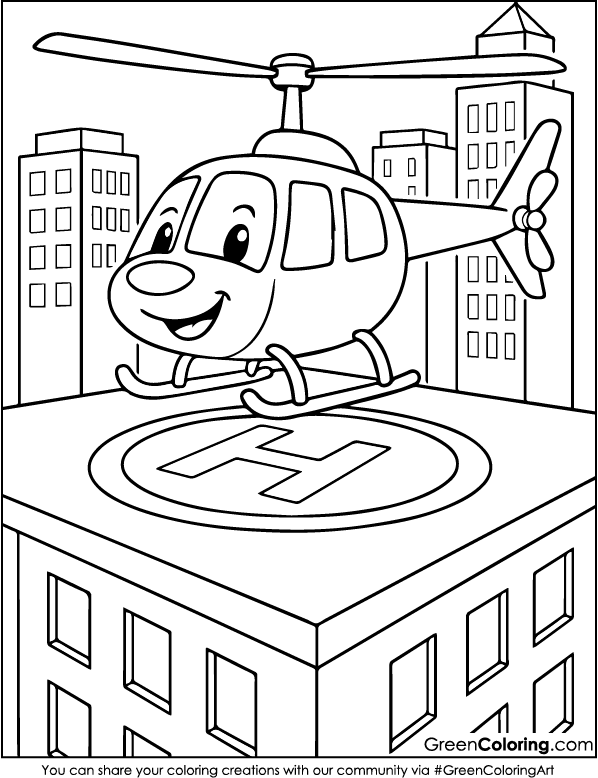
2. Helicopter Landing Strip Craft
Materials Needed:
- Printable helicopter coloring pages
- Paper plates or cardboard circles
- Markers and paint
- Tape and safety scissors
- Plastic cups or building blocks
Steps:
- Sit together and select your preferred helicopter coloring page first. Lisa always adds her signature sparkle with stickers and selects the one with more details. Mike likes something more exciting, usually coloring his in green and blue.
- After coloring is finished, cut a circle out of cardboard or a paper plate. To mimic a real helicopter landing pad, draw a large letter “H” in the middle with a thick marker. We once searched online for actual helipads to get the font and spacing exactly.
- Decorate the plate with paint or markers. Lisa likes to add glitter borders, while Mike once painted his landing pad all green and added stickers of lions and Sonic because “they help land the chopper safe.” This step brings a lot of personality and creativity.
- Use plastic cups or small blocks to lift the landing pad off the ground. Tape or glue them underneath to create a raised platform. This part can get a little wobbly, so make sure it’s stable. Mike once made his so high it looked like a floating island!
- Attach the colored helicopter nearby using tape or a little string. Then, let the role-playing begin. We’ve spent entire afternoons pretending to rescue animals and deliver surprise gifts from the sky.
Fun Tip: Add sound effects and storylines. Lisa always says, “Princess Chopper requesting to land!” and Mike does a dramatic crash landing with whirring noises. It becomes a full theatrical performance!
3. Helicopter Sun-Catcher
Materials Needed:
- Helicopter coloring pages
- Scissors and clear contact paper
- Colored tissue paper
- Black construction paper
- Tape
Steps:
- Now let your child color their helicopter with big, bright colors. Lisa used a mixture of pink and purple colors, and Emily loaned her a shiny gel pen. Because it was a sunny Sunday, we worked on it while sitting by the window.
- Carefully cut out the helicopter outline. If your child is younger, like Mike, they might need help here. Last time, I guided his hands with mine, and he was so proud to do it “like Daddy.”
- Lay a piece of contact paper sticky side up. Place the helicopter cut-out in the center and start filling the open areas with torn tissue paper in various colors. Lisa made a rainbow swirl pattern, while Mike just said, “Mine’s a Sonic-powered chopper!”
- Once filled, seal it with another layer of contact paper and trim any extra edges. The sticky part might be tricky, so help younger ones with lining up the sheets.
- Use tape to stick it on a window. When the sun hits it, the colors glow beautifully. We made ours during a cold winter day, and it brightened up the whole room.
Pro Tip: Talk about how sunlight passes through colors. It becomes a science lesson wrapped in art. Plus, hang several together to make a sky full of helicopters!
4. Helicopter Magnet Maze
Materials Needed:
- Helicopter coloring pages
- Small magnet
- Metal baking tray
- Craft sticks or straws
- Glue and tape
- Paperclip
Steps:
- Attach a paperclip to the back of your child’s colored helicopter. To secure it and make it look like a badge, we use a small piece of washi tape.
- Get a metal baking sheet and begin constructing a labyrinth out of craft sticks or snipped straws. Set them down in curved and path-like patterns. Mike used to make one that included a parking lot and a snack area in the middle.
- Hold a magnet under the tray and put the helicopter inside the maze. Slowly move it to help the helicopter get through the maze. Every time Mike says, “Rescue mission activated!”
- Adding obstacles or play areas will make it more fun. We made tiny cardboard homes and had supplies dropped off by helicopter.
Genius Hack: Set a timer and tell your kid they have to finish the mission in less than a minute. You can learn magnetism and coordination while having fun with this game!
5. Helicopter Wall Art
Materials Needed:
- Helicopter coloring pages
- Frame or construction paper for border
- Glue, scissors
- Buttons, glitter, or other decorations
Steps:
- Choose one of your child’s most carefully colored helicopter coloring pages. Let them feel proud of their art. One day, during a quiet rainy afternoon, Lisa spent nearly an hour adding glittery propellers and heart-shaped windows. She told us, “This is going in my fancy museum!”
- Carefully cut out the helicopter and glue it onto a brightly colored background. We like bold blue for the sky or even a hand-drawn sunset. Encourage kids to draw clouds or even add little rainbow stickers. Mike once made a night sky with glow-in-the-dark stars.
- Get creative with embellishments. Add cotton balls for clouds, sparkly stars made from foil, or buttons as wheels. Lisa even made tiny banners trailing from the helicopter with messages like “You Rock!”
- Once complete, you can frame it using an old photo frame or simply add a paper border. Then, hang it proudly on the wall or gift it to a grandparent. During bedtime, we always stop to admire their “gallery,” and it sparks so many fun conversations.
Pro Tip: Rotate wall art monthly. It keeps your child excited and inspired, and you can store previous artworks in a scrapbook as a keepsake. You can even find display ideas on websites like Crayola’s project section to create a themed art wall at home.
6. DIY Helicopter Puppets
Materials Needed:
- Helicopter coloring pages
- Popsicle sticks
- Glue or tape
- Safety scissors
Steps:
- Give the children free rein to color their helicopter coloring pages any way they desire. Let your imagination run wild! Without fail, Lisa adorns the windows with cheerful pilots and occasionally even a feline traveler. “Thunder Copter” was the name Mike gave his helicopter when he once covered it in lightning bolts.
- After coloring, carefully cut out the helicopters. I always help Mike with tricky edges since we treat it like a teamwork mission. He’s the commander, and I’m the assistant. It makes him feel responsible and boosts his confidence.
- Glue or tape the cut-out helicopter onto a popsicle stick. Press it for a few seconds to make sure it holds well. Lisa loves pretending the stick is a launchpad countdown.
- It’s time to act! Put together a little puppet show. As a stage, we use pillows or the couch, and toys come in to save the day. Lisa flew in with her sparkle helicopter, and Mike dropped marshmallows as supplies to save Hello Kitty from a lava island one time.
Smart Tip: Make a puppet show out of a cardboard box. Kids can draw stars, clouds, or even scenes from their favorite books on it. You can record the show and share it with family and friends. It helps you be more creative and tell better stories.
7. Helicopter-Themed DIY Puzzle
Materials Needed:
- Helicopter coloring pages
- Cardboard
- Glue
- Scissors or craft knife
Steps:
- Start by letting your child color a helicopter sheet with their full imagination. Afterward, glue the page onto a piece of sturdy cardboard. We like to press it under a heavy book while it dries so there are no bubbles. Lisa calls this the “puzzle press machine.”
- Once dry, flip it over and draw puzzle piece shapes. Keep it simple for younger kids, around 4 to 6 pieces. Older children like Lisa enjoy a challenge with 12 or more. Let them design the puzzle layout themselves; it’s great spatial reasoning practice.
- Cut along the lines using safety scissors or a craft knife (adults only). Mike loves watching the pieces separate and always guesses which piece is the tail or the propeller.
- Time to play! Have your child mix the pieces and reassemble their own puzzle. Mike once solved his in under three minutes, jumped up, and declared himself “Captain Puzzlebrain!”
Pro Tip: Store each puzzle in a labeled zip bag with your child’s name and the date. Over time, they’ll build a fun collection of custom-made games to revisit. You can find more craft inspiration like this from trusted sites such as PBS Kids.
Making these crafts isn’t just about coloring and cutting; it’s also about being creative, having fun, and making memories. Lisa treasures her pink suncatcher, and Mike still talks about his shadow puppet helicopter show. You can also explore other flying adventures with our paraglider, blimp, and rocket coloring pages for even more sky-high creativity.
Download Free Coloring Pages:

Leave a Reply