Fun Crafts for Kids Using Coloring Pages
Coloring pages aren’t just a fun way to pass the time; they can be the start of many creative projects. Making a personalized bookmark, a homemade puzzle, or a colorful suncatcher from a coloring sheet is just one of many fun ways to improve it. It’s not just cutting and pasting that these little projects do; they make real memories. Lisa, Mike, and I have spent a lot of time making things together, and seeing their proud smiles when a craft comes to life is the best thing ever.
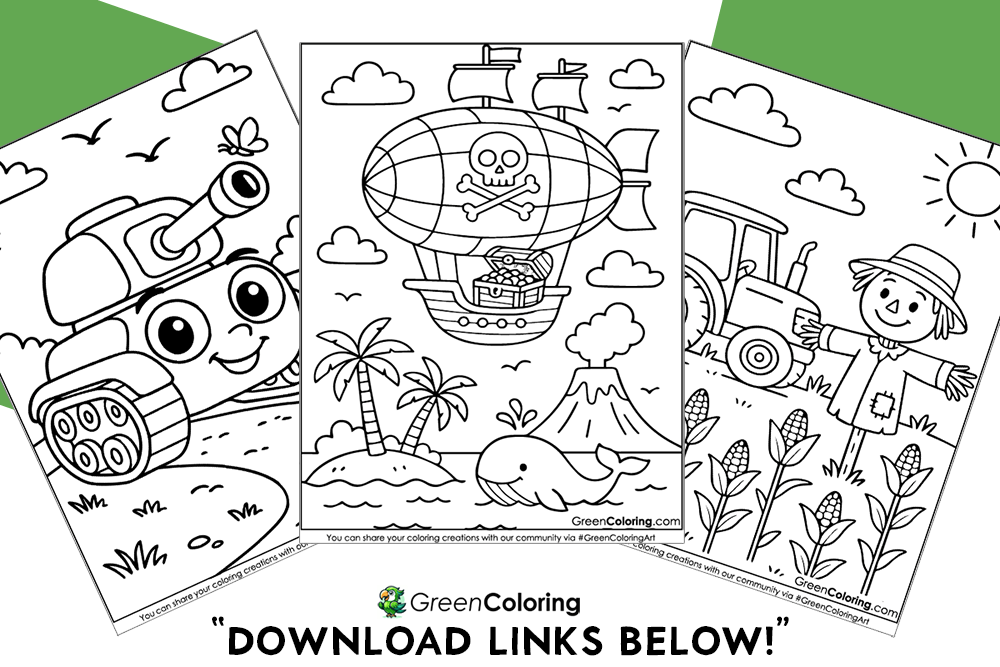
Before we start, though, you’ll need some coloring pages. We’ve got you covered, because our website has a lot of beautiful, high-quality collections, from Color & Celebrate to Animals to Vehicles & Transportation. You can look at the ones below or use the search box to find the one you like best.
So, grab your crayons, markers, and scissors, and let’s turn those pages into something amazing!
Download Free Coloring Pages:


1. DIY Puzzle Coloring Craft
Materials Needed:
- Printed coloring pages
- Scissors
- Glue (optional)
- Cardstock or thick paper
- Markers or crayons
Steps:
- Initial Pick a coloring page that interests your kid. When I let Mike choose, he quickly chose one with lions on it because he loves such animals. When Lisa was choosing, she chose a Hello Kitty design because pink is always her favorite color.
- Coloring the page with crayons, markers, or colored pencils is a good idea. Assist them in being creative and mixing colors. Lisa loves to add glitter glue to make her papers sparkle, and Mike colors outside the lines sometimes, but that’s part of the fun.
- After coloring, glue the page to a thick piece of paper or cardstock. This will make the puzzle last longer and be simpler to put together.
- Remove the picture from the board and cut it into puzzle pieces. For younger kids, cut it into big, easy shapes. For older kids like Lisa, make the pieces smaller and trickier to make it harder. Mike was so excited that he started putting his puzzle pieces together before we were even done cutting them.
- Shuffle the pieces and challenge your child to put the puzzle back together. If they get frustrated, give them a small hint but let them work through it. Watching Mike’s determination was so rewarding!
Genius Tip: If you want the puzzle to last longer, consider laminating the pieces. You can also add small Velcro dots on the back and attach them to a felt board for an interactive experience! For more inspiration, you can check out PBS Kids’ craft ideas—they have tons of creative activities that kids love.
2. Personalized Bookmarks
Materials Needed:
- Printable coloring pages
- Scissors
- Hole punch
- Ribbon or yarn
- Laminator (optional)
Steps:
- Give your kids the freedom to choose a coloring page that best suits their individuality. Mike chose one with a Sonic theme, and Lisa chose one with a princess motif.
- They should color the section that will become a bookmark. Encourage them to add little details like stickers or doodling to make it uniquely theirs. Mike, an animal lover, decided to sketch a tiny paw print, and Lisa wrote her name in cursive using a pink gel pen.
- You can make a real bookmark by cutting the colored part into a long, narrow rectangle. Don’t make it too big or too small. It should fit inside a book.
- Make a hole punch at the top and allow your child to thread a ribbon or yarn through it. The ribbon looks especially lovely when tied in a tiny knot. Mike insisted on using a green shoelace he found, which unexpectedly looked cool, while Lisa went with a shiny pink ribbon.
- (Optional) Before punching the hole, laminate the bookmark for added durability. This lessens the likelihood of spills and wear over time.
Fun Tip: Add a motivational quote or fun phrase on the bookmark! Lisa wrote “Dream Big!” on hers, and Mike wrote “Go Fast!” because he thinks he is Sonic!
3. Storytelling Flipbook
Materials Needed:
- Several printable coloring pages
- Stapler or hole punch with binder rings
- Crayons or markers
- Stickers (optional)
Steps:
- Ask your child to select a few coloring pages that present a short narrative. For instance, Mike selected a courageous lion embarking on an adventure, while Lisa selected a princess meeting a unicorn.
- Allow them to color each page while guiding them to come up with a narrative as they do so. As Lisa colored, she delighted in telling her story, detailing the princess’s enchanted adventure. Mike roared with excitement as he colored his lion!
- Cut all the pages to the same size so that they stack evenly. Let your child cut out small shapes from another piece of paper and glue them on the pages if they want to add more things.
- Use hole punches and binder rings for a more flexible flipbook, or stack the pages in order and staple them together at the side.
- Have your child read their story aloud, flipping through the pages. This is a fantastic way to encourage storytelling skills and creativity! For more fun ideas to spark storytelling, check out Reading Rockets’ storytelling activities; they’re packed with playful ways to boost kids’ imagination.
Pro Tip: Let your child add speech bubbles or small captions under the pictures to bring their flipbook story to life.
4. Window Sun Catchers
Materials Needed:
- Printable coloring pages
- Wax paper
- Glue stick
- Markers or colored pencils
- Scissors
Steps:
- Pick a coloring page with bold lines and basic shapes. Lisa chose a heart template, and Mike picked a sun that is smiling.
- Color the page using bright, light colors so the sunlight can shine through beautifully. Encourage kids to experiment with blending colors. Lisa blended pink and purple for a magical effect, while Mike made a rainbow sun because he said it looked “extra cool.”
- Take care to cut out the design, then glue it to wax paper. Kindly press down to keep air bubbles from forming.
- Trim the wax paper around the design, leaving some extra space around the edges.
- Tape the finished sun catcher to a sunny window and watch how it glows when the light passes through!
Smart Tip: To make stained glass, use tissue paper instead of crayons. To put the pieces on top of the design, just glue small pieces that you’ve torn onto the wax paper.
5. Greeting Cards
Materials Needed:
- Printable coloring pages
- Blank cardstock
- Glue or tape
- Markers
Steps:
- Help your kid choose a picture that would look great on a greeting card. For her friend’s birthday, Lisa picked a princess, and Mike chose a Paw Patrol character for a “Get Well Soon” card.
- Allow them to color the picture, which will help them be creative. Mike tried to make a “cool effect” by using two markers at the same time, while Lisa added glitter glue.
- Fold a piece of blank cardstock in half to make a sturdy card base.
- Cut out the colored image carefully, then adhere it to the cardstock’s front. You can use washi tape or stickers if your child wants to add more decorations.
- Encourage them to write a private note inside. Mike signed Lisa’s lovely poem in his “best handwriting” and drew a large smiley face.
Fun Tip: Let kids add their own handprints inside the card for a special touch. Grandparents love this!
6. DIY Paper Puppets
Materials Needed:
- Printable coloring pages
- Craft sticks or straws
- Glue or tape
- Scissors
- Googly eyes (optional)
Steps:
- Let your child choose their favorite coloring page characters. While Mike went with Sonic because he enjoys fast-paced characters, Lisa went with a Hello Kitty princess.
- Let them color their characters with bright and fun colors. Lisa added tiny details to make her princess look sparkly, while Mike went all out using his fastest strokes to match Sonic’s speed!
- Cut out the characters carefully along the edges. Make sure to leave enough space if the shape is too detailed.
- Glue or tape each cut-out onto a craft stick or straw. Lisa used a popsicle stick, while Mike went for a straw, saying, “It makes Sonic go zoom!”
- Once dry, encourage your kids to put on a puppet show. They can create voices, make sound effects, and tell fun stories using their puppets!
Pro Tip: If you want a sturdier puppet, glue the cutout onto thick cardboard before attaching it to the stick.
7. Homemade Puzzle
Materials Needed:
- Printable coloring pages
- Cardstock or cardboard
- Glue
- Scissors
- Markers
Steps:
- Look for a coloring page with a large, simple design. Mike went with a roaring lion, and Lisa with a castle.
- To add excitement, let your children color the picture using bright colors. For his lion’s mane, Mike experimented with various orange hues, while Lisa used golden glitter to outline her castle.
- Glue the colored page onto a piece of cardboard to make it firm.
- Once dry, use a pencil to draw puzzle piece shapes on the back. You can make them easy for younger kids or tricky for older ones.
- Carefully cut out the pieces and mix them up! Have your child try to put their own puzzle back together or challenge a sibling to complete it.
Fun Tip: Store the puzzle pieces in a small Ziploc bag so they don’t get lost, and bring them along for road trips or quiet time fun!
8. Hanging Mobile
Materials Needed:
- Printable coloring pages
- String or yarn
- Small wooden stick or embroidery hoop
- Hole punch
- Scissors
- Tape or glue
Steps:
- Select several themed coloring pages—stars, animals, or hearts, for instance. Mike went for jungle animals; Lisa chose pink butterflies.
- Assign your kids to color each shape in with strong, vivid colors. Mike gave his tiger stripes a unique “zig-zag” pattern, and Lisa carefully shaded each butterfly wing.
- Cut out the colored shapes carefully. If some designs are too thin, glue them onto thicker paper to make them sturdy.
- Take a piece of string and tie it through the hole you punched in the top of each shape.
- Make sure to space them out so they hang nicely and attach each piece to a wooden stick or embroidery hoop. Modify the lengths to create a cascade.
- When finished, hang the mobile above a bed or close to a window for a creative decoration!
Genius Hack: Use glow-in-the-dark markers on some parts of the coloring pages so the mobile glows at night!
You can do more than just color on coloring pages. People can use them to make crafts that are fun and have meaning, like bookmarks, flipbooks, sun catchers, greeting cards, paper puppets, hanging mobiles, and puzzles. These activities help kids get better at being creative, using their fine motor skills, and telling stories. Plus, they’re great gifts and keepsakes! You can find free PDF coloring pages to print right above this article, or you can use the search box to find more themes.
Leave a Reply