8 Crafts for Kids Using Bus Coloring Pages
Looking for fresh, fun, and creative ways to use bus coloring pages with your kids? You’re in the right place! I’m James, a father, former private school teacher, and now a part of the GreenColoring family. I love creating crafts with my two kids, Lisa and Mike, and today I’m excited to share 8 original and screen-free crafts using bus coloring pages.
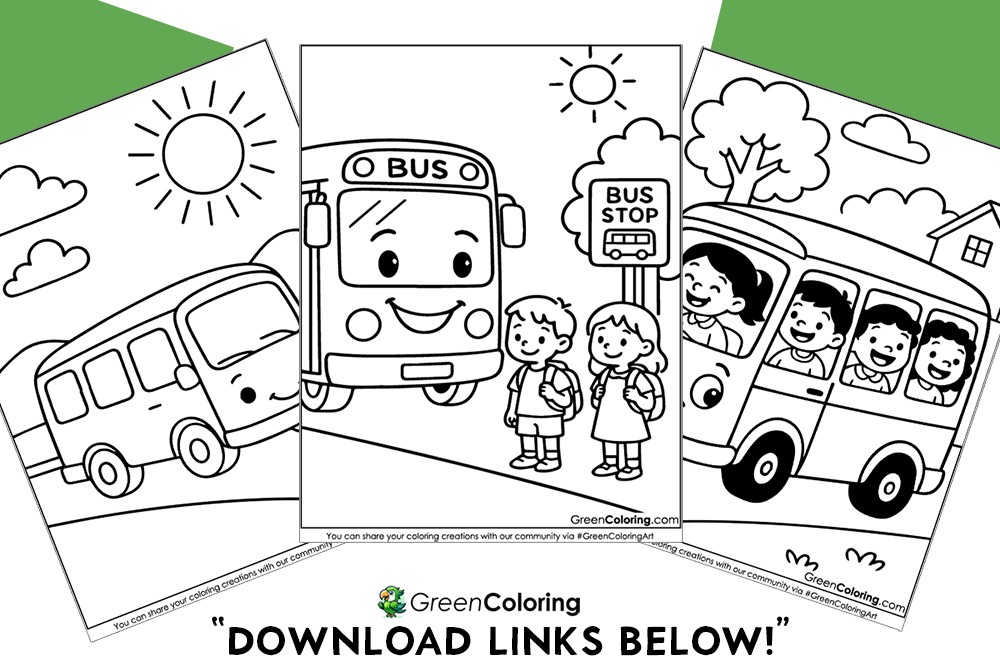
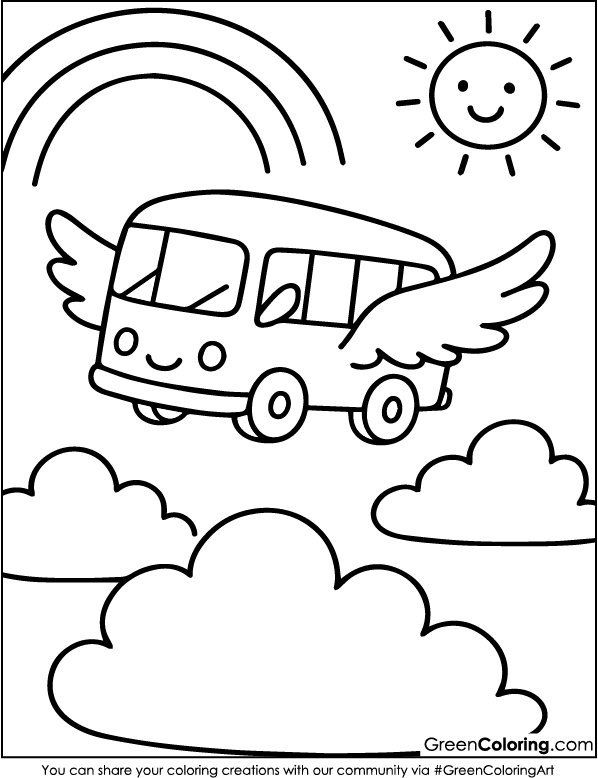
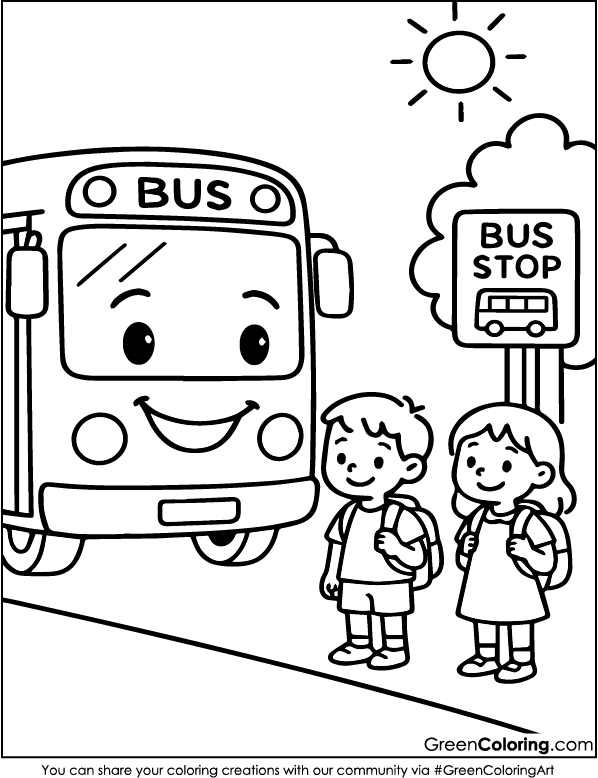
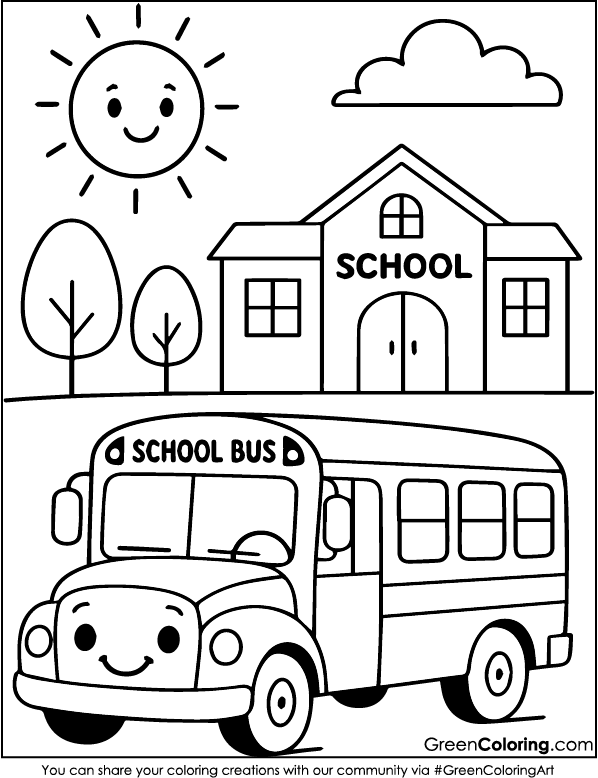
By the way, if you haven’t seen them yet, I’ve published 10 free, printable bus coloring pages in PDF format just below this article. They’re fun, easy to color, and perfect for the crafts we’ll explore below!
1. Bus Magnet for the Fridge
Materials Needed:
- Colored bus coloring pages (from our free printables)
- Scissors
- Cardboard or old cereal box
- Glue stick
- Self-adhesive magnet strip or round magnet
- Clear tape or laminating sheet (optional)
Steps:
- Pick your favorite bus coloring page and grab some crayons! Lisa once couldn’t decide between pink or purple, so she mixed both, sparkles included. Mike always chooses blue and adds stripes like it’s a racecar. We turn on music, dump crayons on the table, and just have fun.
- Once your child finishes coloring, help them cut out the bus design. Mike is still learning how to cut straight lines, so I usually guide his hand. It’s a great bonding moment, and we always share a giggle when he accidentally gives the bus “bumpy wheels.”
- Glue the cut-out bus onto a piece of sturdy cardboard or an old cereal box. This not only gives the magnet structure, but it also makes it feel like a real, solid project your child can be proud of. Lisa likes to press down with a book to keep it flat while drying.
- Turn the cardboard-backed bus over and place a magnet on the back. We frequently recycle old refrigerator magnets; one time, Mike used a pizza coupon magnet and got quite happy since his bus “used to be a pizza flyer.”
- Laminate the front with a laminating sheet or cover it carefully with clear tape to protect the artwork from little fingers and kitchen messes. This also provides a glossy finish that accentuates color pop-through.
Before laminating, let your child scribble their name, age, or a ridiculous sentence on the bus. Now it’s more than just a refrigerator magnet; it’s a customized keepsake you’ll grin at every door opening for snacks.
2. Bus Lacing Board
Materials Needed:
- Bus coloring pages
- Hole punch
- Shoelace, yarn, or ribbon
- Glue and cardboard
Steps:
- Select a thorough bus coloring page and let your child use strong colors on it. While Lisa always adds a little heart close to the driver’s seat, Mike enjoys coloring the wheels multicolored. Sometimes we act as though she is riding to school.
- Once colored, lay the bus page on a strong piece of cardboard. We often recycle cereal boxes since this stage makes the board more robust. For small hands, the cardboard gives a tactile component that simplifies lacing.
- Make holes all around the bus’s outline with a hole punch. We advise punching holes down the windows, doors, and along the wheels. While Mike just wants to punch them as quickly as possible, Lisa prefers to first plan her holes using dots.
- Give your child a bright shoelace, piece of yarn, or ribbon. Show them how to lace it using the holes, much as in sewing. Lacing develops patience and fine motor ability. Lisa occasionally adds beads at the end simply for fun and creates a rainbow effect using alternating ribbons.
Fun Tip: For a little musical surprise every time the lace moves, add a tiny jingle bell or button at the end. Longer engagement of the children results from this sensory twist.
3. DIY Bus Fan
Materials Needed:
- Colored bus coloring pages
- Popsicle sticks
- Glue or tape
- Cardboard (optional for strength)
Steps:
- Let your child brightly color their preferred bus coloring page. Usually, we do this one on a sunny afternoon with the windows open and our preferred songs playing on rotation. Lisa added tiny floral decals, while Mike once turned his bus into a firetruck fan.
- Take great care cutting the bus. Pre-cut it for your young child to prevent their frustration. Sometimes we print an extra so both children may try cutting free from pressure.
- To make the fan handle, glue the back of the bus to a popsicle stick. Add another popsicle stick in a cross pattern or reinforce with tape for more strength.
- Underneath the bus cut-out, glue a second layer of cardboard for added durability. It keeps the fan robust, particularly if it will be used on park visits or hot car rides.
Pro Tip: Keep a couple of these fans in your car glove box or diaper bag. They bring smiles when your child cools you off with their own handcrafted fan and are ideal for summer visits to the zoo.
4. Bus Shadow Puppet
Materials Needed:
- Bus coloring pages
- Thick paper or cardboard
- Scissors
- Wooden skewer or straw
- Flashlight or lamp
Steps:
- Print and color your bus in strong black or darker tones. The shadow of the puppet appears more dramatic from dark outlines and saturated colors. Lisa included stars all over hers to establish a “night bus” motif.
- Glue the colored page onto a thick backing like cardstock or cardboard. This ensures the puppet stands up well when held against the light.
- Carefully cut out the bus shape. Younger kids might need help here. We often let Lisa trace it first, then I cut while she gives directions like a co-pilot.
- Tape a skewer, straw, or chopstick to the back of the bus. Make sure it’s securely fastened so it doesn’t wobble during the puppet show.
- Turn off the lights and shine a flashlight at the wall while holding your puppet in front. Act out your own adventures. One night, Mike pretended to drive the magic school bus into outer space, while Lisa gave passengers tea service in her imaginary café bus.
Story Time Tip: Let your kids name their bus and create characters. It adds depth and turns bedtime into storytime theater.
5. Bus Countdown Chain
Materials Needed:
- Colored strips of paper
- Colored bus picture (cut out from coloring page)
- Stapler or tape
- Marker
Steps:
- Using recycled drawings or vibrant construction paper, help your child create paper strips. Little doodles allow each strip to be numbered or embellished. Lisa once put a different sticker on every one.
- Print and color a bus coloring page. Cut it precisely, then glue it to either the top or the bottom of the chain. This bus stands for the last stop, akin to the day of a birthday or trip.
- Looping and stapling or taping the ends will help you to link the paper strips. This is an excellent chance to discuss the countdown and create buzz.
- Hang the chain somewhere obvious, say near the kitchen wall or a calendar. The children have morning time to remove one link. Mike once set an alarm specifically to be the first one running a loop!
Helpful Idea: Use this chain to count down to Grandma’s visit, a holiday, or school starting. For additional entertainment, add little notes or jokes inside the links.
6. Bus Window Display
Materials Needed:
- Bus coloring pages
- Transparent contact paper
- Scissors
- Tape
- Tissue paper (optional)
Steps:
- Choose a fun bus coloring page with clear forms or large windows. Let your child cover it in brilliant colors. Lisa once gave her bus a Hello Kitty passenger and even used glitter pens!
- Help your child cut tiny squares of vibrant tissue paper and glue them behind the windows if you wish a stained-glass effect. This gives it a wonderful, brilliant appearance.
- After decorating the bus, lay it between two sheets of clear contact paper. Work it gently to prevent bubbles. Mike sometimes refers to pressing the paper down with his small palms as “sealing the magic.”
- Cut around the edges, leaving a thin border to keep the contact paper sealed. This maintains the art’s neatness and helps to preserve it.
- Tape the last masterwork onto a window with plenty of natural light. Lisa makes morning checks to see how the colors shine. Like waking up to a little art exhibition!
Creative Tip: Change the display to reflect several holidays to establish a seasonal theme. At our house, bus windows filled with autumn leaves are rather popular. For more creative window art ideas and child-safe materials, visit Pinterest.com.
7. Bus Coaster Craft
Materials Needed:
- Bus coloring pages
- Clear adhesive laminate or Mod Podge
- Cardboard or cork square
- Scissors
- Washi tape (optional)
Steps:
- Let your child pick a bus design and color. Mike likes using his blue and green markers. He cried “Coaster Rescue!” every time he used his coaster, giving it the appearance of a superhero bus.
- Cut out the bus, then glue it over a sturdy square of cork or cardboard. Cover a big book over it for a few minutes to flatten it. Lisa glittered washi tape to give the edges extra flair.
- Cover the whole surface with a layer of clear laminate or Mod Podge to guard the drawing. The coaster is set for one-time use once it dries. On hot chocolate evenings and snack times, ours are rather popular.
- If you want more resilience, do another sealing layer. It will let the coaster run for more, even with spilled juice!
- Remember to reverse pen the artist’s name and the date. Years later it becomes a keepsake. Still on her nightstand, Lisa gave Emily one for Mother’s Day.
Pro Tip: From these, grandparents would find perfect gifts. Add a sweet note or poem on the reverse to boost smiles. For more information about using Mod Podge safely and effectively with kids, check out this helpful guide from Mod Podge Rocks.
8. Bus Surprise Box
Materials Needed:
- Bus coloring pages
- Small box (like a jewelry or gift box)
- Printed and colored bus
- Scissors
- Glue
- Small treats or notes
- Decorative items (ribbons, stickers)
Steps:
- Look for a small, empty box. Let your children color several small buses. Mike fashioned his like a race car with flame stickers; Lisa made hers pink with golden wheels.
- Cut each piece precisely, then glue them both inside and outside of the box. It becomes a small gallery as a result. Once Lisa even noted on a bus each family member’s name as “passengers.”
- Include stickers or ribbons as decorations. Lisa strung a small bow on the lid. Mike hooked on a Paw Patrol badge. This adds especially specialness to the box.
- Stuff unexpected treats inside the box. We enjoy sprinkling jokes, stickers, or a small toy. I left a little note last week saying “Game Night!” and the kids shrieked when they opened it.
- Seal it and let the youngster open it during a designated time. This could be as a thank you for helping with housework or after finishing school.
Smart Tip: You could start a continuous custom from here. Refill the surprise box with something little but interesting once a week. It teaches children to expect small pleasures and helps to sustain their enthusiasm.
You have here eight creative and interesting bus crafts that surpass conventional bookmarks and masks. Inspired by actual afternoons with Lisa and Mike, each of these ideas originates from my own house. These projects are ideal for keeping small hands and brains occupied on a sunny afternoon or a wet day. And if your kids love vehicles as much as mine do, be sure to also explore our taxi, airplane, and car coloring pages for even more fun activities.
Remember also that you can download and print our free PDF bus coloring pages directly below this article. Excellent for all the crafts listed, they are ready to color, simple to print, and easy to use.
Download Free Coloring Pages:

Leave a Reply