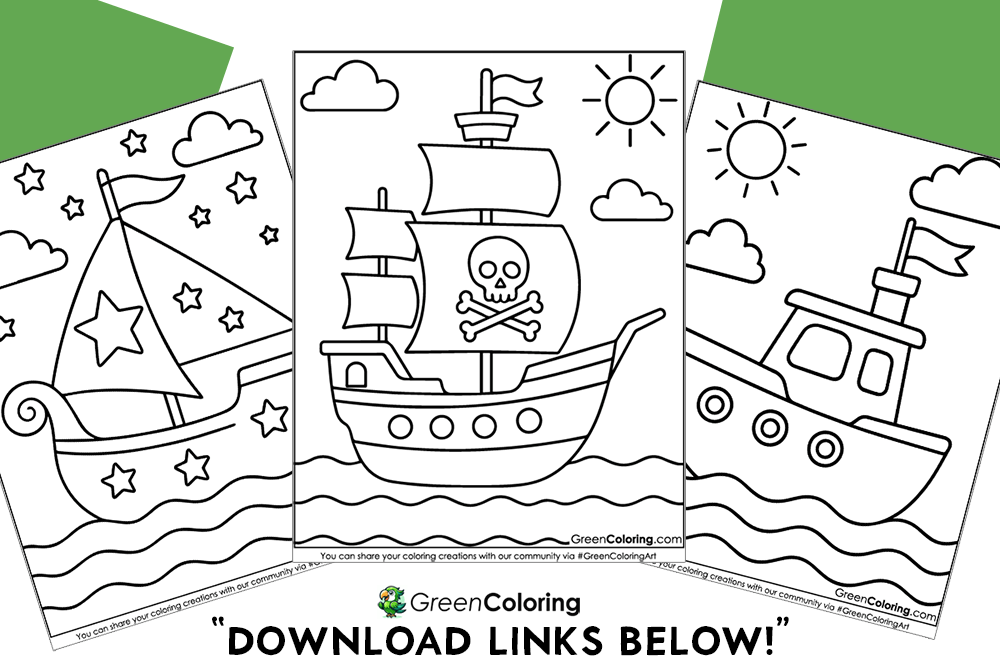
7 Crafts for Kids Using Boat Coloring Pages
Boats are not just for sailing the seas; they can sail into your craft room too! With just a little creativity, some colored pencils, and your child’s imagination, boat coloring pages can turn into wonderful keepsakes, toys, or decorations.
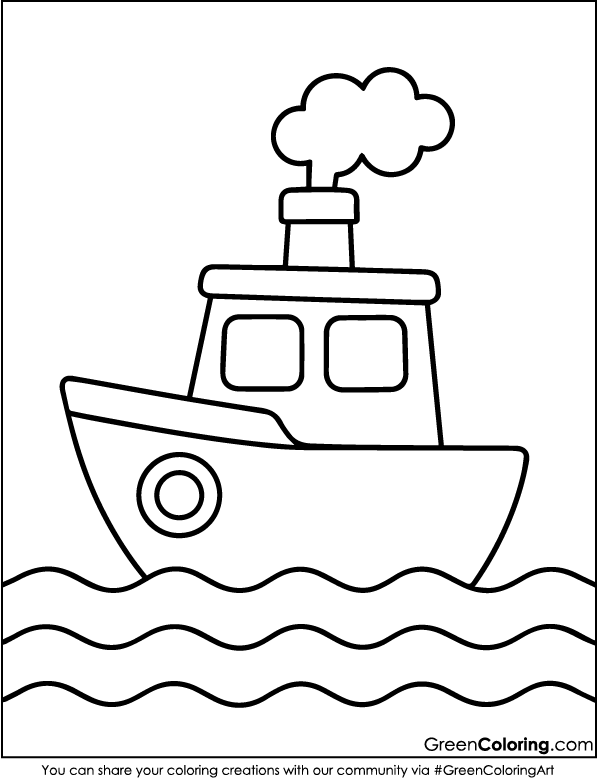
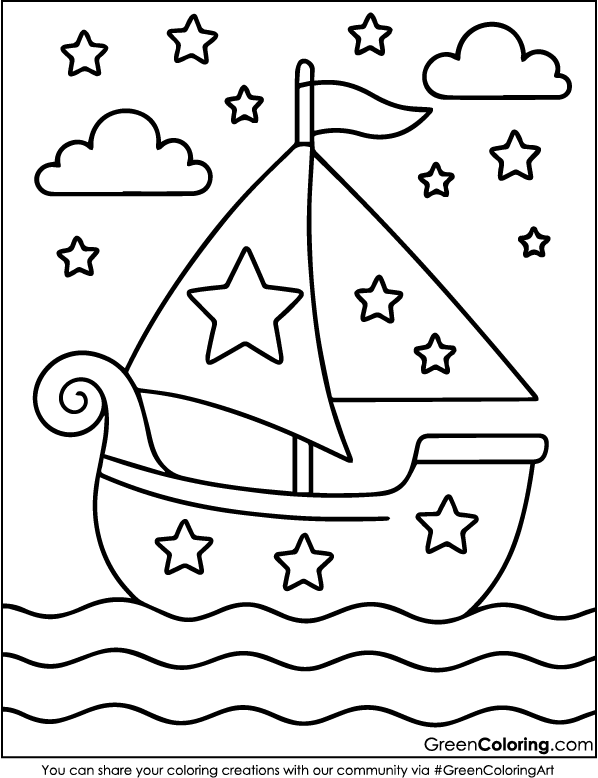
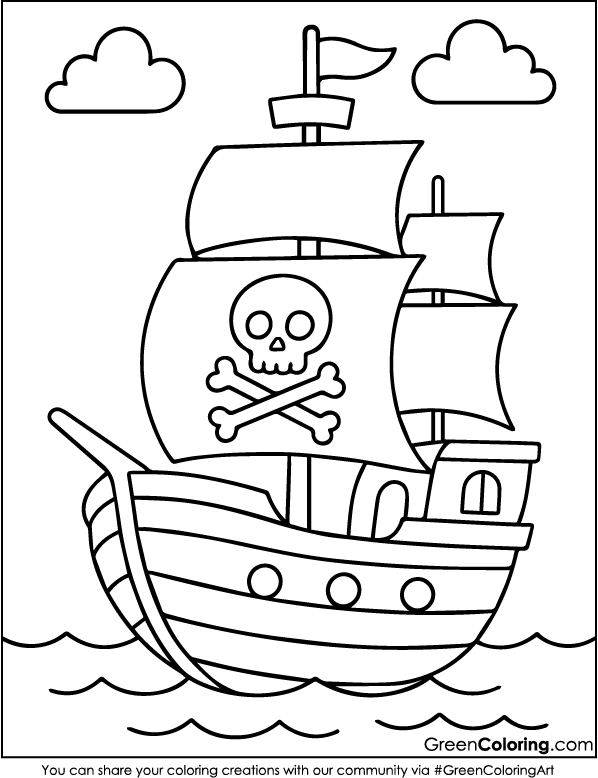
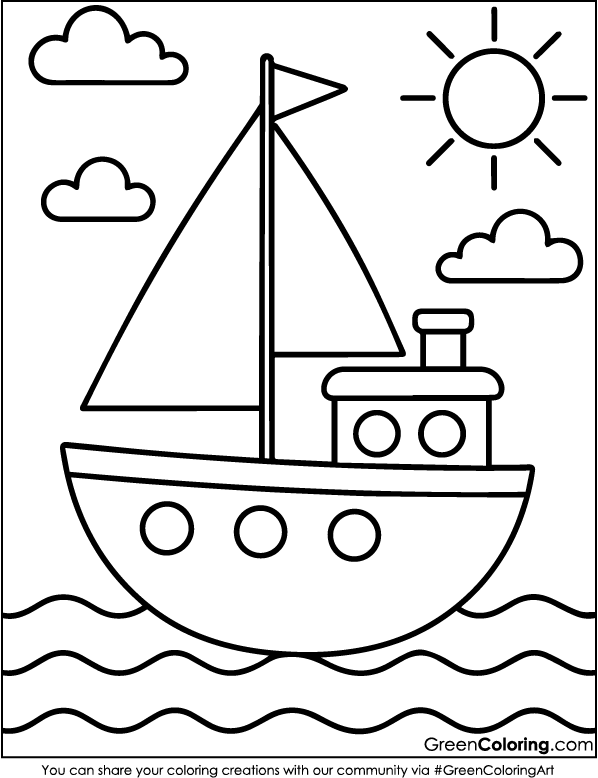
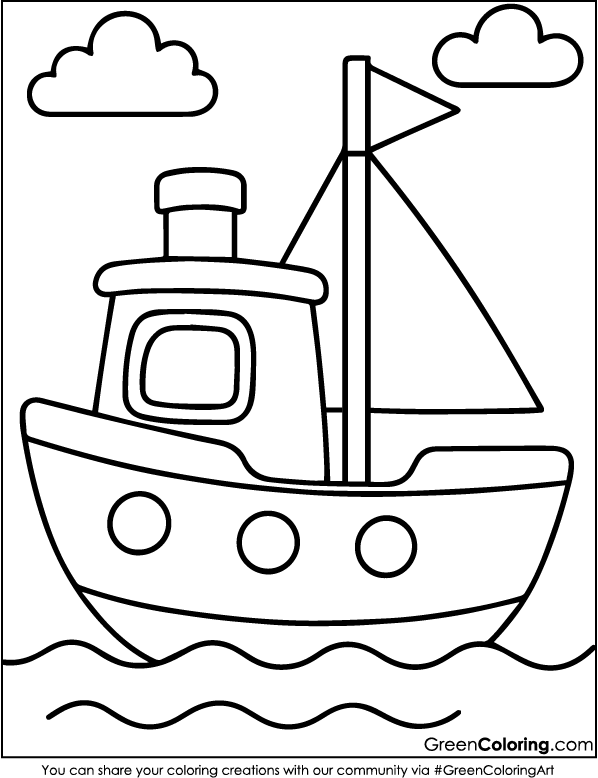
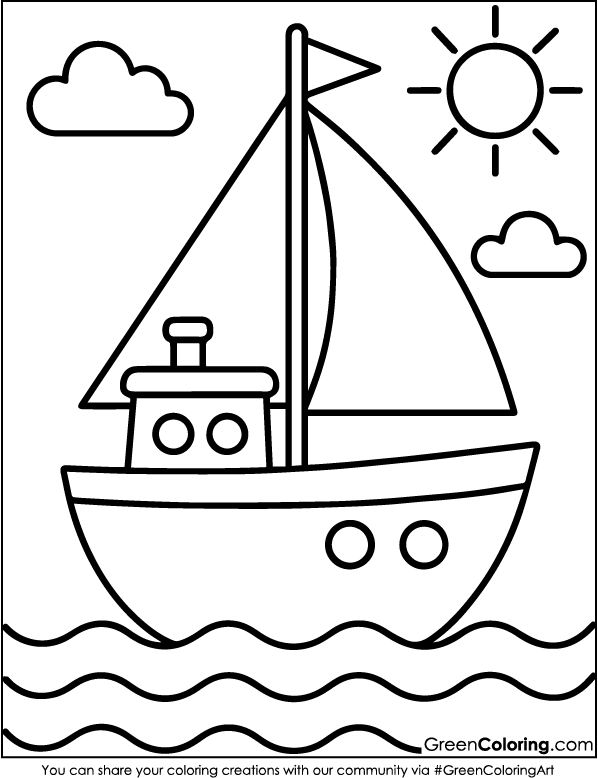
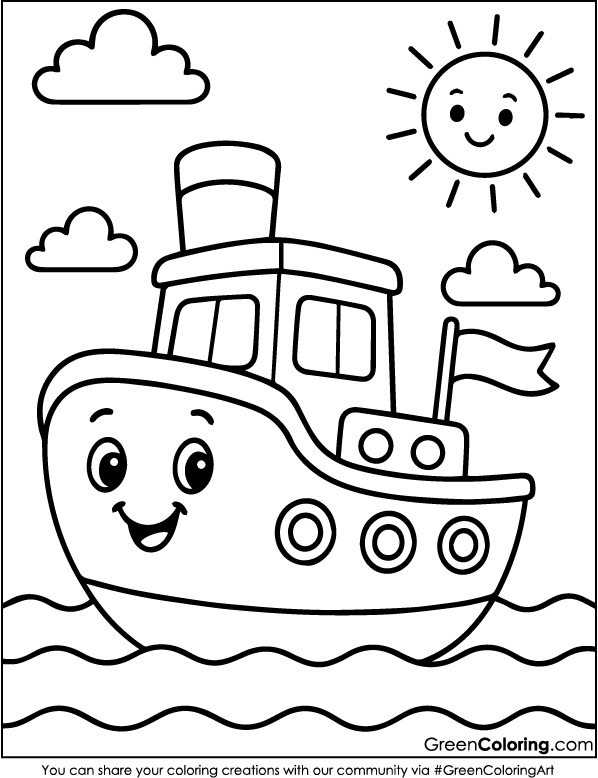
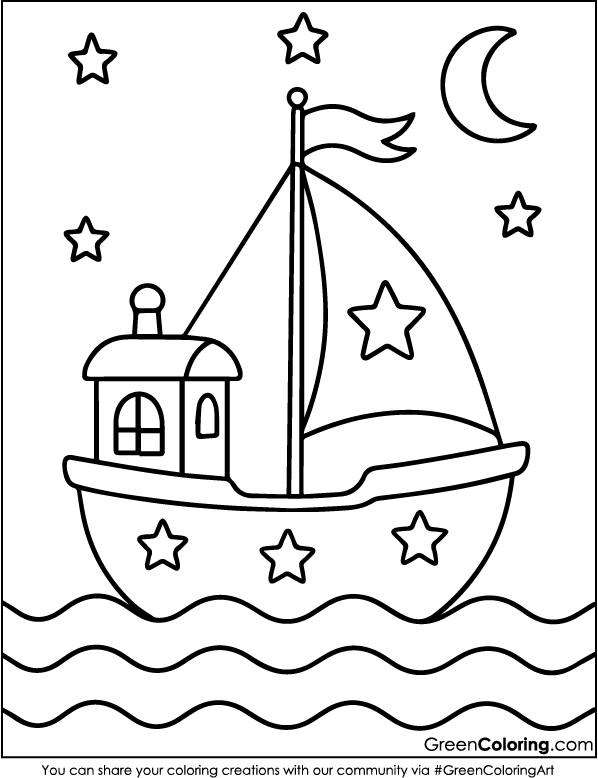
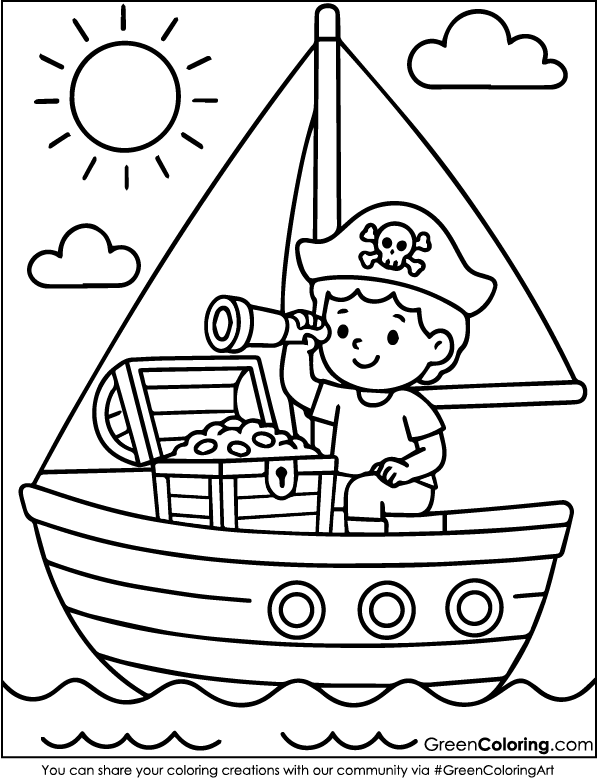
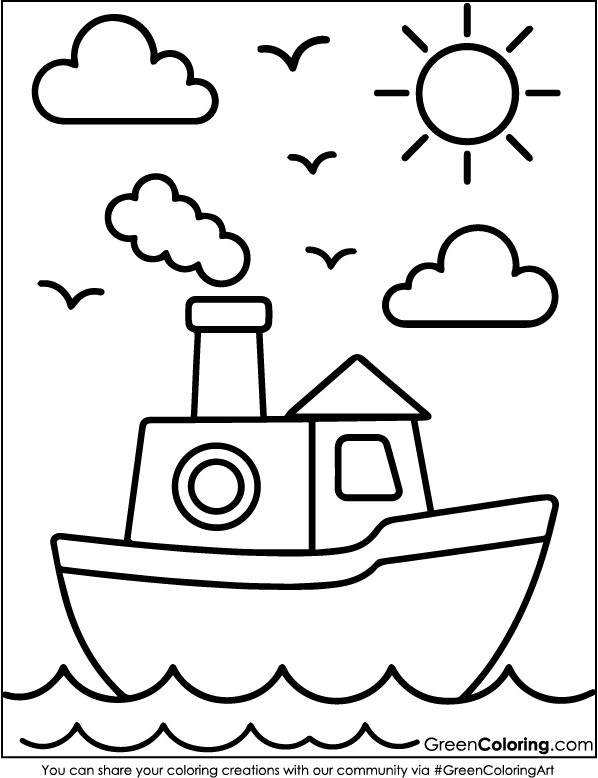
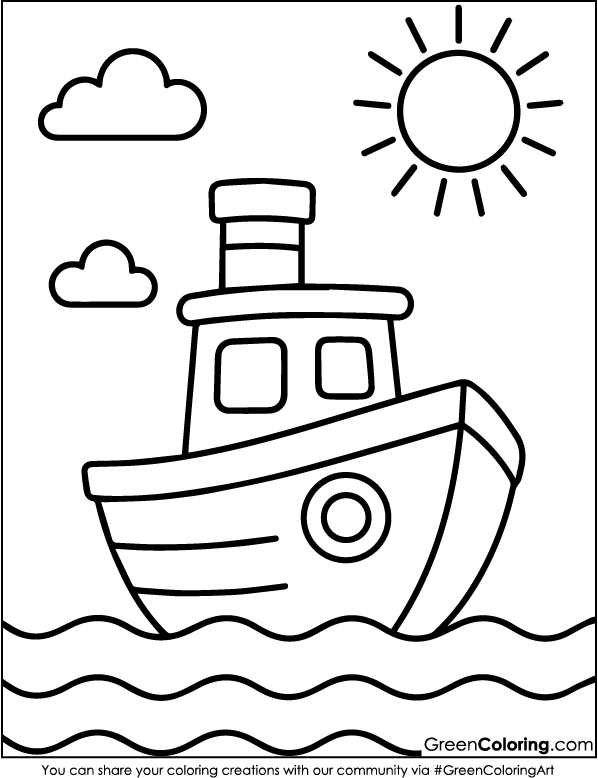
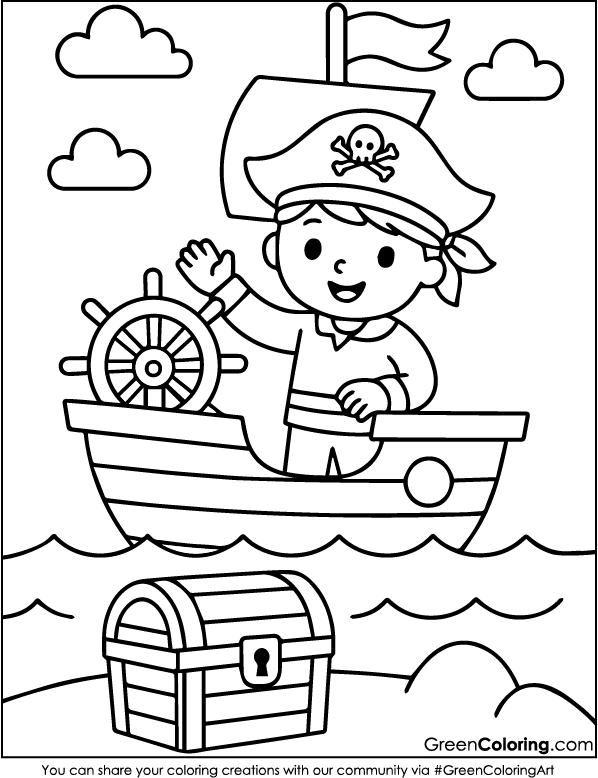
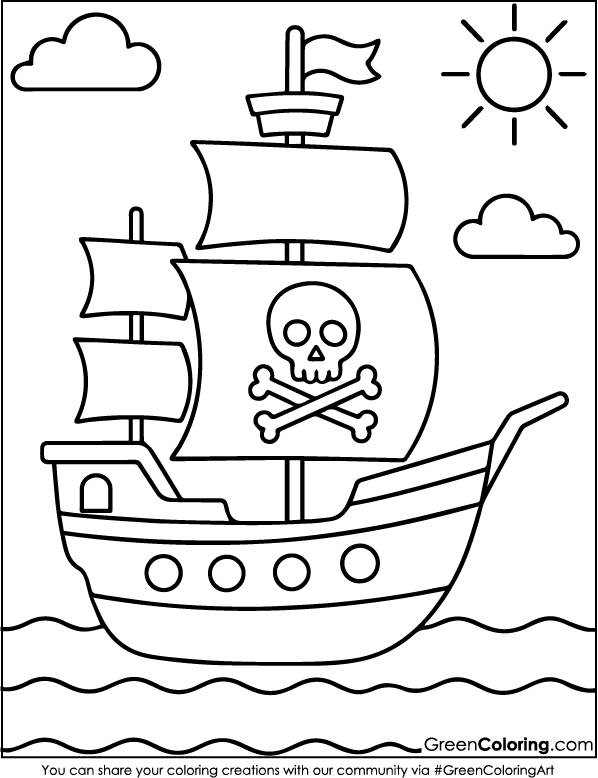
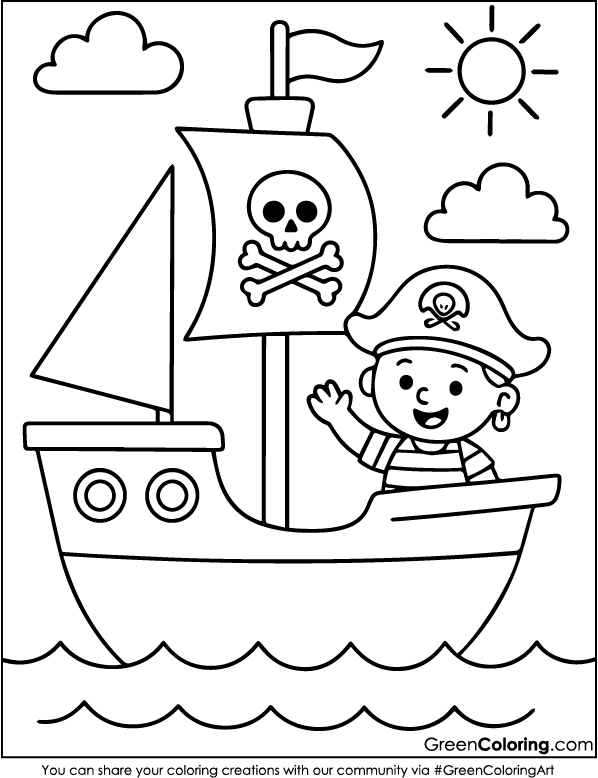
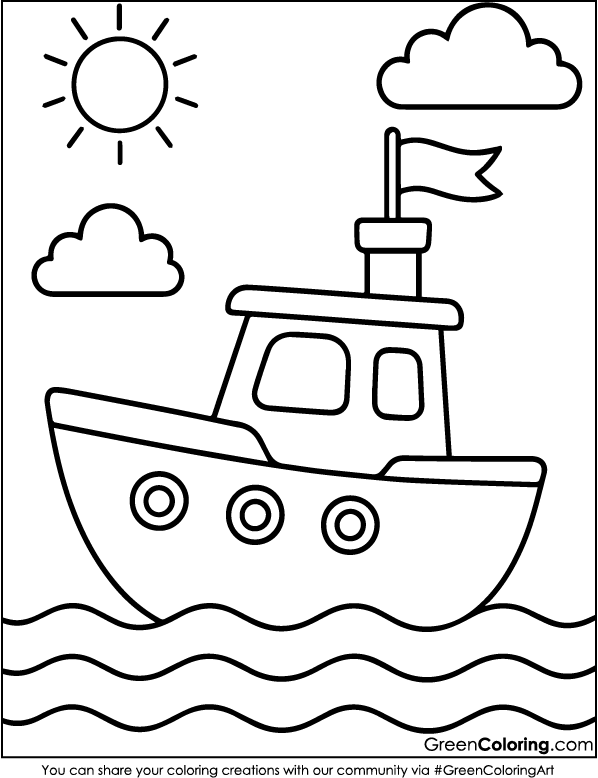
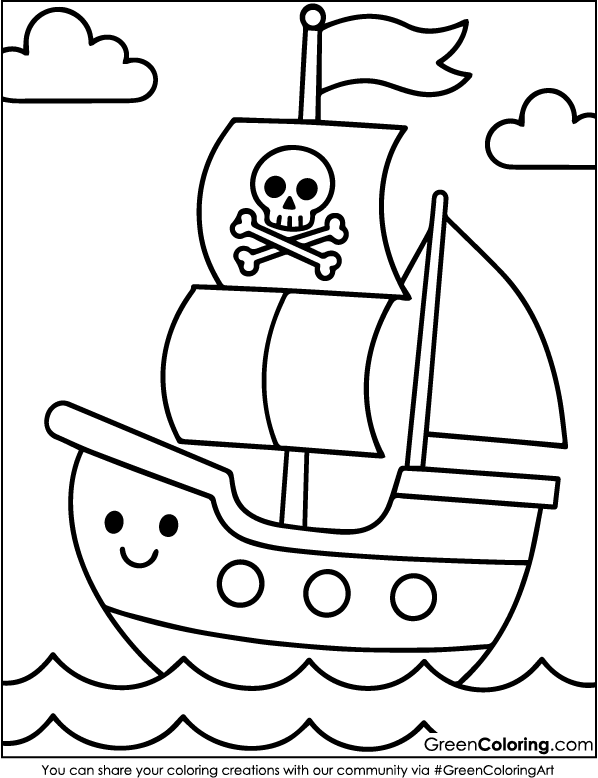
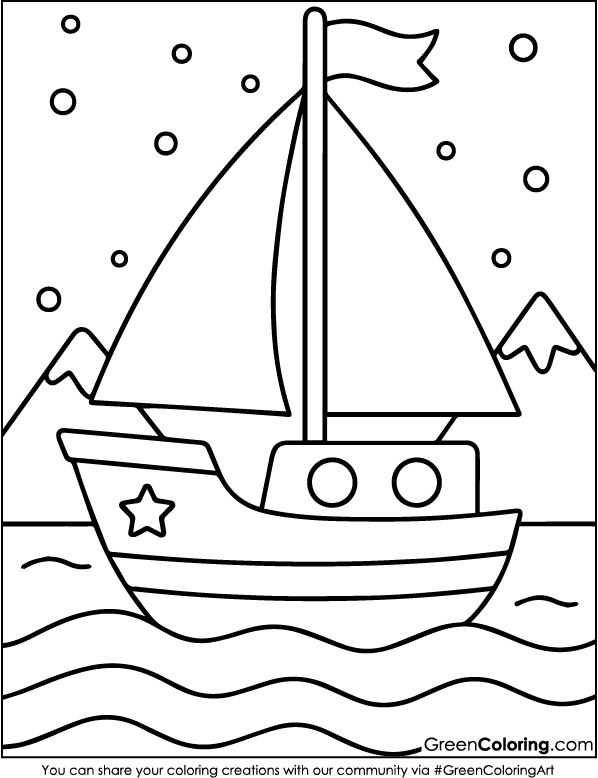
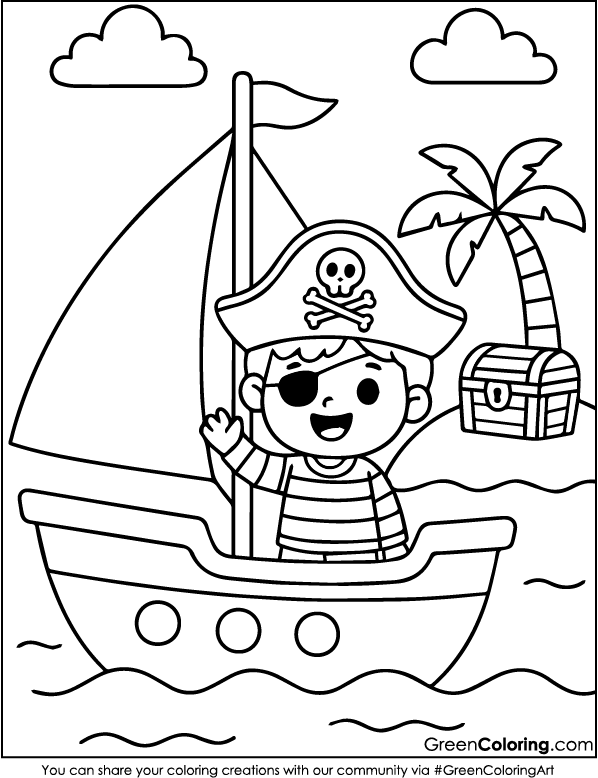
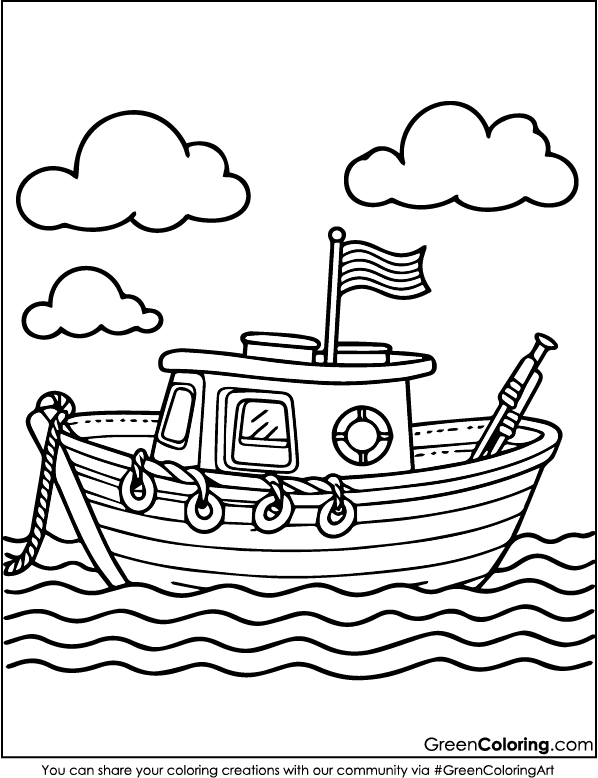
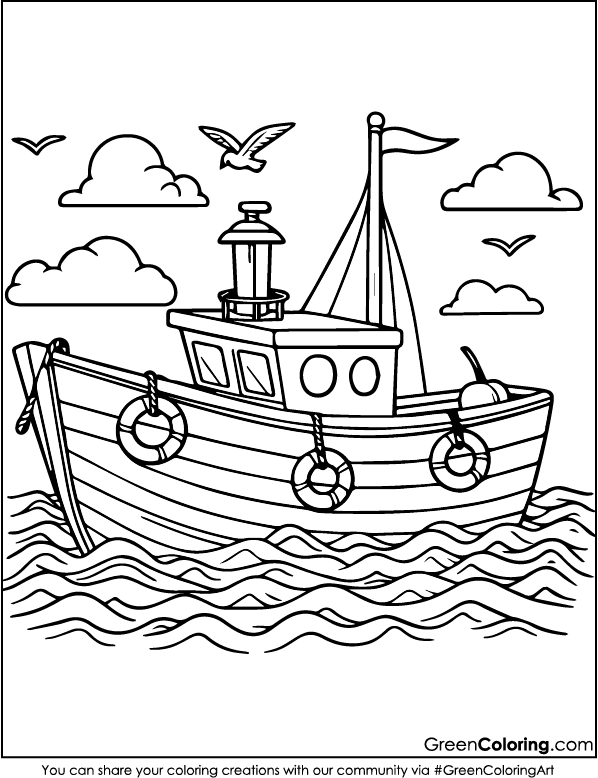
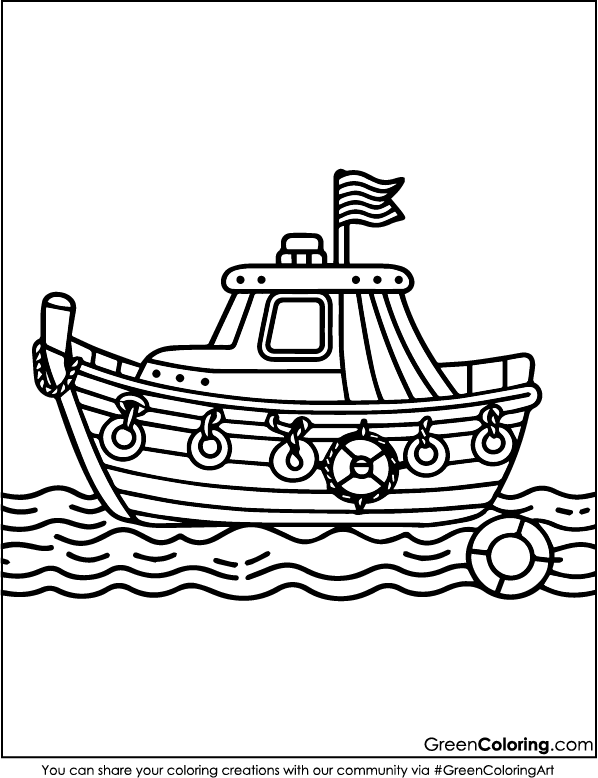
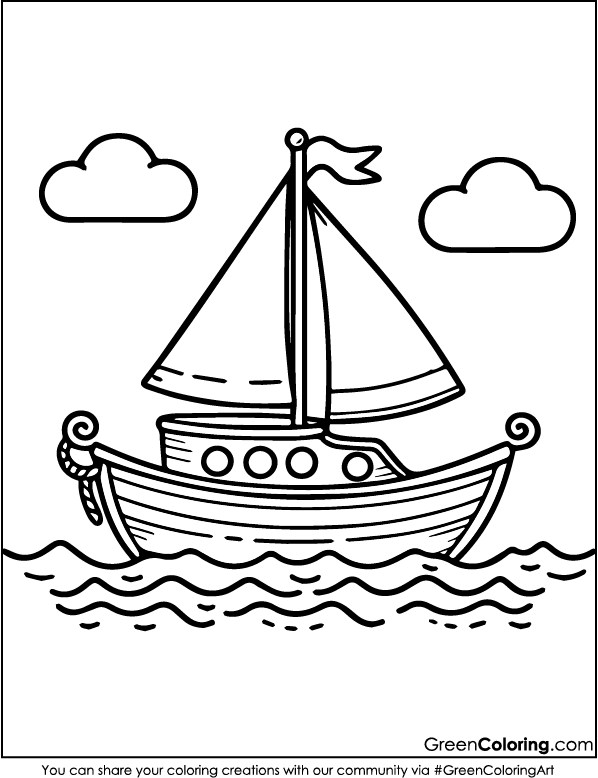
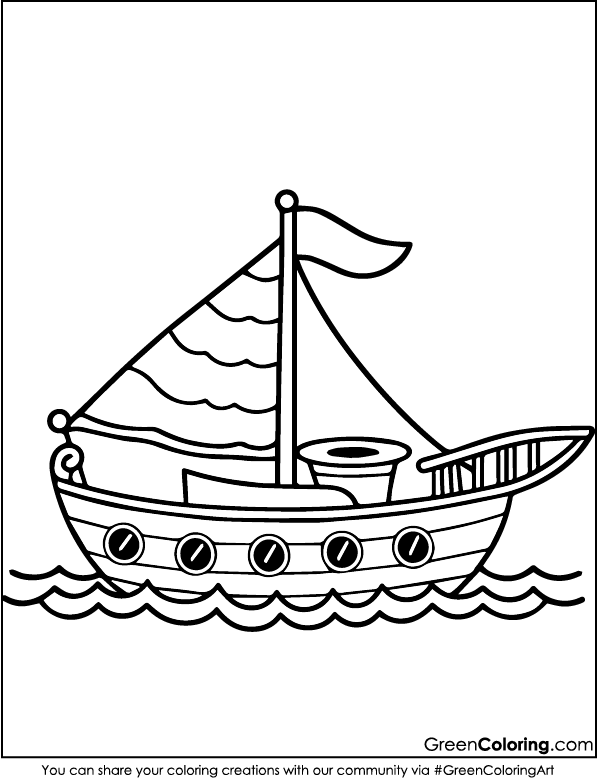
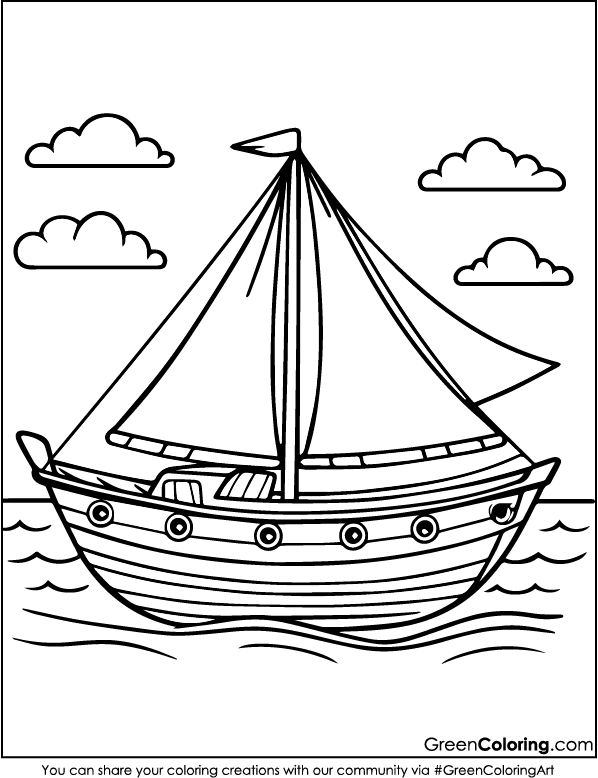
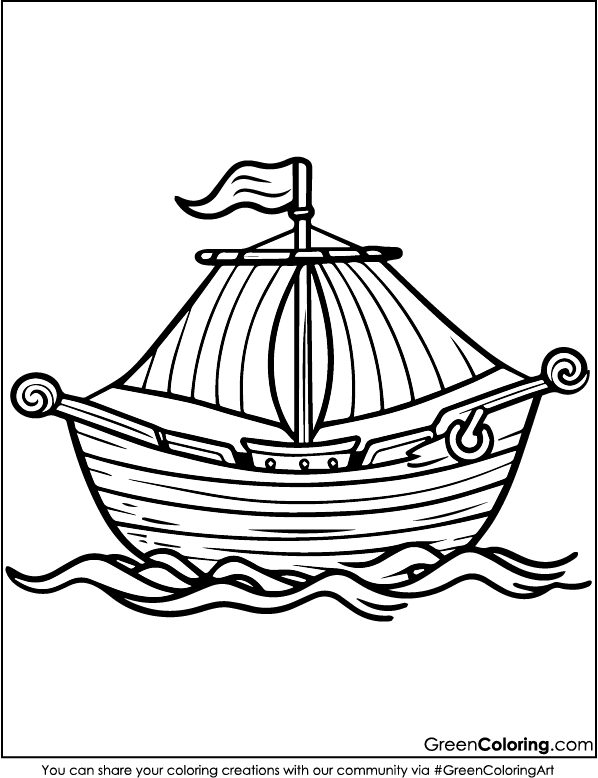
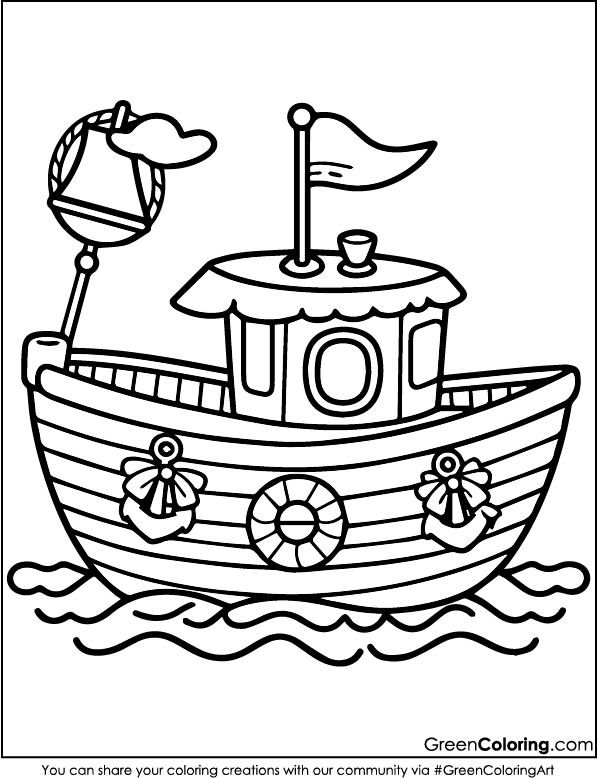
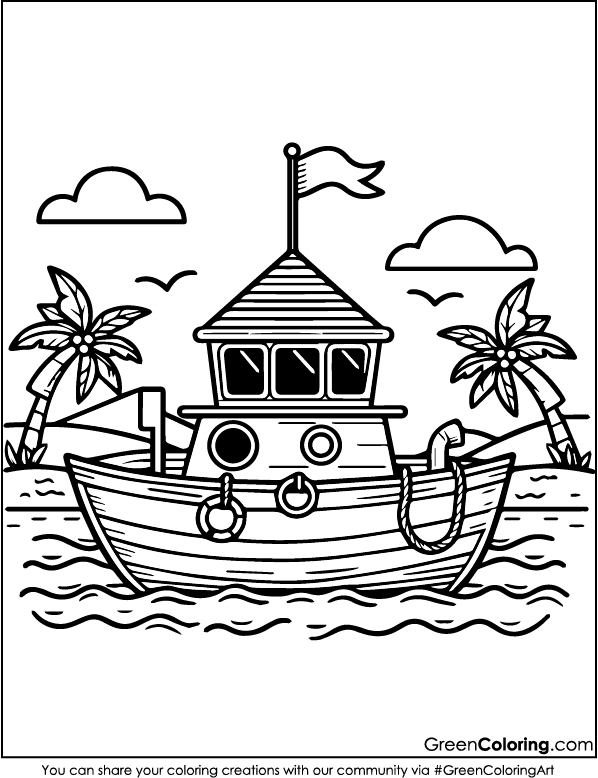
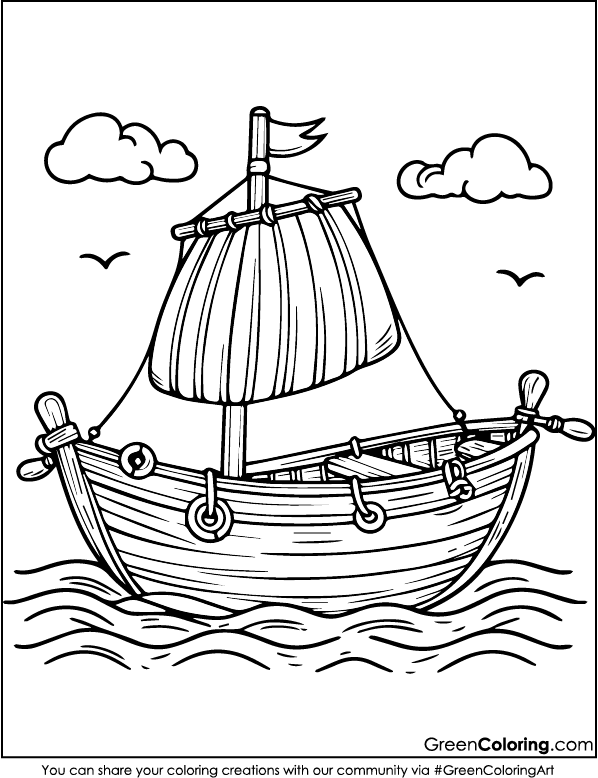
By the way, if you’re looking for boat coloring pages to get started, I’ve already published 28 free boat coloring sheets in printable PDF format right below this article. They’re perfect to print and use for the fun projects below.
1. Floating Paper Boat Craft
Materials Needed:
- Printable boat coloring pages
- Crayons or colored pencils
- Clear tape
- Scissors (for adults or older kids)
- A bowl of water or bathtub
Steps:
- Begin by selecting from the printable PDF pages below your preferred boat design. Let your child color the boat any way she chooses. Lisa prefers to add glitter glue for extra sparkle and always chooses the pink and purple tones.
- Cut meticulously around the boat once the coloring is finished. Help your child, if they are younger than Mike, with this phase. Mike still finds scissors difficult; thus, I usually take over here.
- To make the boat waterproof, we cover both sides with clear tape. This also makes the paper sturdier and helps it last longer. It’s a little trick I learned back when I was teaching.
- Fold the boat gently along the middle to give it some shape. You can fold the sides up slightly to look like real boat sides.
- Place the boat in a bowl of water or even in the bathtub. Mike was overjoyed to see his “Captain Green” boat floating beside a toy duck!
Pro Tip: Add a small piece of plastic under the boat to act like a base. It helps with balance and keeps it from tipping too fast.
2. DIY Nautical Wall Art
Materials Needed:
- Boat coloring pages
- Watercolor paints
- Craft glue
- Cardboard or canvas board
- Shells, buttons, or mini ropes
Steps:
- Select a boat coloring page and softly watercolor tone paint it. Lisa enjoys this section, particularly in light of the ocean-themed colors. Before moving on, let the paint totally dry.
- Glue the page on a strong cardboard or canvas board once dry. Usually, we make great use of cereal boxes for this purpose.
- The creative element now comes first. To give it a real nautical feel, embellish the edges with buttons, small seashells, or rope. Lisa glued on small stars and glittering stones taken from her treasure box.
- You can punch a hole at the top and use string to hang it in your child’s room. It brings a cozy, sea-inspired look that makes any wall feel special.
Fun Tip: Lightly spray the finished piece with a lavender scent. It makes the room feel like a calm beach house. For more creative wall art ideas using recycled materials, visit PBS Kids’ Craft Activities.
3. Boat Puppet Show
Materials Needed:
- Boat coloring pages
- Popsicle sticks
- Glue or tape
- Colored markers
Steps:
- Select several different boat coloring pages and have your children uniquely decorate each one. Let their creative frenzy run wild. Mike called his boat “The Sonic Speedster!” and covered it with superhero stickers.
- Once colorful, let your children cut out the boats. Mike is still learning how to use scissors; thus, I took care of this while he made creative decisions.
- Glue or tape each boat to a popsicle stick, turning them into puppets. Press firmly and let them dry well to keep them sturdy during the show.
- Turn a laundry basket or cardboard box into a stage. Cut wave shapes from blue paper and tape them to the front. Lisa once drew a backdrop with sea creatures and even added a paper sun in the corner!
- Let children pretend to be part of a sea narrative. Lisa portrayed Ocean Queen, while Mike’s boat set out on a bold rescue mission. The best part of the day was the laughs and voices they produced.
Pro Tip: Mount small flags or googly eyes on the boats. It gives them character and inspires more ideas for narrative!
4. Under-the-Sea Diorama
Materials Needed:
- Shoebox
- Boat coloring pages
- Blue paper or paint
- Cotton balls
- Craft fish or stickers
- String and glue
Steps:
- Inside a shoebox, paint it in ocean colors. Though Lisa once included sparkles for “magical waters,” blue is the traditional choice. If you would want a neater appearance, you can also glue blue paper. Mike loved the painting even though more ended up on him than the box.
- Let your kids color a boat from one of our free PDF pages. Once dry, cut it out and attach a string to the top. Tape the other end to the lid of the box so the boat hangs and looks like it’s sailing above the sea.
- Fill the inside with underwater life using stickers or fish cutouts. Lisa named each one and created a little storyline for her sea creatures.
- Tear and stretch cotton balls to create clouds at the top. It gives a dreamy sky effect. We sometimes add a yellow circle for the sun or a small moon made of foil.
Genius Hack: Tape a small flashlight to the back and aim it at the boat to make it glow like moonlight on the waves. We tried this one rainy evening, and it turned into a magical bedtime display.
5. Boat-themed Memory Game
Materials Needed:
- Two copies of the boat coloring page
- Cardboard or thick paper
- Markers
Steps:
- Print two copies of every boat and let your children color both exactly. It’s a fantastic approach to improve memory capacity and attention to detail. Lisa becomes quite concentrated in trying to exactly match every color.
- To give each picture strength, glue them onto a cardboard square. We teach upcycling and use perfectly working leftover packaging.
- Cut out all the cards and shuffle them. Spread them face down on a table and take turns flipping two cards at a time. The goal is to find matching pairs.
- We always play with a rule: silly sound effects required when a match is found! Mike loves this part and gets so excited he usually makes a celebration dance.
Note: This is bonding time and a brain workout more than just a game. Remember also: watch small children to prevent them from turning the cards into snacks.
6. Ocean Adventure Spinner
Materials Needed:
- Boat coloring pages
- Paper plate
- Brass fastener
- Markers and crayons
Steps:
- Using a pencil and ruler, divide a paper plate into four to six sections. Let your children name every area; we have had everything from “Shark Alley” to “Bubble Bay.” Lisa once created a whole underwater kingdom, including jellyfish royalty. Every part turns into a small adventure area.
- Color a boat from one of our printable pages and cut it out carefully. Attach it to the center of the plate with a brass fastener so it can spin freely. This is where Mike gets super into it. He loves testing the spinner like a game show host.
- The narrative starts right now. Spin the boat, then create a story together based on that ocean zone wherever it settles. Lisa once produced a whole run on a sea turtle called Ruby, rescuing fish from getting caught in seaweed. Mike usually attends epic sea monster fights. Every rotation tells a fresh story.
Fun Tip: To create the ambiance, play background ocean sounds on a speaker; this helps the stories seem more realistic and engaging.
Add glitter or stickers to the spinner for some fun and sparkle. Lisa enjoys this and finds the spinner to feel especially unique. For more printable ocean games and hands-on marine learning tools, check out Monterey Bay Aquarium’s Kids Activities.
7. DIY Boat Garland
Materials Needed:
- Several boat coloring pages
- String or yarn
- Clothespins or tape
- Scissors and crayons
Steps:
- Print many pages after selecting your preferred boats from our free PDF collection. Lisa names hers after fairy tales, while Mike names his boats after dinosaurs; have the children color each boat and name them! They also enjoy penning short stories or names on the rear, so transforming every boat into a different personality.
- Cleanly cut out the boats and arrange them to design your garland. Stretching the yarn across the intended area, Lisa uses a measuring tape; Mike prefers to measure using his own height and refers to it as “Mike-lengths!”
- Attach each boat to the yarn using tape or mini clothespins. Lisa arranges hers in rainbow order for that Instagram-worthy look, while Mike randomly adds his and narrates wild sea adventures as he works.
- Hang the garland across a bedroom wall, above a window, or in a playroom. When we hung ours near a fan, the boats gently swayed like they were sailing. Mike declared it a “mini hurricane” and spent 30 minutes reenacting a storm.
Smart Tip: Add glow-in-the-dark stickers so your garland lights up at night. It adds a magical, dreamy vibe!
Pro Tip: Use laminated boats if you want to reuse the garland for future decorations or birthday parties.
Final Thoughts
Whether it’s a rainy day, a sunny morning, or a quiet afternoon, boat crafts give you a chance to bond with your kids while boosting their creativity. From Mike’s giggles over floating boats to Lisa’s love for decorating her room, these ideas aren’t just crafts; they’re memory makers. And if your little ones enjoy the water theme even more, don’t miss our ship, submarine, and beach coloring pages for extra fun projects.
Don’t forget: All the boat coloring pages used in these crafts are available for free in printable PDF format. Just scroll down and download them!

Leave a Reply