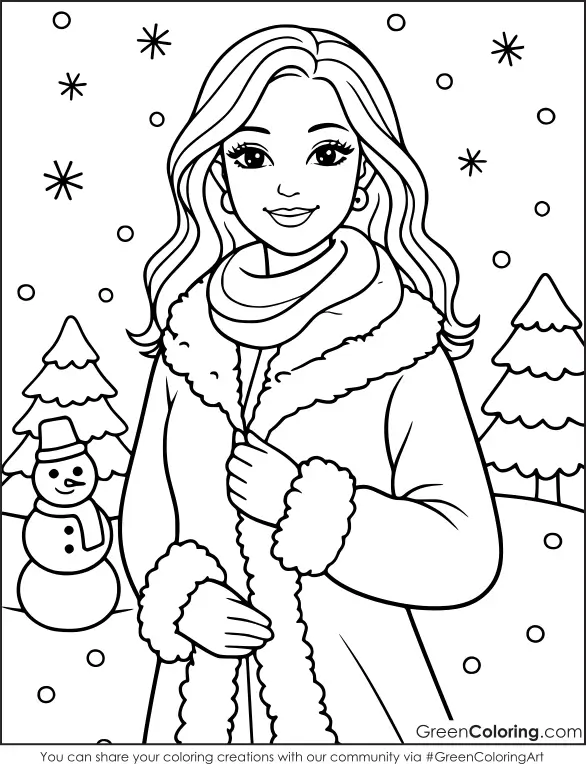
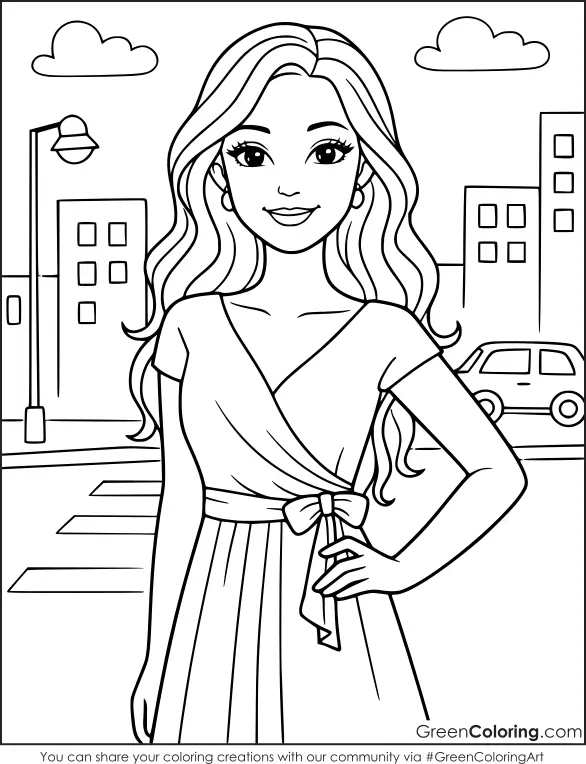
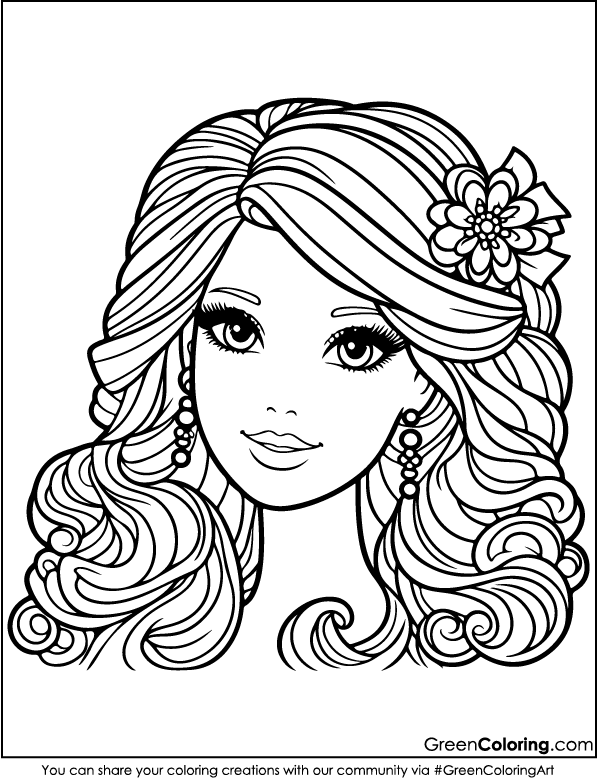
8 Crafts for Kids Using Barbie Coloring Pages
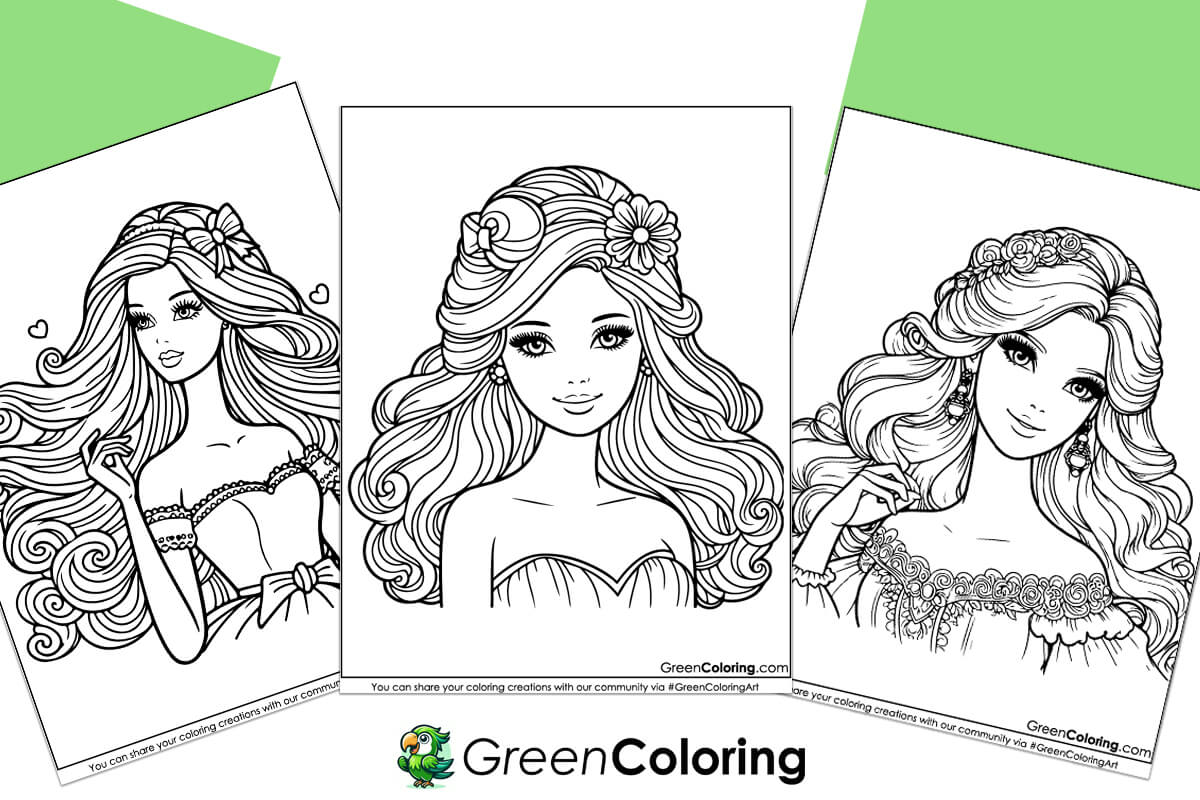
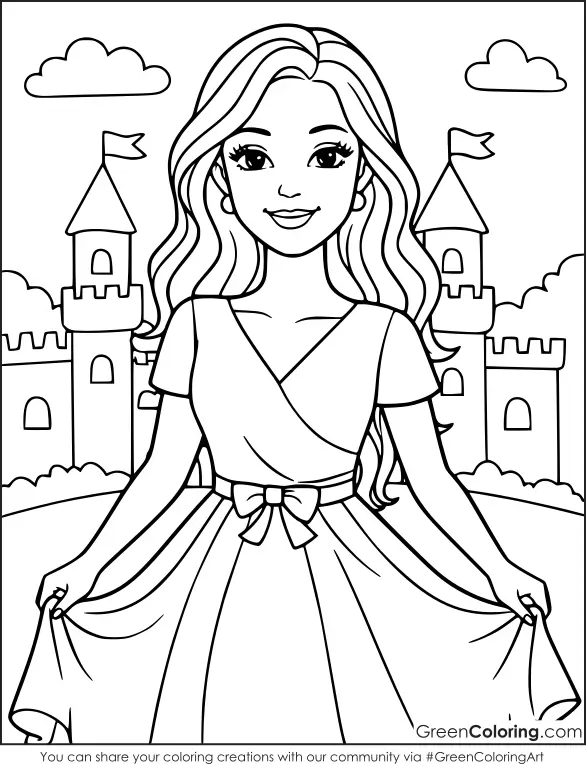
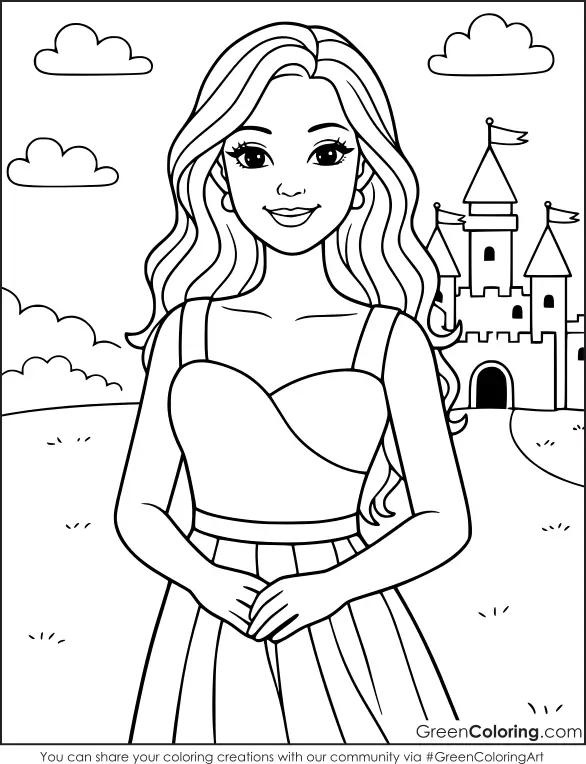
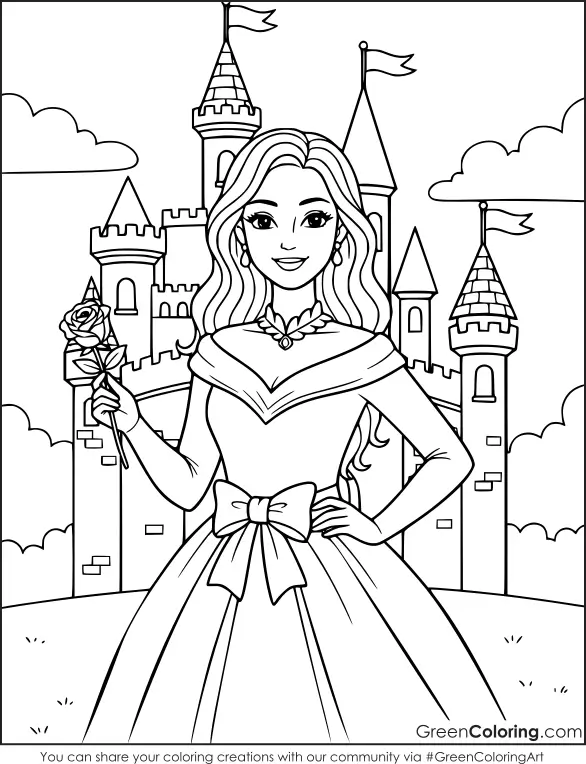
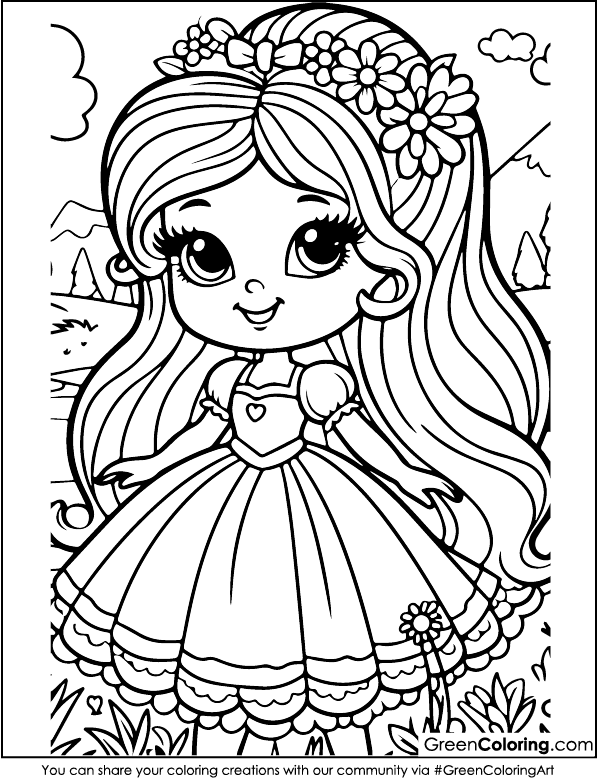
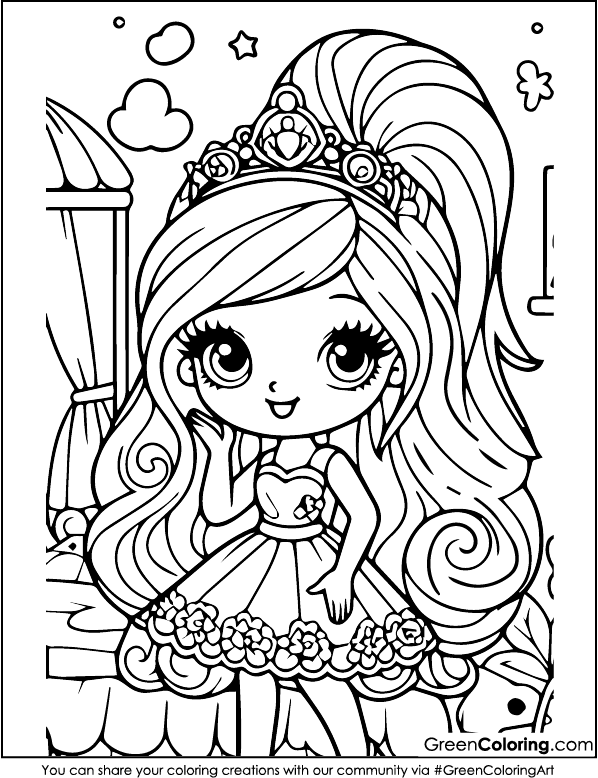
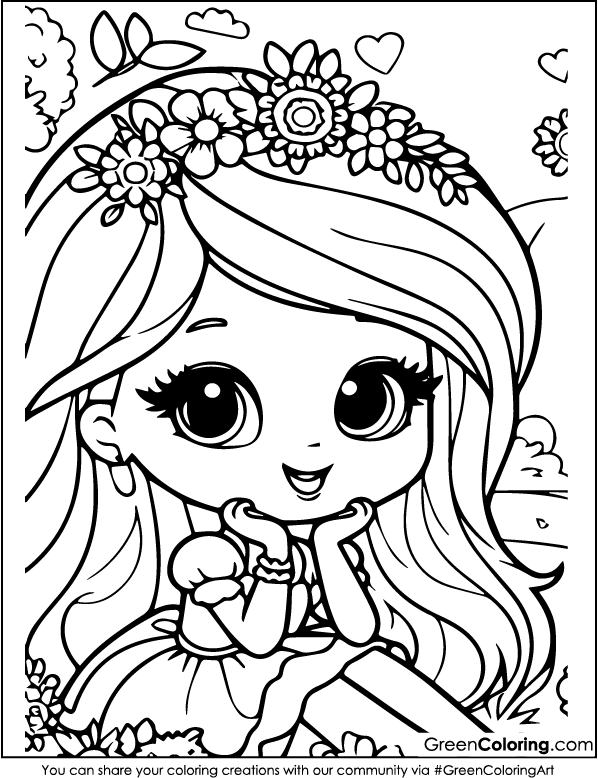
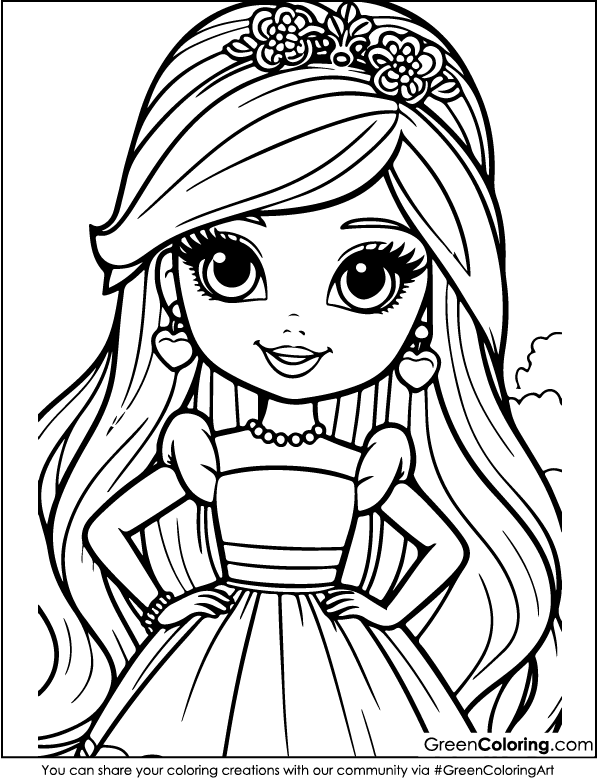
Coloring is fun, but do you know what’s even more exciting? Turning your Barbie coloring pages into cool crafts! Last week, my daughter Lisa and I had a blast making creative projects using Barbie printables. And guess what? You can do it too! Before we start, don’t forget that I publish 20 free Barbie coloring pages in PDF format above this article, so grab them, and let’s get crafting!

1. Barbie Dream House Wall Art
Materials Needed:
- Colored Barbie coloring pages (printed and colored)
- Cardboard or a canvas
- Glue or double-sided tape
- Decorative stickers, glitter, or sequins
- Scissors (parent supervision required)
Steps:
- Sort your preferred Barbie designs from the coloring pages first. Lisa and I usually choose the ones that complement her bedroom with a pink-and-purple theme!
- Cut the Barbie figures carefully, being sure to keep the outlines neat.
- To provide a strong basis, glue the cutouts onto a small canvas or piece of cardboard.
- The fun part comes now, decorating! Lisa enjoys sprinkling sequins and glitter, while Mike would rather have brilliant stars all around the margins.
- Once everything is dry, choose a great location on the wall and hang your masterwork!
Genius Hack: If your child enjoys change, use Velcro dots on the rear of the cutouts so they may rearrange the art anytime! For more inspiration on DIY wall art ideas, visit HGTV’s craft section.
2. Barbie Paper Dolls
Materials Needed:
- Colored Barbie coloring pages
- Cardstock paper
- Scissors (adult supervision for young kids)
- Glue
- Popsicle sticks (optional)
Steps:
- Choose Barbie figures from the coloring pages and color them beautifully. Lisa gets super excited about designing the outfits, while Mike, being Mike, tries to give Barbie a superhero cape! We joke that Barbie is now part of the Avengers.
- Cut out the Barbie characters carefully. If the paper is thin, glue them onto cardstock to make them sturdier. We always let them dry under a book to keep them flat.
- Now, create different outfits! Cut out dresses, shoes, and accessories from more coloring pages or construction paper. Lisa likes to mix and match styles, and Mike insists that Barbie needs a “cool spy outfit.”
- Attach a popsicle stick to the back of each Barbie figure if you want them to stand up for pretend play. We often put on mini puppet shows with them and create silly storylines!
Pro Tip: If you laminate the paper dolls, they last much longer! Lisa has a whole collection from past crafts that she still plays with. If you want even more ideas for DIY paper dolls, check out FirstPalette’s paper doll templates.
3. Barbie-Themed Party Invitations
Materials Needed:
- Printed and colored Barbie coloring pages
- Colored cardstock or construction paper
- Markers or pens
- Stickers and embellishments
- Glue
Steps:
- Fold a piece of cardstock into a card shape. Usually, Lisa and I go for pink and purple; Mike advises including blue “just to be fair.” We occasionally cut the edges fancier with shaped scissors.
- To make the front the star of the invitation, cut and paste a Barbie picture on there. We experiment with several placements to find the best one; occasionally we add layers to produce a 3D effect.
- Create the party inside by writing the specifics. Lisa always adds little hearts and swirls to make it particularly memorable. Sometimes Mike slips in humorous sketches to make us laugh, like a little superhero hiding behind Barbie!
- Jazz it up now for that special touch with stickers, glitter, or washi tape. We like using glitter stickers to give the card gloss! Lisa enjoys putting a little ribbon bow on the front for a really elegant touch.
Fun Tip: Lisa’s friends loved the homemade touch she included in her last birthday celebration! It gave the invites a particularly unique and intimate feel. We also kept one as a memento to mark the day.
4. DIY Barbie Bookmarks
Materials Needed:
- Colored Barbie coloring pages
- Cardstock or thick paper
- Hole punch
- Ribbon or yarn
- Laminator (optional)
Steps:
- Select a Barbie image and cut out a long, rectangular shape around it. Lisa and I debate the best poses to use. Sometimes we add glitter borders for extra sparkle. We’ve even experimented with cutting out Barbie’s full figure instead of a rectangle, and it turned out amazing!
- To increase longevity, glue it onto cardstock. Mike battled a little here; I helped him to straighten it out. When glue gets on our fingers, we laugh; it always becomes a messy but interesting experience! Use a glue stick rather than liquid glue if you wish for a neater appearance.
- To have a tassel effect, punch a hole at the top and thread a ribbon or yarn through it. Lisa enjoys choosing several ribbon colors for variety, and we occasionally add beads for a particularly fashionable touch. Should ribbon not be available, a braided strand of yarn performs equally effectively!
- If you want the bookmark to last longer, laminate it for extra protection. We tested this out, and Lisa’s laminated bookmark is still perfect months later! Mike’s, on the other hand, somehow ended up in the bathtub… So now we laminate all of them!
Bonus Tip: Add your child’s name in glitter glue for a personalized touch! You can even write a short inspirational message like “Reading is Magical!” or “Dream Big Like Barbie!”
5. Barbie Fashion Collage
Materials Needed:
- Barbie coloring pages
- Magazines (fashion or kids’ magazines)
- Scissors (with supervision)
- Glue
- Poster board
Steps:
- From the coloring pages, cut out Barbie and color her. Lisa likes to play about with several dress colors and patterns, which distinguishes every Barbie. She occasionally adds small jewels or fabric bits for a 3D impression.
- Look through magazines for chic accessories and clothing. We enjoy mocking the wild fashion choices. Once Mike came upon a photo of enormous boots and insisted Barbie needed them for “super kicking bad guys.”
- To make a distinctive fashion collage, cut out the clothes and glue them on Barbie. We layer several components to make it stand out, occasionally even adding textured looks using actual fabric swatches.
- Set everything on a poster board and hang it as Barbie’s own fashion portfolio. Lisa enjoys showing hers in her room, and occasionally we change out fresh clothes to keep the collage interesting.
Pro Tip: To let outfits be swapped out for fresh looks, use double-sided tape instead of glue! This transforms the work into a wearable fashion game.
6. Barbie-Themed Pencil Holder
Materials Needed:
- Empty tin can or toilet paper roll
- Colored Barbie coloring pages
- Glue
- Clear tape or Mod Podge
Steps:
- Wrap an empty can using your preferred Barbie coloring page. We make sure to color it exquisitely first, occasionally adding stars and hearts. Try using metallic markers for a shiny effect if you wish to add some more fun!
- Attach it securely with glue or Mod Podge. We run it down with a brush to eliminate any air bubbles. Apply an extra layer on top to give Mod Podge a glossy, protective finish.
- Let it totally dry before embellishing it with jewels, ribbons, or stickers. Lisa enjoys embellishing it with little pearl stickers to add elegance! Mike once tried adding glow-in-the-dark stars, and it turned out rather amazing.
- Stow pencils, markers, or even Barbie accessories using it! Mike experimented with holding toy cars using his to hold them, but it didn’t quite work out.
To make it last longer, cover it with laminate or clear tape. This increases its resilience to scratches and spills!
7. Barbie Memory Matching Game
Materials Needed:
- Barbie coloring pages
- Cardstock paper
- Scissors
Steps:
- Cut out Barbie images and color them such that you have two of each design. While Mike insists we should have a “Barbie astronaut,” Lisa picks graceful poses. Try combining well-blended colored pencils in soft, dreamy tones to make them especially unique.
- For longevity, glue them onto cardstock. To resemble actual playing cards, we prefer to use various colored backings. They’re even more fun when the edges have a glitter border!
- Mix them, then arrange them face down on a table. Sometimes before we begin, we arrange them in interesting designs. Mike even devised a “Barbie tornado” design whereby the cards spiral outward.
- To locate a match, alternately flip over two at a time. Mike is kept occupied for hours by this game—even though he occasionally peeks at the cards when it’s not his turn.
Pro Tip: Add more pairs or set a timer to see who finds the most matches the fastest for an extra challenge!
8. Barbie-Themed Gift Wrap
Materials Needed:
- Barbie coloring pages
- Tape or glue
- Ribbon (optional)
- Small gifts
Steps:
- Take a Barbie coloring page and carefully wrap it around a small gift. Lisa loves choosing the perfect page for each friend. We once made a set of wrapped gifts that formed a bigger Barbie picture when stacked together!
- Tape or glue will help you secure it such that the top view of the design is obvious. We smooth it so it appears polished and orderly. Tissue paper inside provides additional protection if you are wrapping something delicate.
- Add a ribbon or bow to give it a fancier touch. We sometimes curl the ribbon for a fun effect. Lisa once made a mini gift tag from another Barbie coloring page to match the wrapping.
- Present the gift with a handmade charm that will delight any Barbie fan! Lisa loves making these for her friends, and they always appreciate the unique wrapping paper!
Fun Tip: Use a glitter pen to write the recipient’s name directly on the wrapping paper for an extra special touch!
Making crafts using Barbie coloring pages is not only entertaining but also a great approach to boost fine motor skills and imagination. You can create endless paper dolls, bookmarks, or party invites depending on your project. Projects like these fit beautifully alongside princess, flower, and unicorn coloring pages, giving your kids even more ways to explore creativity.
Remember also that I have 20 free Barbie coloring pages in PDF format above this article; download them and begin working right now! Enjoy yourself; tell me which craft your children particularly enjoyed.
Download Free Coloring Pages:


Leave a Reply