7 Creative Ways Kids Can Craft with Tractor Coloring Pages
Every Saturday morning in our house starts with crayons, giggles, and the sound of Lisa and Mike arguing over who gets the red marker first. One thing we all agree on? Tractor coloring pages are our favorite. There’s something about big wheels, muddy fields, and the idea of driving a powerful machine that makes kids light up with excitement.
But we didn’t stop at coloring. Over time, Lisa had the idea to turn her tractors into wall art. Mike turned his into a spinning puzzle. Before long, we had a whole collection of creative tractor crafts scattered around the house.
So today, I’m sharing our top 7 tractor craft ideas that bring these coloring pages to life. Each one is packed with fun steps, personal tips, and little memories from our own family craft days. Whether it’s your first time coloring or you’re a craft pro, you’ll find something fun, easy, and meaningful to do together.


1. Tractor Wall Art with Popsicle Frame
Materials Needed:
- Printed tractor coloring pages
- Crayons or markers
- Popsicle sticks
- Glue
- String for hanging
- Scissors (adult supervision needed)
Steps:
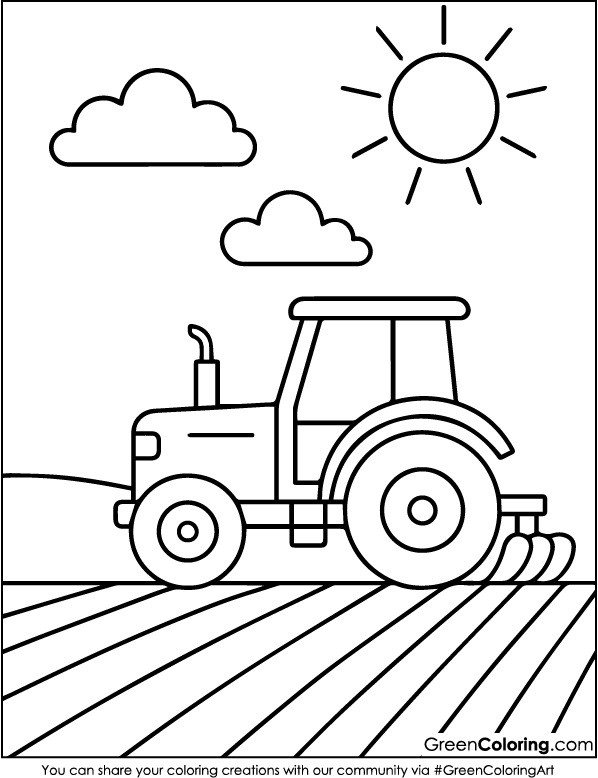
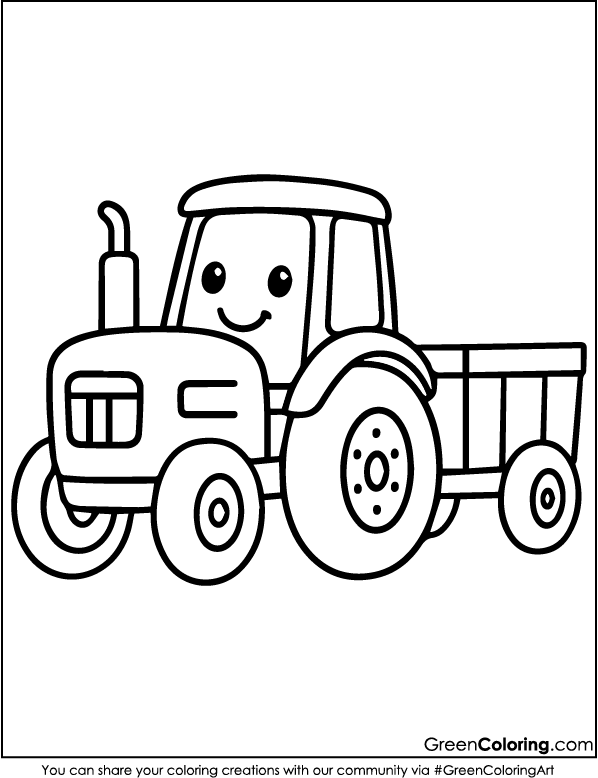
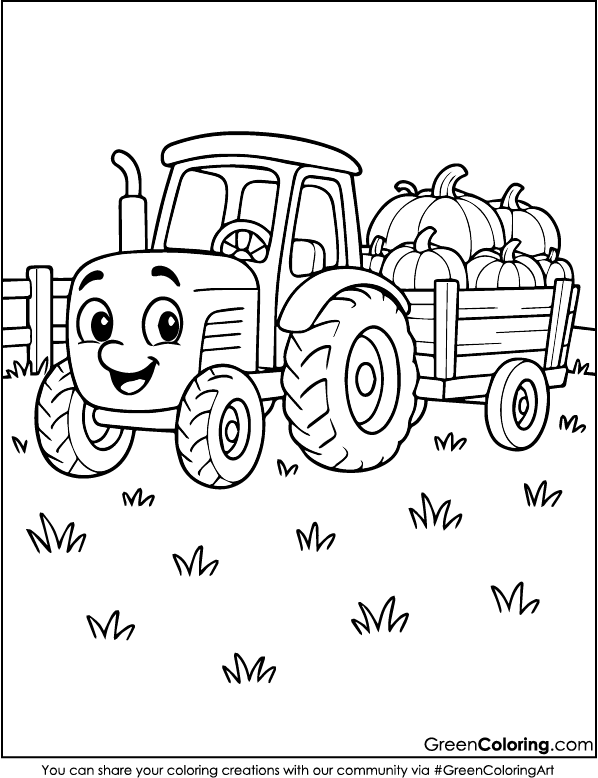
- Start by choosing your favorite tractor coloring page from the free PDFs we offer below. Last month, Lisa picked the one with the biggest wheels because it reminded her of a princess carriage (yes, with mud tires).
- Let your child color the page using their favorite colors. Lisa always picks pink and purple (of course), while Mike goes straight for green and blue, saying, “This is a super-speed tractor!”
- After coloring, help your child carefully cut out the tractor artwork. Since Mike still struggles with scissors, I usually guide his little hand, and we talk about farm animals as we go.
- Arrange four popsicle sticks in a square around the coloring to create a simple but rustic frame.
- Attach a piece of string to the top two popsicle sticks so you can hang it like a mini canvas.
- Then, proudly hang it on a bedroom wall, fridge, or even in the hallway. Last time, we gifted one to Emily, and she smiled all day.
2. Tractor Color and Stick Craft
Materials Needed:
- Printed tractor coloring pages
- Washable paint or crayons
- Craft sticks or toothpicks
- Cotton balls
- Glue
- Safety scissors
Steps:
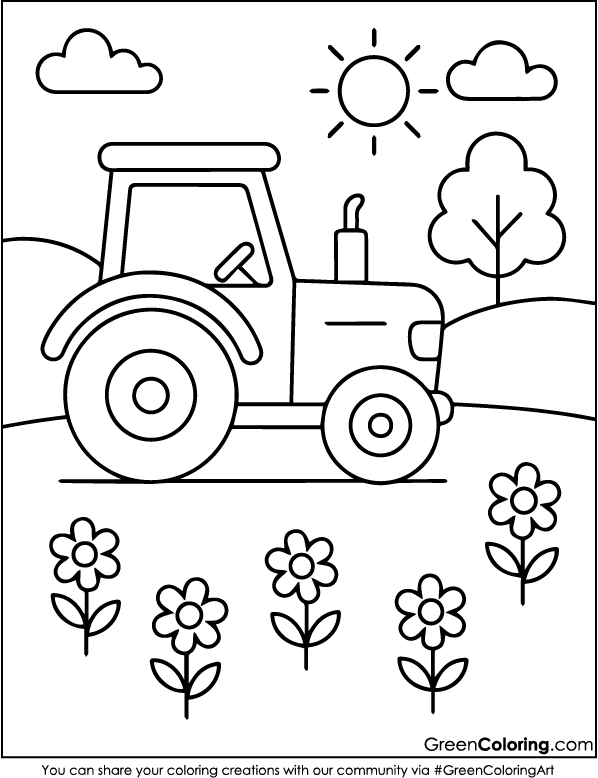
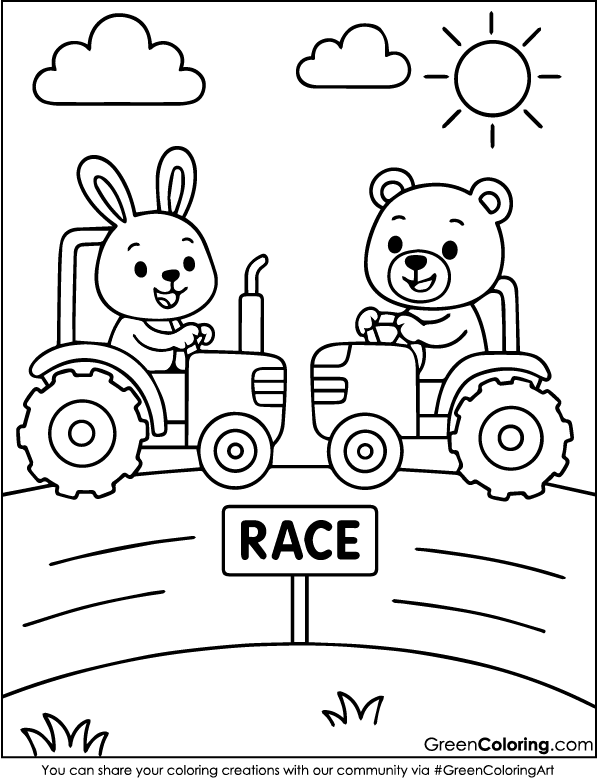
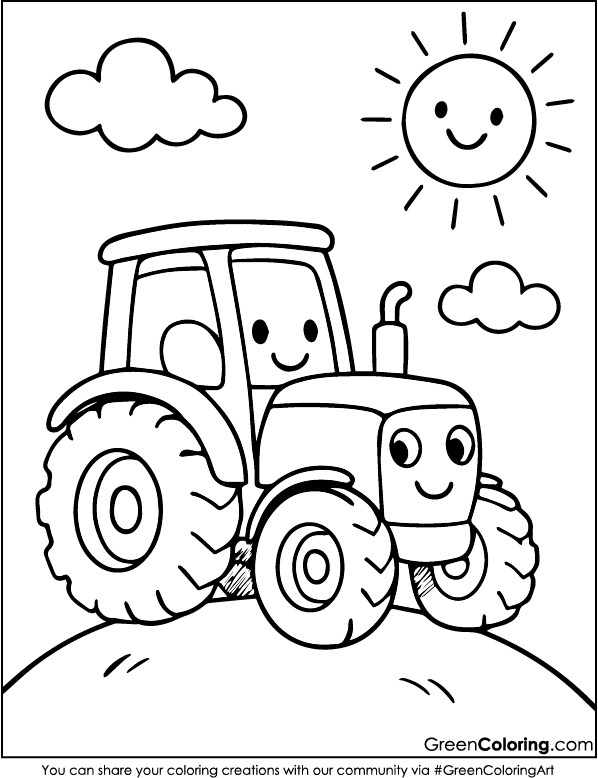
- Choose a tractor coloring page and let your children run wild with color. Once mixing blue and yellow, Mike yelled, “It’s a magic green!” His face radiated delight.
- Help them cut out the various elements like the tractor, trees, sun, and clouds once the artwork is completed. This lets them hone hand-eye coordination and fine motor abilities.
- Use craft sticks or toothpicks to add structure. For example, glue a toothpick as exhaust smoke or as a fence around the tractor.
- Stick cotton balls onto the page to represent fluffy clouds or tractor smoke. Mike likes to shout “Poof!” every time he glues one down.
- Mount everything onto a cardboard base to create a 3D farm scene. Lisa once added a tiny paper pig and called it “Princess Piggy’s Farm.”
Pro Tip: Sprinkle a little cinnamon on the glue for a pleasant, farmy scent. Emily loved how it made the whole kitchen smell cozy.

3. Tractor Door Hanger
Materials Needed:
- Printable tractor coloring pages
- Ribbon or string
- Hole punch
- Glue
- Colored paper
- Markers or pens
Steps:
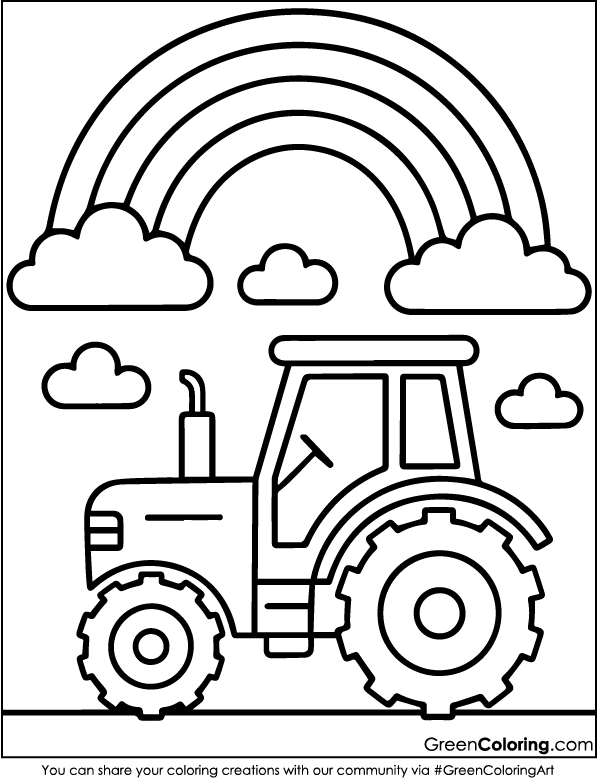
- Let your child choose their favorite tractor design and start coloring. This is their chance to add personal flair. Lisa once added pink hearts as chimney smoke, explaining, “Tractors can be lovely too!” That moment made us all laugh.
- Help them carefully cut out the image. Mounting it on brightly colored paper adds extra pop and makes the piece more durable. Lisa often picks glittery gold paper; she says it’s “farmer fancy.”
- To fasten it, punch a hole at the top and insert a ribbon or thread. Let your child pick the color so it matches their personality. Mike chose a neon green string once and insisted it made the tractor go faster.
- Decorate with a fun message or label like “Farmer Mike’s Zone” or “Lisa’s Crafty Corner.” Use markers or print out a label. These small custom touches give kids ownership of their creation.
- Keep it on the door of the bedroom or playhouse. Seeing their work inspires them and reminds them that their creativity counts.
Fun Tip: Around the edges, toss buttons, bells, and even jingle beads. Mike’s door jingled every time it opened, and he would sprint back to shut it to once more hear the sound. You can learn more about sensory play and why it’s great for child development at Pathways.org.
4. Tractor Paper Plate Wheel Craft
Materials Needed:
- Printable tractor coloring pages
- Paper plate
- Brads (paper fasteners)
- Crayons
- Tape or glue
- Hole punch
Steps:
- Start by coloring the tractor coloring page with lots of flair. Encourage the kids to get silly. Mike loves drawing lightning bolts on everything; he says his tractor is the fastest on the farm.
- Help them cut out the tractor shape once it’s colored. Take your time and let them help with the snipping. It teaches patience and precision.
- Use a paper plate as the wheel. Let the kids paint it black or dark gray, then add silver or gold edges to mimic tire rims. Lisa even added tiny dandelions on hers “so it can drive through flower fields,” she said.
- Punch holes in the tractor cutout and the center of the plate. Be sure the holes line up properly so it spins smoothly.
- Attach them together with a brad. Now, the tractor has a moving wheel! It’s always magical to see their faces light up when they spin it.
- Tape the whole creation to a cardboard base or stick it on the fridge for everyone to admire.
Helpful Tip: Draw a little dirt trail or country road on the paper plate before attaching it. Lisa glued tiny paper flowers along her path. It became a whole tractor journey through nature!


5. Tractor Shadow Craft
Materials Needed:
- Black cardstock
- Tractor coloring pages
- Scissors
- Tape
- Small flashlight
Steps:
- First, color your tractor drawing. Use glow-in-the-dark markers or stickers to add details that shine. On the side of Mike’s tractor, there were stars, flames, and a happy moon.
- Carefully cut out the tractor image. You can do this together, talking about the parts of the tractor as you go.
- Lay the cutout on black cardstock and trace it. This creates the “shadow” version of the tractor.
- Cut out the black silhouette and tape both the colored version and the shadow side-by-side on a wall or cardboard backdrop.
- Turn off the lights and shine a flashlight behind the cutouts. The shadows jump to life and create a story scene on the wall. Mike once used his to tell a spooky farm tale that ended with everyone giggling.
Genius Hack: Use colored flashlights or cellophane over a regular one for magical lighting effects. Change the angle to make the shadow “drive” across the wall. One winter night, Lisa sat with her cocoa and made a farm shadow play. It was unforgettable. Want more flashlight-based shadow games? Check out this list of ideas from The Genius of Play.
6. Tractor Puzzle Bag Craft (Mini Game)
Materials Needed:
- Printed tractor coloring pages
- Markers
- Ziplock bag
- Scissors
- Cardboard backing (optional)
Steps:
- Sit together and color the tractor. This is a great time for storytelling. Lisa made hers pink and added eyelashes, calling it “Tractor Tina.” Mike laughed so hard he dropped his blue marker.
- Cut the image into puzzle pieces. Start with 6–8 large pieces for younger kids or more complex shapes for older ones. I like to trace thick lines in pencil as cutting guides. Kids love following their own “roads.”
- Place all the pieces into a Ziplock bag. Let your child decorate the outside with stickers or their name: “Mike’s Farm Puzzle” or “Lisa’s Tractor Game.”
- Optionally, glue the original coloring page on cardboard to act as a reference board. It helps kids rebuild the puzzle, especially on car rides.
Pro Tip: Laminate the pieces using clear tape or actual lamination sheets. Ours has survived dozens of road trips and even a juice spill.

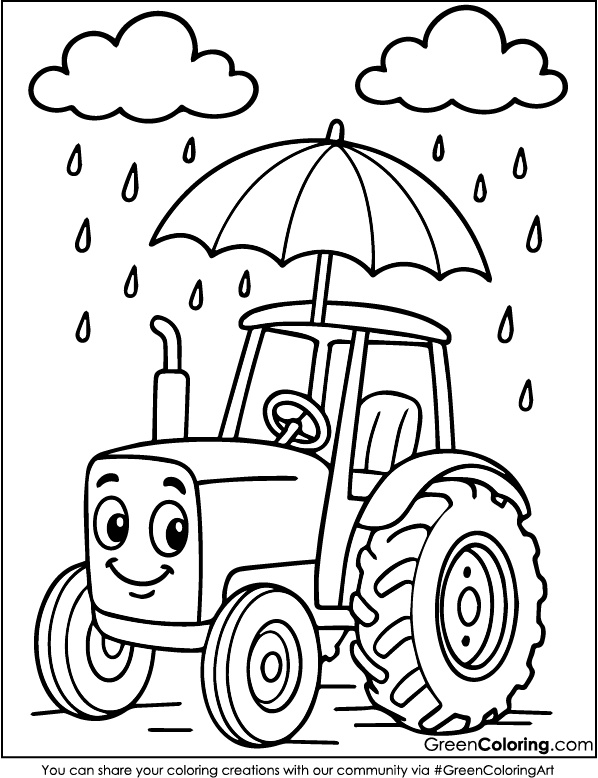
7. Tractor Weather Board Craft
Materials Needed:
- Tractor coloring pages
- Colored pencils or paint
- Laminator or contact paper
- Velcro dots
- Craft paper
Steps:
- First, color the picture of the tractor. Let the kids pick whether it’s a tractor for a sunny day, a rainy day, or even a snowy day. Mike always gives him a little umbrella!
- Cut out the tractor carefully and glue it onto a colored background: blue for sunny skies, gray for rain, or purple if your kid is as creative as Lisa.
- Help design miniature icons for various weather conditions: sun, rain, wind, clouds, and even snowflakes. Use vivid colors to make each one unique and interesting.
- Laminate or contact paper each weather piece and the board. Even with fingers covered in juice, this keeps the craft strong and clean.
- On the board and on the rear of every weather piece, stick Velcro dots. Your child can now daily change the weather. Mike’s official job is updating every morning while drinking his juice.
- You can add sections for “day of the week” or “how I feel today.” Lisa uses emoji faces to show her mood, which opened up great conversations about feelings.
Smart Tip: Attach a small envelope to the back to hold extra weather icons. It keeps everything tidy and encourages your child to keep track of their pieces.
Final Thought
So there you go, 7 brand-new crafts using tractor coloring pages that are way more exciting than your usual masks and bookmarks. Each one helps your child learn colors, shapes, creativity, and even a bit of storytelling. You can also explore monster truck, fire truck, or helicopter coloring pages for even more vehicle-themed fun.
And the best part? You can download 34 free printable tractor coloring pages in PDF format right below this article, perfect to start crafting today!
Crafts like these are how I connect with my kids, especially after a long week. Last time, on a cool autumn evening, Emily made hot cocoa while Lisa organized our supplies and Mike tried to glue his sock to the table (don’t ask).
Download Free Coloring Pages:


Leave a Reply