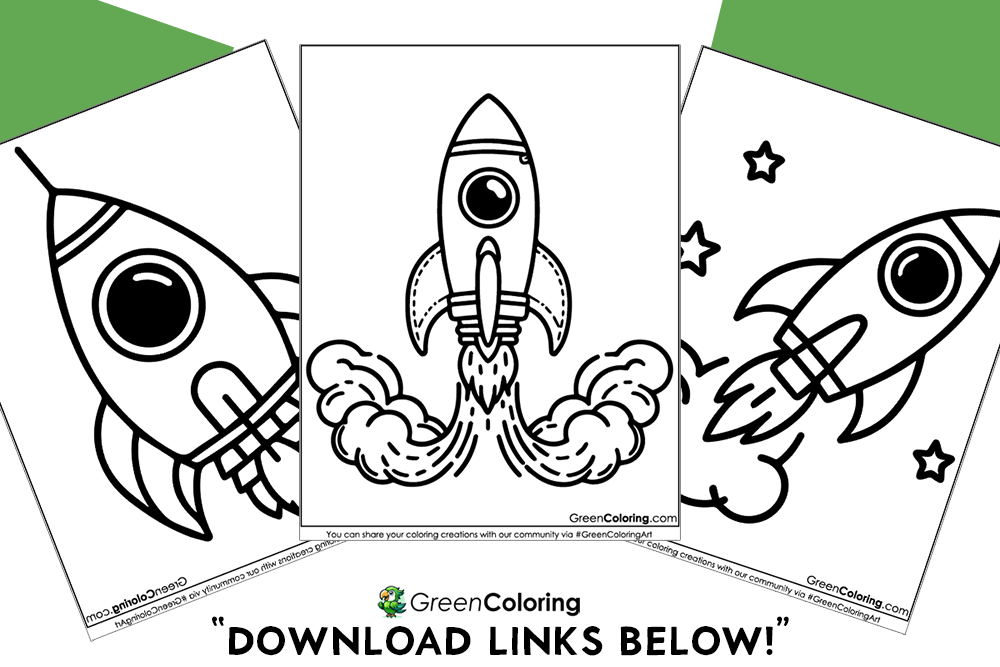
8 Crafts for Kids Using Rocket Coloring Pages
If your kids love rockets, you’re going to love what we’ve put together! Using our free rocket coloring pages, you can turn simple drawings into creative, hands-on crafts that are fun, educational, and full of imagination. From banners to puzzles, these activities are perfect for a weekend project, a rainy day, or a birthday countdown.
This page features eight imaginative rocket crafts with basic techniques, useful advice, and personal tales that elevate the meaning of making. Prepare your children to bring some delight, laughter, and learning.
1. Rocket Room Banner
Materials Needed:
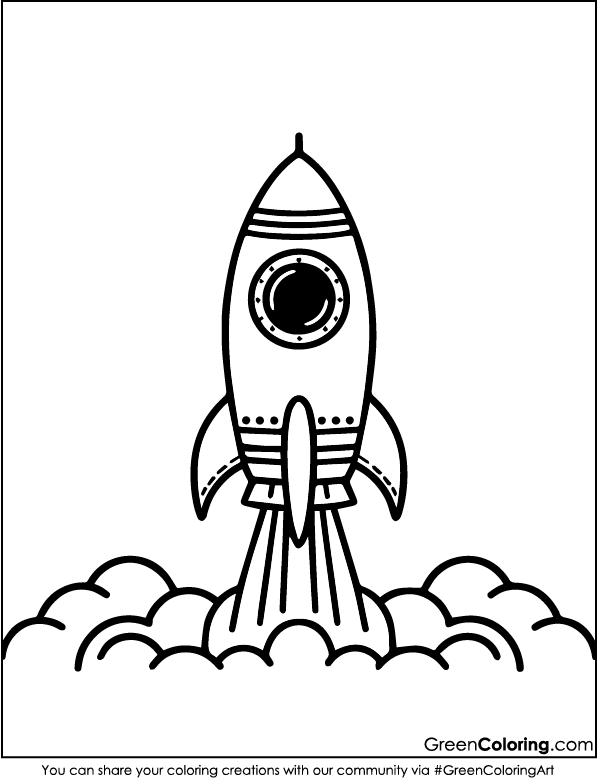
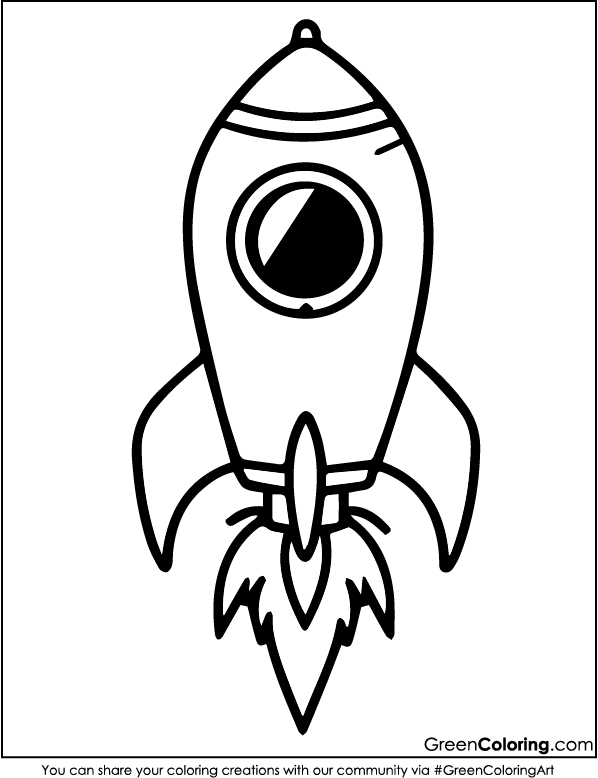
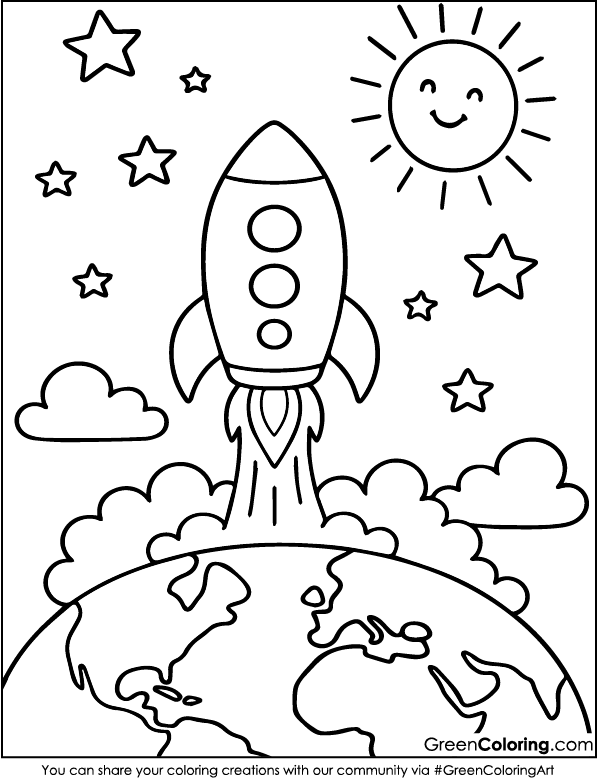
- Rocket coloring pages (free PDF printables available below!)
- String or ribbon
- Glue or tape
- Safety scissors
- Hole punch
Steps:
- Print out the rocket coloring pages and color them with your kids to start. Mike always has his blue and green crayons on hand, and Lisa likes to add pink sparkles to everything. They are on their own space adventure, so let them be creative.
- After coloring, carefully cut out each rocket. If your child is still learning to use scissors, like Mike, it’s a great opportunity to help them learn slowly and safely. I usually hold the page while Mike cuts along the edges; it turns into a lovely bonding moment.
- Use a hole punch at the top of each rocket to make threading easier.
- Thread each rocket onto a long ribbon or string, spacing them out evenly. Let your child decide the order; they love to feel in charge!
- Hang the banner across their bedroom wall or on a door. Lisa proudly taped hers on our bookshelf, and she even gave it a name: “Mission Cutie Rocket!”
Pro Tip: Add glitter glue or tiny paper stars between each rocket on the banner to make it sparkle. It gives a magical night-sky feel that kids absolutely love!
2. Rocket Launch Countdown Chart
Materials Needed:
- Rocket coloring pages
- Large sheet of cardboard or poster board
- Glue
- Sticky notes or paper strips
- Markers
Steps:
- Firstly, let your kid color the rocket they like best from the free printables. Picking the biggest rocket, Mike put shiny green stickers all over it.
- Glue the finished rocket to the top center of the poster board. This becomes the visual goal for the countdown.
- Underneath, arrange 10 sticky notes in a vertical line labeled 10 through 1, representing the days until a special event. We did this before Mike’s birthday last month, and he tore off a note each morning with excitement!
- Let your child help write or decorate each number. Lisa drew tiny stars around every sticky note to make it feel more like space.
- Celebrate the end of the countdown by throwing a small party or giving a small reward. In a fun way, it teaches you to wait and be patient.
Fun Tip: As the days go by, let your child add a gold star to make things more exciting. They will love seeing the stars get bigger and bigger like rocket fuel.
3. Rocket Puzzle Craft (Without Using Puzzle Template)
Materials Needed:
- Rocket coloring pages
- Cardboard
- Glue
- Scissors
- Pen or marker
Steps:
- Allow your kid to pick a rocket coloring page to color. When you’re done, glue the rocket coloring page to a strong piece of cardboard. It’s strong enough now to work like a real puzzle.
- Let it dry completely so it doesn’t wrinkle when cut.
- Using a pen or marker, draw custom puzzle lines on the back of the cardboard. I usually go for wavy or zigzag lines. Lisa once created a rocket shape that had pieces shaped like clouds and stars!
- Cut out the pieces carefully. Make sure they’re large enough for your child’s hands. Mike had fun racing Lisa to complete their puzzles, even though he needed a little help.
- Once done, challenge your kids to complete the puzzle and time themselves. It’s a great way to boost memory and coordination.
Pro Tip: Store the pieces in a small envelope or zip bag and write the date you made it. It becomes a sweet keepsake over time.
4. Rocket Space Helmet Decoration
Materials Needed:
- Rocket coloring pages
- Cardboard box (helmet size)
- Aluminum foil
- Glue or tape
- Markers
Steps:
- Get an empty box that’s big enough for your kid to wear over their head. To make it look like a shiny space helmet, wrap it in aluminum foil. Lisa gave hers the name “Princess Galaxy Helmet” and covered it with stickers.
- Cut out a front-facing window so your child can see through it. Make sure the edges are smooth and safe; we always use masking tape to line the cuts to avoid accidents.
- Let your child choose their favorite rocket cutouts from the coloring pages, then glue them on the sides and back of the helmet. Mike put a rocket on the top and called it his turbo booster.
- Add additional spacey decorations like stars, planets, and alien stickers.
- Your kid can pretend to be an astronaut while wearing the helmet. Perfect for making up stories and pretend play.
Make sure the box has lots of air holes and isn’t too heavy for your child to wear.
5. Rocket Launch Pad Diorama
Materials Needed:
- Rocket coloring pages
- Shoebox
- Construction paper
- Cotton balls
- Paint (optional)
- Glue and scissors
Steps:
- To create a three-dimensional scene, turn the shoebox on its side. For a space background, paint the inside dark blue or black; let your child color it with crayons.
- Use colored paper to create a launchpad, planets, stars, and little astronauts. We used bottle caps and paper rolls to make control panels last weekend.
- Choose a rocket coloring page, color it, and cut it out. Glue it in the center of the shoebox like it’s ready to launch!
- Under the rocket, arrange cotton balls to create fire and smoke. To give the cotton magic dust, Lisa glittered glue on it.
- Let the diorama dry, then show it on a shelf. Mike shows his guests proudly how his rocket is headed toward “Planet Cookie.”
Creative Tip: To make your diorama light at night, use glow-in-the-dark stickers or paint! For more ideas on creating educational dioramas, check out Scholastic’s diorama project guide.
6. Rocket Fridge Magnets
Materials Needed:
- Rocket coloring pages
- Cardboard
- Adhesive magnets (or magnetic strips)
- Glue
- Laminating sheet (optional)
Steps:
- First, print your preferred rocket coloring page. Take your time to appreciate it. Mike likes strong red and blue; Lisa enjoys choosing vivid colors. Lisa once assisted Mike in coloring inside the lines, and we played space music to create the impression of a real mission.
- Cut out the rockets once colored and glue them to strong cardboard. It gives them thickness and makes handling interesting. When Mike’s magnet “crashed” off the refrigerator, he giggled. We then added still another layer of cardboard to strengthen them.
- Laminating the artwork before cutting the rocket form will help them last longer and shine. Lisa always loves how this rocket sparkles under the kitchen light; she describes it as its “space armor.”
- On the back of the cardboard rocket, stick adhesive magnets. Press and hold briefly to assist in its adherence. Make sure the magnetic tape is first clean, if using it. To keep big rockets level, use two magnets.
- It’s now time to play. Let your children organize the rockets anyway they choose. Mike enjoys yelling “Blast off!” as he launches rockets toward fictional planets. We even assign names and a space mission to each one. Lisa loved flying to the “Glitter Galaxy.”
Pro Tip: Mark each rocket your children write the names of planets or family members on using markers. It lends a personal touch and supports early reading abilities. For more magnetic craft activities and tutorials, check out Crayola’s creative magnet crafts.
7. Rocket Pencil Holder
Materials Needed:
- Rocket coloring pages
- Empty toilet paper rolls or cans
- Glue
- Safety scissors
- Paint or colored paper
Steps:
- Start by clearing the can or toilet paper roll. Double-check for sharp edges and cover them with duct tape or colorful washi tape if you are using a metal can for safety and flair. My wife Emily always fills in for this and guarantees absolute safety.
- Let your kids choose a theme for their pencil holder. Lisa picked purple with foil stars to match her room, while Mike went wild with dinosaur stickers and paint splatters. Wrap the roll in colored paper or paint it with their chosen palette. A glitter topcoat makes it even more exciting!
- Now, select and color a rocket from the printable pages. Cut it out and glue it front and center on the decorated roll. Mike glued his upside-down on purpose and said it was blasting off underground. It sparked a whole story!
- Add decorative touches; think glitter, foam stars, googly eyes, or even little flags and labels. Lisa used stickers to write “Galaxy Tools” on hers. Encourage creativity and make it fun; let your kids take full artistic control.
- Once everything dries, place the holder on their desk. Lisa keeps her pastel gel pens in hers, while Mike uses his as a surprise box for Pokémon cards and mystery toys. These little touches turn a craft into a functional keepsake.
Smart Tip: Make one for crayons, another for markers, and still another for glue sticks or scissors. Give names or labels so they remain orderly and eager for use.
8. Rocket Alphabet Rocket Craft
Materials Needed:
- Rocket coloring pages
- Alphabet stickers or markers
- Tape or glue
- Poster board or cardboard
Steps:
- Adjust your printer settings to print smaller rocket versions, then let your kids color them in. Lisa arranged her rockets in rainbow order and sang songs while coloring. Mike wore a cardboard space helmet and made rocket noises for every crayon stroke; it was pure creative chaos.
- Put a different letter of the alphabet on each rocket once they are all ready. Lisa carefully added her name letter by letter and put a sparkling heart on top of the “i.” Mike put up big red stickers and yelled each letter like it was a secret code.
- Grab a large poster board or a piece of cardboard and decide on the layout. Lisa created a straight path that looked like a rocket runway. Mike preferred to swirl his rockets in a spiral and called it “The Space Cyclone of ABCs.”
- Glue or tape down the rockets firmly. If you want the rockets to be movable, try using Velcro dots or sticky tack instead of glue, great for turning it into an interactive alphabet game.
- Turn it into a playful learning experience. We played a game called “Find the Letter,” where I’d shout a letter and the kids would race to tap the right rocket. Each correct answer got them a space sticker. Mike now thinks learning letters is a mission control challenge!
Genius Hack:
Create a rocket badge chart. Every time your child learns five new letters or spells a word, they earn a badge to stick on their favorite rocket! You can also expand the fun by exploring other sky-themed activities with helicopter, airplane, and blimp coloring pages, which add even more variety to your crafting time.
Rocket crafts aren’t just for fun; they also help kids be more creative, improve their fine motor skills, and spend time together as a family. These projects are fun to do with your kids, whether you’re making a rocket launcher or a pencil holder.
Don’t forget, I’ve published 10 free rocket coloring pages in printable PDF format right below this article. They’re perfect for every one of these crafts and are just waiting to be brought to life with color!
Download Free Coloring Pages:
Leave a Reply