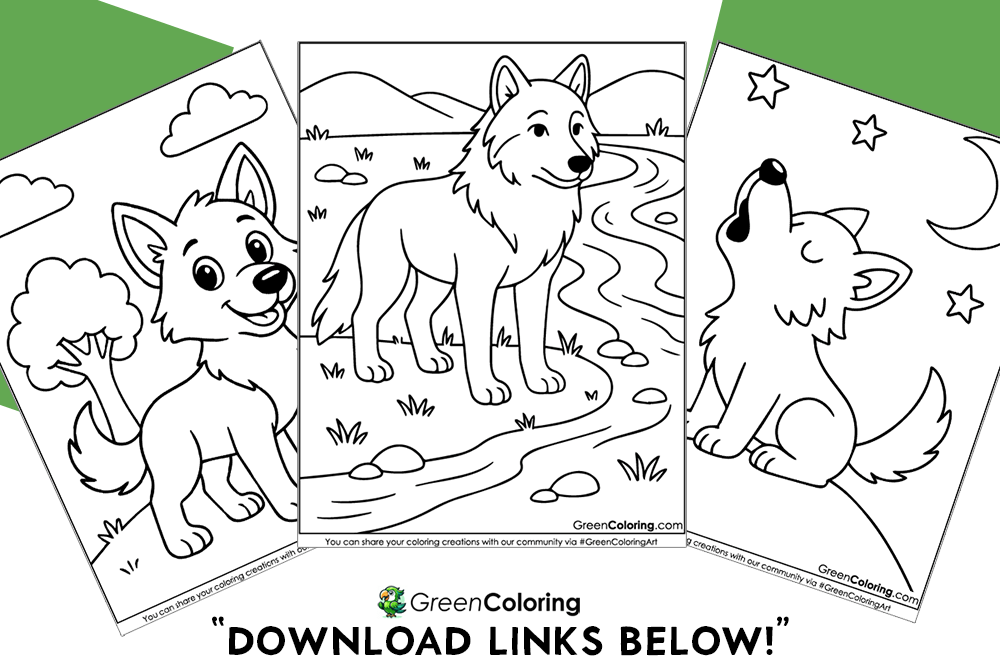
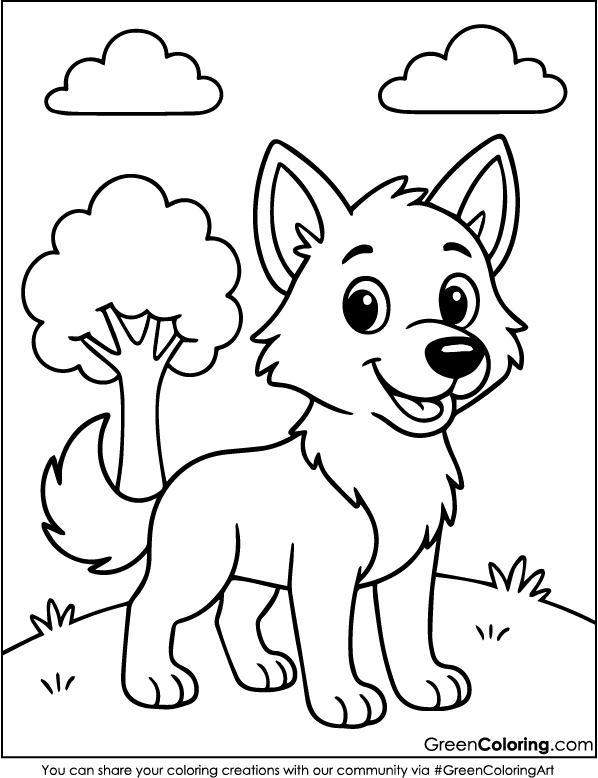
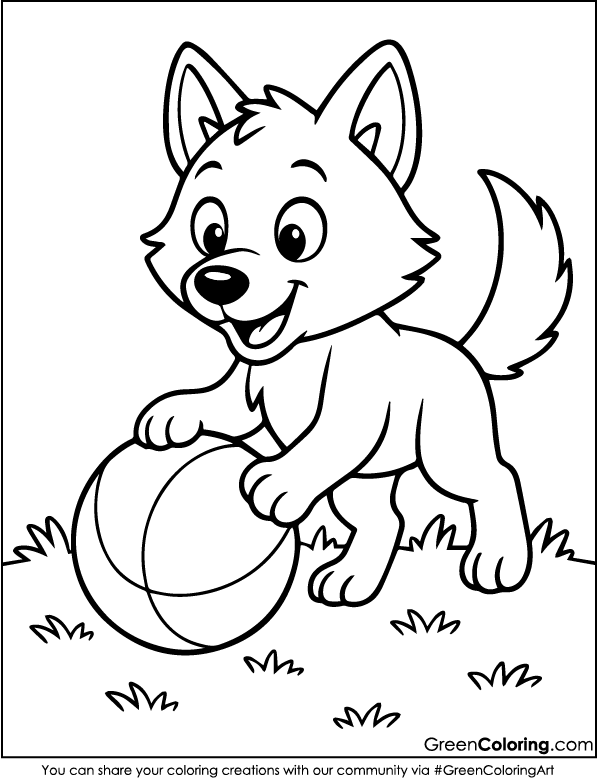
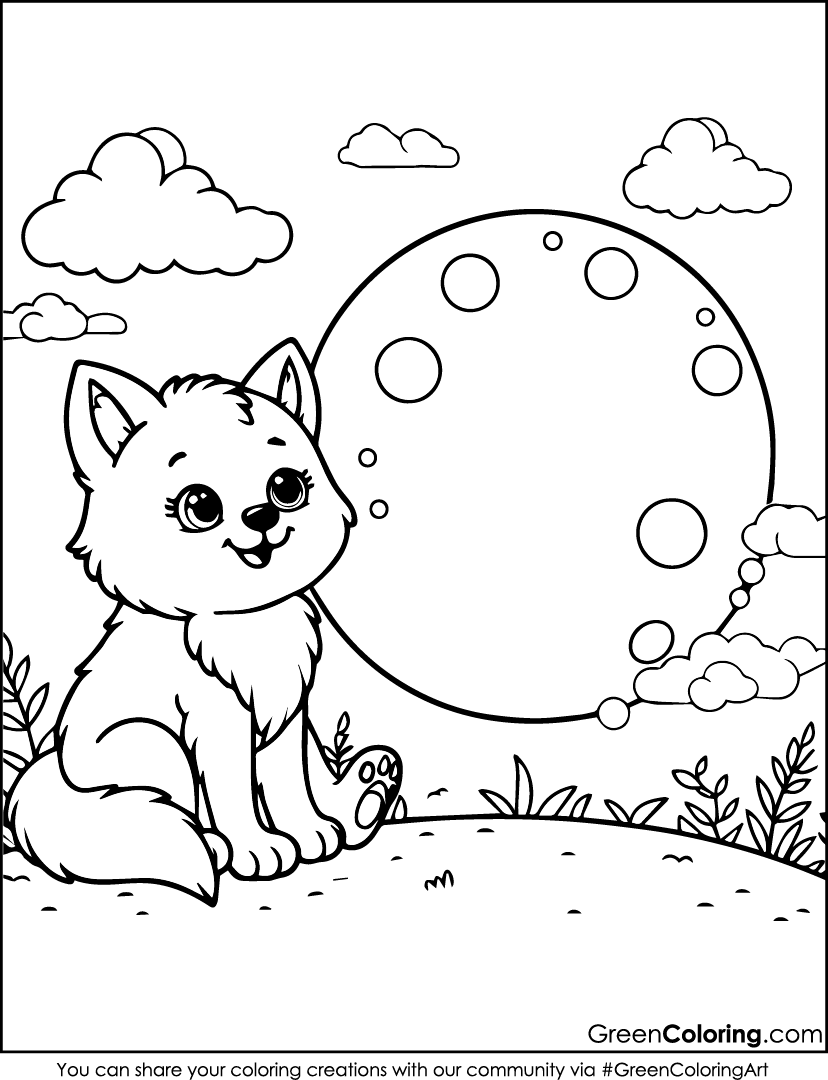
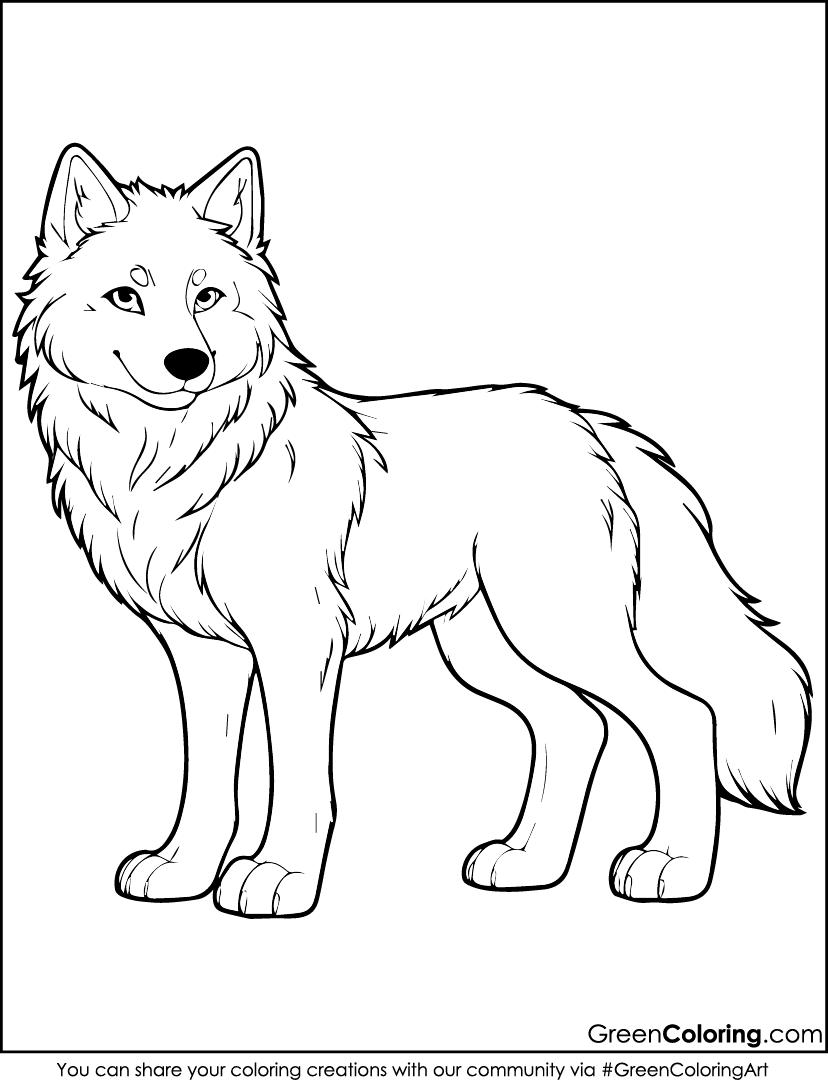
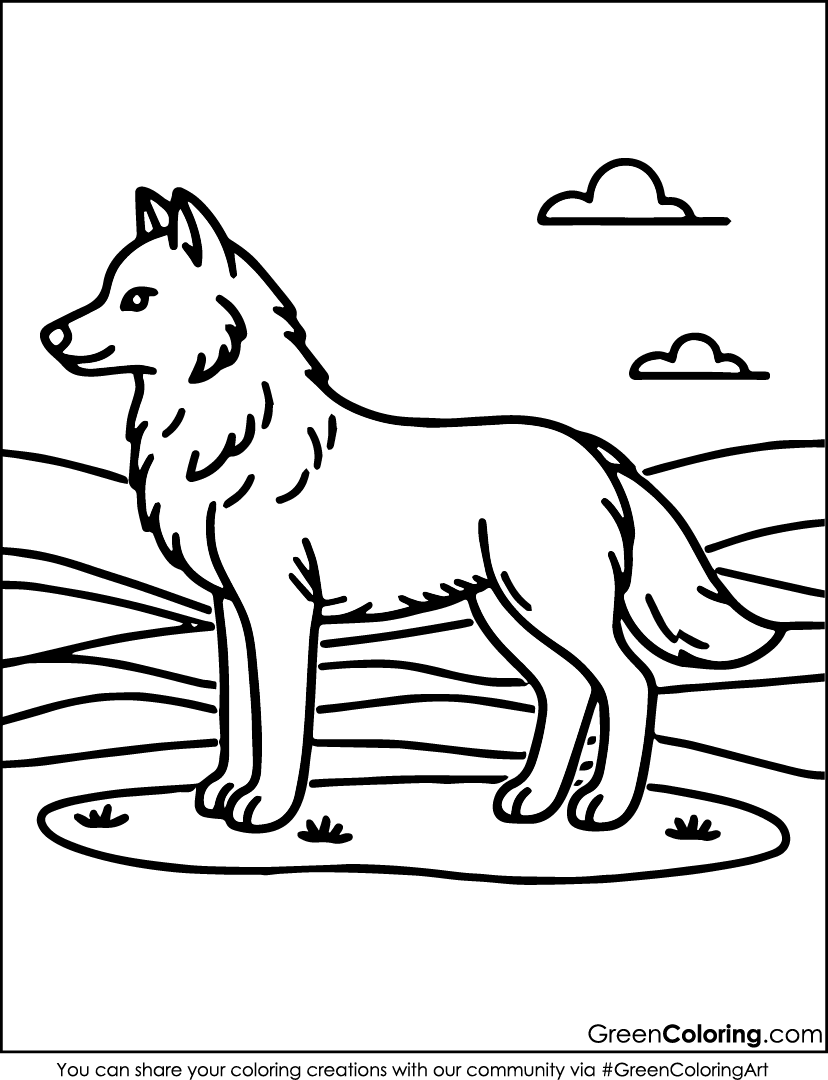
8 Wild and Creative Crafts for Kids Using Wolf Coloring Pages
Coloring is always fun, but what if you could turn your wolf coloring pages into fun crafts that you can do with your hands? Hello, my name is James, and I’m excited to share with you about eight great do-it-yourself projects that will turn your child’s creation into fun works of art. We made sure that every craft was fun for kids and would spark their imaginations.
1. Build-a-Wolf Shadow Puppet Show
Materials Needed:
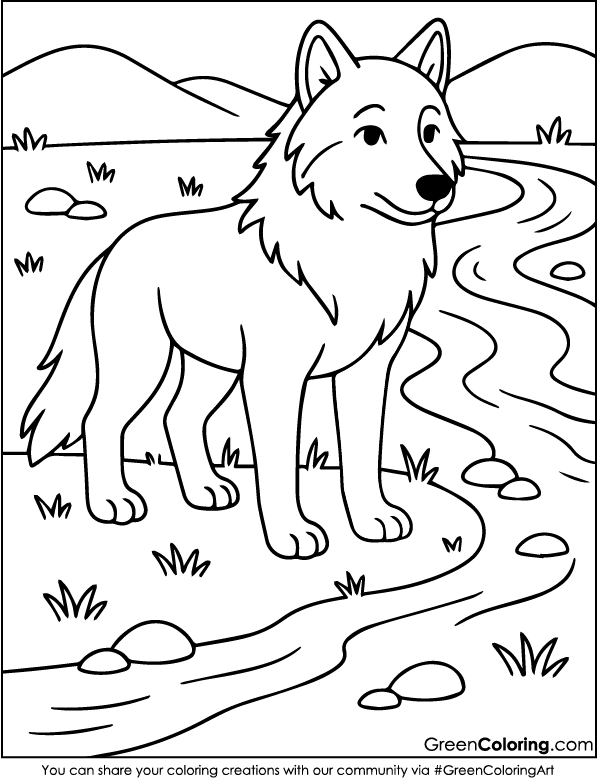
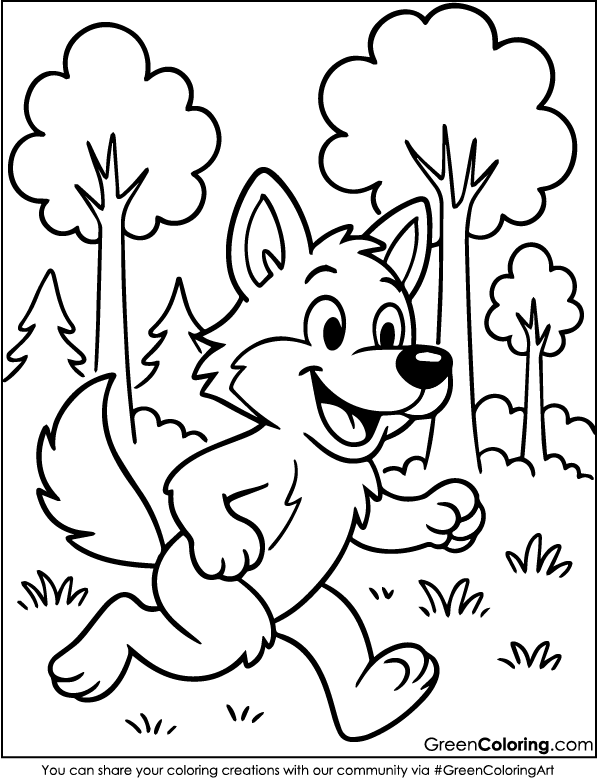
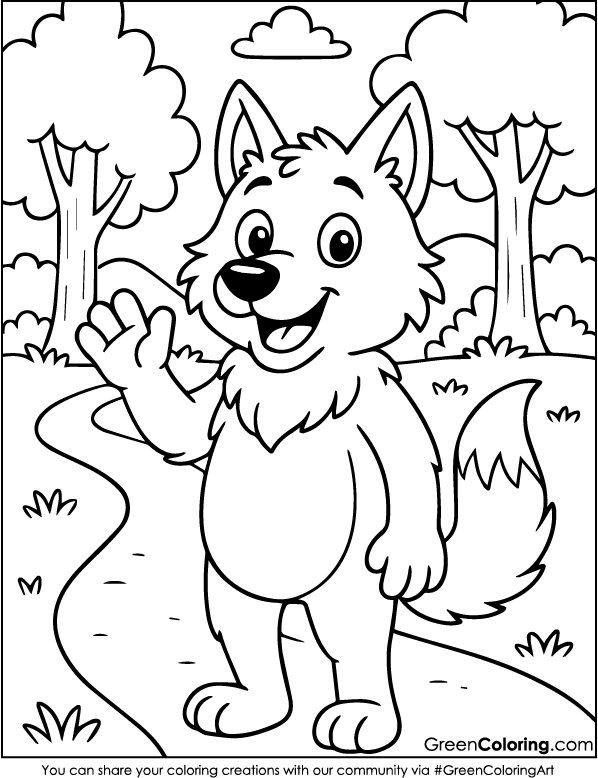
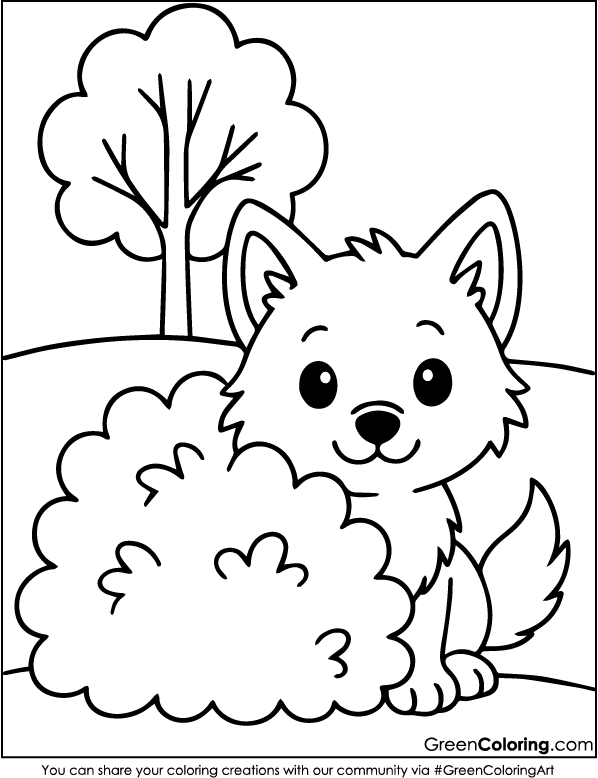
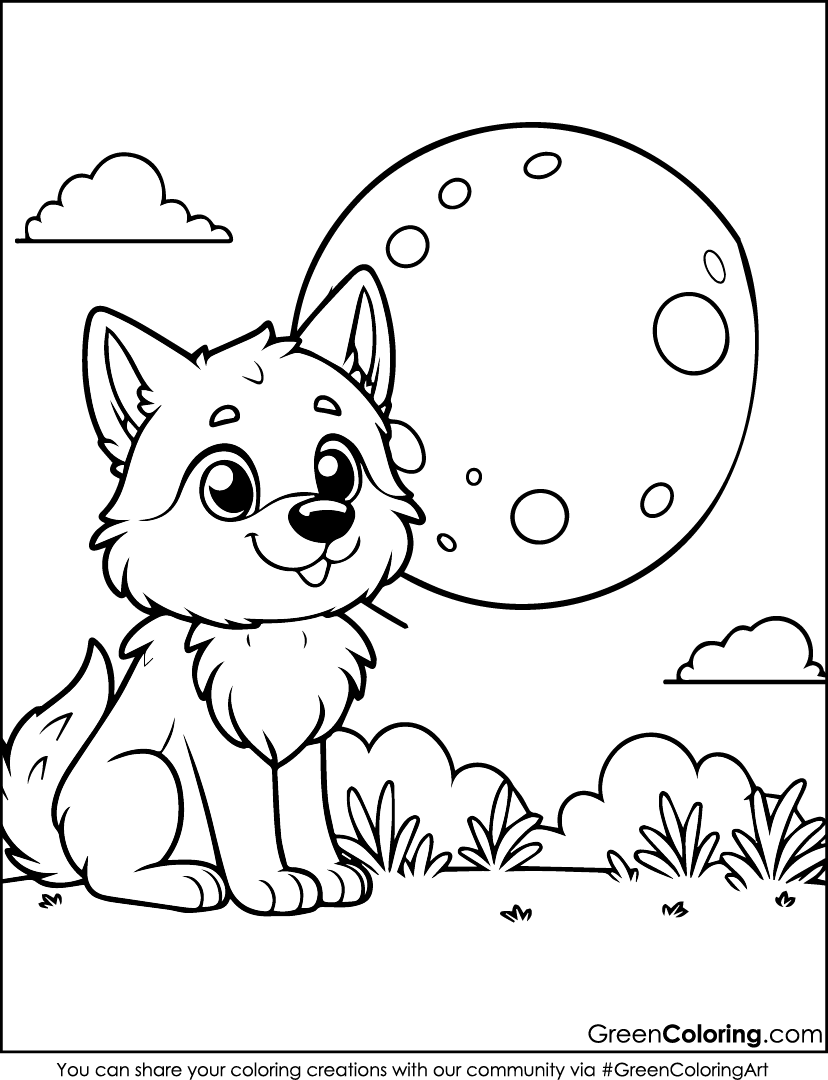
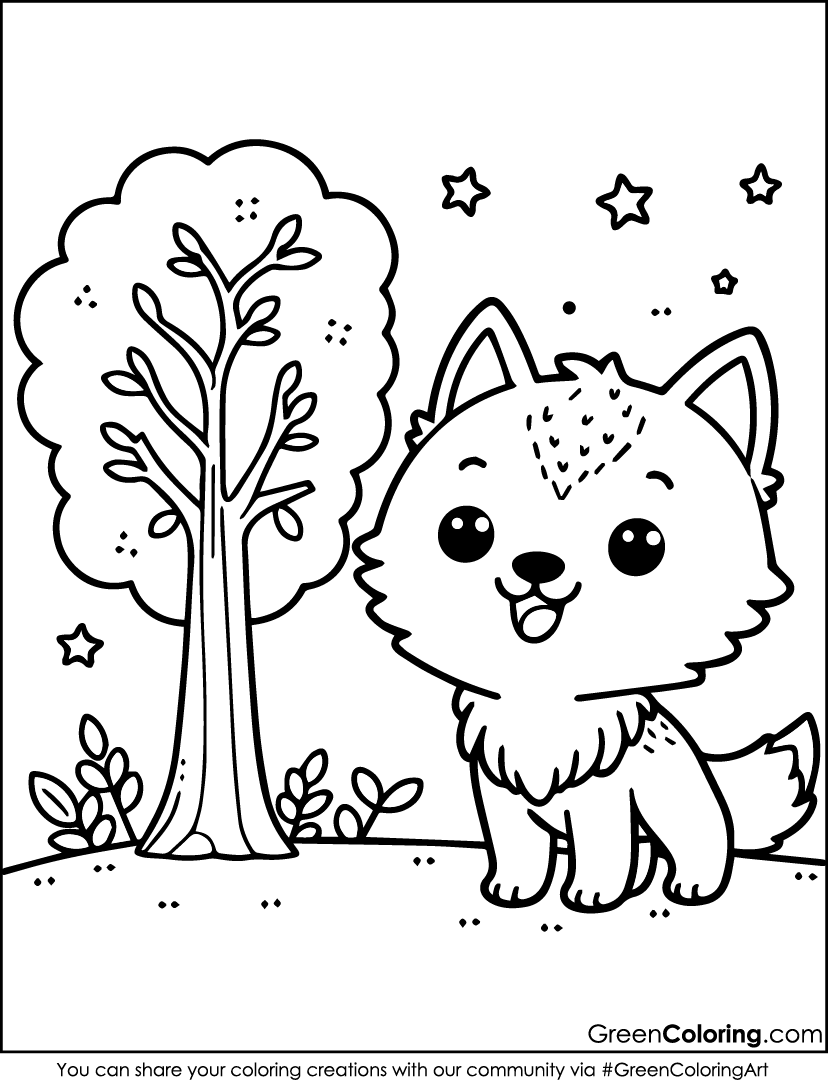
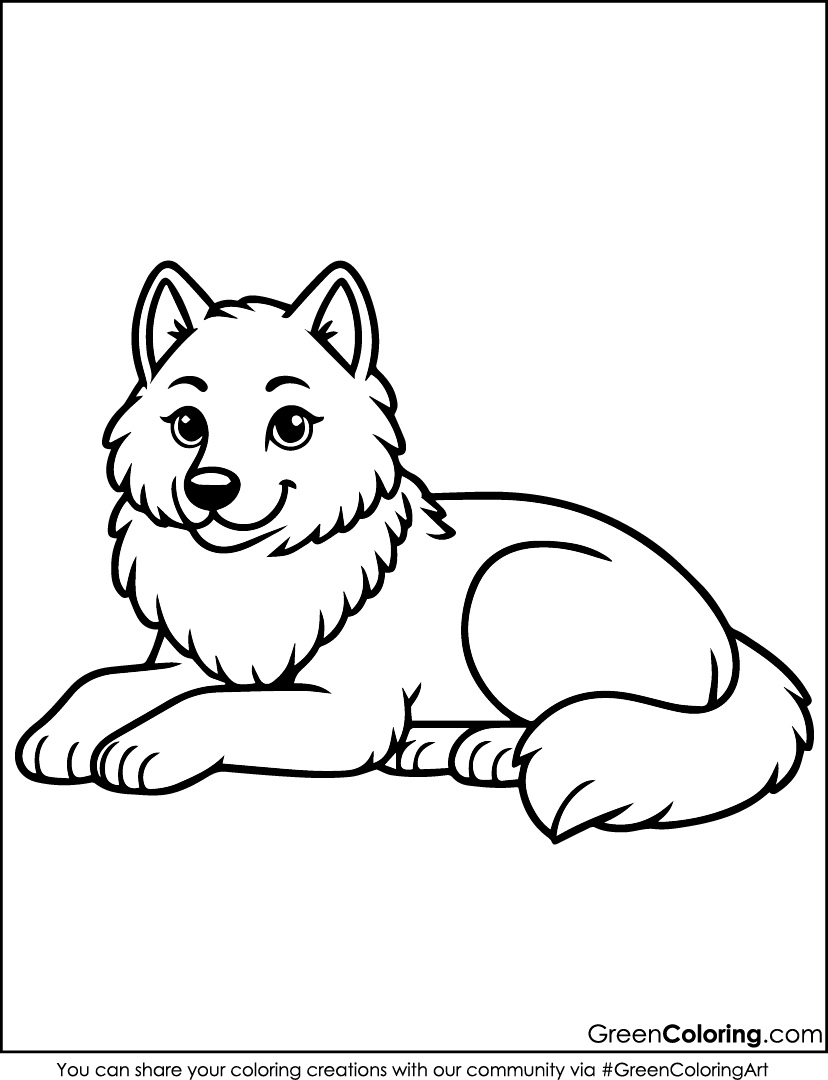
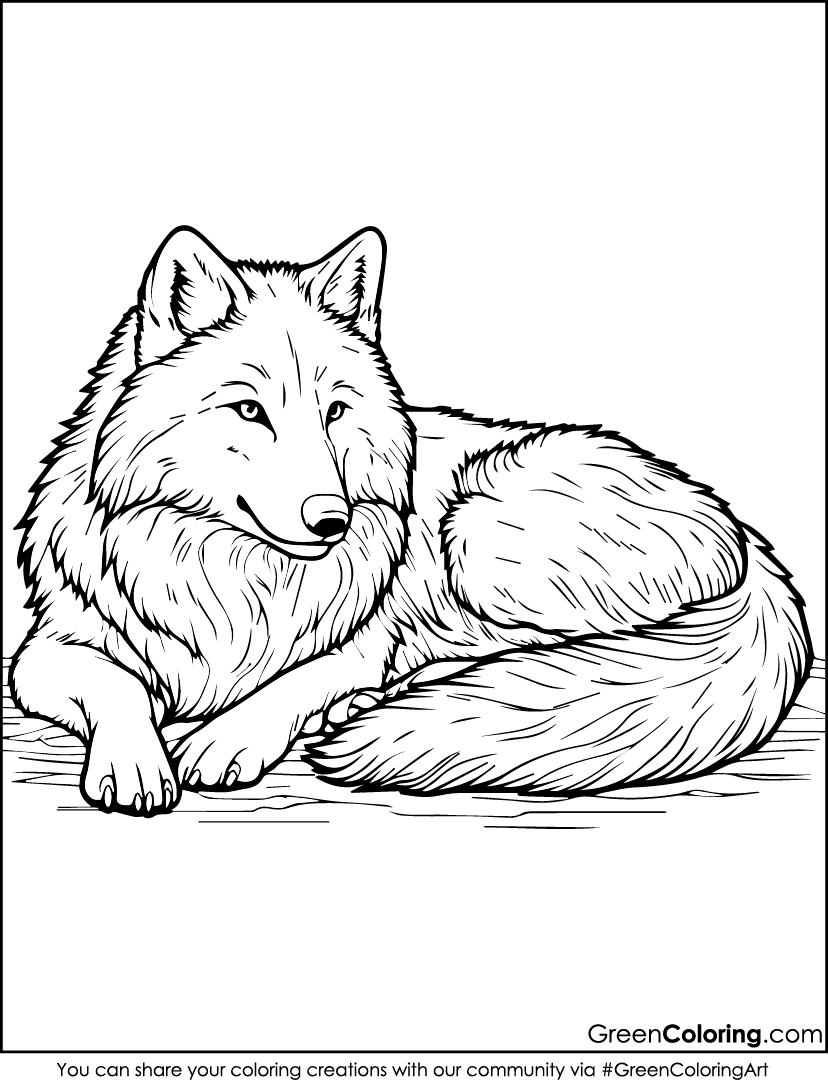
- Wolf coloring pages (use the free printable PDF below)
- Black paper or cardstock
- Wooden sticks or straws
- Flashlight or lamp
- Tape and glue
- Safety scissors
Steps:
- Choose your favorite wolf coloring pages and color them in fun shades. Lisa loves doing a “midnight wolf” in dark purples and blues, while Mike colors his in green and calls it “Forest Ninja.”
- Glue the colored wolves onto black cardstock to make them stronger. Then carefully cut around each wolf shape. I help Mike with this part since he’s still mastering scissors.
- Tape each wolf to a wooden stick or straw. Now you’ve got a puppet! Make a few different ones so the kids can act out a story.
- Set up a shadow stage using a flashlight behind a white sheet or large piece of paper. Turn off the lights and let the show begin! Lisa narrates while Mike makes all the sound effects, like howling, growling, and even wolf snores.
- Add a scene by cutting out trees, mountains, or a moon from paper and taping them in place. Let your kids create a full adventure.
Pro Tip: Record the puppet show with your phone and send it to family members. It’s a great way for kids to share their creativity and feel proud of their work.
2. Build a Wolf Den Diorama
Materials Needed:
- Wolf coloring pages
- Shoebox
- Cotton balls
- Brown and green construction paper
- Glue
- Twigs, pebbles, leaves (collected from outside)
Steps:
- To make a cozy wolf cave, start with an empty shoebox and turn it on its side. For the forest floor and cave walls, have your kids glue green and brown paper inside.
- Let them choose and color a wolf from the free printables. Mike once gave his wolf icy blue fur and said he lived in the North Pole. Lisa made a dreamy lavender wolf with a golden heart.
- After cutting out the wolf, place and glue it inside the box. You can position it sitting, sleeping, or even peeking out of the cave.
- Head outside to gather natural materials. Mike loves looking for the “perfect” pebble, while Lisa arranges leaves like a real landscape designer.
- Use cotton balls to line the den for a wintry feel. The finished diorama often turns into a prop for bedtime storytelling. For creative diorama tutorials and safety tips, visit Scholastic Parents Activities.
Fun Tip: Add a battery-powered tea light for a warm, magical glow in the den. Kids love showing it off in the dark!
3. Wolf-Themed Memory Game
Materials Needed:
- Printed wolf coloring pages (print two of each wolf from the free set below)
- Cardboard squares
- Scissors
- Glue
Steps:
- Print two copies of each wolf design and let your children color each copy slightly differently. Lisa adds accessories like hats or bows, while Mike always sneaks in lightning bolt marks.
- Glue the colored wolves onto cardboard squares. Make sure they’re the same size so there’s no peeking. We sometimes use cereal boxes!
- Shuffle the deck and turn over two cards at a time to see if they match. The giggles when Mike finds two totally different wolves are priceless.
- Encourage your kids to remember the wolf colors and markings. It’s a sneaky way to boost their memory. For tips on improving children’s memory through play, visit Understood.org.
- You can make it more exciting with “super match” cards or bonus points for matching the most colorful pair.
Pro Tip: Laminate the cards so you can play again and again. We even bring ours on road trips!


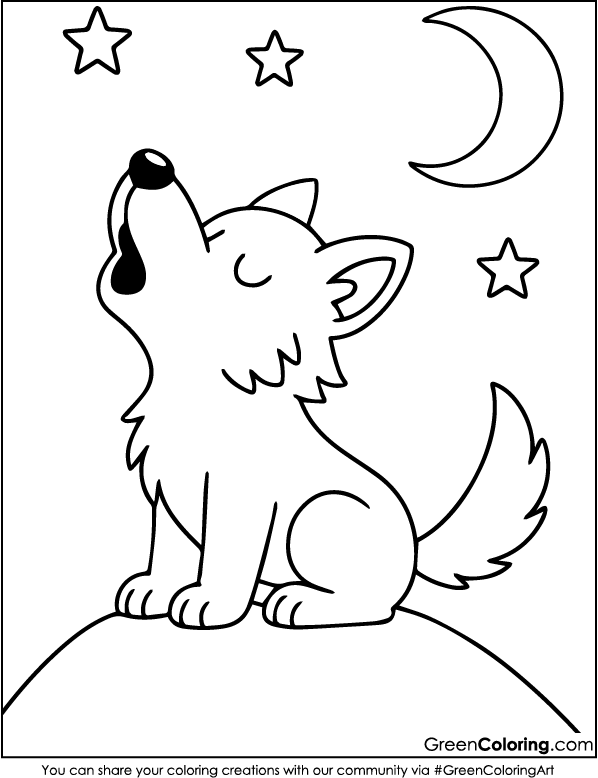
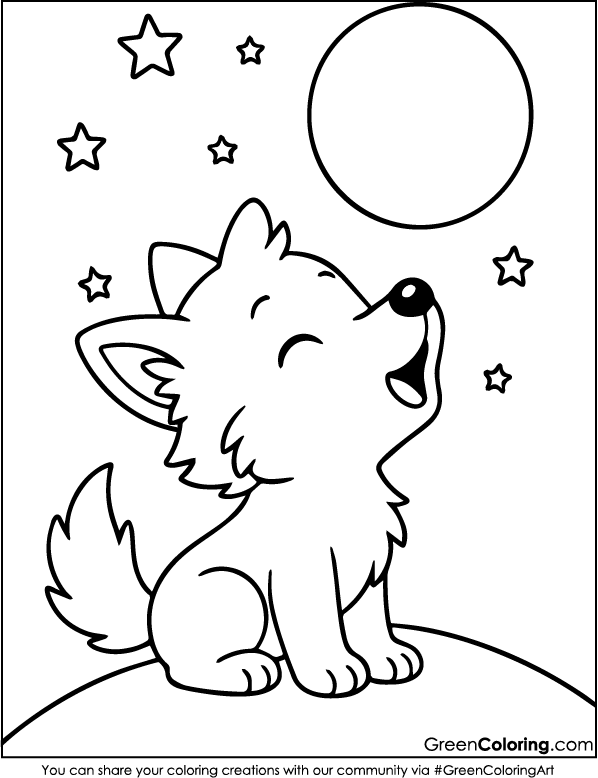
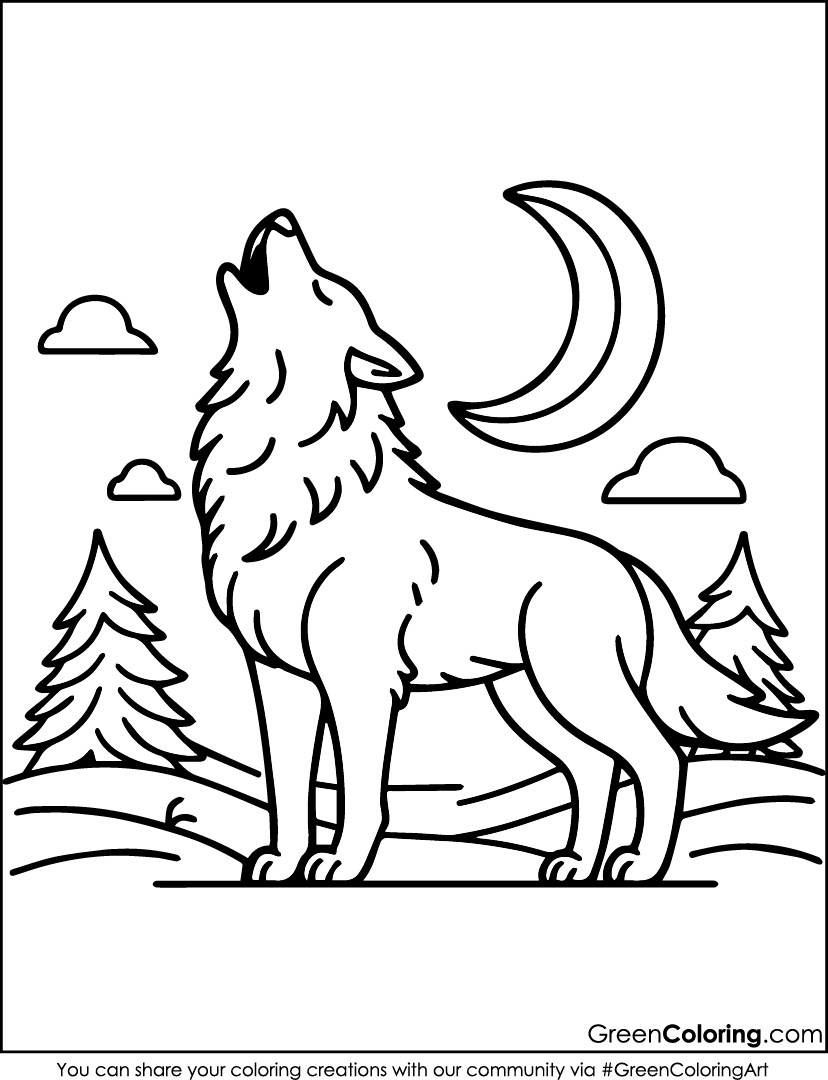
4. Howling Wolf Night Scene
Materials Needed:
- Wolf coloring pages
- Black construction paper
- Yellow paper (for the moon)
- White crayon
- Glue
- Scissors
Steps:
- From paper, cut out a big yellow circle to symbolize the moon. Glue it on the black building paper’s top corner. It creates the impression of a magical night sky. Lisa enjoys somewhat crinkling her moon to give it a “real texture.”
- Choose a howling wolf design from the free printable set. Color it in using your imagination. Mike once made a rainbow-colored wolf with a lightning tail. Lisa added a royal crown and named hers Queen Luna.
- After cutting it out, glue the wolf near the bottom so it looks like it’s howling up at the moon. Lisa positions hers just right to give a dramatic scene.
- Use the white crayon to draw stars, trees, and even tiny wolves in the distance. Mike enjoys adding falling stars and giving them names like “Flash” and “Twinkle.”
- Sprinkle glitter for a shimmering effect or stick on glow-in-the-dark stars to give it a dreamy finish. Emily once dimmed the lights for us while we admired our masterpiece under the stars.
Fun Tip: Play nature sounds in the background while crafting. Mike always joins in howling. Lisa pretends to be annoyed but joins after a minute with the biggest howl.
5. Wolf Cub Puppet
Materials Needed:
- Wolf coloring pages
- Paper lunch bag
- Colored wolf face from printable sheet
- Construction paper
- Glue
- Scissors
Steps:
- Choose a wolf face from the printable pack below and color it with character. Lisa adds sparkles, while Mike made his neon green and named him “Pickle.”
- Lay the paper bag with the flap facing up. This part becomes your puppet’s mouth. It’s a simple trick, but kids love it. Mike giggled non-stop the first time he made it “talk.”
- Glue the colored wolf face onto the flap. Then cut out ears, paws, and a tail from construction paper and glue them in place. Lisa insists her puppets wear accessories. Last time it was a pink bowtie and matching shoes.
- Add final decorations like whiskers, teeth, or even sunglasses. Let the kids go wild with their imagination. Mike once stuck googly eyes on and couldn’t stop laughing.
- Let the puppet dry, then slide your hand inside and start a puppet show. Use a table, couch, or even a cardboard box as a stage. We had a full wolf talent show one weekend with Lisa as the host and Mike doing the howling!
Pro Tip: To give your puppet texture, try including felt bits or fake fur. The sensory experience gives the puppet a soft and realistic feel.

6. Wolf Ears Headband
Materials Needed:
- Wolf coloring pages
- Grey and pink construction paper
- Stapler or tape
- Scissors
- Glue
Steps:
- Cut a long grey building paper strip to fit your child’s head. Wrap it gently, and a fastener or tape will help to secure the ends. Lisa loves posing as a fashion designer when she puts Mike’s headband together and always double-checks his head size.
- Cut out two big grey triangles and two smaller pink ones. Glue the pink triangles inside the grey ones to make realistic-looking wolf ears. This teaches symmetry and attention to detail. Lisa’s always careful to match the angles just right.
- Glue the ears onto the top of the headband. You can adjust the tilt: pointy and alert or floppy and silly. Mike likes his ears “sneaky,” while Lisa prefers the classic upright look.
- Your youngster can wear the headband and pretend to be a wolf once it’s ready. While Lisa cries at the ceiling, acting as the full moon, Mike enjoys crawling on the floor searching for cookies.
Fun Tip: Add paw prints on the side or ornament the headband with your child’s name using markers or glitter pens. Want to bring it up a level? From construction paper, make a matching tail and pin it on!
7. Wolf Tracks Sensory Trail
Materials Needed:
- Wolf coloring pages
- Cardboard or foam sheets
- Markers
- Scissors
- Tape
- Printable wolves
Steps:
- Create your own wolf paws on foam or cardboard or printable paw shapes. Let your youngster color them any way they like. Mike matched his favorite superhero themes using green and blue; Flash Claw and Captain Paw were born!
- Cut out the paw prints and tape them on the floor to make a trail across your hall or room. Lisa enjoys creating zigzag paths leading behind the couch and beneath tables. This promotes coordination and spatial awareness.
- On the trail, encourage fun movements, including hopping on one foot, tiptoeing, crawling, or even walking backward like a sly wolf. Mike came up with his “stealth mode,” and Lisa included howling challenges at every fifth step.
- At the end of the path, surprise or reward a colored wolf from the printable pack. Mike usually offers his wolf a bedtime hug or a snack. It’s a wonderful approach to include imaginative play in the work.
- Along with the prints, create simple task cards for “Spin in a circle, “Do your best wolf howl,” or “Pretend to nap under a tree.” Last time, Lisa penned her own cards; she made Mike dance like a squirrel!
Pro Tip: Under each paw print, add texture using bubble wrap, fake fur, or dried leaves. This makes the experience more sensory-rich, particularly useful for younger children.
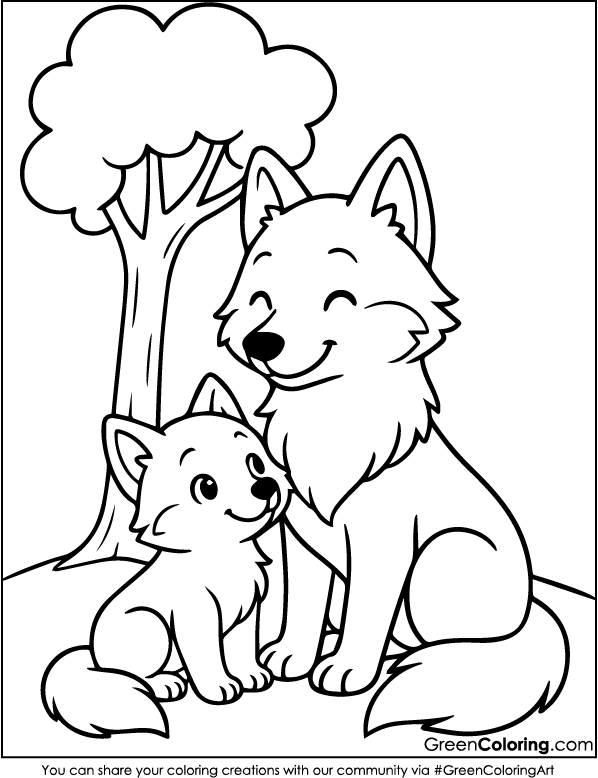
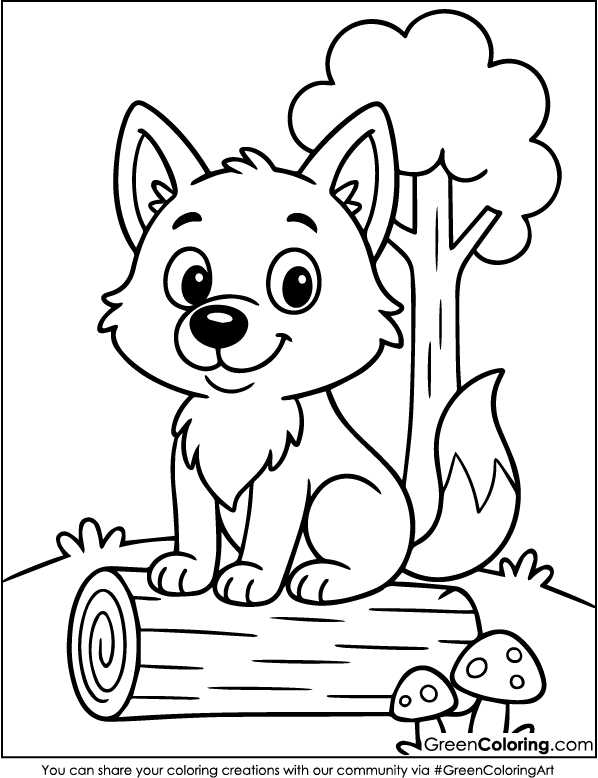
8. Wolf Family Tree Poster
Materials Needed:
- Large poster board
- Printable wolf coloring pages
- Markers
- Glue
- Construction paper
Steps:
- Draw a large tree on your poster board. Add plenty of branches and let your child decorate it. Lisa draws birds and tiny flowers, while Mike draws caves and bananas, even if wolves don’t eat them. That’s creativity!
- Choose and color wolves from the free printable set. Assign each one a character: Grandma Howler, Cousin Fuzzy Ears, or Baby Wolfie. Mike made a pancake-loving Uncle Wolf once. Encourage wild ideas; it’s all part of the fun.
- Cut and glue each wolf onto a branch. Use markers to write their names and a few personality traits. Lisa always adds hearts, stars, and sparkle doodles around her favorites. It’s such a great way to introduce family structure and storytelling.
- Decorate the background with fun additions. We once used gold star stickers to represent the night sky. Emily even added our family’s last name at the bottom: “The Wolfsons.”
- Hang your tree proudly. Ours is in the hallway, and every guest stops to admire it. Sometimes we add new characters when friends come over to play. It turns into a living project that grows with the kids.
Fun Tip: Laminate the poster or use contact paper and attach wolves with Velcro. Now you have a reusable tree that your child can rearrange any time they like. It’s both a craft and an educational tool!
Final Thoughts
Crafting with wolf coloring pages isn’t just fun. It’s a chance to bond, learn, and grow together. Every activity below was tested and loved in our home, using the free, printable wolf coloring pages available just below this article. And if your kids are into wild adventures, you can mix in bear, lion, or even dragon coloring pages for extra excitement. From hands-on puppets to indoor sensory trails, your kids will not only be entertained; they’ll be learning without even realizing it.
So grab your scissors, glue, and a warm drink. Trust me, from my family to yours, these crafts will bring howls of joy.
Download Free Coloring Pages:

Leave a Reply