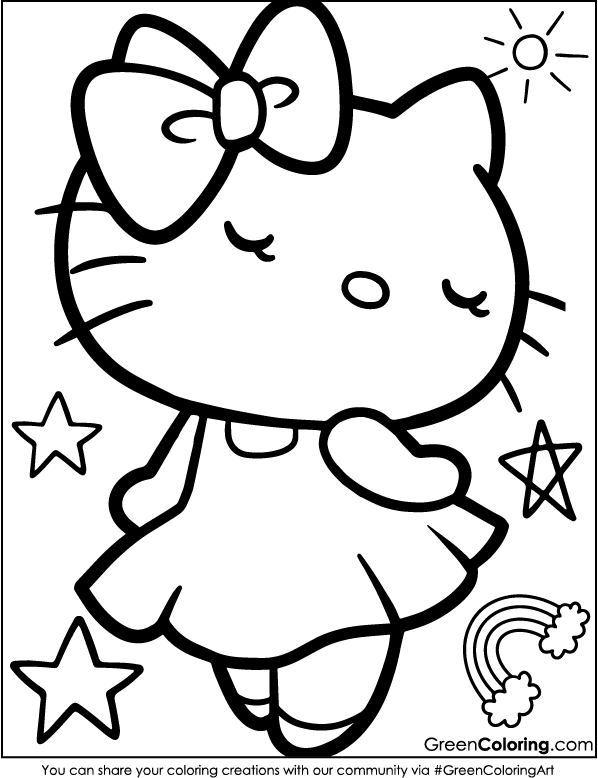
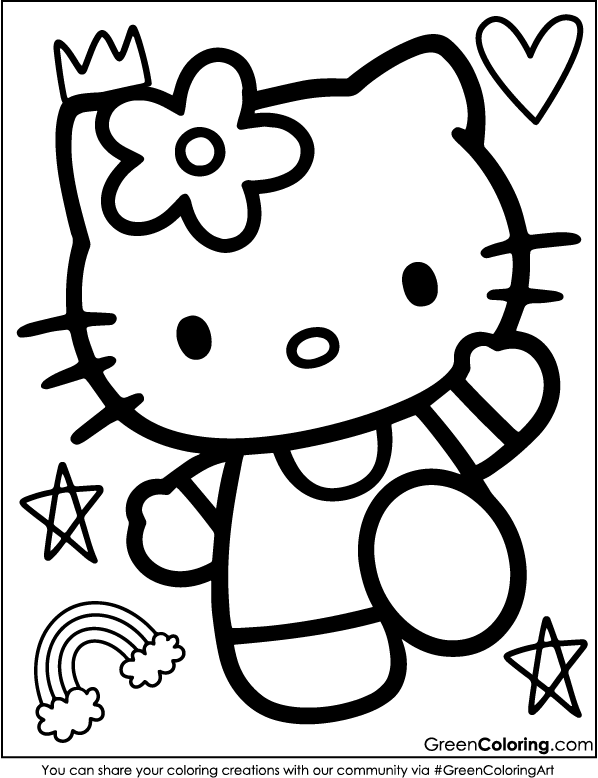
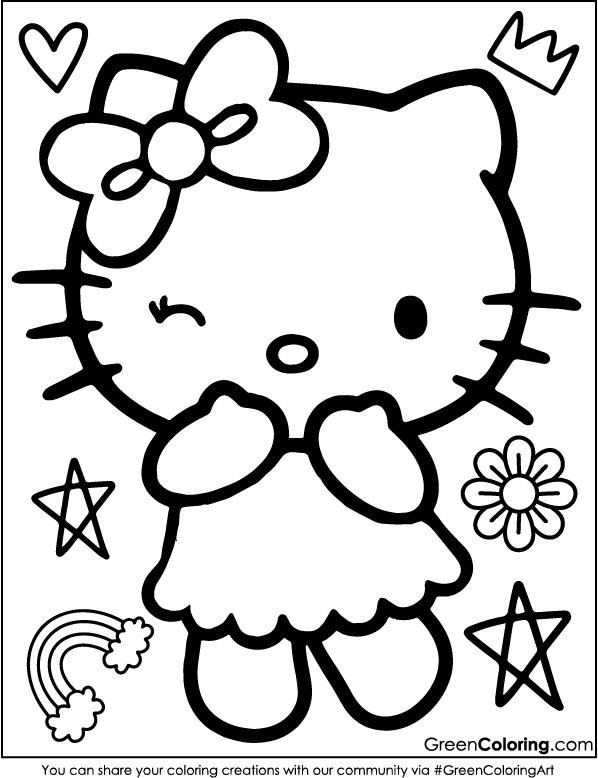
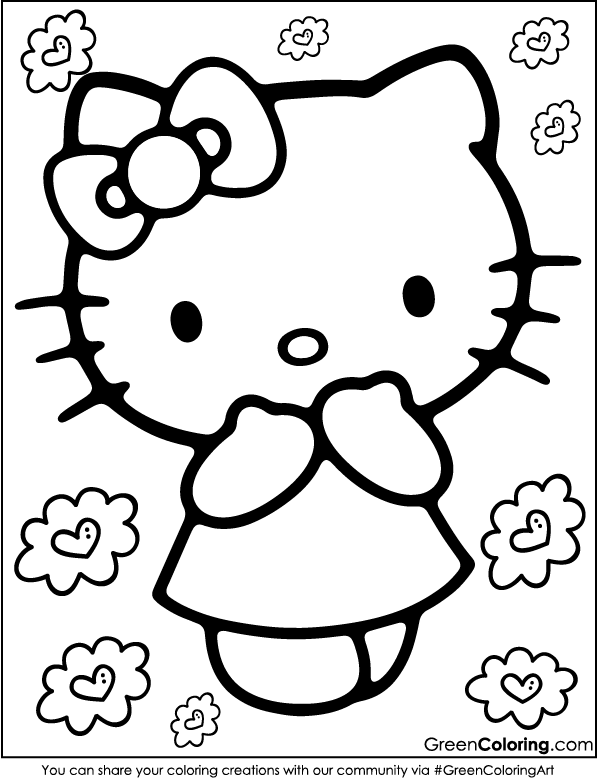
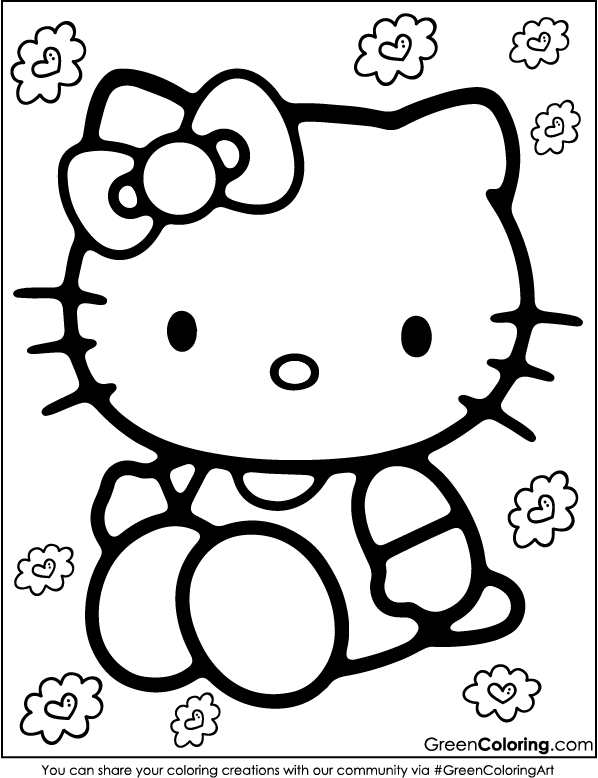
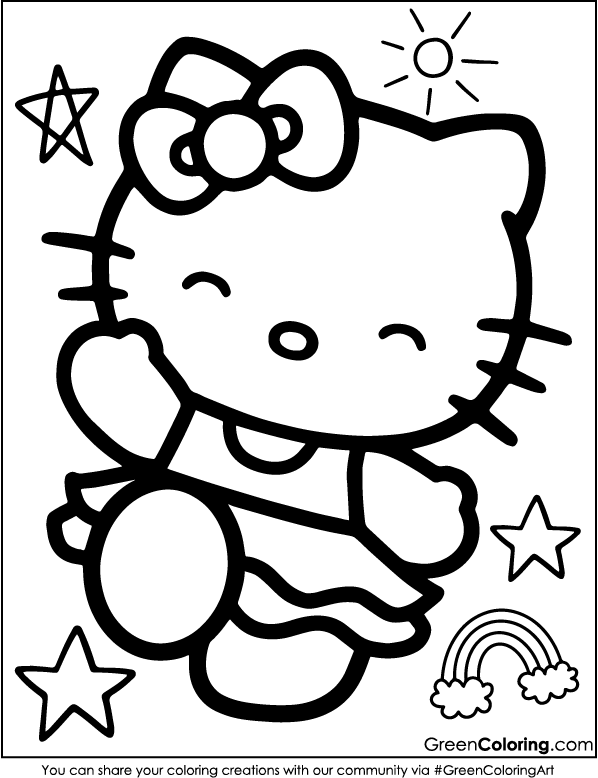
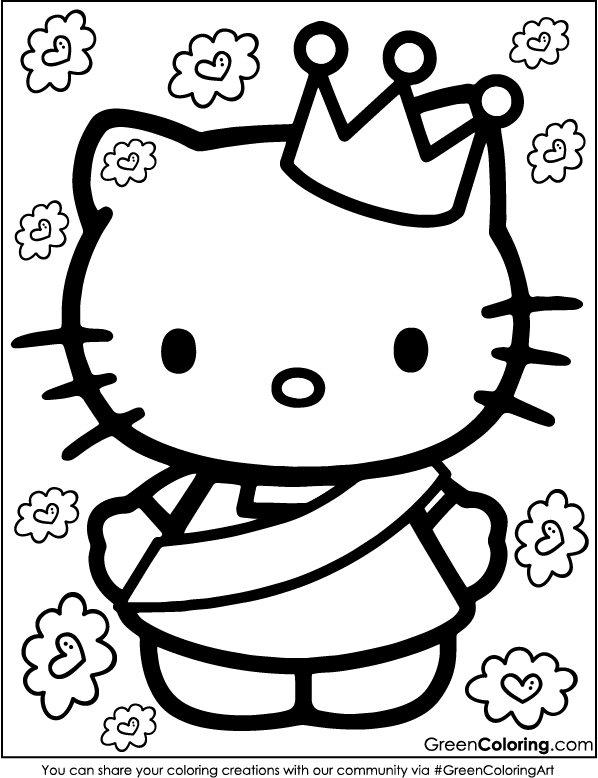
Discover the Magic of Coloring Hello Kitty
Hi, my name is James. I’m a creative person and the loving dad of two little artists who make my days full of wonder. Years ago, I discovered that every minute spent creating offers an opportunity to ignite your imagination and create lifelong memories. I used to teach in a private school, and I’m now a part of the active GreenColoring group. Now, I can’t wait to share these 10 Hello Kitty coloring pages with you! They’ve turned our family’s coloring sessions into exciting and creative experiences.
How Hello Kitty Coloring Pages Help Kids Learn and Grow
Coloring Hello Kitty pages is good for kids in many ways. It improves their hand-eye coordination, lets them try out new color combos, and gets their imaginations going. Lisa is very into pink and princess things, so I remember how excited she got when she mixed different colors to make her own Hello Kitty look. On the other hand, Mike liked making his figure come to life by using his favorite shades of blue and green. Safety is always the most important thing to us, so I make sure that all of our tools are safe for kids and won’t hurt them.
Tip: Always watch young kids while they do art projects, and don’t let them get near scissors or other sharp objects.
Have fun on this art adventure with your kids as you make wonderful memories together.
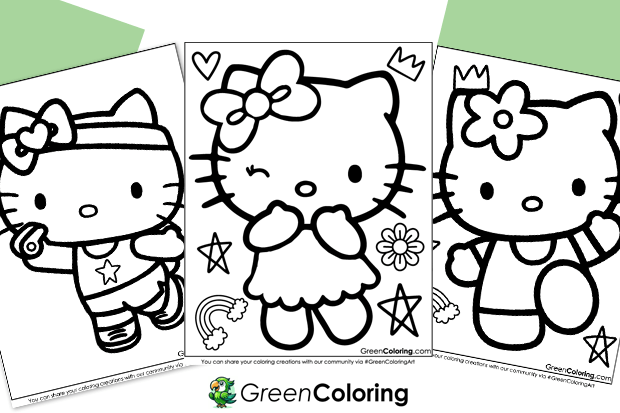
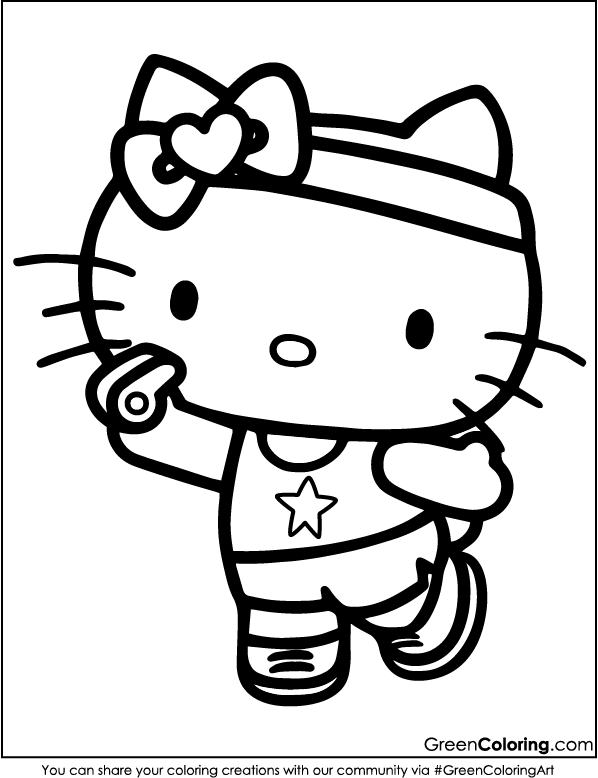
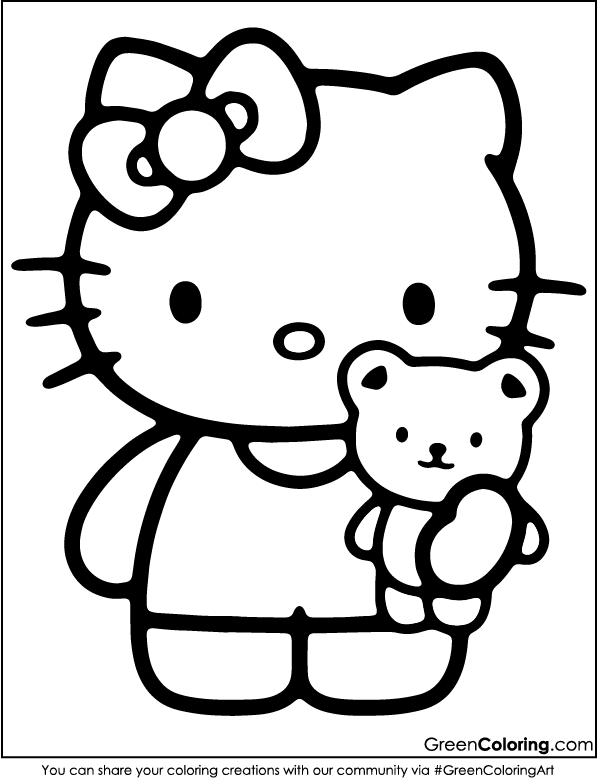
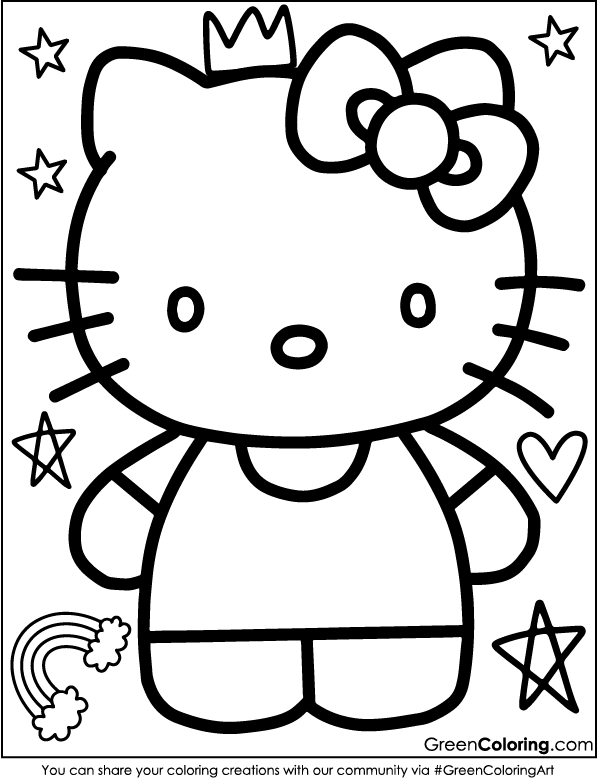
Download Free Coloring Pages:
8 Crafts for Kids Using Hello Kitty Coloring Pages
Hello Kitty is a favorite character in our home, especially for my daughter Lisa. She adores all things pink, cute, and Hello Kitty-themed. Last week, we spent a rainy afternoon creating fun crafts using Hello Kitty coloring pages, and it was such a wonderful bonding time! In this article, I’ll share eight creative ways to turn your Hello Kitty coloring sheets into fantastic crafts.
By the way, I’ve published 10 free Hello Kitty coloring pages in PDF format above this article. Be sure to download them and get started! Plus, if your kids love Kuromi and My Melody, I also have free printable sheets for them too.
1. Hello Kitty Paper Doll Playset
Materials Needed:
- Printed Hello Kitty coloring pages
- Cardstock or thick paper
- Scissors
- Non-toxic glue
- Crayons or markers
- Popsicle sticks (optional for stands)
Steps:
- Choose a handful of Hello Kitty figures and accessories from your coloring pages first. I usually ask Lisa what designs she finds most beautiful.
- Cut the figures and accessories very precisely. This is a good time to work on fine motor skills; thus, I use this chance to gently guide Mike while keeping the scissors safe.
- To increase the longevity of the dolls, mount the cut-outs on strong cardstock. I sometimes remember last autumn when we turned our paper dolls into a family mini fashion show.
- Draw a whimsical backdrop on another sheet of paper to set the scene in play. Sometimes I even include scenes from a favorite cartoon or elements that mirror our season right now.
- If you wish for the dolls to stand up, attach popsicle sticks to them, being sure to firmly glue them in place.
- Play creatively and imaginatively by having fun combining and matching several accessories and settings. Fun Tip: Let the children direct a brief play while you set up a mini theatrical performance at home whereby every doll has a part.
- Think back on the fun and laughter exchanged during the craft session; knowing that these lighthearted events foster imagination and treasured memories helps one to appreciate them. For more creative paper doll ideas and family-friendly craft inspiration, check out Red Ted Art.
2. Hello Kitty Greeting Cards
Materials Needed:
- Printable Hello Kitty coloring pages
- Colored pencils or markers
- Scissors (adult supervision required)
- Glue stick
- Cardstock paper
- Stickers, glitter, or decorative tape
Steps:
- Allow your child to select a Hello Kitty coloring page and use their preferred color scheme to color it. While Mike occasionally surprises me with his blue and green combinations, Lisa always chooses pink and purple.
- When the page is all colored, carefully cut out the Hello Kitty character. If your kid is young, like Mike, make sure to help them or give them safety scissors.
- First, fold a piece of cardstock in half to make the base of your greeting card. We love making it extra cute with pastel-colored cardstock.
- Glue the Hello Kitty cutout to the back of the card front and place it there.
- The fun part now comes. Your child can use stickers, glitter, or colorful tape to decorate the card. Mike likes to draw funny shapes, while Lisa loves to put little stars around Hello Kitty.
- Help your child write a sweet message inside the card. They can draw instead if they are too young to write.
- After making the card, let it dry and then put it in an envelope.
Fun Tip: For an extra special touch, put a Hello Kitty sticker or a small drawing in a tiny pocket inside the card.
3. Hello Kitty Cupcake Toppers
Materials Needed:
- Hello Kitty coloring pages
- Scissors
- Laminating sheets or clear tape
- Toothpicks or small sticks
- Craft glue
- Edible decorations (sprinkles, candy pieces) for cupcakes
Steps:
- Choose a Hello Kitty design that would accentuate any cupcake and then carefully cut it out. I remember a wonderful afternoon when Lisa eagerly selected the design that matched her preferred pastel tones.
- Cover the cutout with laminating sheets or clear tape. This results in a shiny finish as well as durability for the topper. For a professional look, be sure the laminating is smooth and bubble-free.
- With craft glue, securely fasten a toothpick or small stick to the rear of the cut-out. To help the topper stay in place, I always let the glue set for a few minutes before handling it.
- Just before serving, top your cupcake with the completed topper and marvel as the treat becomes a lovely work of art.
- Children should be encouraged to create a multi-layered fun project by decorating the cupcakes further with edible sprinkles and candy pieces.
Fun Tip: Have everyone vote for the most imaginative design in a mini cupcake decorating contest held right at home.
4. Hello Kitty Wall Art Collage
Materials Needed:
- Multiple Hello Kitty coloring pages
- A large sheet of construction paper or canvas
- Scissors
- Glue stick
- Markers and crayons
- Ruler for neat edges (optional)
Steps:
- From your coloring pages, choose a range of Hello Kitty designs to guarantee a mix of colors and patterns that reflect the lighthearted nature of Hello Kitty.
- Cut each design carefully, paying particular attention to clean edges. I recall a creative morning Lisa and I had where we both sought accuracy, and the fun came from the process.
- Arrange the cut-outs on a big sheet of construction paper or a canvas, trying several designs until you come upon one that seems harmonic.
- Start one piece at a time, gluing it in place. I enjoy telling tales about past collages I created, which always inspired Lisa’s ideas for fresh designs.
- Draw extra elements like borders or little doodles around the designs to improve the collage. This stage allows you to add a personal touch; I usually include quick messages of encouragement for the children.
- Before boldly hanging the artwork on your wall, let it totally dry.
- Take breaks from working on the collage to discuss your best Hello Kitty memories, enhancing the creative and emotional depth of the exercise. If you wish for a very neat, grid-like design—especially if you intend to hang it in a family room or kitchen—use a ruler to guide your spacing.
5. Hello Kitty Tote Bag Design
Materials Needed:
- Plain tote bag (preferably cotton)
- Printable Hello Kitty coloring pages
- Iron-on transfer paper
- Inkjet printer
- Iron
- Scissors
Steps:
- Start by selecting a charming Hello Kitty design from your coloring page and printing it onto iron-on transfer paper. I always involve Lisa in this process since she adores all things Hello Kitty.
- Carefully cut out the design from the transfer paper, following the edges closely to ensure the design remains intact.
- Remove any wrinkles from your plain tote bag by ironing it first. This helps the transfer stick to the fabric better. Last month, Emily and I talked about creative ways to use everyday things in new ways. This tote bag project was a great example of that.
- Use the iron on a surface that can handle heat and follow the directions that came with the transfer paper. To keep everyone safe, I always let an adult do this step while the kids watch and learn.
- Once the design is transferred, allow the tote bag to cool down completely before handling it.
- To make it more personal, use fabric markers to add details after the transfer. Fun tip: Have a short meeting where everyone in the family designs a small item to go in the tote. This way, everyone works together on the project.
- As you work on your project, think about how each step, from printing to ironing, helps your kids learn new skills and gain confidence.
Tip: Take the tote bag with you to school or run errands every day, and let it remind you of a fun craft time with the family.
6. Hello Kitty Ornament
Materials Needed:
- Hello Kitty coloring pages
- Cardstock or thin cardboard
- Scissors
- Hole punch
- Ribbon or string
- Clear glue
- Optional: glitter and sequins
Steps:
- From your coloring page, pick a beautiful Hello Kitty form and carefully cut it out. Lisa loves making unique holiday decorations; thus, I usually ask her to choose her favorite.
- To make the cutout more stable, put it on a piece of cardstock or thin cardboard. Now is a great time to talk about why crafts can last longer with a strong base.
- Add glitter, sequins, or even small designs you draw by hand with markers to decorate the ornament. I remember a winter night when Mike and I spent extra time adding more glitter to our ornament. The soft light from our living room lights made it sparkle.
- For safety’s sake, keep little fingers away from the hole punch as you make a small hole in the top of the ornament.
- Run a ribbon or string through the hole and make sure it stays in place.
- Use the ornament as a unique piece of decor in your child’s room, on the wall, or on a holiday tree. Have fun making ornaments with your family this holiday season. As you work on each one, tell stories about the one before it.
- Think about how simple projects can lead to memories that will last a lifetime as you enjoy the time you spend with your kids.
7. Hello Kitty Decoupage Box
Materials Needed:
- A small wooden or cardboard box
- Hello Kitty coloring pages
- Scissors
- Decoupage glue or Mod Podge
- Paintbrush
- Acrylic paint (optional for base coat)
- Decorative stickers or embellishments
Steps:
- From your coloring pages, pick several Hello Kitty designs and meticulously cut them out. Making Lisa and Mike decide which ones they wish to use always helps me to make the project a real family event.
- Start by acrylic painting a base coat on your box if you want it to look uniform. Let it dry totally; I remember a quiet afternoon when Emily and I were getting the box ready while the children watched and studied color mixing.
- Plot the cut-outs on the box such that they form a fun pattern or tell a story. Try several layouts until you believe the arrangement is both balanced and energetic.
- Using a paintbrush, generously cover the set-off cutouts with decoupage glue. Seal every edge to avoid later on lifting issues.
- To improve the design, hand-drawn embellishments or extra decorative stickers should be used. This is the point where imagination meets pragmatism; I often have ideas on how to use old boxes in fresh contexts.
- Let the glue totally set. Usually, I leave the box overnight to guarantee complete curing.
- Think back on the process and savor the delight of turning a plain box into a cherished keepsake.
Genius Hack: Inspired by creative organization, design a small storage box for your art supplies using Hello Kitty designs created by your child!
Pro Tip: Store little craft items in the decoupage box so you can transform your house into a lovely and practical object. For additional decoupage inspiration and creative storage ideas, you can refer to The Spruce Crafts.
I used to keep my kids’ art supplies in a decoupage box. This is a family project that not only looks great but also has a useful function, so it benefits us twice.
8. Hello Kitty Sticker Set
Materials Needed:
- Hello Kitty coloring pages
- Scissors
- Clear adhesive sheets or laminating sheets
- Markers or colored pencils
- Sticker paper (optional)
Steps:
- From your coloring page, choose a range of Hello Kitty designs that you think would be fantastic stickers. Lisa has a great eye for detail; thus, she often helps me decide on the best designs.
- Cut out every design with great care. As I always advise Mike, take your time with this step and inspire the children to use safe scissor techniques.
- Cover every cut-out with crisp laminating sheets or adhesive. This stage not only shields the design but also gives it a shiny, sticker-like gloss. Pressing out any air pockets will help you to ensure the adhesive is smooth and bubble-free.
- Peel off the backing of any sticker paper you are using to expose the adhesive side of your work. This is an interesting moment when the design becomes a sticker applicable on any surface.
- Arrange your stickers on a blank sheet of paper to make a mini sticker book or test them on notebooks and water bottles. I recall a fun moment when Mike boldly covered his preferred toy with homemade stickers.
- Maybe beginning with Hello Kitty and then looking at Kuromi or My Melody in the next projects, let the children create their own sticker set themes. Fun Tip: See who in your family can design the most imaginative sticker set. Organize a small tournament.
- Think of the delight and pride that result from transforming basic coloring pages into a customized sticker set that lends a little magic to commonplace objects.
Final Thoughts:
Every project is a chance to be creative and work together. I know from personal experience that these crafts help kids be creative, improve their fine motor skills, and build lasting emotional bonds with their families. These projects are great for rainy days or sunny afternoons because they let you have fun and learn at the same time.
Recall that I have included free Hello Kitty coloring pages in PDF format above this post together with free coloring pages with Kuromi and My Melody. Please have a look at them and try these ideas right at home.
I hope you find each craft both enjoyable and enriching, as well as appreciate these thorough instructions. Please leave questions in the comments or share your experiences. Happy crafting! May these projects bring you as much delight as they have for my family and me!
Leave a Reply