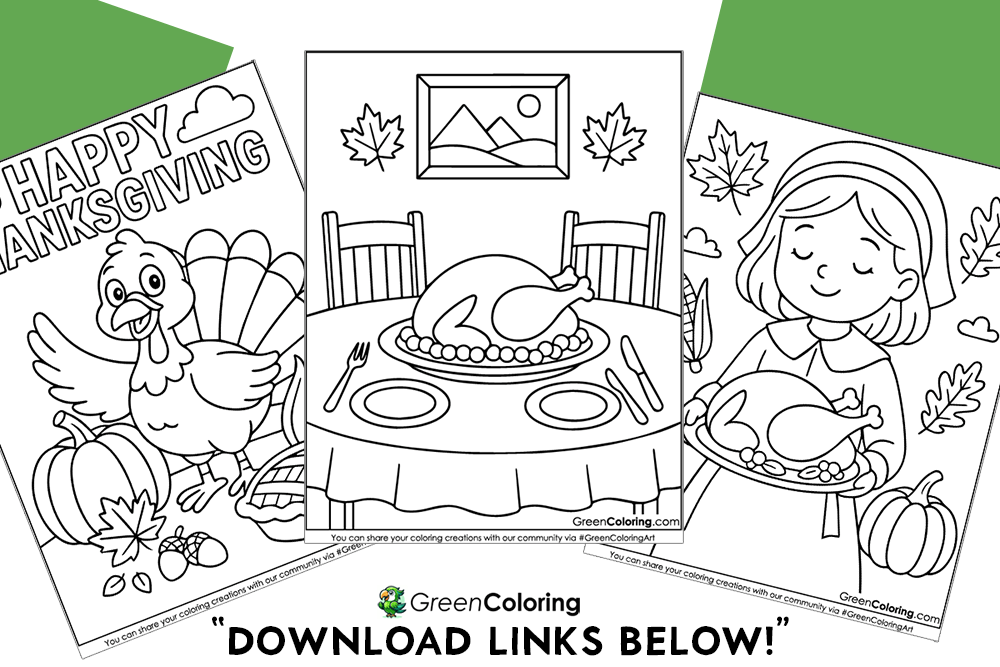
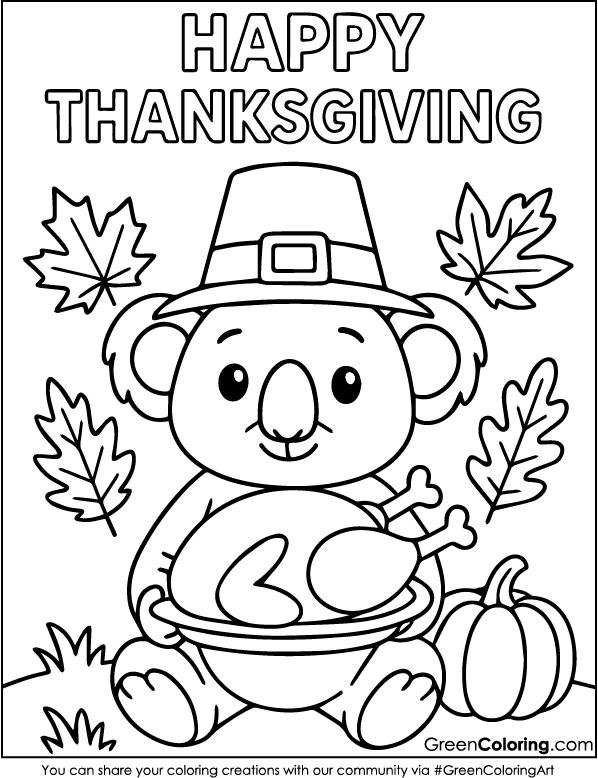
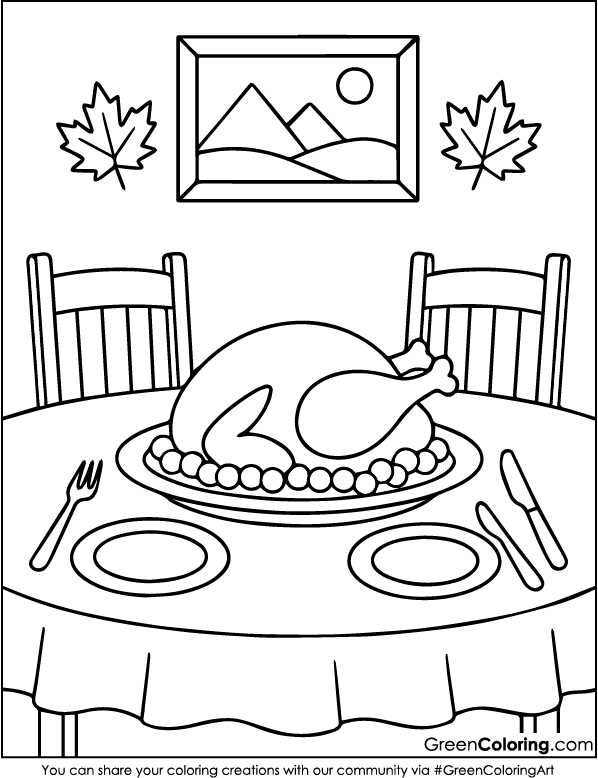
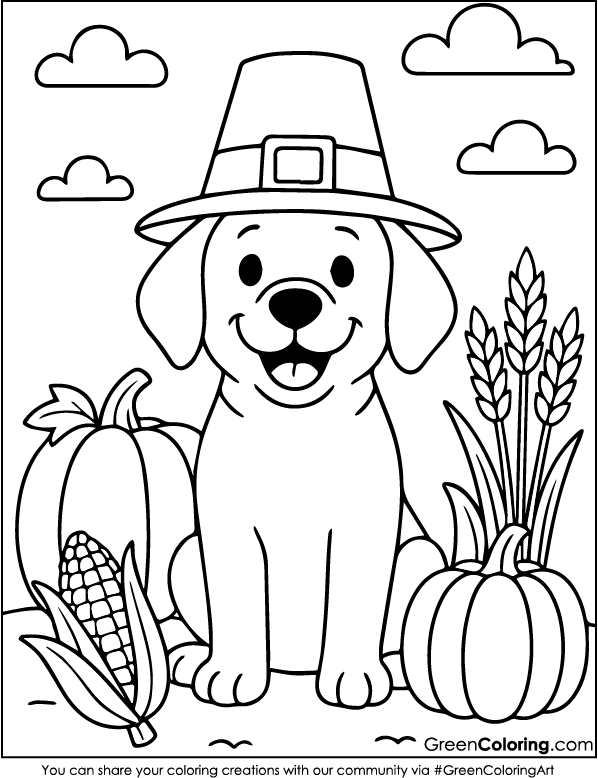
8 Crafts for Kids Using Thanksgiving Coloring Pages
Thanksgiving is the perfect time for family, fun, and creativity! One of my favorite ways to get into the festive spirit is by making crafts with my kids, Lisa and Mike. Last week, we spent an entire afternoon creating adorable Thanksgiving crafts using the free printable Thanksgiving coloring pages I published in PDF format below this article. These pages add a special touch to any craft and are a great way to keep kids engaged. Let’s dive into eight fantastic craft ideas your kids will love!
1. Thanksgiving Greeting Cards
Materials Needed:
- Thanksgiving coloring pages
- Colored pencils, markers, or crayons
- Scissors
- Glue stick
- Cardstock paper
- Stickers or embellishments (optional)
Steps:
- Let your child pick out their favorite Thanksgiving coloring page and color it however they want. Lisa loves to add little hearts and pink shades all the time, while Mike loves to use bright greens and oranges to fill in turkeys.
- Once they finish, carefully cut out the design and glue it onto a folded cardstock sheet to create a greeting card base.
- Ask them to write a warm Thanksgiving message inside as well. Help them come up with something they’re thankful for. For example, Mike wrote about how much he loves pumpkin pie last time, and Lisa said she was thankful for our family movie nights.
- Add fun decorations like stickers, glitter, or even dried leaves for a natural touch.
- Let them hand out their homemade cards to family and friends to spread the holiday cheer! For more inspiration on creating personalized greeting cards, visit Hallmark’s guide to DIY cards!
Genius Tip: Make use of Lisa’s magic trick; she loves to add a little bit of pink glitter to her cards in order to make them extra special.
2. DIY Thanksgiving Placemats
Materials Needed:
- Thanksgiving coloring pages
- Laminating sheets or clear contact paper
- Markers, crayons, or colored pencils
Steps:
- Let your children choose their preferred Thanksgiving coloring pages and vividly color them. Tell them these will be used for dinner, thus inspiring them to present them as their best!
- Once done, laminate each sheet using laminating sheets or clear contact paper to make them sturdy and spill-proof. Lisa loves this part because she enjoys smoothing out the plastic with her hands, making sure there are no bubbles!
- Use the finished placemats during Thanksgiving dinner. These make the table feel extra festive, and the kids love pointing out their work to guests!
- If your child wants to personalize their placemat, let them write their name in the corner and add small doodles or Thanksgiving-themed stickers.
- If you are looking for more creative ways to make custom placemats, check out this guide on Better Homes & Gardens.
Fun Tip: Last time, Mike spilled juice on his placemat, but thanks to the lamination, we just wiped it clean!
3. Thanksgiving Banner
Materials Needed:
- Printed Thanksgiving coloring pages
- String or ribbon
- Hole puncher
- Scissors
Steps:
- Have your youngster color several Thanksgiving pages. While Mike likes large, strong colors, Lisa enjoys including minute details.
- Depending on the style of banner you want, cut each page into a triangle or a rectangle.
- Punch holes in the top corners of each piece and thread a string through them.
- Hang it up over the fireplace, dining area, or doorway to add a festive touch to your home.
- Encourage your kids to add their names or write “Happy Thanksgiving” on each banner piece for a more personalized look!
Smart Tip: We made one last year, and Emily suggested adding small LED lights for an extra cozy feel!
4. Cornucopia Craft
Materials Needed:
- Thanksgiving coloring pages
- Brown construction paper
- Scissors
- Glue
Steps:
- Your kids can color different pictures from the pages that are about Thanksgiving, like apples, pumpkins, corn, and squash. Lisa loves to take her time mixing colors to make her fruits look real, while Mike likes to make his as bright as possible.
- While they color, help them cut out a large cornucopia shape using brown construction paper. We always laugh during this part because Mike insists on making the biggest cornucopia possible, saying it needs to hold “all the food in the world!”
- Once the food images are ready, have them glue each item spilling out of the cornucopia to create a full and abundant look. Lisa likes arranging the food neatly, while Mike just piles it all on top like a real Thanksgiving feast!
- Display it on the dinner table as a beautiful centerpiece or hang it on the fridge. Seeing their artwork on display makes them so proud!
- You can talk to your kids about what a cornucopia means while they are making crafts. Lisa loved learning that it stands for plenty and thanksgiving, so she began writing down all the things she was thankful for, even her goldfish, Sunny.
5. Thanksgiving Puzzle Craft
Materials Needed:
- Colored Thanksgiving pages
- Scissors
- Cardboard
- Glue
Steps:
- Choose a Thanksgiving coloring page and have your child color it fully. Lisa always takes her time adding small details, while Mike races to finish first!
- After it’s dry, glue it to a strong piece of cardboard to make it last longer. As a great way to recycle, we often use old cereal boxes for this part.
- Cut the picture into various puzzle-like shapes. Lisa prefers simple square pieces so she can solve it faster, while Mike loves fun zigzag edges that make it more of a challenge.
- Challenge your kids to put the puzzle back together and see how fast they can do it! We always end up timing each other, and last time, Lisa set the record at under a minute!
- Store it in a small Ziploc bag for future play. It’s such a fun way to reuse their artwork, and they love pulling out old puzzles to solve again.
6. Thankful Tree
Materials Needed:
- Thanksgiving coloring pages
- Brown paper or tree branches
- Scissors
- Glue or tape
Steps:
- Have your child color and cut out leaf shapes from the Thanksgiving coloring pages. Lisa always picks warm autumn colors like orange and red, while Mike likes to mix in a few funky ones like blue and purple.
- Write a gratitude note on each leaf. Their creativity and sweet thoughts always come from this step. Lisa loved Hello Kitty, while Mike remembered his favorite Paw Patrol episodes. In one year, Mike wrote, “I am thankful for ice cream and not eating broccoli!”
- Once the leaves are ready, attach them to a brown paper tree trunk or to real branches placed in a vase. We love using real branches because it makes the tree feel even more special, like a real part of nature.
- Position the Thankful Tree for family viewing. People passing by can read the leaves and be grateful for life’s little pleasures. Lisa loves displaying it and reading guests’ thanks!
Pro Tip: If you do this craft every year, save a few leaves from previous years to see how your child’s gratitude list grows and changes over time.
7. DIY Thanksgiving Hats
Materials Needed:
- Thanksgiving coloring pages
- Headbands or strips of cardstock
- Tape or glue
Steps:
- Have the kids color and cut out Thanksgiving designs like turkeys, pumpkins, and pilgrim hats. Lisa slowly adds cute details, while Mike goes out of control with bright colors.
- You can make a wearable Thanksgiving hat by gluing them to headbands or cardstock strips. Mike always makes his extra big and funny, while Lisa likes hers neat and even.
- Show off your kids’ creativity by having them wear their hats to Thanksgiving dinner. Mike wore his turkey hat all day last year, even after dinner, and kept making turkey noises!
- Take fun pictures of your family with the hats to remember the time. We’ll always remember these funny pictures from Thanksgiving the best!

8. Turkey Stick Puppets
Materials Needed:
- Thanksgiving coloring pages
- Popsicle sticks
- Scissors
- Glue
Steps:
- Have your kids color a Thanksgiving-themed turkey from the coloring pages. Lisa always gives hers a rainbow tail, while Mike likes making his extra silly with giant eyes.
- Carefully cut out the turkey and glue it onto a popsicle stick. This step is always a little tricky, but taking our time helps make the puppets look great.
- Once dry, add some extra fun details like glitter, googly eyes, or feathers to give your turkey even more personality!
- Encourage your kids to put on a little puppet show for the family. Last week, Mike made his turkey talk in a funny voice, and Lisa couldn’t stop laughing! He even made up a whole turkey adventure story.
- To make the puppet show even better, create a few more puppets using other Thanksgiving characters like pumpkins or pilgrims. The more puppets, the funnier the show!
Fun Tip: If you record the puppet show, you can play it back next year and see how much their storytelling skills have improved!
Thanksgiving isn’t just a meal; it’s a time to make memories. With the free Thanksgiving coloring pages I gave you below, these eight craft ideas are a great way to spend time with your kids. These crafts, like making placemats, greeting cards, or a “thankful tree,” will keep your kids busy and excited for the holiday. If you’re already thinking ahead, you can also grab some Christmas coloring pages or even Halloween coloring pages to keep the fun going through the seasons. Let me know which one you liked best after you try them!
Download Free Coloring Pages:


Leave a Reply