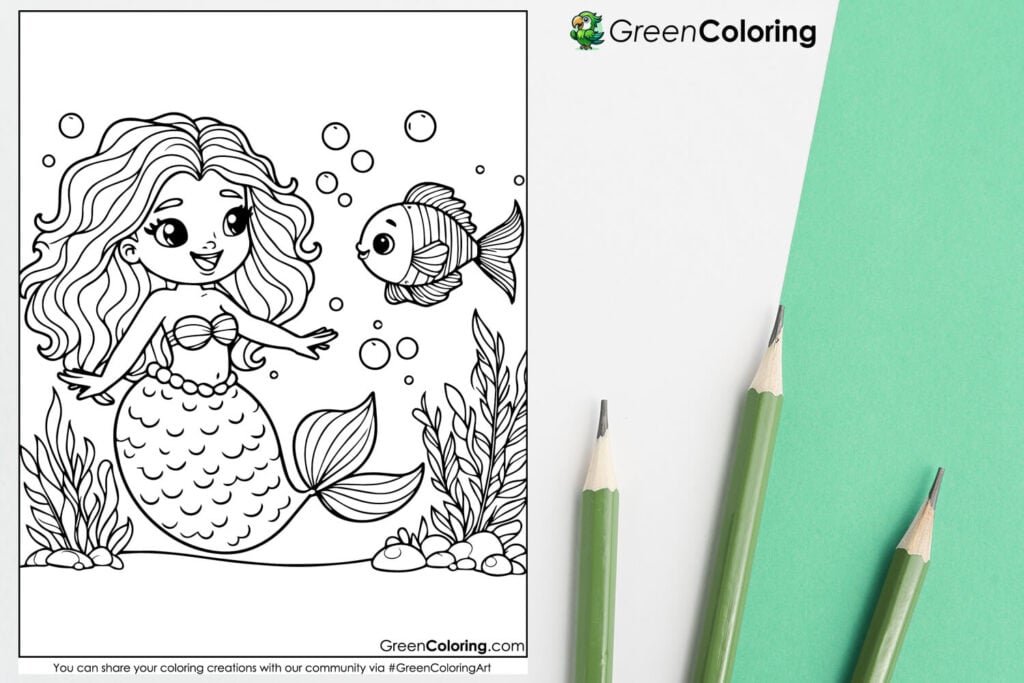
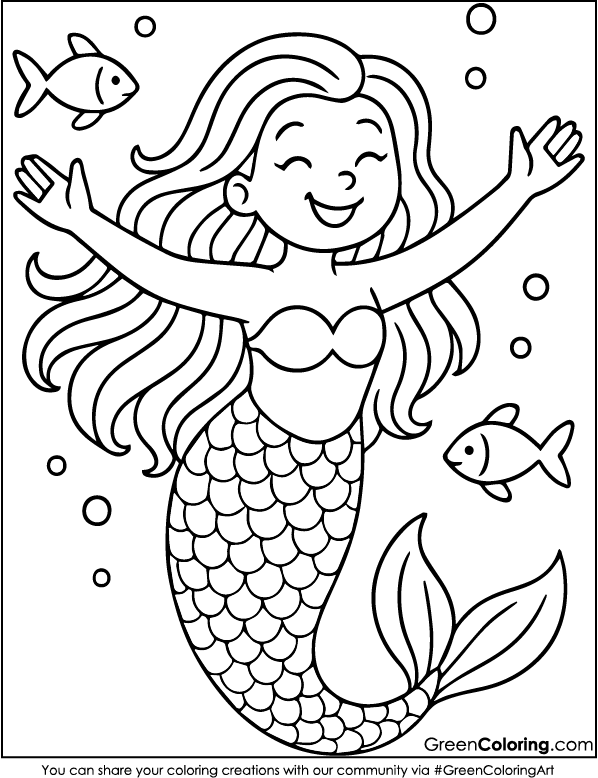
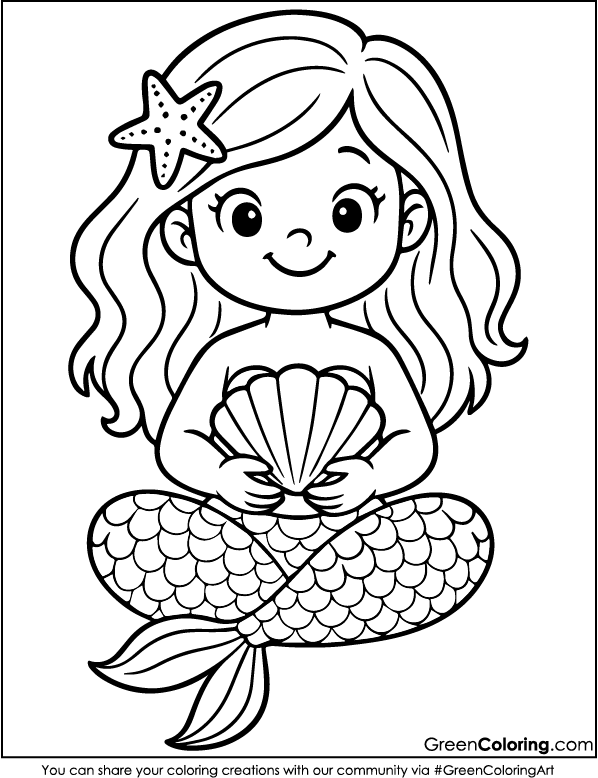
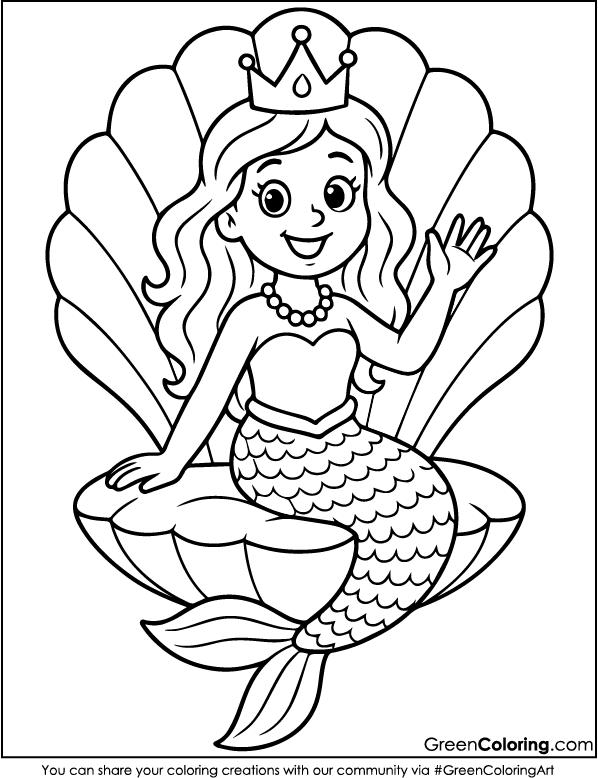
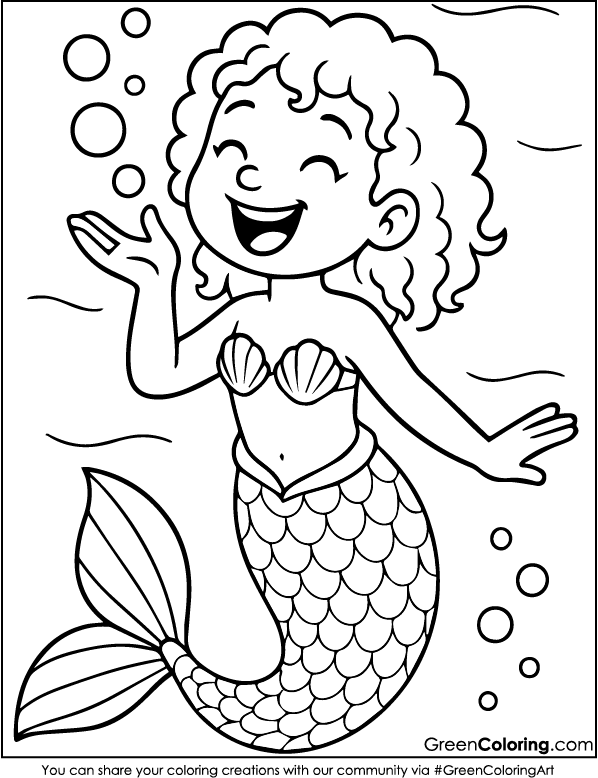
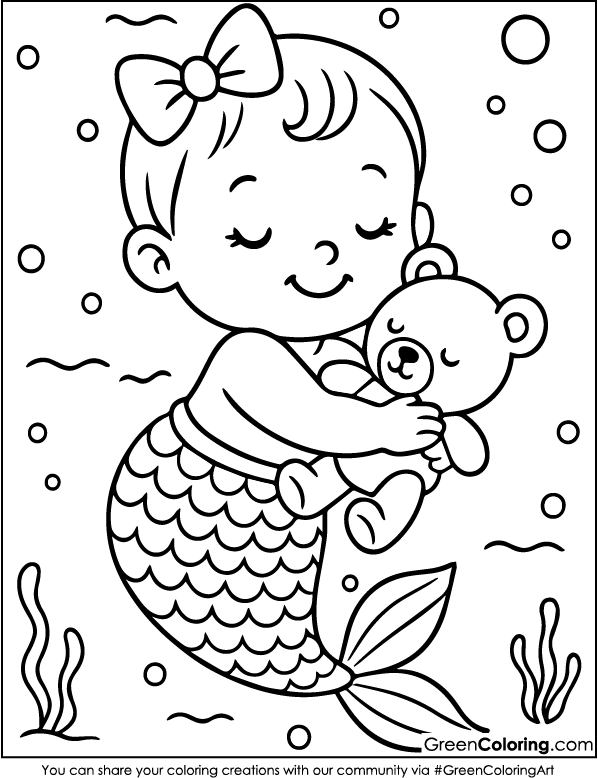
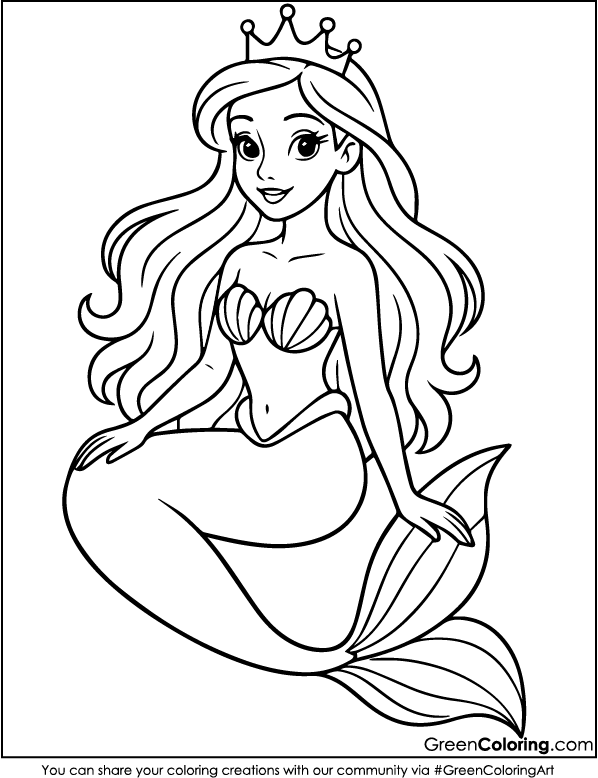
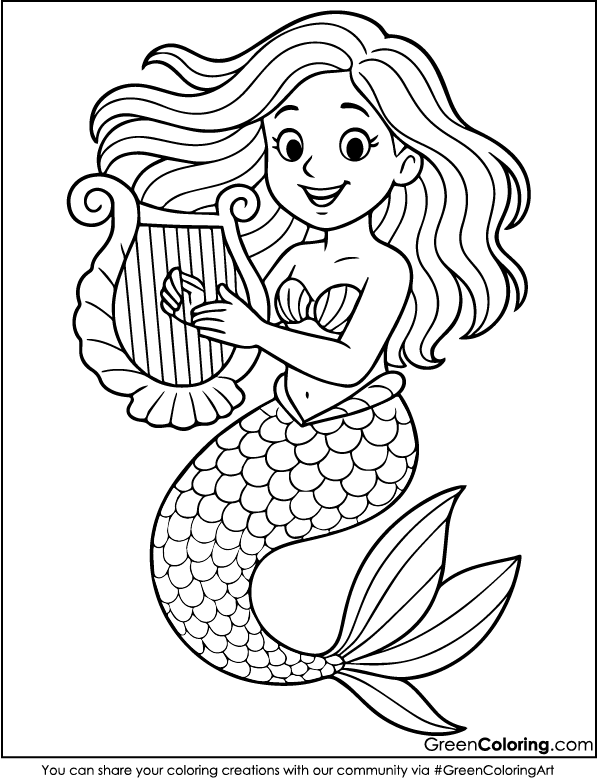
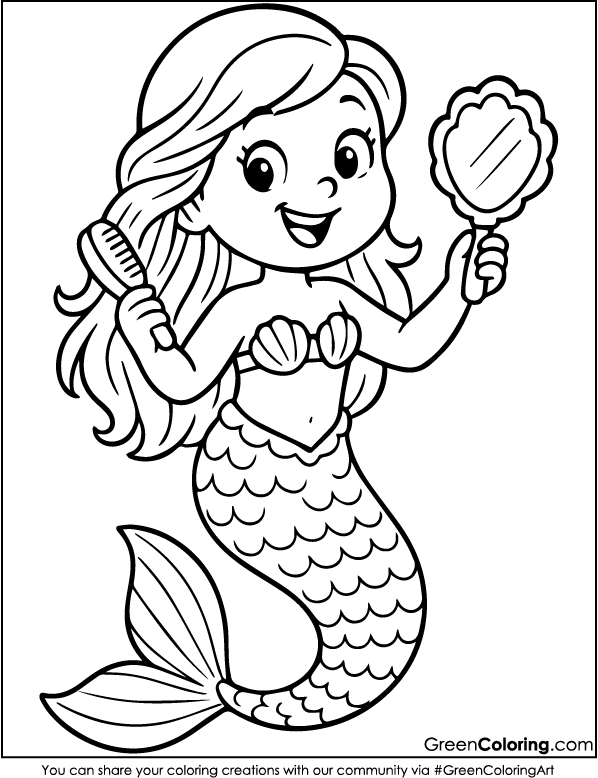
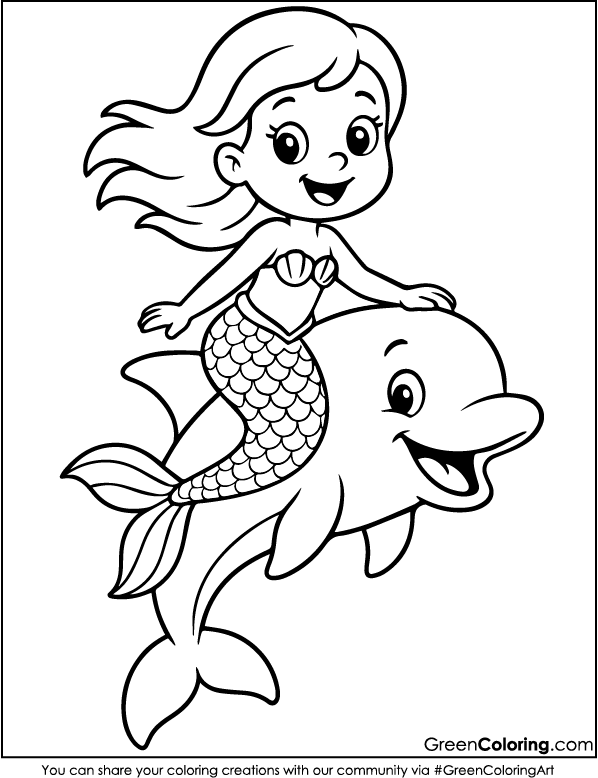
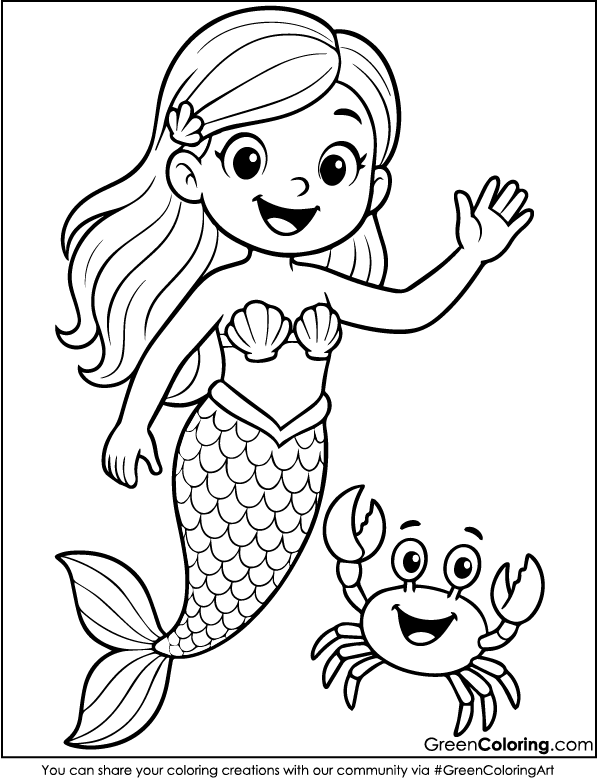
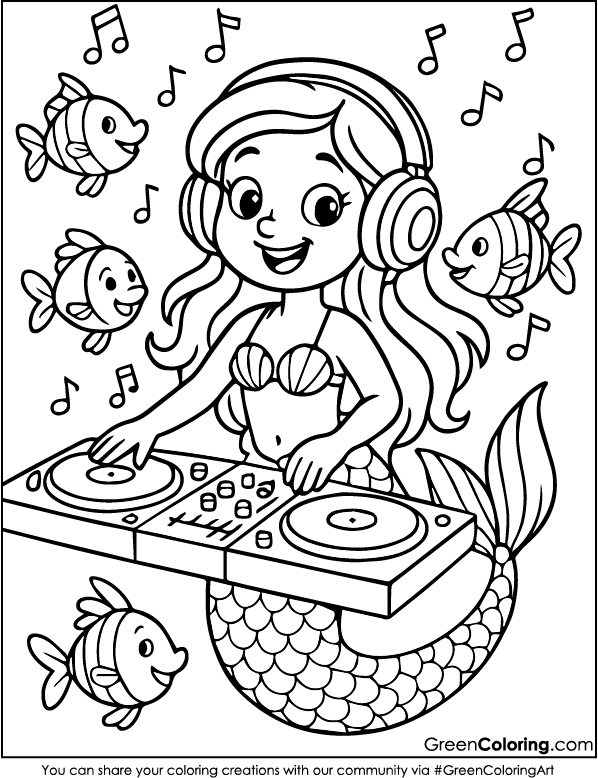
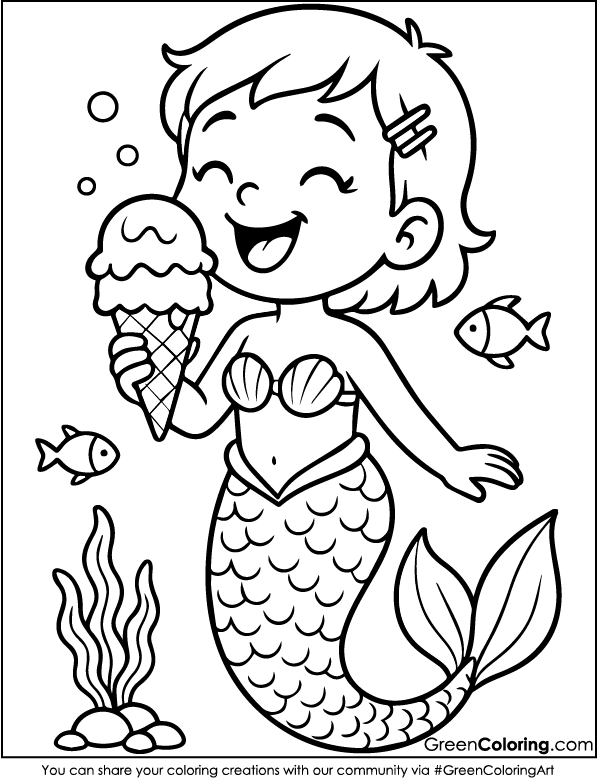
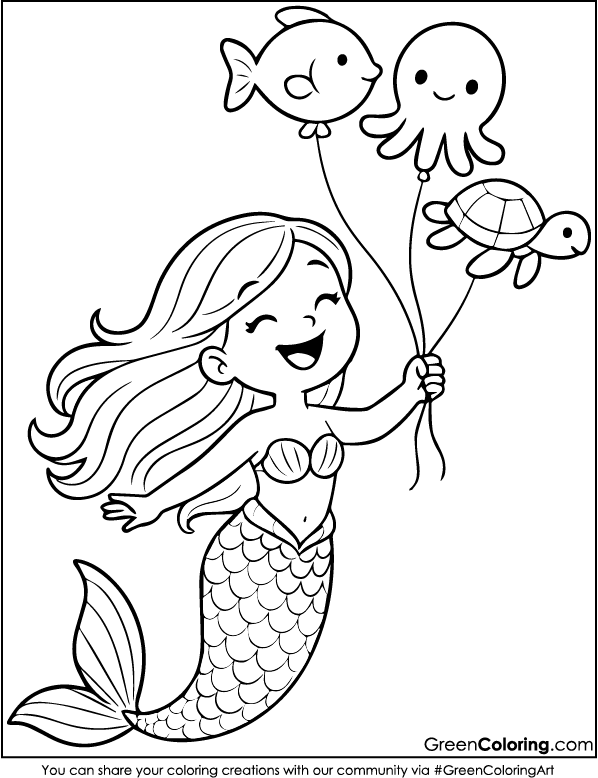
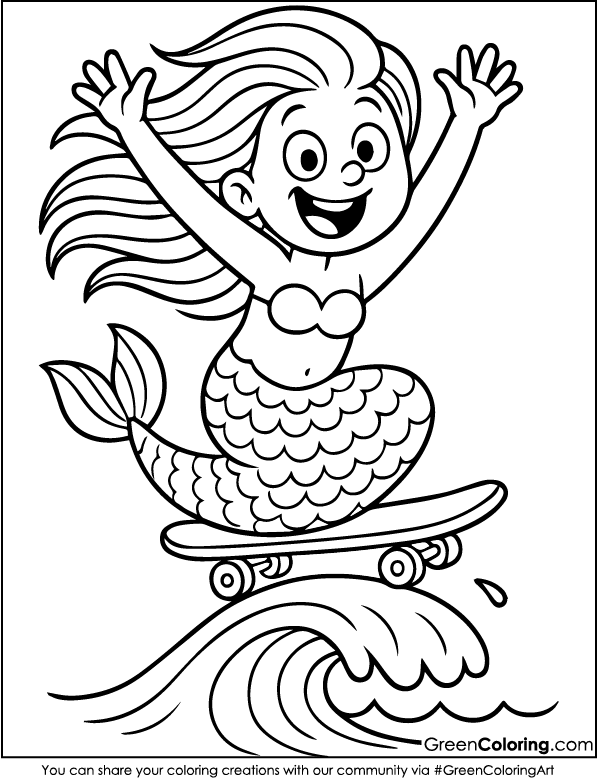
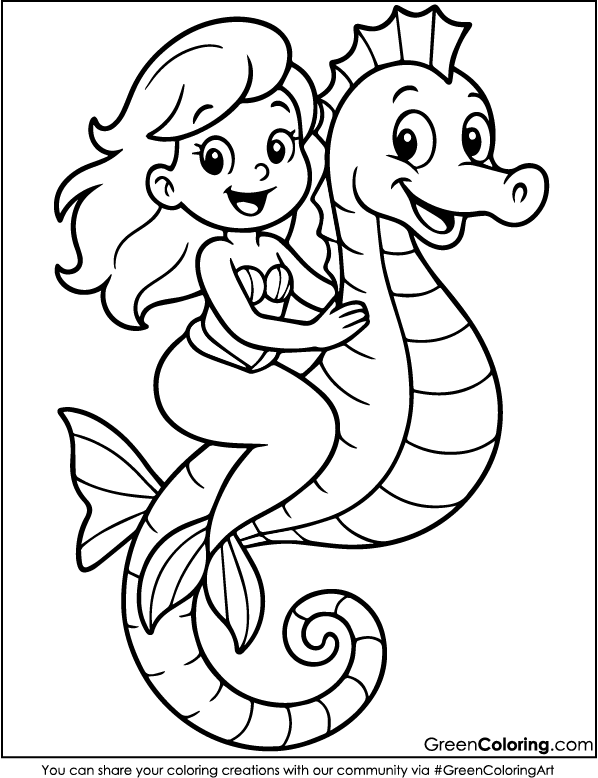
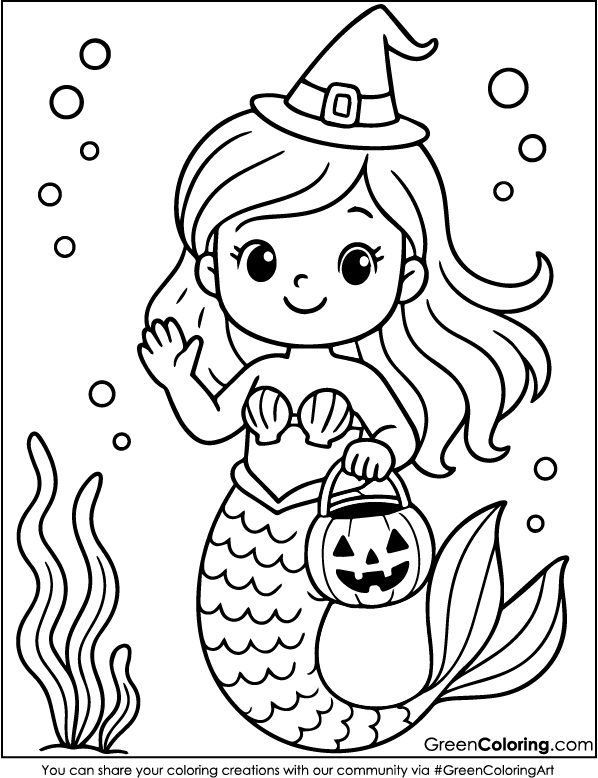
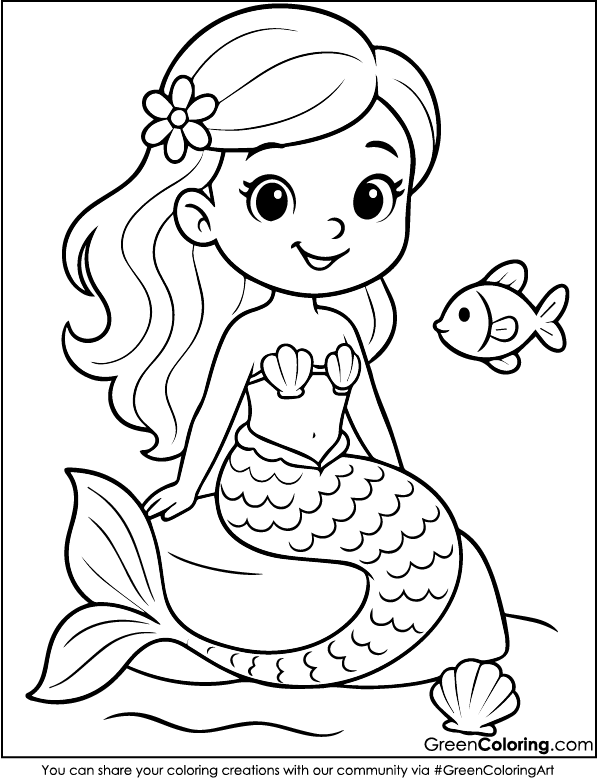
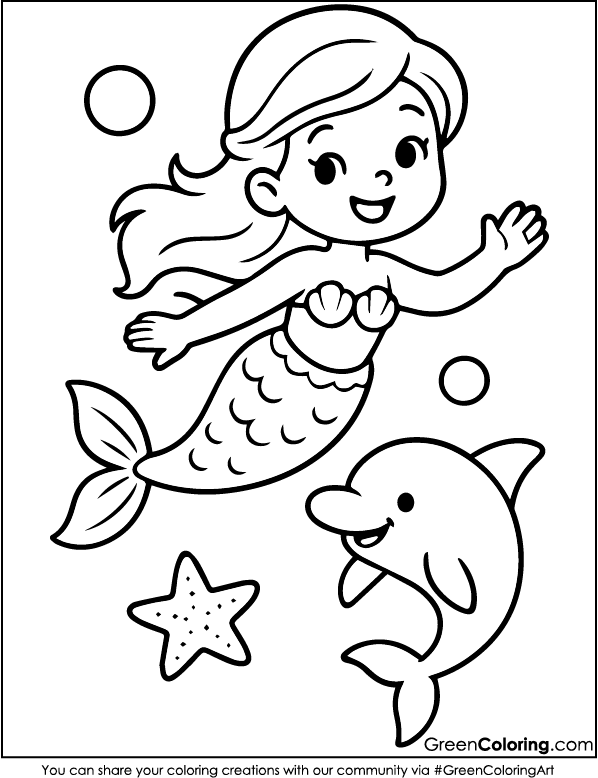
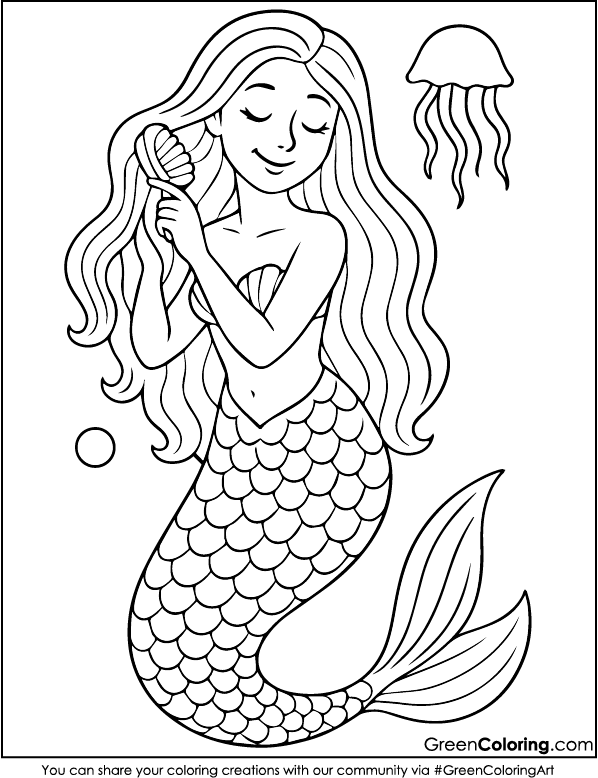
7 Crafts for Kids Using Mermaid Coloring Pages
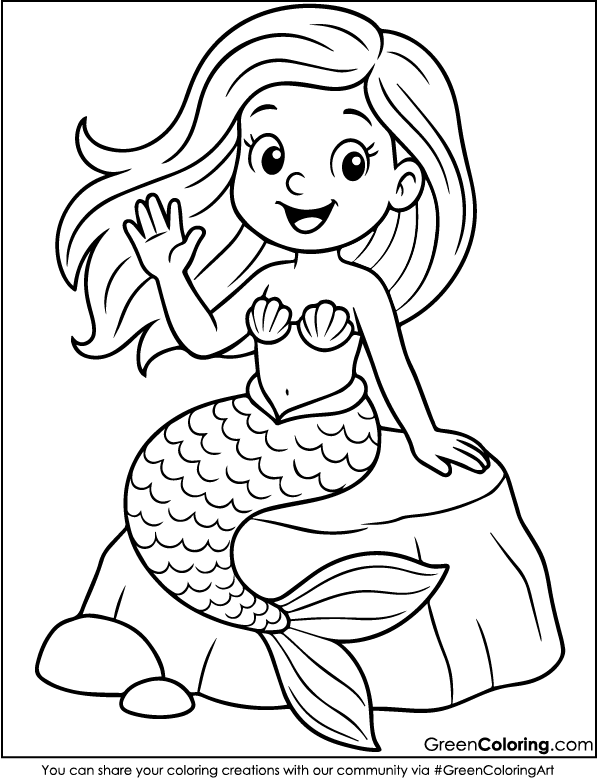
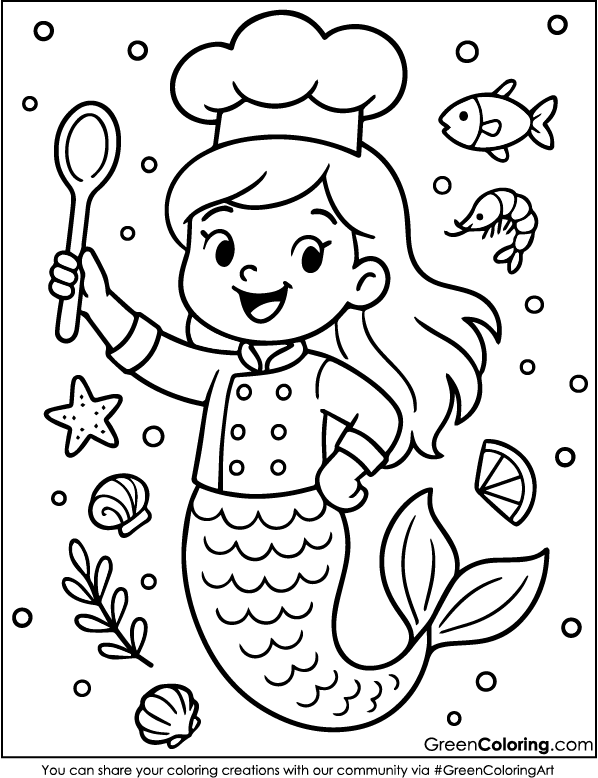
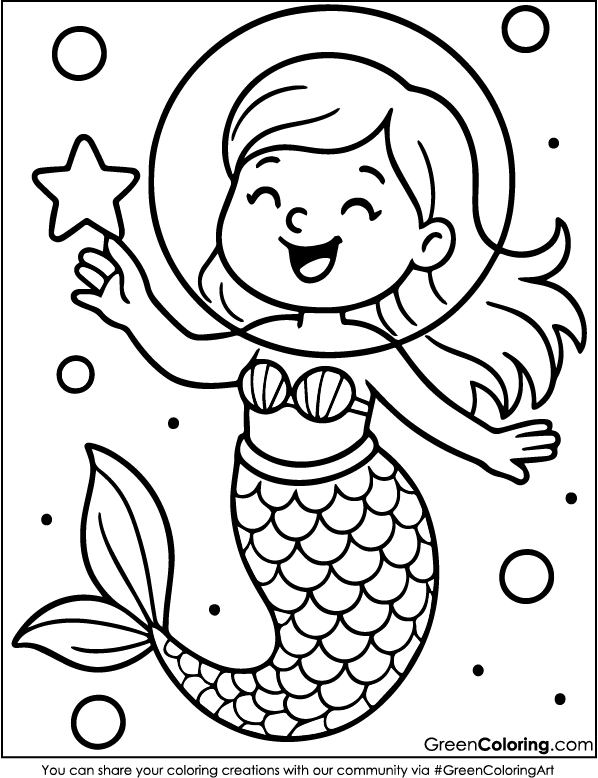
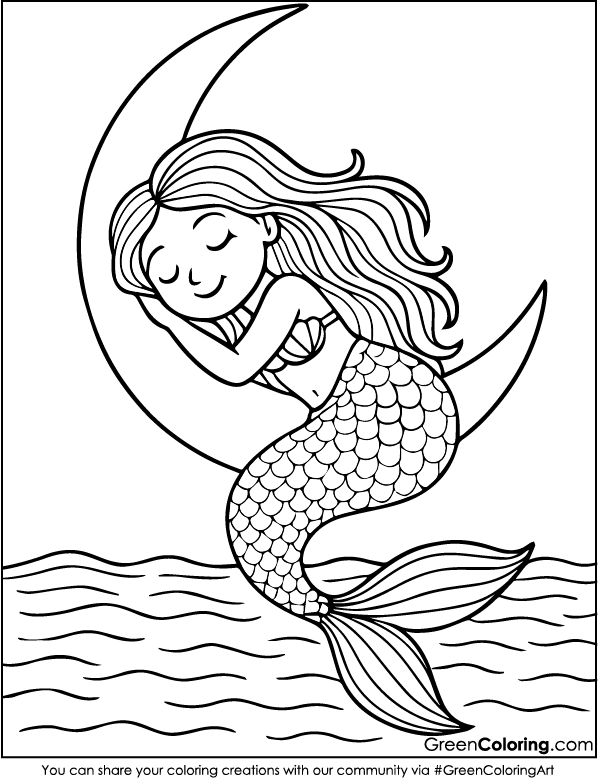
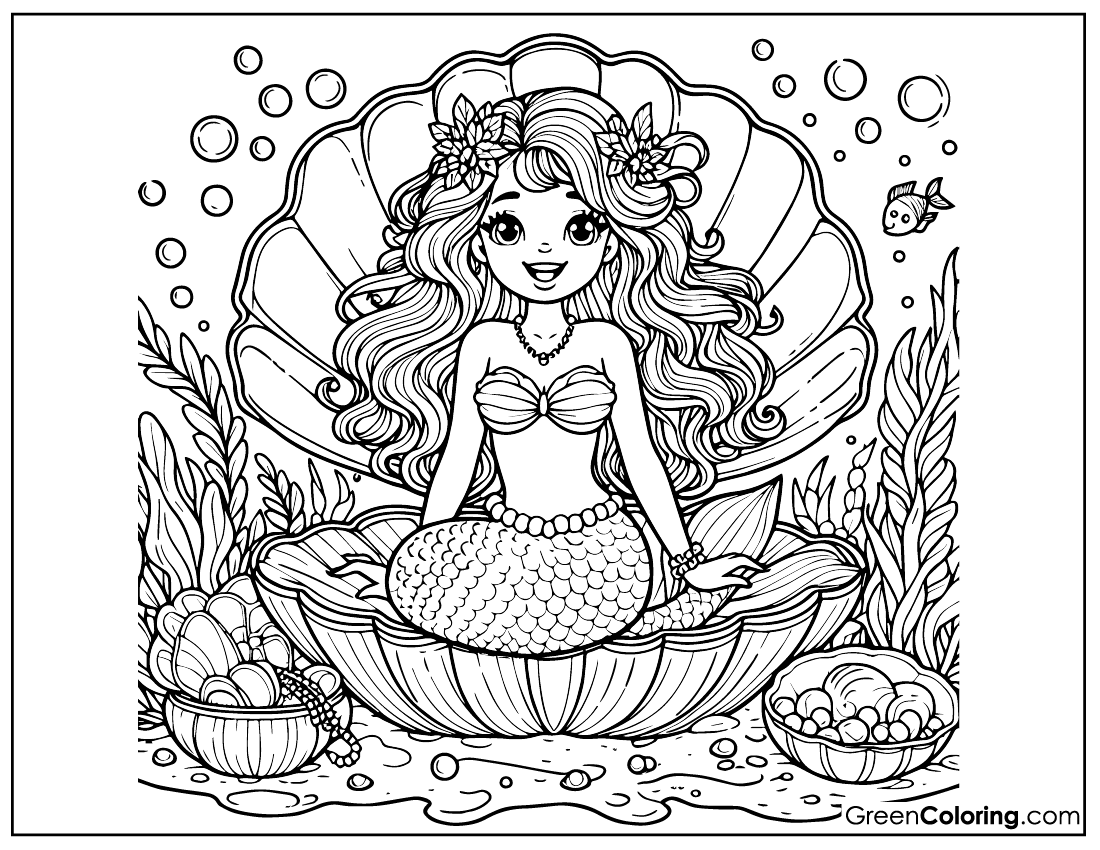
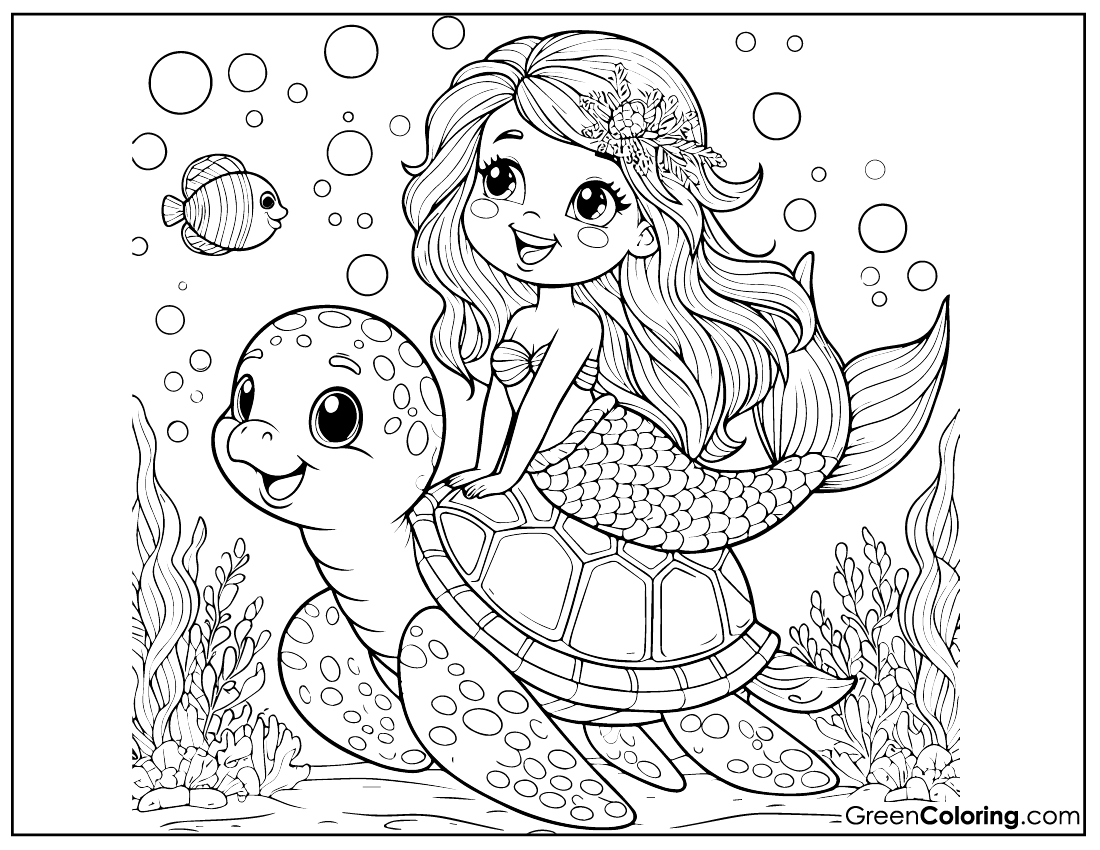
Want to give your child fun and creative things to do? I’m James, and I’m a proud dad. I made GreenColoring.com, a website where kids love to read and where families all over the world love to print out free coloring pages. I know how to make magical memories out of simple coloring sheets because I’ve been crafting for years, and my house is always full of glitter, crayons, and curious little minds. All 7 of the fun crafts in this guide are mermaid-themed and can be done by kids of any age. They all use my free, printable mermaid coloring pages, which you can find below. Along with being fun, these projects help with storytelling, fine motor skills, and creativity without using a screen. Are you prepared to swim in a sea of smiles, sparkles, and shells? Starting now!
1. Mermaid Crown Craft
Materials Needed:
- Mermaid coloring pages
- Scissors
- Glue or tape
- Cardstock paper
- Glitter or sparkly stickers
- String or ribbon
Steps:
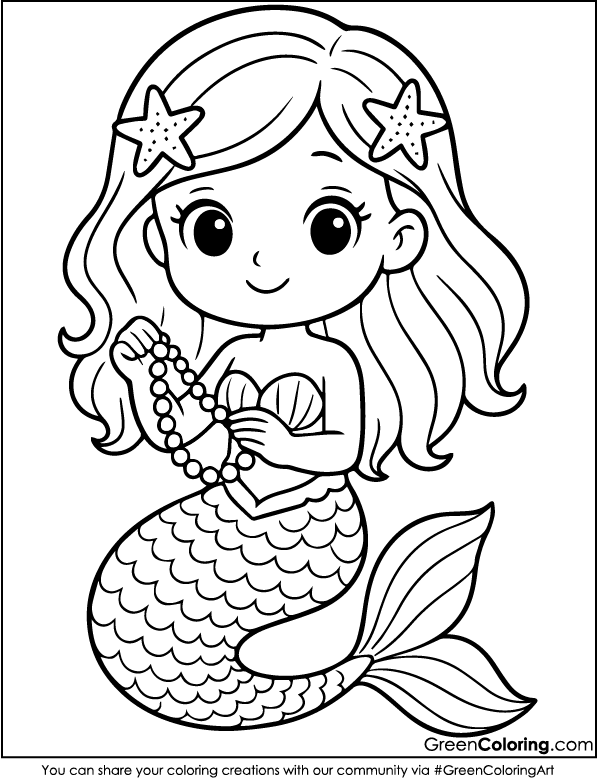
- Let your young child choose their preferred mermaid coloring page first. Lisa always goes for the one with the swirly hair since, as she notes, “It looks like ocean waves!”
- Once the page is colored beautifully, help your child carefully cut out the mermaid design. If your child is younger, like Mike, step in with scissors to keep it safe.
- Make the crown base by cutting a long cardstock strip. Measure your child’s head ahead to ensure a comfortable fit. Should it be necessary, you can even tape two pieces together.
- Let your young child glue the mermaid to the middle of the strip. They have a great chance to personalize their crown here.
- Add decorations like sparkly stickers or glitter around the mermaid. Lisa used purple heart stickers last time and named hers the “Mermaid Queen Crown.”
- Tape or glue the ends of the strip together, or punch holes and tie them with ribbon.
Fun Tip: Add the child’s name with glitter glue for a custom royal touch. Mike wanted to add Sonic stickers to his… So we turned it into a Mermaid-Sonic mashup crown (which actually turned out really cool).
2. Undersea Story Frame with Mermaid Coloring Pages
Materials Needed:
- Picture frame (recycled or dollar-store find)
- Mermaid coloring pages
- Markers
- Cardboard backing
- Glue
Steps:
- Give your kids a choice of mermaid coloring pages that they think are fun. Get them to use bright colors and interesting patterns. When Lisa colors them, she always chooses ones with lots of coral and fish. Mike once gave his mermaid orange hair and named her “Captain of the Sea.”
- Cut the work to match the frame. Maintaining the central focus of the art, that of the mermaid’s face or sea life, is crucial. Lisa checks every element is just right by measuring with a ruler. Children learn spatial awareness as a result as well.
- Glue the artwork onto a sturdy cardboard backing. This gives the final project a professional, polished look. Let your child help press it down firmly and smooth out the edges.
- Insert it into the frame and decide where to display it. Lisa chose her bedroom wall, right next to her bookshelf. Mike hung it by his toy chest. Giving kids a choice on where to hang their creation adds pride to their effort.
- Write a short sea story on the back of the frame. Lisa once made up a story about how her mermaid saved a baby seahorse from a jellyfish trap. Mike also said that afterward there was a dance party with a crab DJ. These short stories make a craft into something you’ll remember.
Smart Tip: Gift these frames to grandparents or other relatives. They make heartfelt presents that show effort and love. For inspiration on writing creative stories with kids, visit Scholastic’s Tips for Storytelling.
3. Mermaid Fan Craft
Materials Needed:
- Mermaid coloring pages
- Popsicle sticks
- Tape or glue
- Glitter or markers
- Safety scissors
Steps:
- Give the children some coloring freedom right here. Use ocean-inspired colors, including deep blues, sea greens, and sandy golds, and inspire them to see a cool underwater breeze. Once using all-blue crayons, Mike dubbed his creation a “tidal wave mermaid.”
- After coloring, fold the page accordion-style from one side to the other. This is a fantastic way to build hand strength and coordination. Lisa enjoys counting each fold and making sure they’re all the same size. Add gentle encouragement; perfection isn’t the goal, creativity is.
- Once folded, tape or glue a popsicle stick to both ends of the folded page to create handles. Hold the stick in place for a minute to let the glue set properly.
- Decorate the folds with small drawings, stickers, or glitter. Lisa often writes fun messages like “Queen of the Sea” across her fan folds. Mike prefers sea monster doodles.
- Let it dry before using it. Then it’s time for a pretend ocean breeze. Lisa loves to wave hers dramatically while pretending she’s on a mermaid throne.
Helpful Tip: Want a sturdier fan? Back the coloring page with thin cardstock before folding. It helps it last longer, especially if Mike decides to have a fan battle with his toy shark.
4. Mermaid Memory Matching Game
Materials Needed:
- 2 copies of different mermaid coloring pages
- Scissors
- Cardboard or cardstock
- Glue
Steps:
- Print two of each design you want to use. Ask the kids to color both versions the same way. This is a great activity for teaching attention to detail and consistency. Lisa loves using her favorite markers to make each set a perfect pair.
- Cut the colored mermaids into small square cards. It helps to draw light pencil borders first so the sizes are even. Then, glue each square onto a piece of cardboard or cardstock.
- Mix all the cards and lay them face-down on a table or floor. Lisa loves making neat rows, while Mike prefers random scatter. Either way works, as long as the cards are all face-down.
- Take turns flipping two cards at a time, trying to find a match. When we last played, Mike kept turning over the same pair that never matched, giggling every time. Lisa eventually helped him win by remembering where the pairs were; it was such a sweet sibling moment.
- Keep playing until all matches are found. The player with the most pairs at the end wins.
Pro Tip: Laminate your cards so they can survive future play sessions, spills, or even a curious pet. If you want to learn more about how memory games support child development, visit the Raising Children Network article.
5. DIY Placemat with Mermaid Coloring Pages
Materials Needed:
- Mermaid coloring pages
- Clear contact paper
- Markers
- Scissors
Steps:
- Choose a coloring page with plenty of open space for creativity. Let your kids take their time coloring. Lisa added a golden seashell and pink dolphins last time. Mike experimented with a striped octopus.
- Once the design is complete, help trim the edges neatly. Make it rectangular to give the placemat a clean look.
- Place the coloring sheet on a flat surface and gently place a layer of contact paper over it. Then place another contact paper sheet underneath so the coloring page is sandwiched inside. Smooth it out from the center to avoid air bubbles. Lisa loves using her little ruler to help flatten it.
- Press the edges firmly. You can even put a heavy book on top overnight to make sure it stays sealed.
- Once sealed, the placemat is ready for action. Mike uses it every spaghetti night and loves pointing out the crab with a chef’s hat.
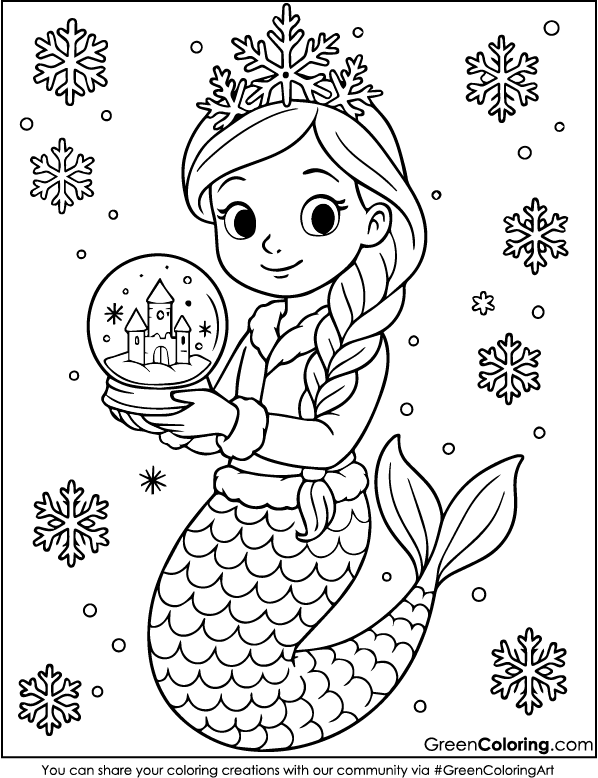
Smart Tip: Make different themed placemats for holidays, birthdays, or seasons. Lisa’s planning a winter mermaid next with snowflake earrings.
6. Mermaid Wand Craft
Materials Needed:
- Mermaid coloring pages
- Glitter glue
- Wooden dowel or pencil
- Ribbon
- Tape or glue
Steps:
- Let your kids pick a magical item to color, whether it’s a mermaid tail, seashell, or starfish. Lisa always picks the glitteriest options.
- Carefully cut out the shape. If your little one, like Mike, is still mastering scissors, lend a hand to help them stay on the lines while encouraging them.
- Fasten the form firmly to the top of a stick or pencil. Use tape or glue; make sure it holds consistently twice-checked.
- Tie ribbon streamers around the form’s base. Mike enjoys rainbows; Lisa chooses complementary colors. In any case, the flowing ribbons provide that magic touch.
- Decorate with glitter glue and any extra sparkles. Lay it flat to dry thoroughly before using it.
- Let your child invent their own mermaid spell and wave the wand around. Lisa’s go-to spell is “Seashell sparkle, sparkle shine.” Mike’s version summons an underwater taco truck.
Helpful Idea: Use pencils if you don’t have wooden sticks. They work great and can double as magic writing wands.
7. Ocean-Themed Wall Garland
Materials Needed:
- Mermaid coloring pages
- String
- Mini clothespins or tape
- Scissors
- Markers or crayons
Steps:
- Choose several mermaid coloring pages to color. Encourage the use of a wide color palette for variety. Lisa picked coral pinks and teal greens, while Mike added lightning bolts in the background of his.
- Cut out each finished design neatly. You can keep the whole page or just the main character.
- Lay out your string and measure the space you want to hang the garland across. Lisa helped stretch the string across her window and marked the ends with tape.
- Attach each mermaid to the string using mini clothespins or bits of tape. Let the kids decide the order; they love having creative control.
- Add small paper extras between the mermaids, like fish, shells, or seaweed, for a fuller undersea vibe.
- Hang the garland and back off to appreciate your work. When Lisa saw everything together, she squealed with delight. It made her room a small underwater kingdom.
Pro Tip: Change out the pages seasonally to keep the space feeling new. Halloween mermaids? Yes, please.
Final Thoughts
Art and craft projects are fun, but they’re also a great way for families to bond, learn, and grow. It’s clear to me that simple, colorful projects, especially those using mermaid coloring pages, help my kids feel more creative and confident. Every project has a story, whether it’s Lisa’s imaginative plans or Mike’s silly mess. If your kids enjoy magical themes like these, they might also love exploring the princess, flower, or unicorn coloring pages; they’re just as full of color, fun, and creativity.
Whether it’s a hot summer day, a rainy fall afternoon, or a chilly winter weekend, these mermaid coloring pages and crafts are perfect year-round. So pick your favorite, gather your supplies, and start crafting magical mermaid moments today!
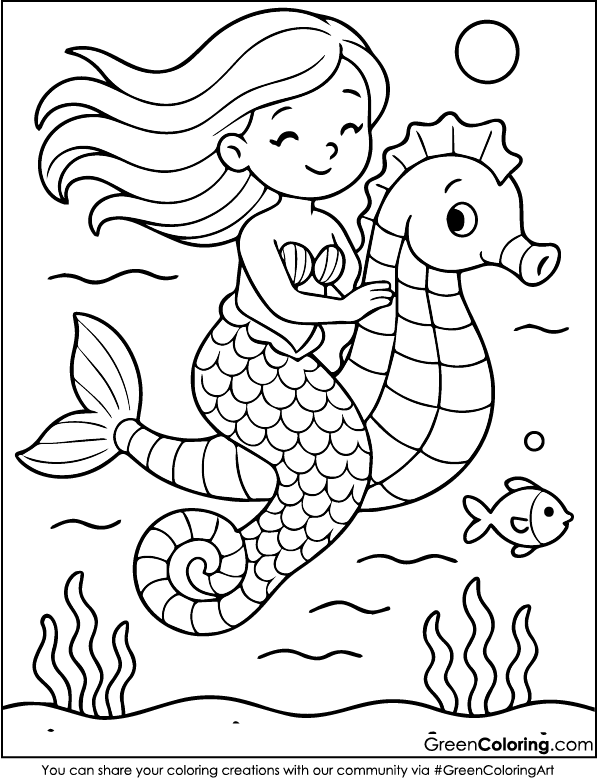
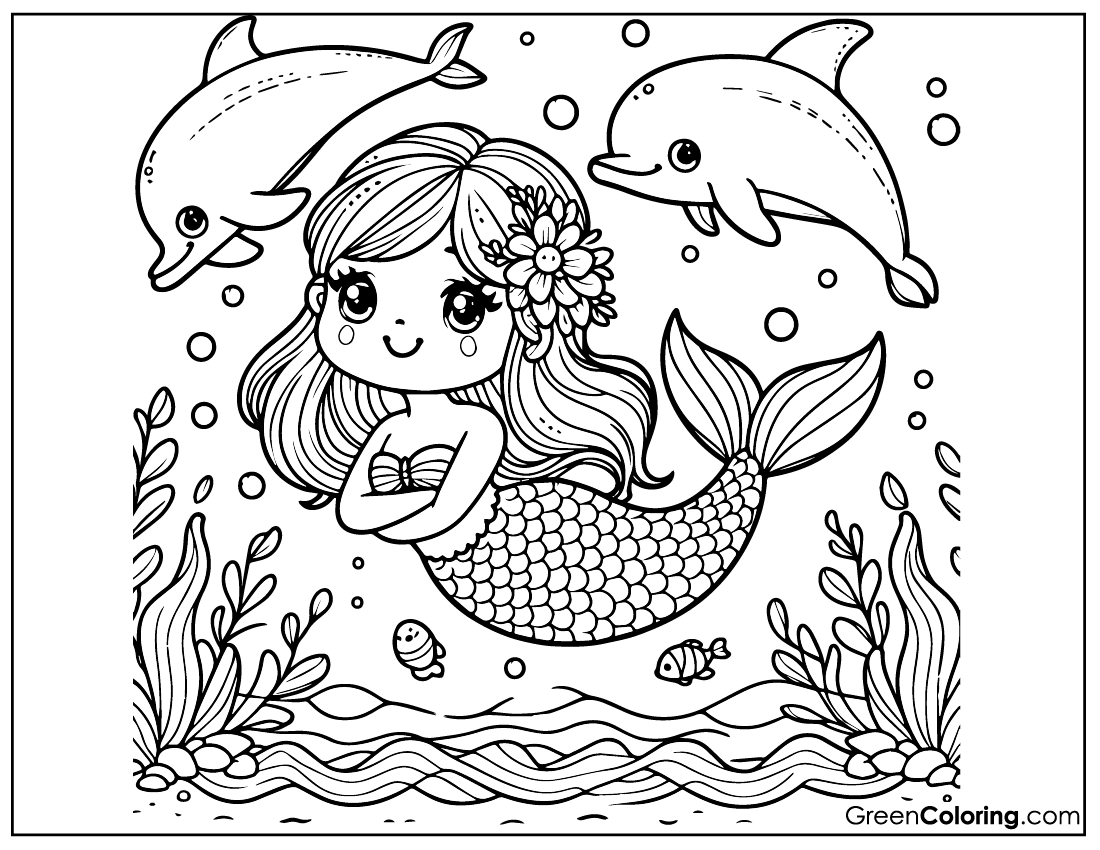
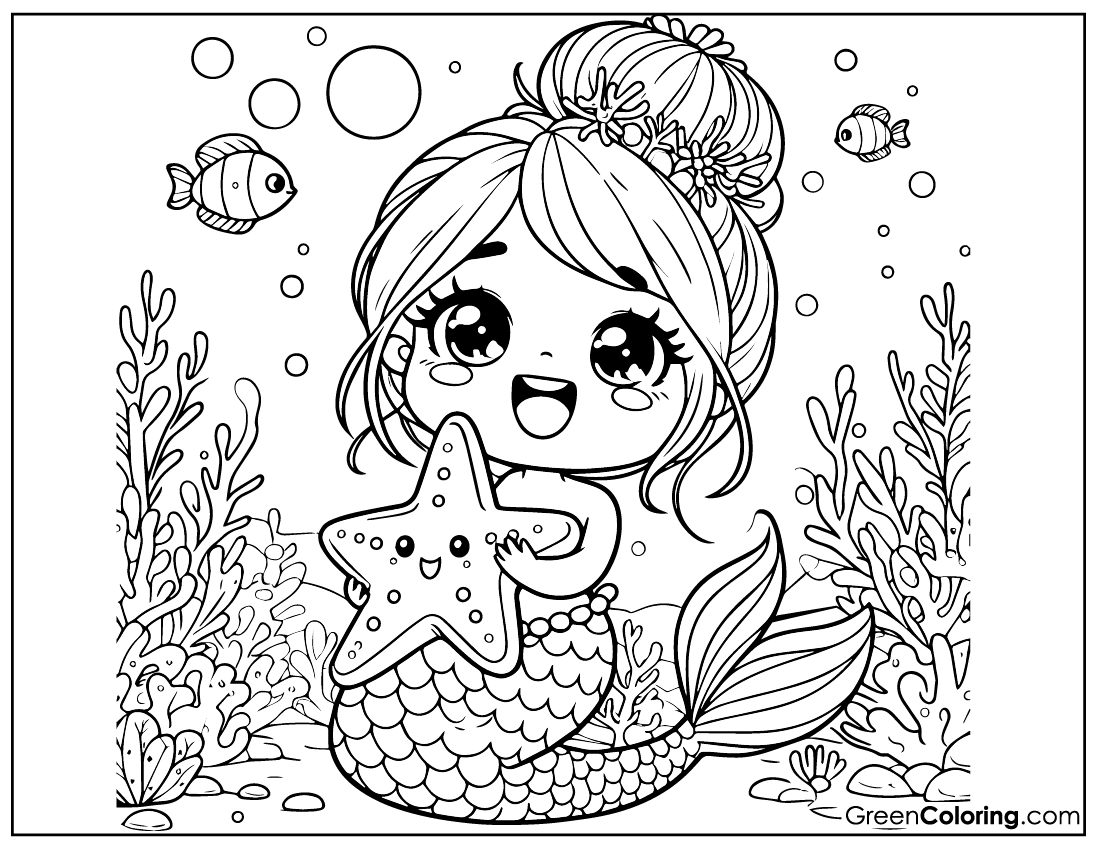
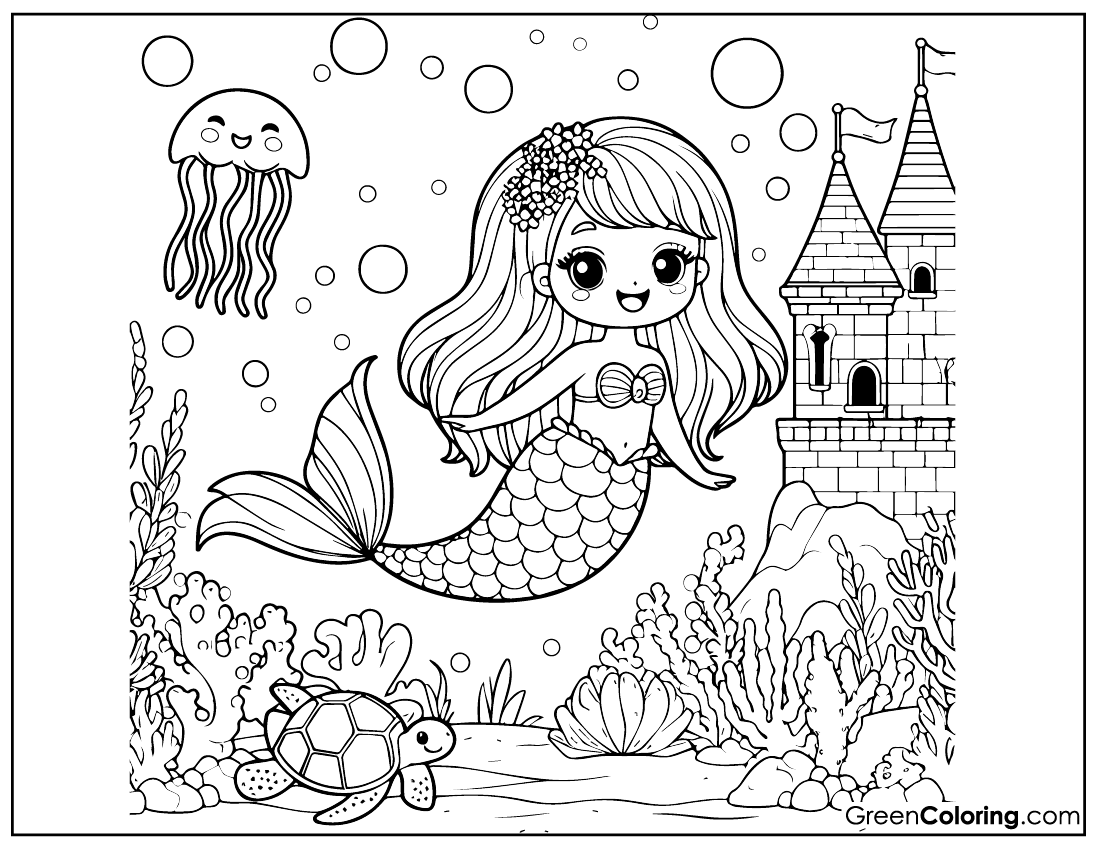
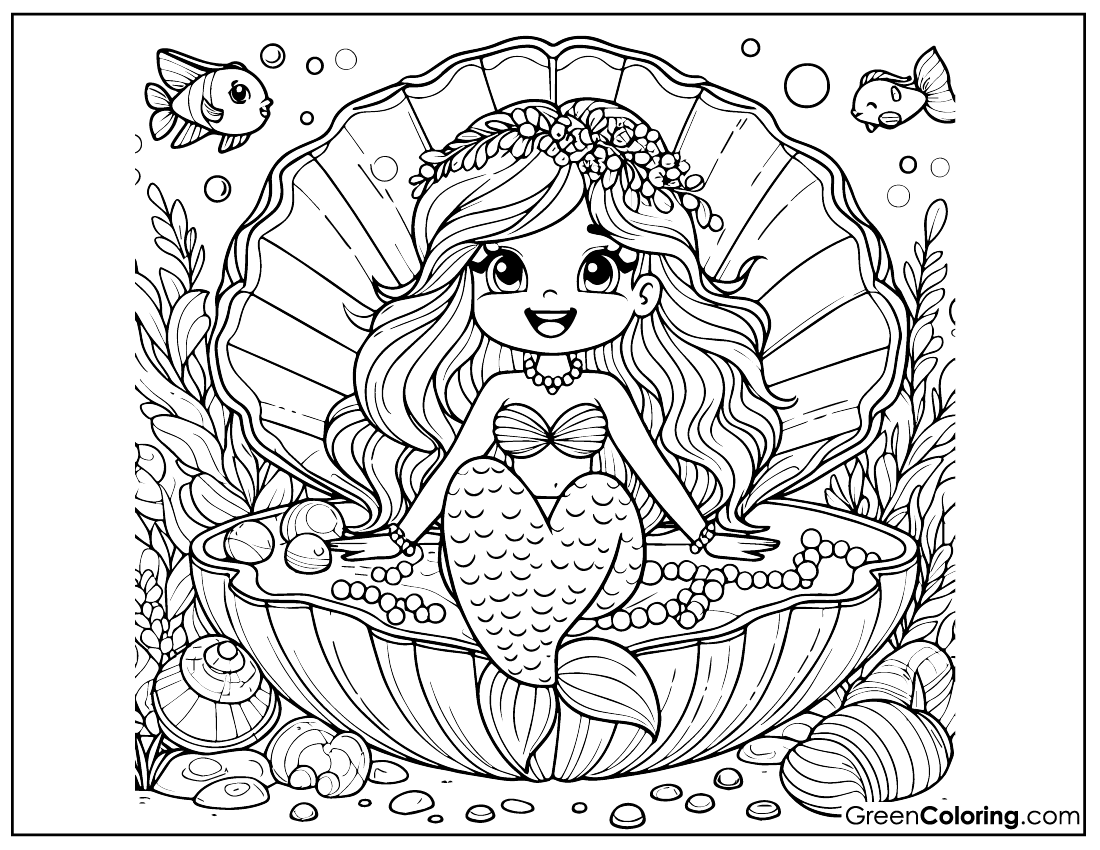
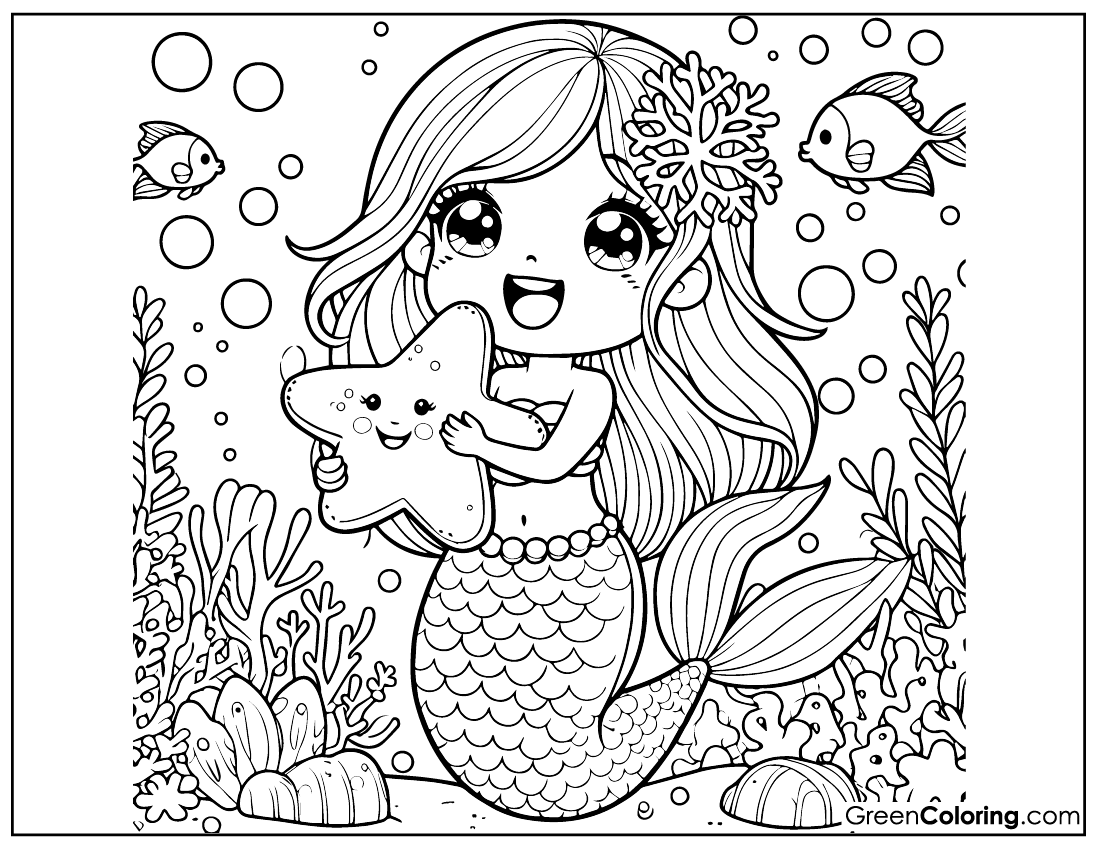
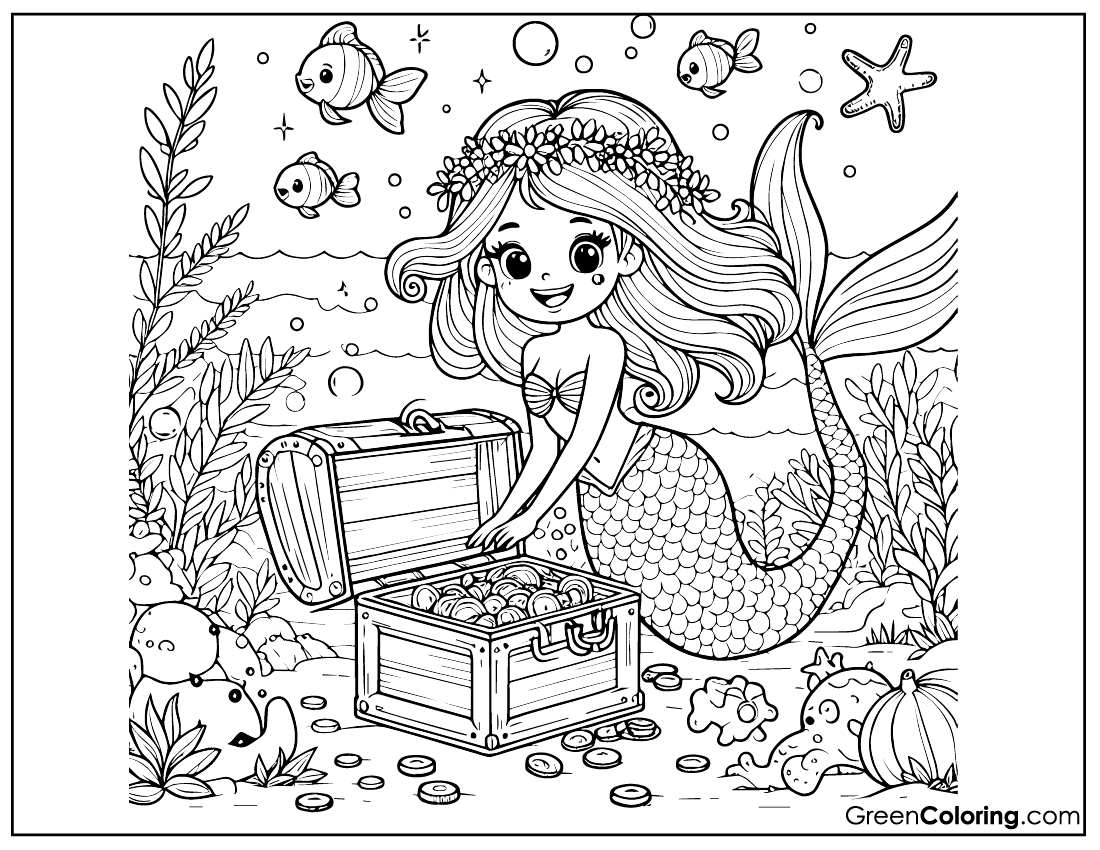
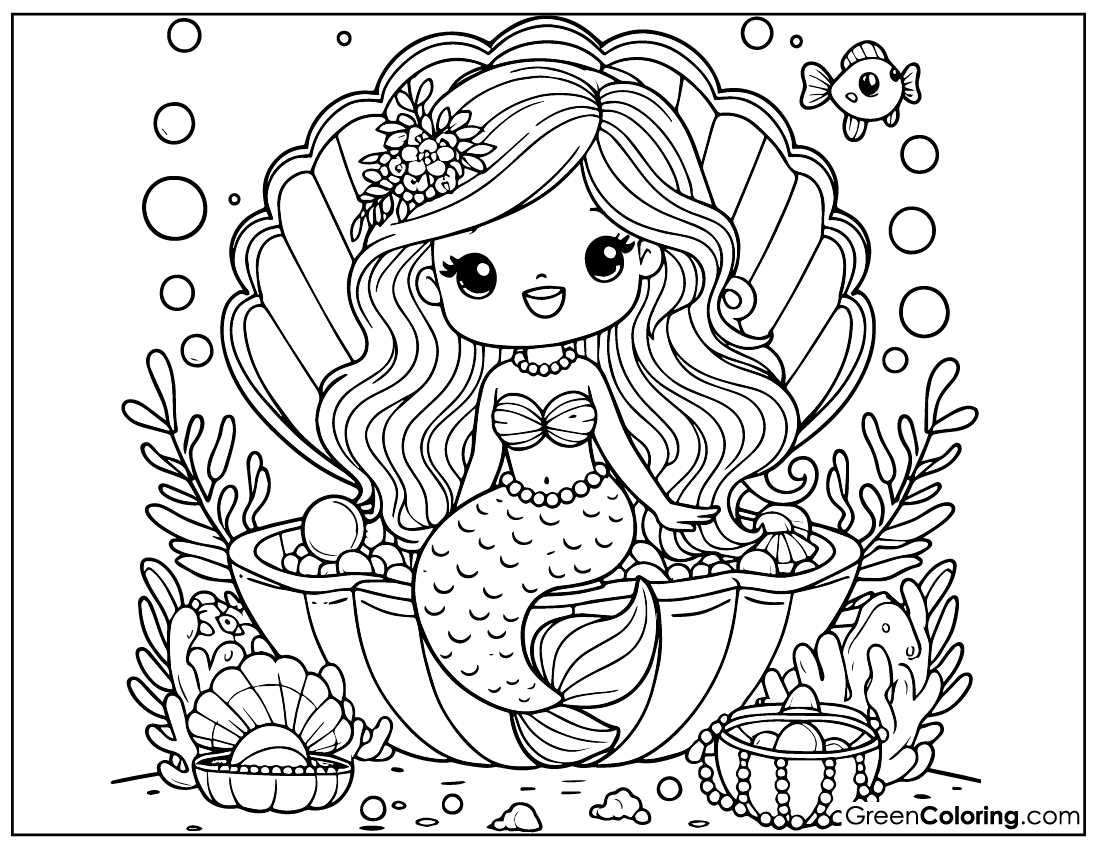
Download Free Coloring Pages:

Leave a Reply