8 Crafts for Kids Using Halloween Coloring Pages
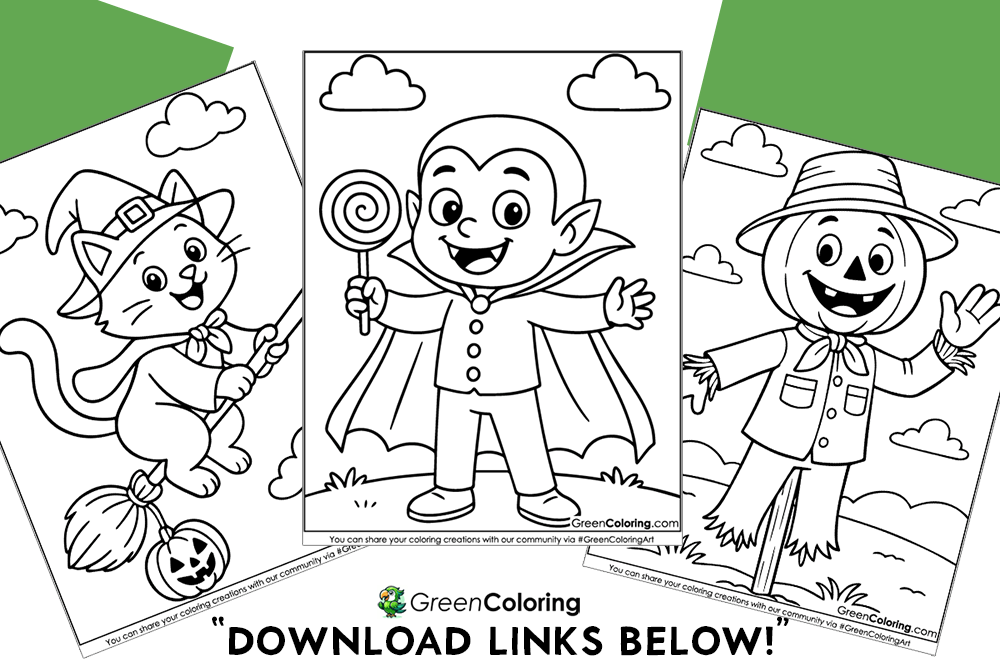
Halloween is one of our favorite times at home. Between the pumpkins, costumes, and sweet treats, my kids Lisa and Mike get super excited to craft and decorate. If you’re like me and always looking for creative, simple, and safe ways to keep your kids engaged, you’re going to love these 8 fun craft ideas! And just so you know, I’ve already published 54 free Halloween coloring pages in PDF format above this article, ready to download and print. So, grab your crayons, and let’s make some spooky (and silly) magic together!
1. Halloween Luminary Jars
Materials Needed:
- Clean glass jars (mason jars work great!)
- LED tealight candles (for safety!)
- Glue stick or Mod Podge
- Scissors (adults can assist young ones)
- Halloween coloring pages (from our free printables above)
Steps:
- Let your kids choose their favorite Halloween coloring pages to begin. Lisa picked the witch cat last week, and Mike loved the funny ghost with a hat. It’s important to let them use the pictures they color to show who they are.
- It’s important to carefully cut out the main characters or scary designs after coloring them. Michael usually holds the scissors while I cut. He cheers me on and asks to keep the scraps, which he calls his “spooky leftovers.”
- Apply a thin layer of Mod Podge or glue on the back of each cutout and gently press it onto the outside of a clean jar. Help your child smooth it down to avoid wrinkles. Lisa loves to do this part on her own because she says it feels like decorating a magic lantern.
- Once it’s dry, place an LED tealight inside the jar. These are safe and flicker just like real candles. When we turned off the lights, Mike said it looked like “a ghost party inside the jar.”
- Set your luminaries on the windowsill, porch, or dining table for a cozy Halloween glow.
Genius Tip: Add a layer of tissue paper behind the cutouts before gluing them for a soft, stained-glass look that glows beautifully at night.
2. Trick-or-Treat Goodie Bags
Materials Needed:
- Brown paper lunch bags or small canvas bags
- Halloween coloring pages
- Crayons or colored pencils
- Glue
- Stickers and glitter (optional)
Steps:
- Let your kids color their favorite spooky designs. This is a great time for storytelling too. Lisa loves to make up stories about her pumpkin princess while coloring, and Mike imagines his skeleton is dancing to spooky music.
- Carefully cut out the characters or shapes with your child. For younger ones like Mike, I handle the scissors while he picks the placement on the bag and presses down the glue stick like a pro.
- Once everything’s in place, let your kids personalize the bags with their names, Halloween messages like “You’ve Been Boo’d,” or sparkly stickers. Lisa used pink glitter on hers, of course.
- After decorating, let the glue dry completely. Then fill the bags with candies, small toys, or even healthier treats like stickers or raisins.
Pro Tip: Use cloth bags and fabric glue if you want to make reusable treat bags your kids can use year after year.
3. Spooky Table Placemats
Materials Needed:
- Halloween coloring pages
- Clear contact paper or laminate sheets
- Markers or crayons
Steps:
- Let your child pick out a Halloween coloring page they’re excited about. Lisa loves to pick cute witches and color them with her favorite purples and pinks. Mike once insisted his werewolf needed to be a superhero and gave him a green cape.
- After coloring, smooth out the page on a clean table. This is a great moment to talk about Halloween memories or what your plans are for trick-or-treating.
- Cut out two sheets of contact paper slightly larger than the coloring page. Help your child slowly peel and press one on the front and one on the back. This teaches patience, and Mike really likes watching the air bubbles disappear as we press them out together.
- Trim the edges neatly with scissors. You now have a custom placemat! My wife Emily loves using these during October, especially when we have themed dinners like “monster meatballs” or “spooky spaghetti.”
Helpful Idea: Have your kids create one for each family member with their names on it. Lisa once made one for Emily with a Hello Kitty bat on it, and it’s still her favorite.
4. Creepy-Cute Window Clings
Materials Needed:
- Halloween coloring pages
- Plastic sheet protectors
- Markers
- White glue
- Dish soap
Steps:
- Slide your chosen coloring page into a clear sheet protector. Lisa picked a cute ghost family last week and used markers with glitter for extra sparkle.
- In a small bowl, mix white glue with a couple of drops of dish soap. This helps it peel later. We call it our “magic potion.”
- Help your kids trace the outlines and fill in the shapes using the glue mix. It can be tricky, but fun! Mike says it feels like painting jelly. Be patient and let them explore the texture.
- Leave the sheet to dry overnight. By morning, it becomes a flexible cling.
- Gently peel the dried glue art and press it onto a clean window or mirror. Lisa decorated our front window, and every neighbor who walked by smiled at her glittery ghost. For more fun ways to make window art, visit Crayola’s Cling Art Guide.
Smart Tip: Always test one on a small window area. Emily once suggested trying it on the back porch window, and it worked beautifully without leaving any marks.
5. Halloween Treat Toppers
Materials Needed:
- Toothpicks or popsicle sticks
- Tape
- Halloween coloring pages
- Scissors
Steps:
- Choose small characters from your printable Halloween coloring pages. Lisa always chooses anything she can add a pink bow to. Last Halloween, she made a Dracula cupcake look like it came from a ballet recital.
- Cut out the figures carefully. If your kids are old enough, let them try with child-safe scissors. Mike prefers to pick which one goes on each treat while I handle the cutting.
- Attach the colored cutouts to toothpicks using tape or glue. Let your kids place them into cupcakes, muffins, or even apple slices. It becomes a whole mini decorating party.
- Watch your snack table transform into a Halloween wonderland. Lisa’s teacher once thought they were store-bought toppers and couldn’t believe they were homemade. For inspiration on decorating with kids’ crafts, check out PBS Parents Halloween Activities.
Real-Life Story: At Lisa’s classroom Halloween party last year, these were the favorite snack decorations. She was beaming with pride when she told everyone her dad helped make them.

6. Paper Plate Haunted Houses
Materials Needed:
- Paper plates
- Colored Halloween coloring page cutouts
- Black paint
- Glue
- Cotton balls
Steps:
- Start by painting the back of a paper plate with black paint to create a spooky nighttime background. Let the plates dry completely. Lisa calls it her “midnight sky” and loves adding tiny silver stars with a toothpick dipped in white paint. We usually sing silly Halloween songs while waiting for them to dry.
- While the plates dry, pick your favorite Halloween coloring pages and color them in. Choose ghosts, pumpkins, haunted houses, or even witches. Lisa once built a Hello Kitty haunted mansion, complete with a candy-covered roof. Mike, not to be outdone, added a dinosaur guarding the door with a wizard hat.
- Cut out your characters and buildings and glue them onto the painted plate. Encourage kids to layer their elements and build a scene. Lisa tells a different story for each one; her favorite was “The Haunted House Where Skeletons Bake Cookies.”
- Add cotton balls for fog, clouds, or ghost puffs. Mike insists on calling them “marshmallow monsters” and makes spooky sound effects as he places each one.
Creative Twist: Glue a loop of string to the top and hang your haunted plates around the house. Emily says it turns our hallway into a haunted gallery, and it’s now one of our favorite traditions. For more ideas on creating haunted houses, visit The Spruce Crafts Halloween Projects.
7. DIY Halloween Puzzles (With a Twist!)
Materials Needed:
- Thick cardstock or recycled cereal boxes
- Glue
- Halloween coloring pages
- Scissors or craft knife
Steps:
- Let your child choose one of their favorite completed Halloween coloring pages, something they’re proud of. Mike picked his caped pumpkin vampire drawing last year and couldn’t stop giggling every time he looked at it.
- Glue the colored page onto a piece of sturdy cardboard, like a recycled cereal box. Press it gently to smooth out any air bubbles. We usually place a heavy book on top and wait 30 minutes to ensure it sticks evenly.
- On the back, draw puzzle piece shapes using a pencil. For younger kids, keep the shapes big and simple. Lisa likes to sketch her own pieces now and adds little hearts into the design.
- Carefully cut along the puzzle lines with scissors or a craft knife. This part is best done by an adult. Once the pieces are ready, mix them up and challenge your kids to put the puzzle back together. We time each other to see who can finish fastest. Mike always claps at the end, no matter who wins.
Smart Tip: Keep the puzzle pieces in a zip-top bag and write your child’s name on it. Lisa stores hers in a decorated “craft treasure box” that she’s filled with her favorite art projects over the years.
8. Candy Cone Monsters
Materials Needed:
- Halloween coloring pages
- Colored paper (optional)
- Tape or glue
- Googly eyes (or draw your own)
- Small candies
Steps:
- Color a Halloween coloring page with bright, bold colors of a fun or scary character. Lisa always picks witch designs and gives them curly purple hair. Mike really goes all out with monsters that have robot arms or extra eyes.
- Roll the colored page into a cone shape, starting from one corner. Tape or glue along the edge to hold it in place. I usually hold the cone steady while Lisa secures it with tape. It’s a sweet little bonding moment for us.
- Time to decorate! Add googly eyes, paper teeth, or even yarn for wild hair. One year, Mike created a monster with spaghetti hair and candy buttons; it was too funny not to laugh.
- Fill your cone with wrapped candies or treats. We like to include a small handwritten note inside each one. Lisa writes “Happy Boo Day!” on colorful paper, and kids get so excited when they find the hidden surprise.
Fun Tip: To keep candies from sticking, line the inside of the cone with plastic wrap. That way, you can reuse the monster for future crafts or party favors.
Final Thoughts
Crafting with kids doesn’t have to be complicated or expensive. All these fun Halloween crafts use things you likely already have at home, plus our free printable Halloween coloring pages in PDF format (just above this article). I always say a little glue and a big imagination go a long way.
Creating these with Lisa and Mike brings us closer as a family. We laugh a lot, and yes, sometimes we make messes, but that’s part of the fun. Whether it’s a cozy autumn afternoon, a festive moment with Thanksgiving coloring pages, a joyful spring activity with Easter coloring pages, or a magical winter evening with Christmas coloring pages, I hope these ideas inspire your next craft day.
If you try any of these, let me know. I’d love to hear what your kids create.
Download Free Coloring Pages:


Leave a Reply