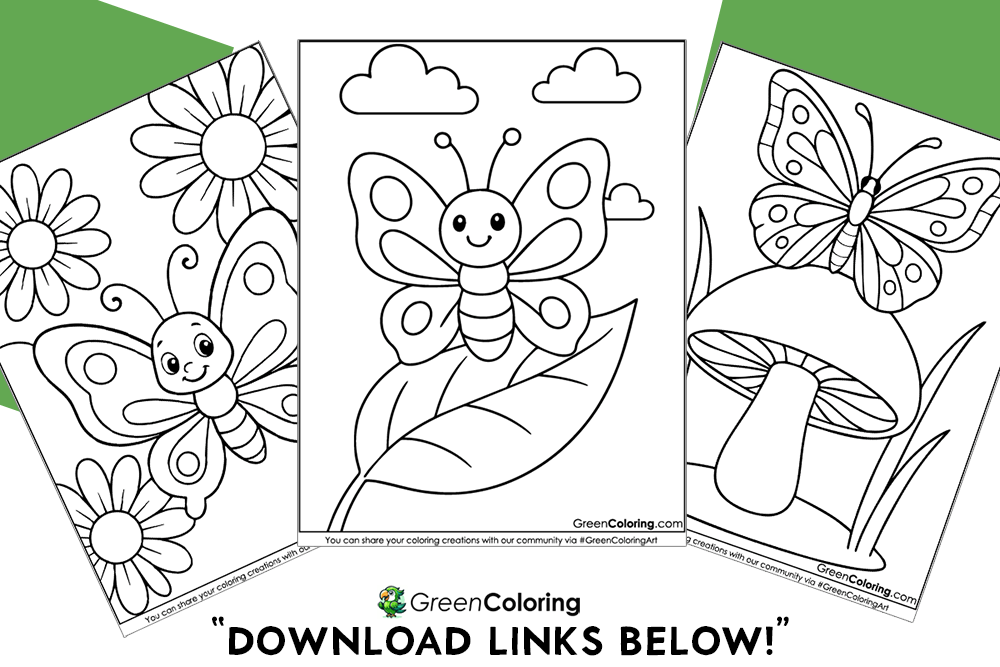
8 Crafts for Kids Using Butterfly Coloring Pages
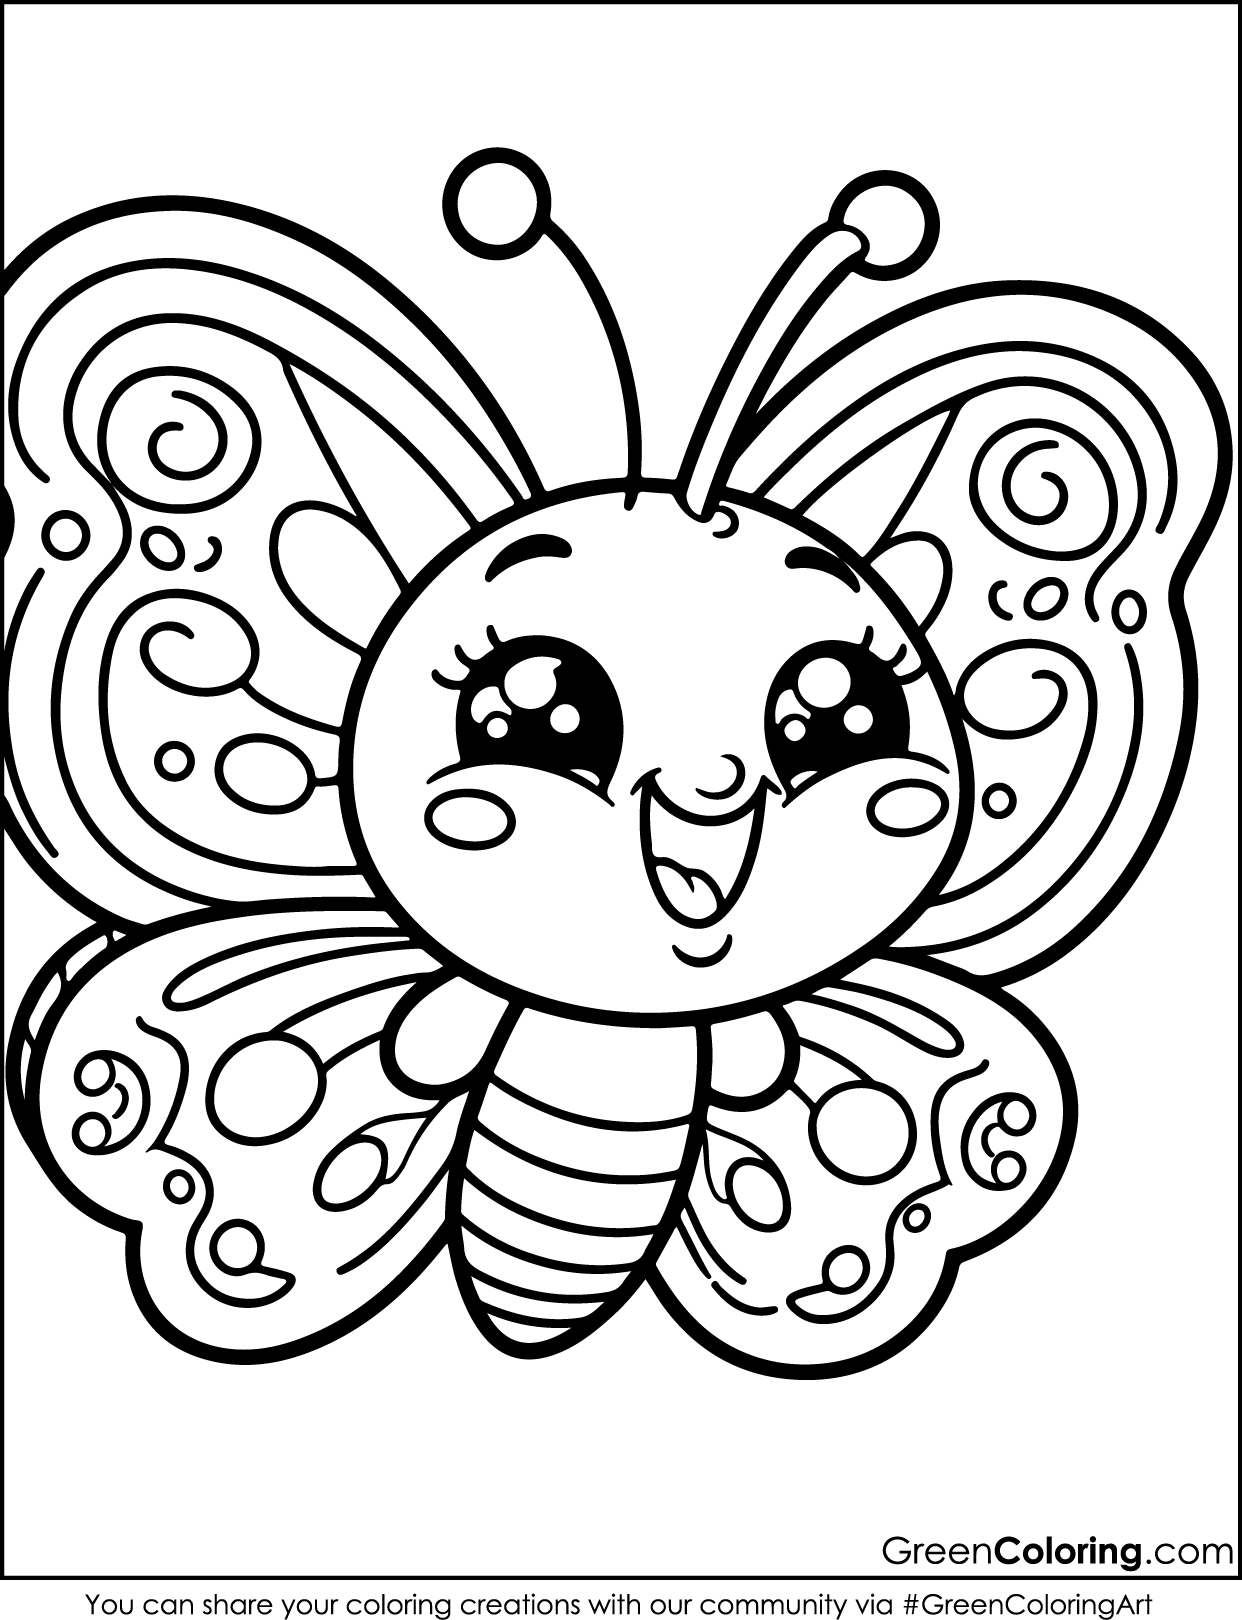
Butterfly coloring pages aren’t just for staying inside the lines; they’re a gateway to crafts that flutter, sparkle, and even fly (sort of). Whether your child is the kind who colors in soft pastels or goes bold with lightning bolts and glitter, these printable butterfly designs are just the beginning. What follows are eight hands-on craft ideas that transform simple coloring into storytelling, creativity, and laugh-out-loud moments you’ll want to frame, not just on the fridge.
1. Butterfly Window Sun Catchers
Materials Needed:
- Butterfly coloring pages
- Scissors (for adults or older kids)
- Clear contact paper
- Tissue paper (variety of colors)
- Black construction paper
- Glue stick
Steps:
- Begin by asking your child to choose a butterfly from the free printable PDF pages below. Let them color it with their favorite shades. Lisa always picks pink and purple, and she loves adding tiny dots and swirls to the wings.
- Once the butterfly is colored, carefully cut around the shape. If your child is younger, like Mike, be sure to handle the scissors yourself. Lisa now helps Mike and shows him where to place his fingers safely. Such a sweet sibling moment!
- Next, place the butterfly shape onto a piece of clear contact paper, sticky side up. This step is fascinating for kids. Mike always laughs when the paper sticks to his fingers!
- Tear or cut small pieces of tissue paper and gently press them onto the butterfly wings inside the lines. Talk about color mixing here. Lisa discovered that placing pink over yellow made a soft peach shade, and she was so proud of her “discovery.”
- Once done, cover the design with another piece of contact paper to seal it. Use black construction paper to frame the edges, which makes the colors pop against the window light.
- Let your child pick the best window to display their suncatcher. We placed ours on the kitchen window, and every morning, Lisa checks to see how the sunlight hits her butterfly.
Genius Tip: If you want to make a group of them, try using different sizes. We made a mini version for Mike’s playroom window and a larger one for Lisa’s side of the bedroom.
2. Butterfly Wands
Materials Needed:
- Butterfly coloring pages
- Wooden craft sticks or straws
- Ribbons or yarn
- Tape or glue
- Glitter or gems (optional)
Steps:
- After printing and coloring the butterfly coloring pages, help your child cut out their design. I suggest using strong cardstock or laminating the butterflies if you want the wands to last longer. Mike accidentally bent it the first time, but we fixed it together.
- Tape or glue the butterfly to one end of the craft stick. Let them be in charge of decorating. Lisa added glitter to the wings and named hers “Queen Sparkle Flutter.”
- Tie several ribbons or pieces of yarn below the butterfly to create a flowing, magical effect. Lisa used a pink satin ribbon from an old gift wrap, and it added a charming touch.
- Let it dry completely before playing. Then, let your kids run around outside pretending they’re in a butterfly garden. On a warm spring afternoon, we turned the backyard into a magical fairyland.
Pro Tip: Keep a small container for ribbons, beads, and leftover craft bits. It’s like a treasure chest for creative moments like this!
3. Butterfly Fridge Magnets
Materials Needed:
- Butterfly coloring pages
- Small adhesive magnets
- Scissors
- Lamination sheets or clear tape
Steps:
- Invite your kids to color butterflies however they like. Lisa made a set of rainbow butterflies, and Mike did one that looked more like a dragonfly, but that’s okay. Creativity counts more than accuracy!
- Cut the butterflies neatly. I let Lisa use her own scissors while I helped Mike with the cutting.
- Cover the butterflies with clear tape or laminate them to protect the colors and make them sturdy enough to last. Mike spilled juice on his first one, but since we had laminated it, we just wiped it clean.
- Stick a small adhesive magnet to the back. We used circular magnets, but strips work fine too. Then head over to the fridge and start decorating.
Helpful Tip: We added the day of the week to each butterfly and now use them to hang up school reminders. It keeps the fridge fun and functional!
4. Butterfly Stick Puppets
Materials Needed:
- Free printable butterfly coloring pages
- Craft sticks
- Tape or glue
- Markers or crayons
Steps:
- Print and color your butterflies in bright and silly shades. One sunny afternoon, Lisa created a whole butterfly royal family, while Mike declared his was “Zoomy the Fast Flyer” with superhero stripes.
- Cut them out gently. Lisa can manage this on her own now, but Mike still gets overexcited and sometimes snips wings off. I help him while explaining each step to build confidence.
- Glue or tape the butterflies to the tops of craft sticks. We prefer glue for a stronger hold. Lisa lined hers up like a parade!
- Add extras like googly eyes, glitter, or even tiny paper hats. Lisa added a tiara to hers, while Mike made a cape from tissue paper.
- Time for a show! Last week we made a puppet stage out of an old cardboard box, cut out a window, and put on “The Great Garden Race.” We laughed so hard when Mike’s puppet tripped mid-flight, and Lisa made hers swoop in to rescue it.
Fun Tip: Use a flashlight behind the puppet stage to create shadow effects for a magical touch.
5. Butterfly Crown Craft
Materials Needed:
- Butterfly coloring pages
- Paper headband strip (about 2 inches wide)
- Glue stick
- Glitter, markers
- Tape or stapler
Steps:
- Let your kids color their butterflies from the free printable pages. Lisa picked the ones with detailed wings, and she blended pink and purple for that royal look.
- Carefully cut out each butterfly. Lisa enjoys this part, saying it feels like preparing royal jewels. Mike sat beside us, coloring his own with big green swirls.
- Measure a strip of paper around your child’s head and tape or staple it. We sometimes add extra paper strips to fit perfectly without being too tight.
- Glue the butterflies onto the headband and decorate with glitter, hearts, or even small feathers. Lisa wrote “Butterfly Queen” in curly gold letters. Mike glued his right in the middle and called it his “Butter-Boy Power Band.”
- Let it dry and then place it gently on their heads. They wore them all afternoon, fluttering around the living room.
Safety Tip: Let an adult handle the stapler, and make sure edges are smooth. For Mike, I added a soft felt strip inside the crown for comfort.
Pro Tip: Try using foam paper for the headband base to make it extra sturdy and reusable.
6. Butterfly Leaf Wings (Outdoor Craft)
Materials Needed:
- Butterfly coloring pages
- Real leaves
- Glue stick
- Cardstock or cardboard
- Markers
Steps:
- Head outside for a leaf hunt. Last weekend, on a chilly autumn afternoon, we bundled up and hit the local park. Lisa was drawn to red maple leaves, while Mike excitedly grabbed every leaf in sight—even the crunchy brown ones. It was a perfect sensory moment: the smell of leaves, the cool breeze, and little hands crinkling nature’s artwork.
- Draw or print a large butterfly outline on thick paper or cardboard. Lisa used a gold gel pen to trace the edges and added little heart shapes inside the wings. Mike asked me to draw his outline with extra spikes on the edges to make it “look like a superhero butterfly.” I love seeing how their personalities shine through in these small details.
- Place a small amount of glue on each part of the wing and then begin adding the leaves. Attempt to achieve a symmetrical pattern by keeping the sizes and colors in check. It took Lisa a while to match each side, like it was a puzzle. It was a sweet lesson about patterns and working together that she helped Mike put his leaves in order.
- Using markers or pens, add your own touches. Lisa used metallic markers to make swirls, and Mike made his leaves laugh by adding little faces to them. Nature and imagination came together to make the end result. For more ideas on nature-based crafts, visit the National Wildlife Federation’s Kids Activities.
Tip: To make leaves that stick better to paper, dry some of them ahead of time between book pages.
7. Butterfly Pencil Toppers
Materials Needed:
- Butterfly coloring pages
- Scissors
- Glue
- Pipe cleaners or tape
- Pencils
Steps:
- Pick out smaller butterfly designs from the pages below. Mike chose his usual bright green and blue, while Lisa chose soft colors with sparkly edges. “Super Bug Fighter” was the name of his pencil.
- Carefully cut out the butterflies. This step is easier if your child uses safety scissors. Lisa does hers with slow, clean cuts. I always assist Mike, guiding his little hands so he learns the motion safely. We talk about shapes while cutting, which makes it a learning experience too.
- Wrap a pipe cleaner around the top of each pencil, leaving a small spiral or loop. Lisa twisted hers into hearts and little spirals, while I helped Mike shape his into zigzags. This forms a soft base for the butterfly and adds a springy bounce when you tap the pencil.
- Glue the butterfly to the pipe cleaner or tape it to the pencil if glue gets messy. Lisa prefers using glue and letting it dry fully. We usually place them on a tray and leave them near a sunny window so they dry faster. Mike gets impatient, so I sometimes distract him with a quick story while we wait.
- Lisa surprised her friends with custom toppers that said things like “You Got This” and “Shine Bright” before their spelling test. Mike gave one to his teacher with “Zoom!” written across it.
Smart Tip: Add glitter glue or rhinestones for a personalized, magical touch that your kids will love showing off at school.
8. Butterfly Gift Tags
Materials Needed:
- Butterfly coloring pages
- Scissors
- Hole punch
- String or yarn
- Markers
Steps:
- Print and color small butterfly shapes. One rainy Sunday, we turned on soft music and sat around the kitchen table coloring butterflies. Lisa planned to attach hers to her birthday gift bags and wrote all her classmates’ names. Mike drew a tiny lightning bolt on each one and kept calling them “super-fast flyers.”
- Cut out each butterfly carefully. Use thicker paper so they don’t fold or bend. I guided Mike during this step, and Lisa double-checked her cuts to make sure they were neat.
- Punch a hole at the top edge. We learned the hard way not to punch too close to the edge—it might tear when tying the string. Lisa made a tiny ruler guide with a pencil to help Mike find the right spot.
- Thread colorful yarn or string through the holes. Lisa used sparkly pink yarn, while Mike proudly chose a bold green shoelace string he found in his drawer. We tied them to gifts and lunch boxes and even left one on Emily’s coffee mug that said, “You’re the best mom.” She teared up a bit when she saw it.
Helpful Tip: Write a kind message on the back or a fun fact like “Butterflies taste with their feet” to make the tag more interactive and fun.
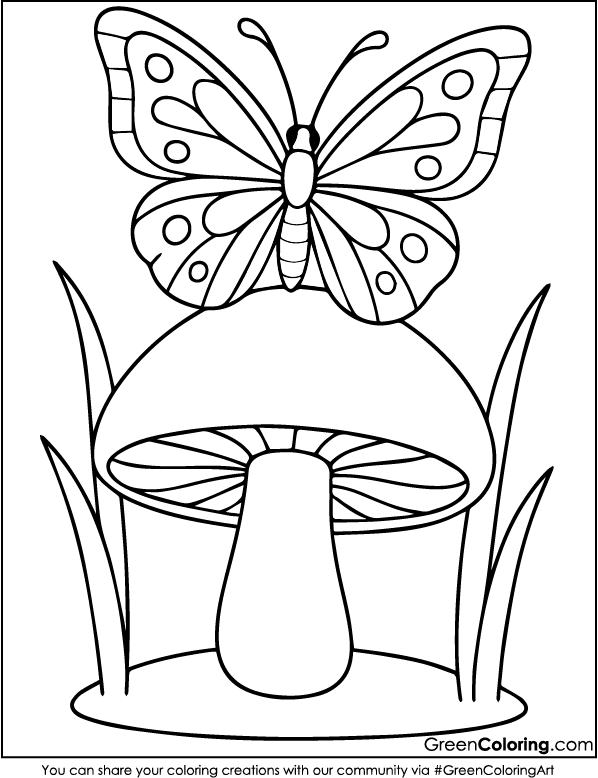
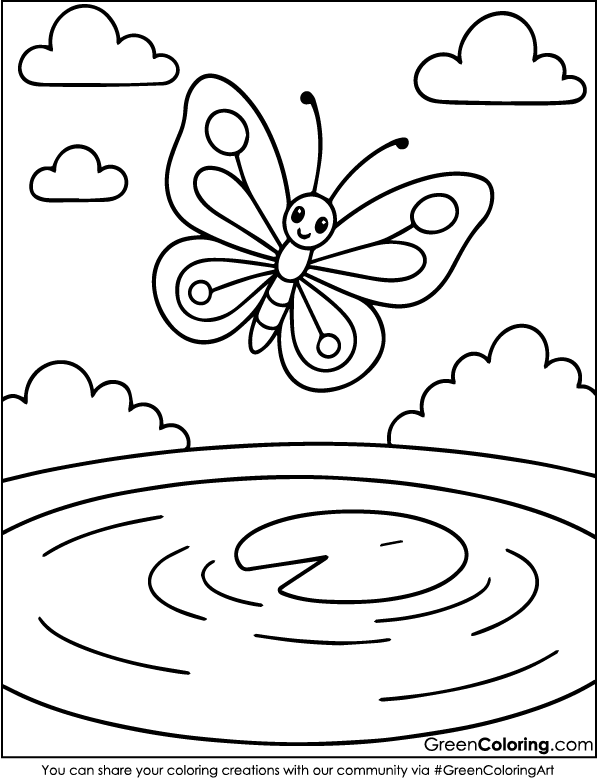
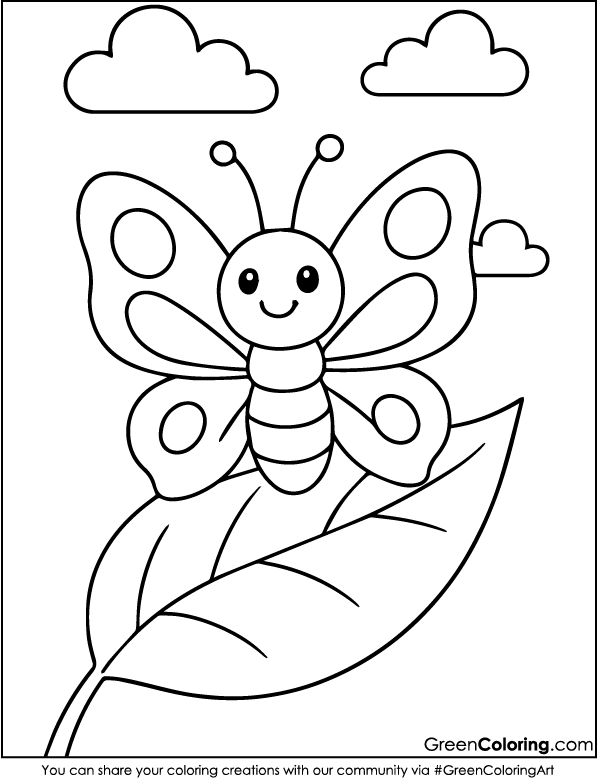
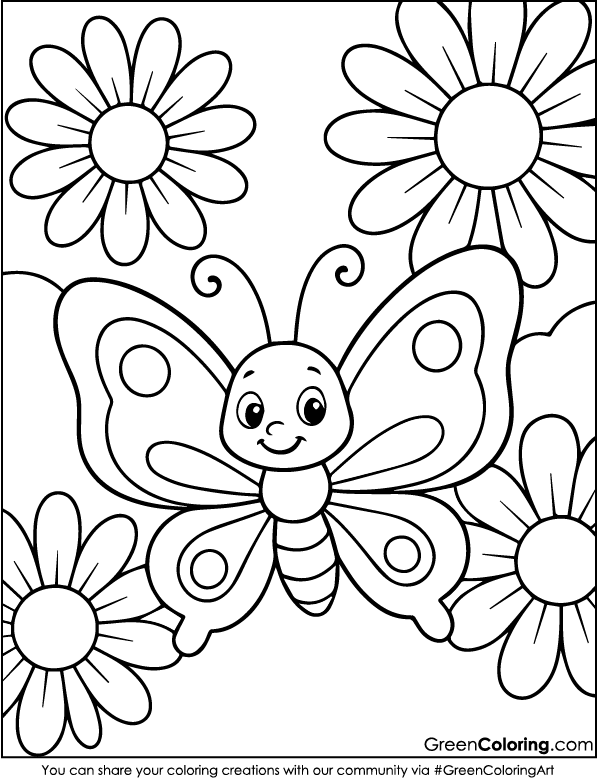
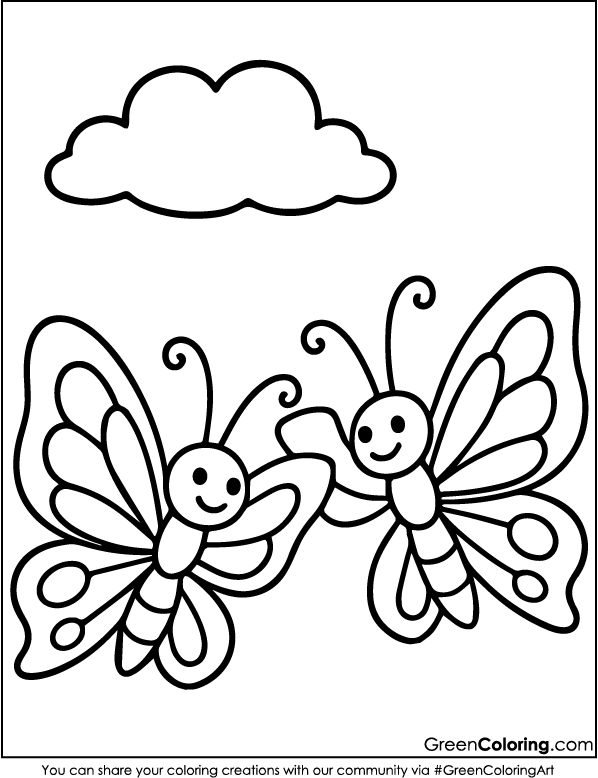
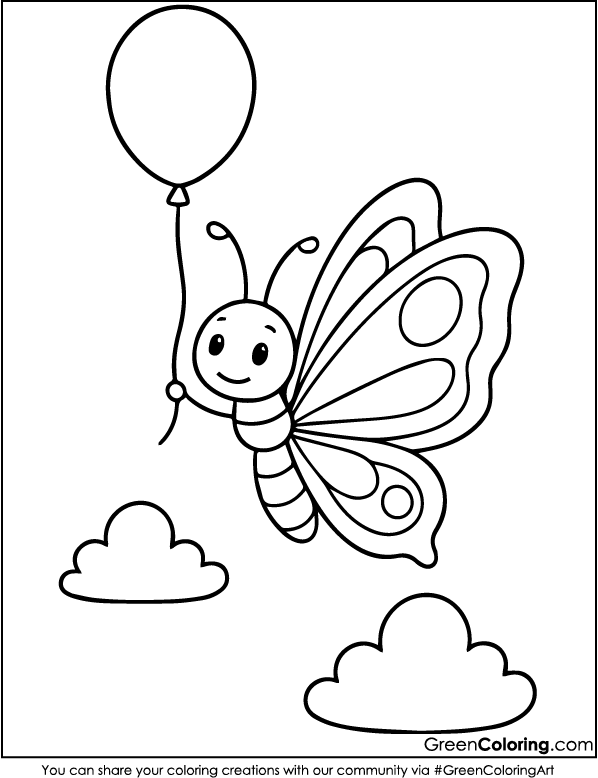
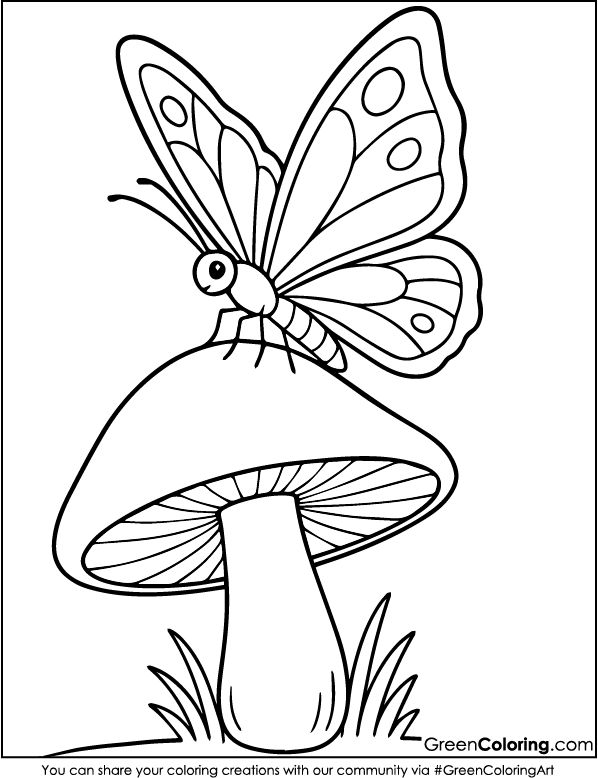
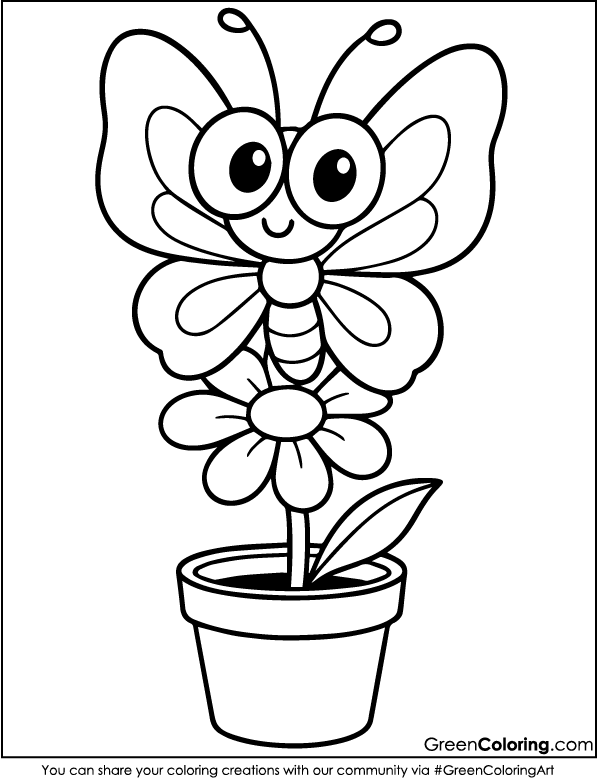
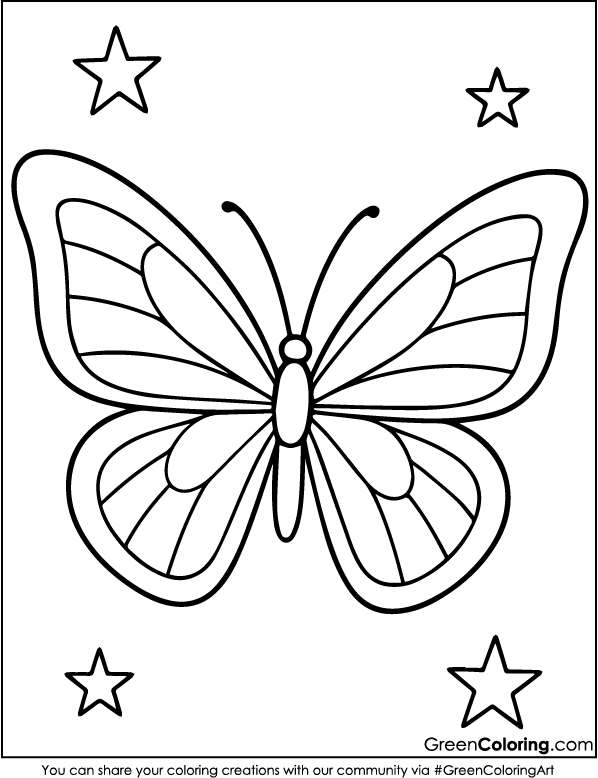
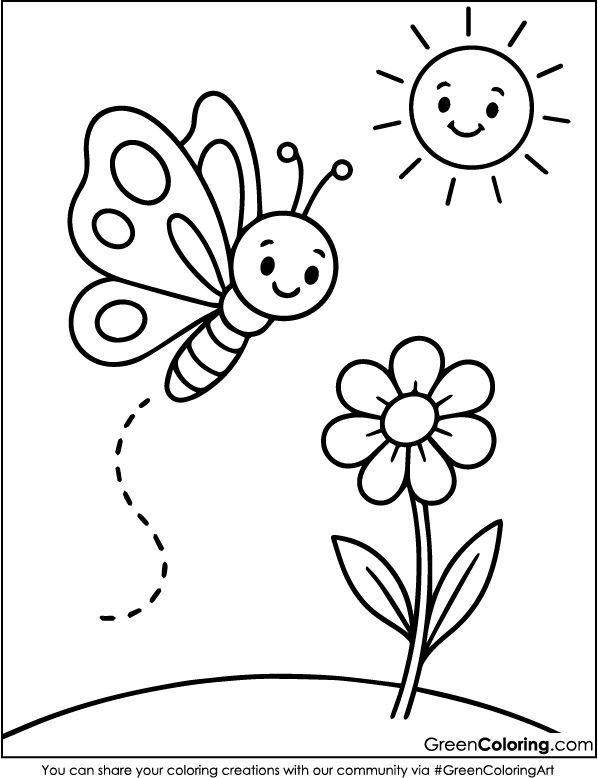
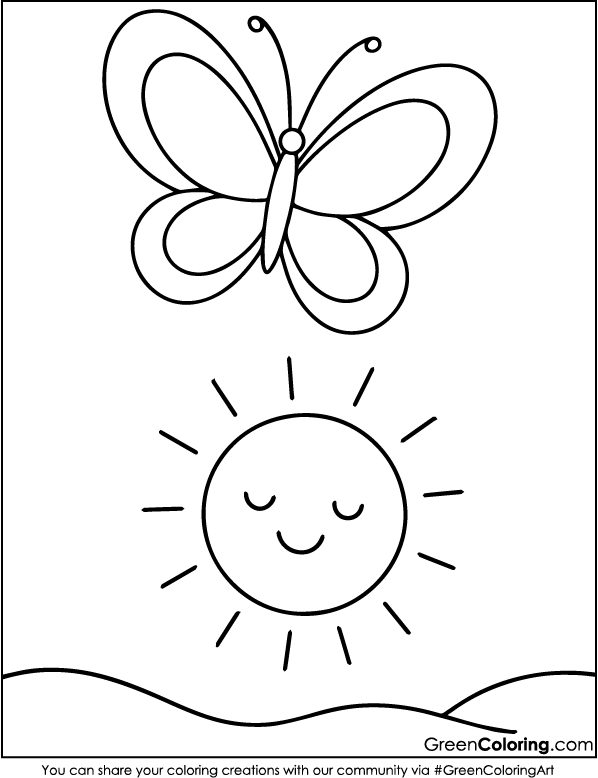
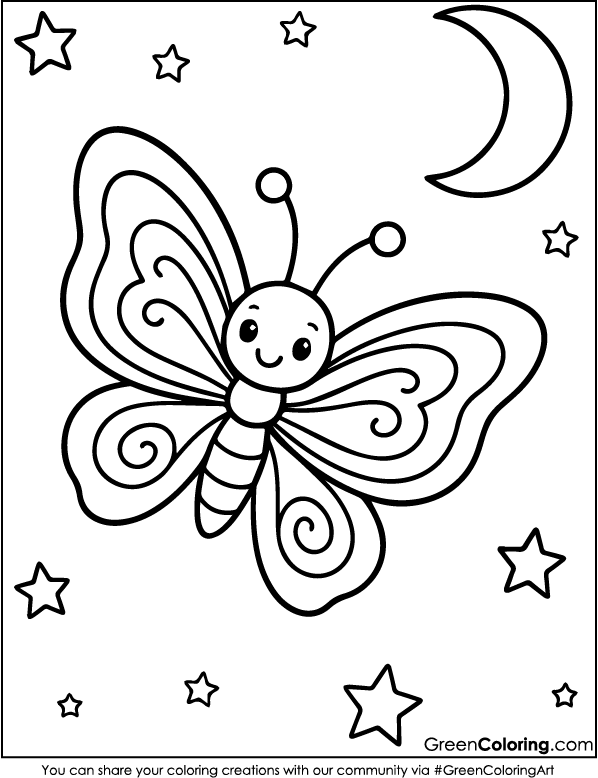
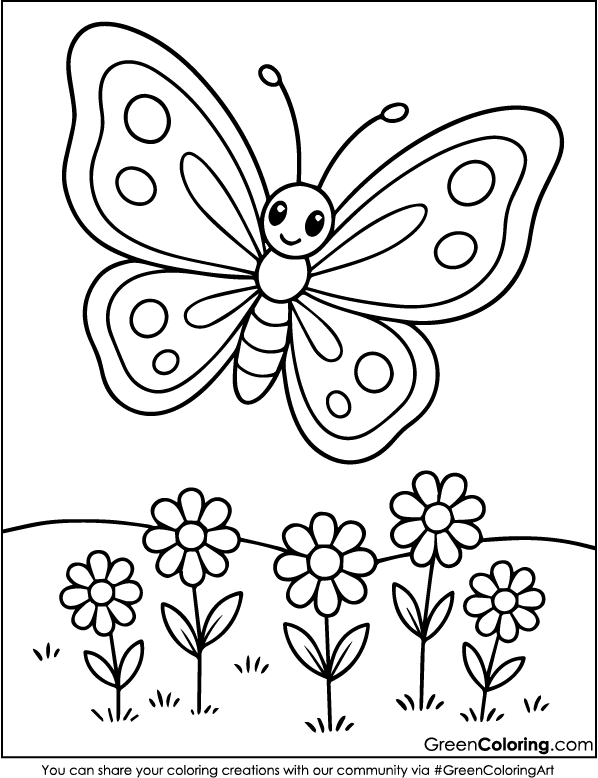
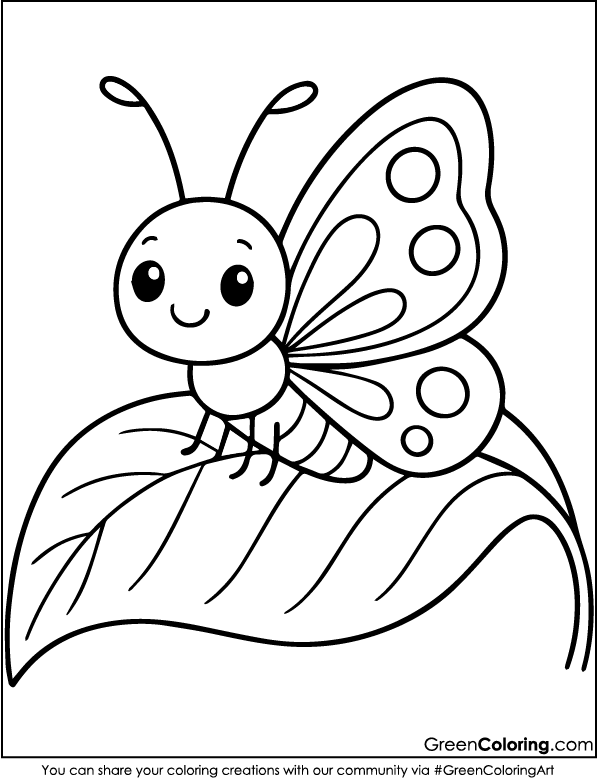
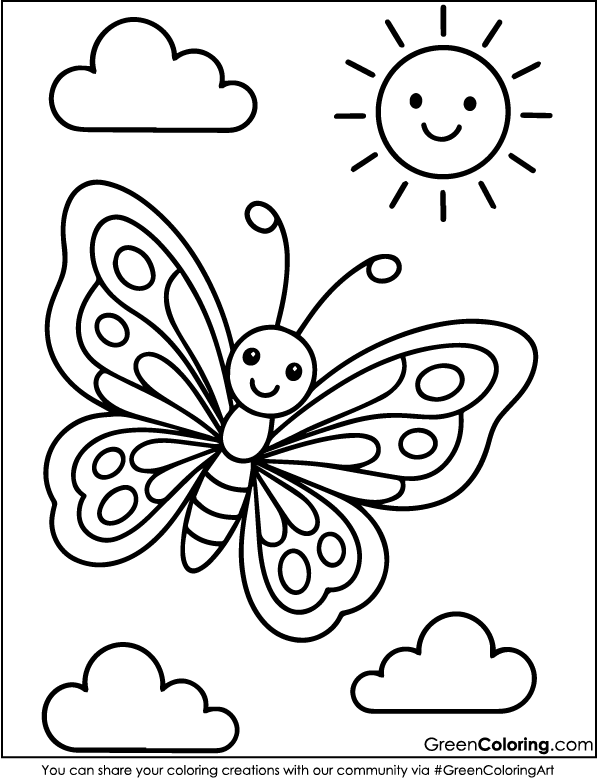
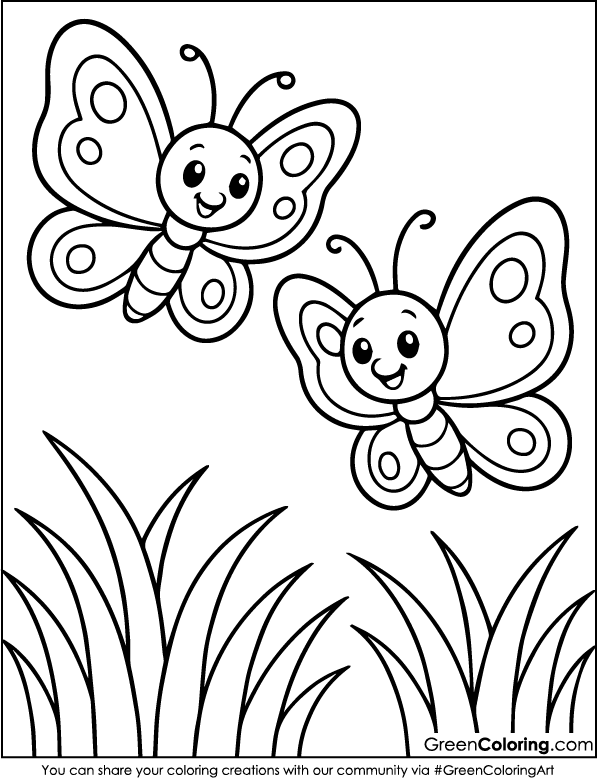
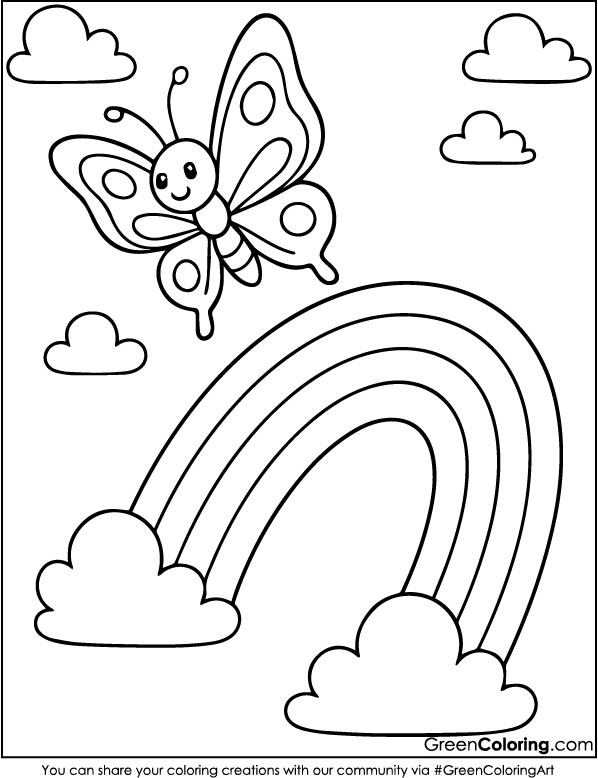
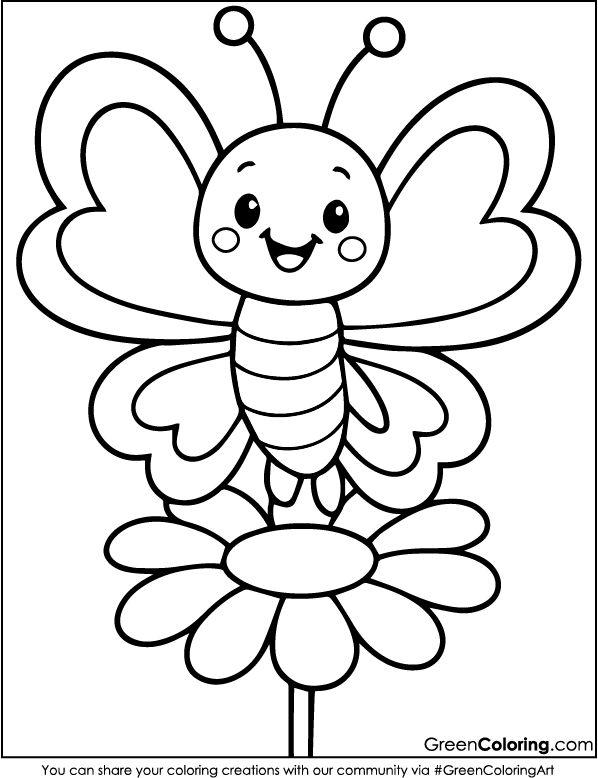
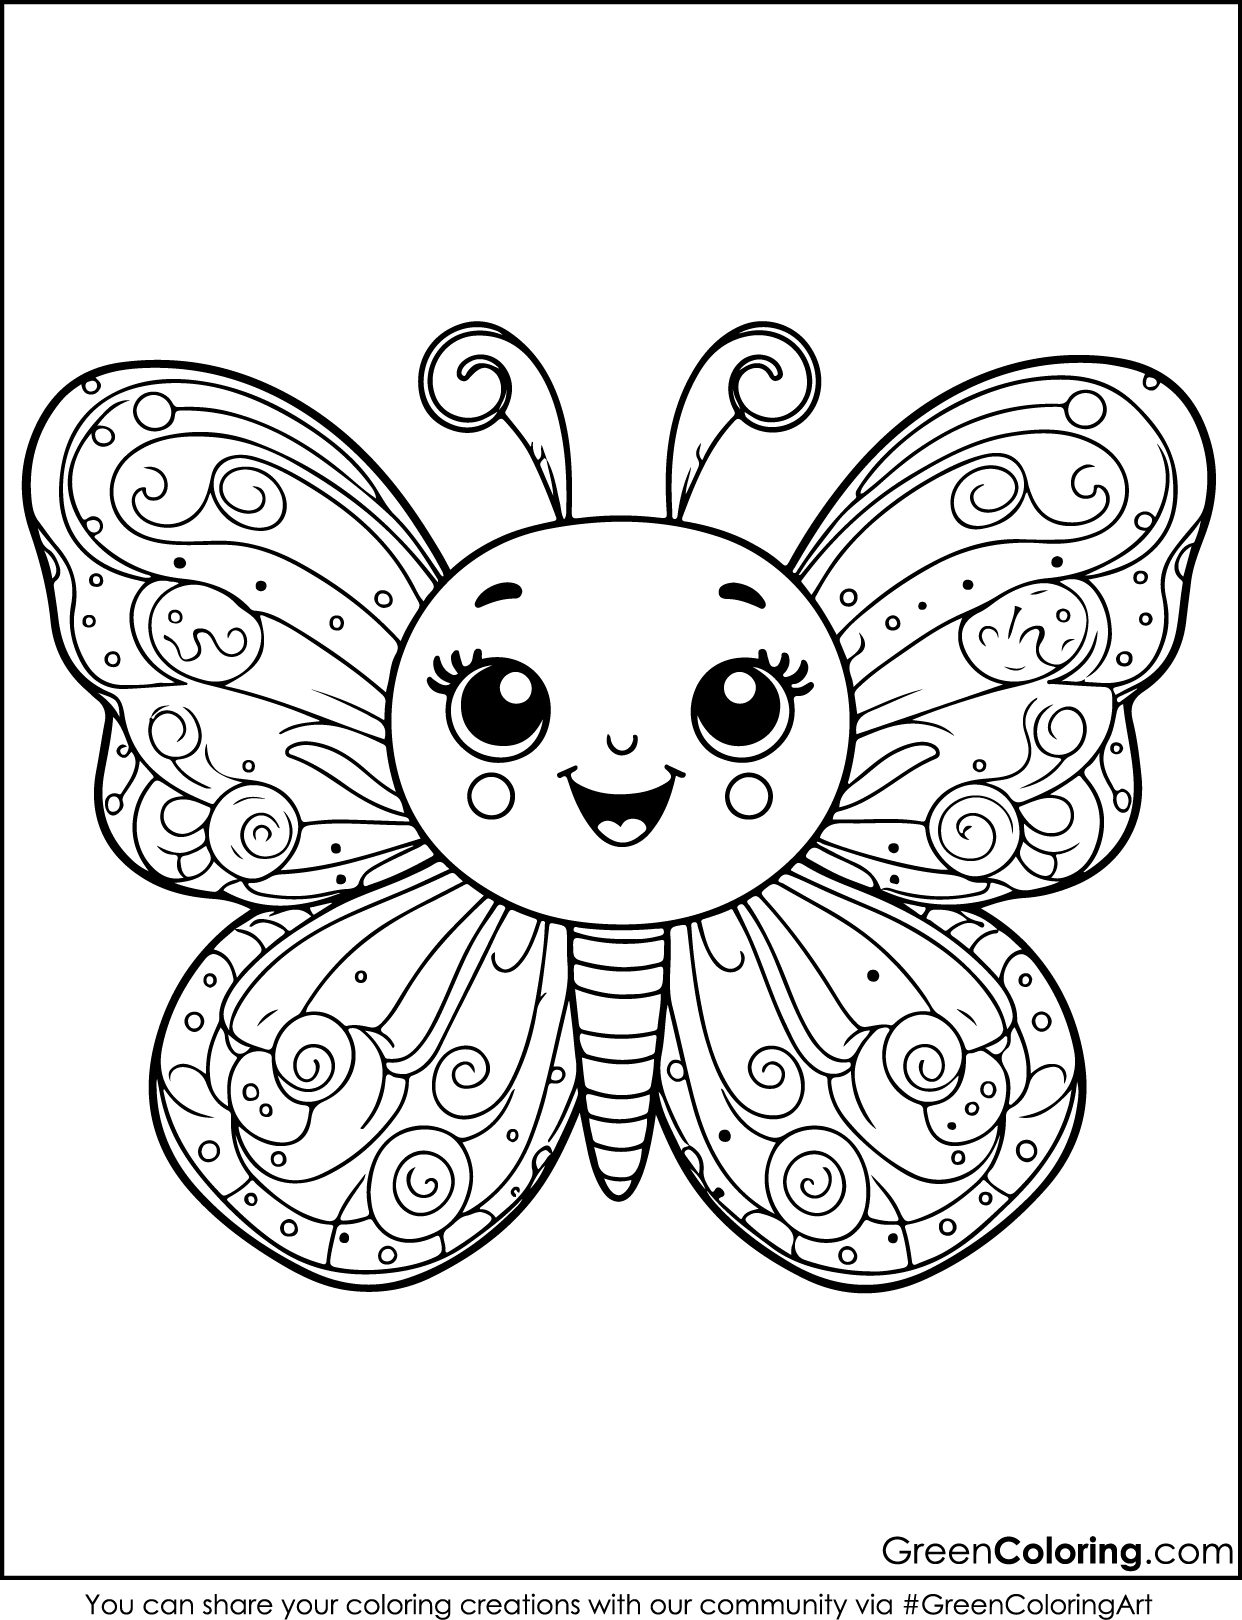
Kids should enjoy crafting more than just the end result. Enjoyment, education, and love are at its heart. Every project becomes a treasured memory, from Lisa’s glittery touches to Mike’s superhero edge. Make these butterfly crafts with your family by printing out the free pages below. For even more fun, you can explore ant, flower, and Easter coloring pages. For more free coloring resources, check out Crayola’s Printable Coloring Pages.

Leave a Reply