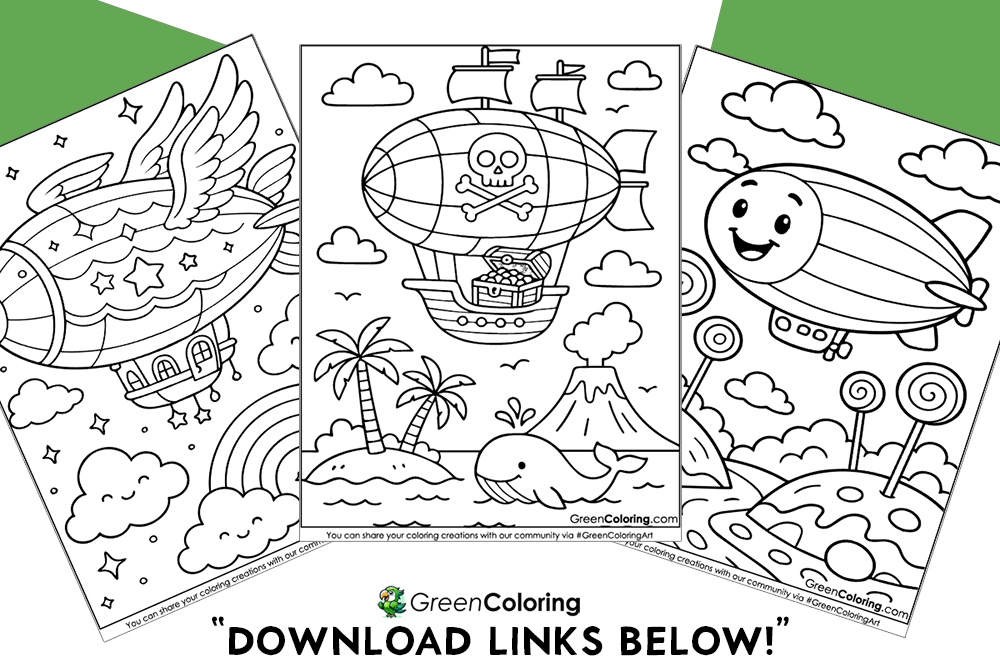
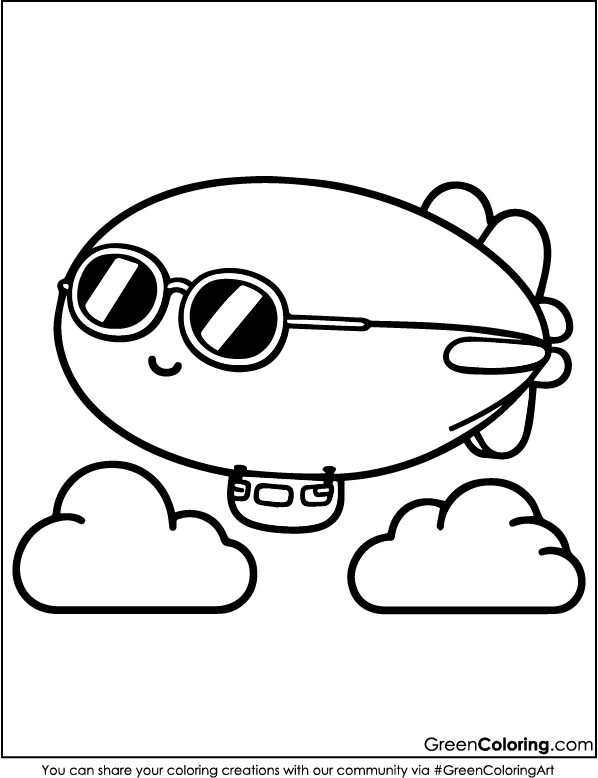
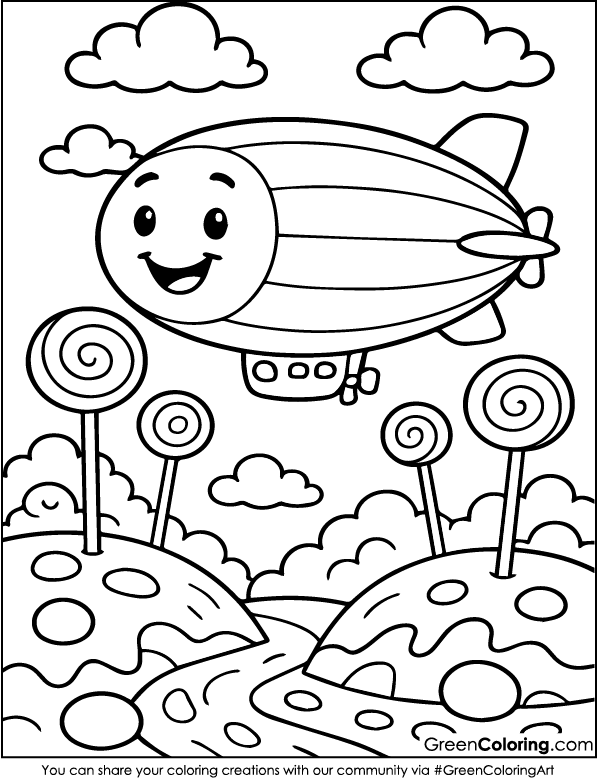
7 Crafts for Kids Using Blimp Coloring Pages
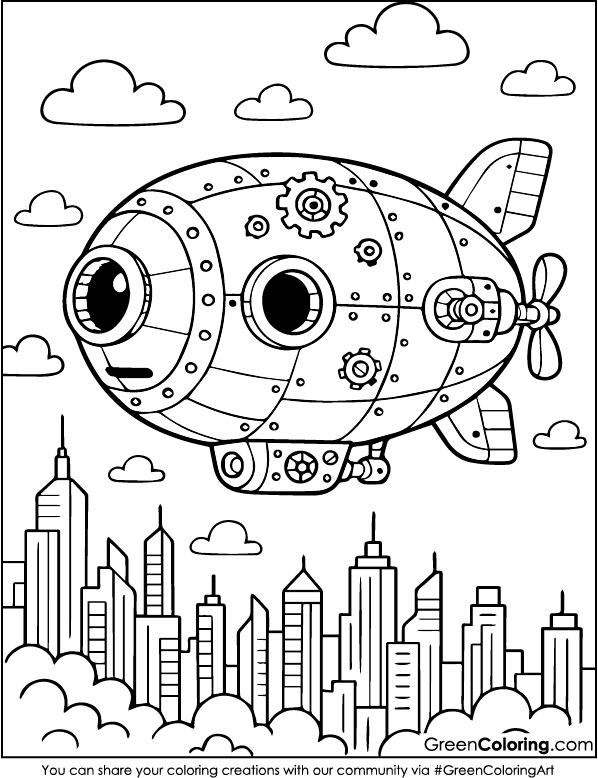
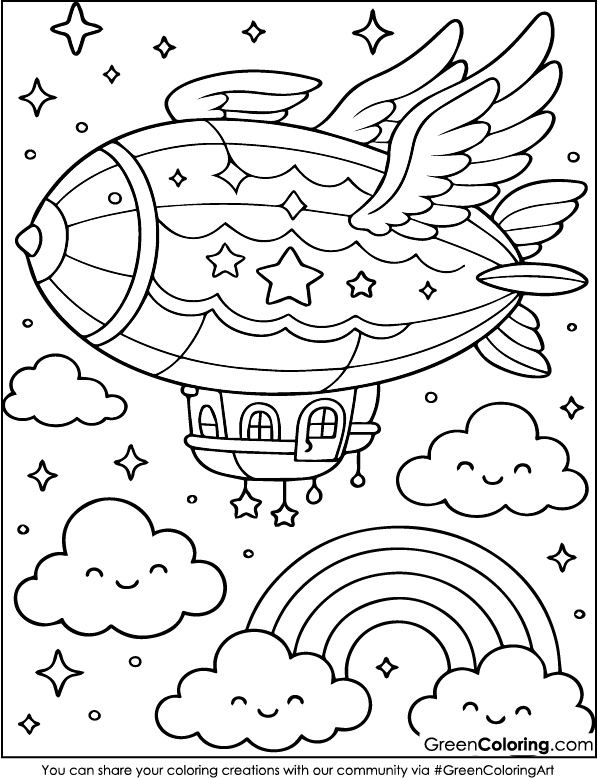
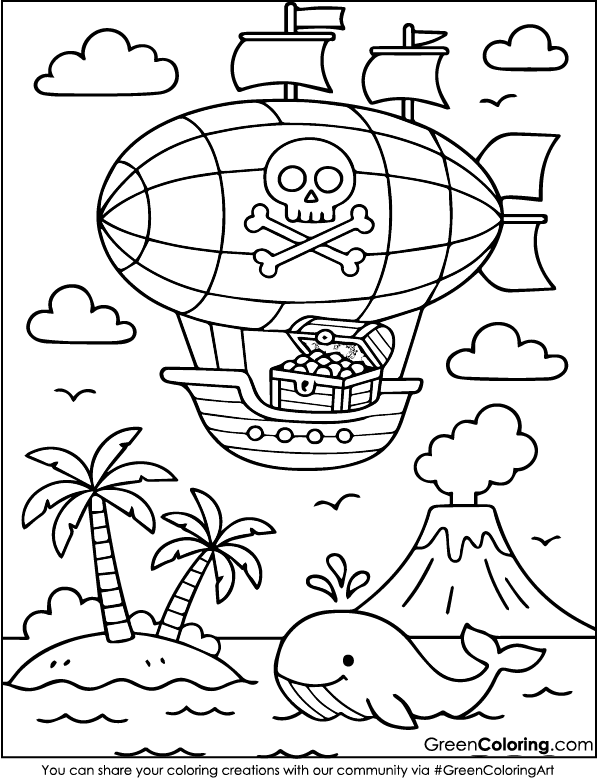
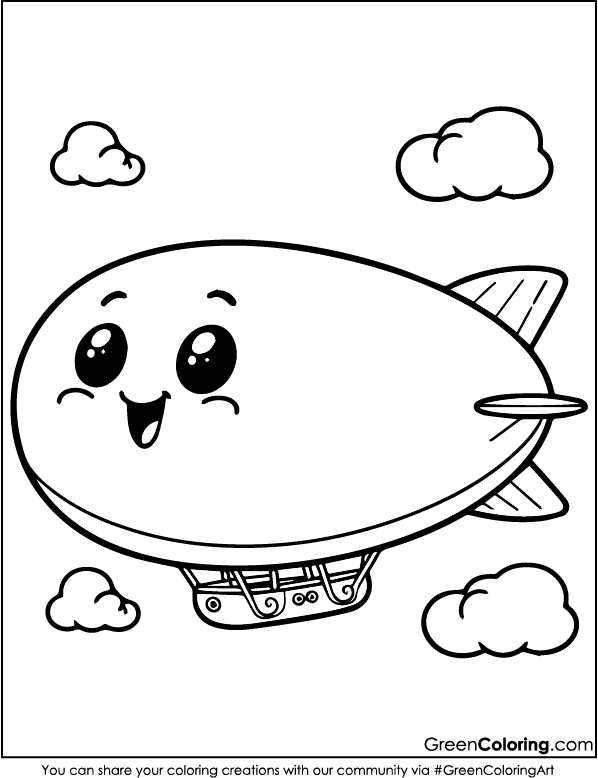
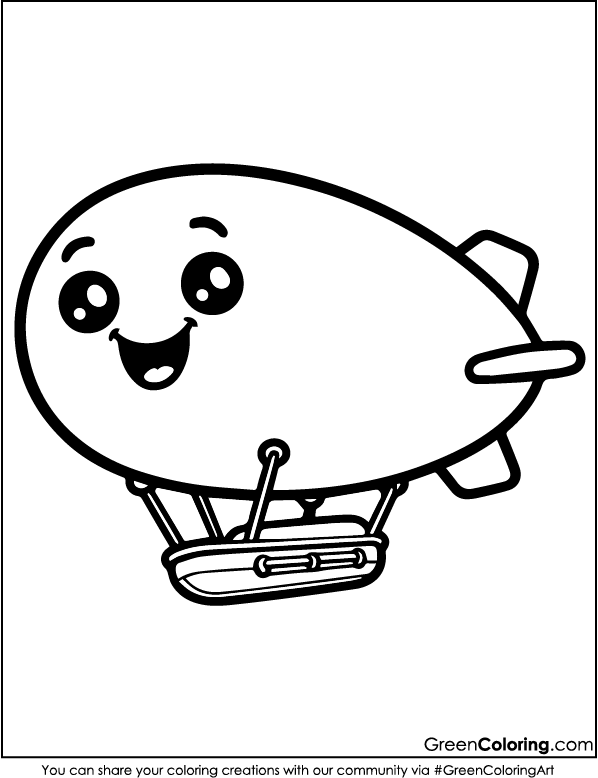
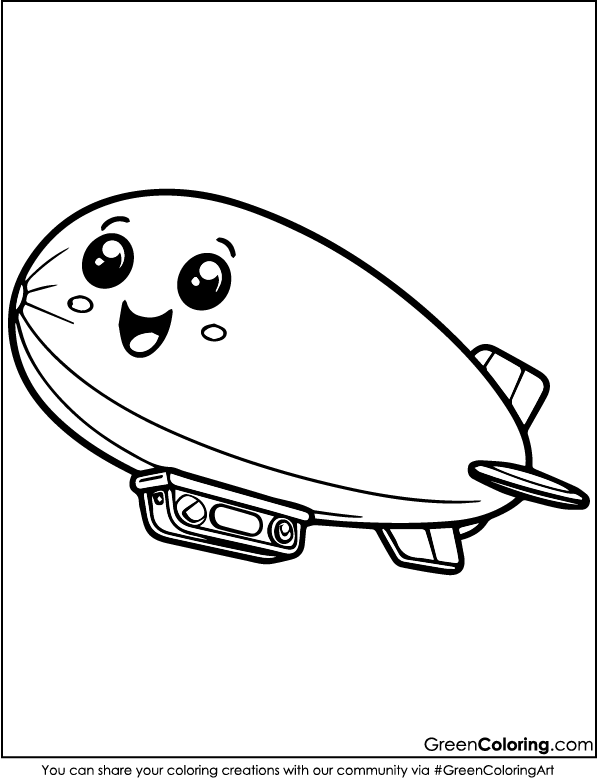
Let’s review the stars of the show, the blimps themselves, before we enter crafting mode. Each of our ten original blimp coloring pages has individual flair. There is nothing boring here. Mike swears a robotic blimp with few gears and gadgets could fly to Mars, and a dream blimp with a swirly-striped appearance seems fit for a candy procession. Lisa’s particular favorite is the fairy blimp with fluttery wings and heart-shaped windows (yes, wings, because why not?). For traditionalists, we also included a classic airship, a steampunk-style explorer for small inventors, and even a blimp resembling a cloud experiencing a good hair day. Print them all, toss them around, and let your children choose where to fly from. Every blimp is a blank canvas on which imagination may run wild.
1. Blimp Shadow Puppet Theater
Materials Needed:
- Printed blimp coloring pages
- Popsicle sticks
- Scissors (safety scissors for little ones)
- Glue
- Flashlight or lamp
- Black cardstock (optional)
Steps:
- Let your children explore the blimp coloring pages and choose one they enjoy to start their fun. As “big blimps need bold colors!” Lisa always chooses the largest blimp and covers it in pink and purple.
- Sit together and begin to color. I enjoy drinking my coffee while Mike loads his blimp with racing stripes and tales of epic sky adventures. Mixed with crayons, this is storytelling time. What is not to love?
- Help precisely cut out the blimps. Lisa enjoys acting out blimp surgery, and I support her like a proud assistant surgeon. Mike still requires assistance, but he beams when he watches his blimp take shape.
- Stuck each blimp onto a popsicle stick. Firmly press down; no floppy flying here! Prepare for the show while the glue dries.
- Turn off the lights, get a flashlight, and then point it toward a wall. Let the shadow exhibit start now. Friday night our living room becomes Blimp Land Theater. Need extra ideas? PBS Kids shares a fun guide to shadow play right here.
Fun Tip: Give each blimp a silly name and a funny voice. Lisa’s blimp talks like a pirate. Mike’s? It only speaks in beep-boops.
2. Blimp Pinwheel Spinner
Materials Needed:
- Printable blimp coloring pages
- Colored pencils or crayons
- Round pushpin
- Paper straw
- Small bead
- Safety scissors
Steps:
- Let your little artist pick their blimp and go wild with color. Mike loves giving his a lightning bolt trail, “for extra turbo speed!” he says.
- After coloring, help cut out the blimp and fold a square sheet of paper into a pinwheel. Lisa folds like a pro and always insists on sparkles.
- Glue or tape the blimp smack in the center of your pinwheel. Make sure it’s facing the breeze; this blimp’s going places.
- Insert a pushpin through the center, add a bead behind it, and pin it into the straw. This helps the pinwheel spin better (and reduces frustration).
- Time for a wind test! Take it outside or near a fan. We once raced ours across the garden; it was a blast.
Pro Tip: Pushpins can be tricky. I do that part myself, narrating like a science show host while Mike watches in awe.
Bonus Fun: Add shiny foil clouds and stars to your pinwheel to make it sparkle like a sky disco.
3. 3D Pop-Up Blimp Card (But Not a Greeting One!)
Materials Needed:
- Blimp coloring pages
- Glue stick
- Cardstock paper
- Foam tape
- Safety scissors
Steps:
- Invite your kids to color their blimp however their imagination takes them. Lisa always draws smiling passengers waving from the windows. “That’s Grandma and her cat!” she once declared. Mike likes flames on the tail; it’s all about speed with him.
- Cut out the blimp, then fold a piece of cardstock in half to create the base of your scene. We call it our “sky book” because when it opens, it reveals a whole world.
- Stick the blimp on the folded cardstock using foam tape to make it pop up. Lisa says, “It’s like a comic book came to life!” For even more effect, layer clouds behind the blimp using more foam tape; it adds fun sky depth.
- Use crayons, markers, and stickers to draw the rest of the background. One time Mike added a whole airport, complete with control towers and snack shops. Lisa made a pink thunderstorm with smiling lightning bolts.
Fun Tip: Use felt or pom-poms for clouds and maybe a scrap of metallic paper for a shiny sun; it adds texture and makes the card more interactive.
4. Sky Path Blimp Race Game
Materials Needed:
- Printable blimp coloring pages
- Dice
- Poster board
- Markers
- Small pebbles or coins as player pieces
Steps:
- On your poster board, draw a whimsical sky path filled with wacky checkpoints; ours has “Cookie Mountain,” “Fluffy Fog Lane,” and “Banana Peel Airfield.” Lisa once added a disco cloud with tiny sunglasses! Let your kids invent their own names.
- Color and cut out the blimps, then attach them to coins or pebbles. This gives them some weight so they don’t blow away mid-race. Mike named his racer “Sonic Zoomie.” Lisa named hers “Sky Queen.”
- Roll the dice, then alternate in zooming across the board. Every movement should create dramatic sound effects; Lisa goes “wheeeooosh!” while Mike prefers “vrrrrrr-vrrrr!”
- Make unique tiles titled “Turbulence” (lose a turn), “Turbo Cloud” (jump forward), or “Stuck in Fog” (roll once to escape). It brings laughter and unpredictable behavior. Once Lisa laughed the whole time after becoming caught in a thunderstorm loop.
Good Idea: Let every child use doodles and doodads to embellish their road map. It becomes both a game and a group art project.
5. Blimp Weather Mobile (Not Hanging One!)
Materials Needed:
- Blimp coloring pages
- String
- Large paper plate
- Tape
- Scissors
Steps:
- Cut a paper plate in half to create a curved sky base. Flip it over and get artsy! Lisa painted hers in dreamy pastels with fluffy clouds. Mike chose electric blue with storm bolts because “every blimp needs a weather challenge.”
- Punch five or six holes along the flat edge and tie string through each. These will hang your weather and blimp elements like magic threads.
- Color and cut out your blimps and attach them to the string using tape or glue. Let them hang at different heights for a floating effect. One time, Lisa made a tiny cat hang from a balloon beside her blimp. Adorable!
- Decorate with weather elements: sunshine with sunglasses, rainbow tornadoes, and glitter raindrops. Mike once made a spaghetti-shaped twister. We still laugh about it.
Pro Tip: Hang the mobile near a fan or open window. Watching it spin and sway is mesmerizing and perfect for calming down before bedtime.
6. Blimp Window Stained Art
Materials Needed:
- Blimp coloring pages
- Plastic sheet or transparency paper
- Permanent markers
- Tape
- Printed blimp outline
Steps:
- Tape the printed blimp outline under the clear sheet. We call this “secret tracing mode.” Lisa puts on spy glasses when she does it. Mike hums a “mission accepted” tune.
- Use a black marker to outline the blimp slowly and steadily. This gives it that bold, stained-glass style. Let it dry fully to avoid smudges; it’s worth the wait.
- Time to fill it in with color! Go wild with galaxy shades or keep it pastel-pretty. Mike made one with fire patterns that looks awesome when the sun hits it.
- Stick it to a bright window and wait for the sunlight to beam through. Every morning, Lisa says, “Good morning, sky ship!” to hers. Looking for more window art magic? Crayola has a beautiful stained-glass craft tutorial you’ll love.
Fun Tip: Try layering colors for a tie-dye effect. Or draw stars and planets around it, and it becomes a space adventure right on your window.
7. Blimp Story Dice
Materials Needed:
- Blimp coloring pages
- Small cardboard cubes (or folded cardstock)
- Glue stick
- Markers
Steps:
- Color a lot of small pictures, blimps, clouds, stars, funny food, anything! Mike once created a cookie storm. Lisa sketched wings on a rainbow jellyfish.
- Cut them out, then glue every picture to a side of a cardboard cube. You now carry your storytelling dice. The wackier the narrative can be, the more dice you generate.
- Roll the dice and tell a ridiculous sky story using whatever comes up. Our blimp disappeared into a jelly donut one evening and needed to be found by dancing dolphins. gold in pure comedy.
- Create a nighttime ritual or a storytelling circle out of it. Note your favorites in a notebook. Bonus points if Grandma participates; her stories always center on royal penguins.
Creative Play Tip: To make it fast-paced, add a timer; alternatively, use voices and props to act out the stories. It becomes theater night right in your living room.
Using just a few household materials and our free printable blimp coloring pages in PDF, your kids can explore the skies of creativity. If they’re eager for even more adventures above the clouds, try mixing in paraglider, hot air balloon, and airplane coloring pages for crafts that take imagination even higher. From pop-up creations to storytelling adventures, these ideas are tested by me, James, and enjoyed by my own family, especially Lisa and Mike.
Making together strengthens family ties as well as motor skills and imagination. Blimp crafts are a great way to fly into fun, whether the summer is hot or it’s a cool, rainy evening.
So go ahead and download those pages, grab some crayons, and let us begin creating some sky-high memories!
Download Free Coloring Pages:

Leave a Reply