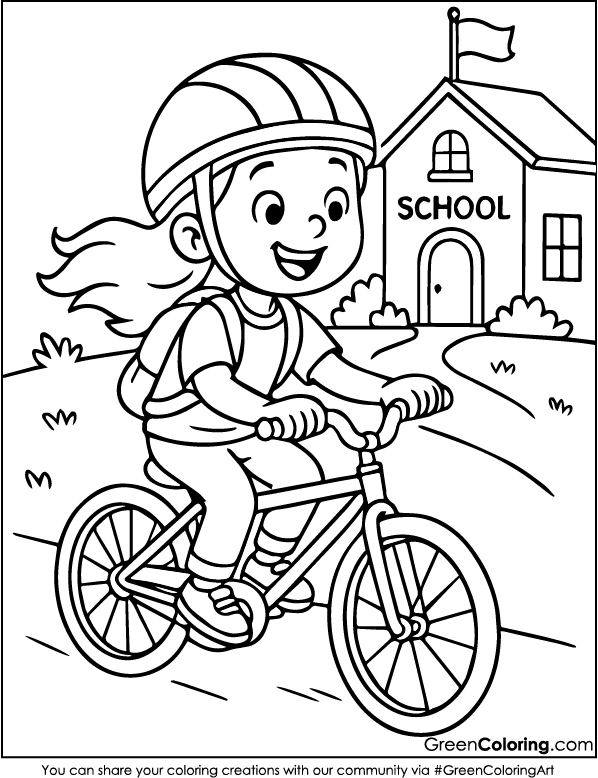
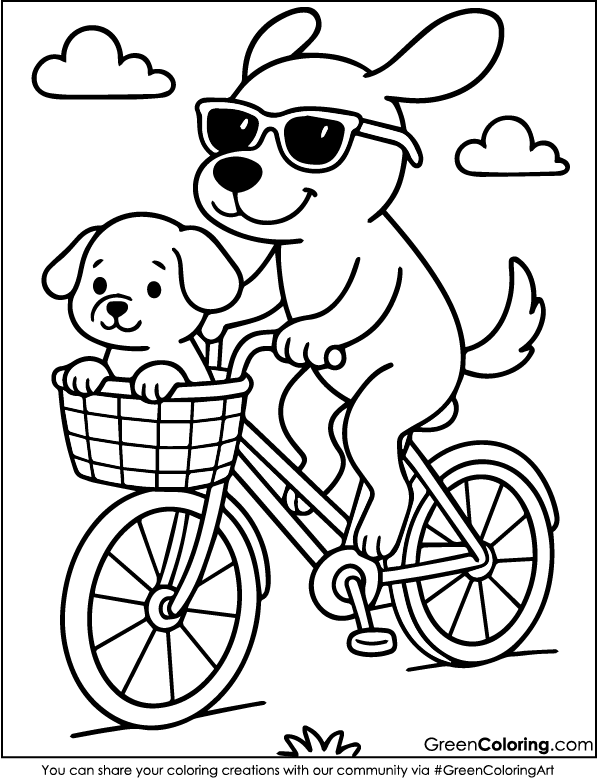
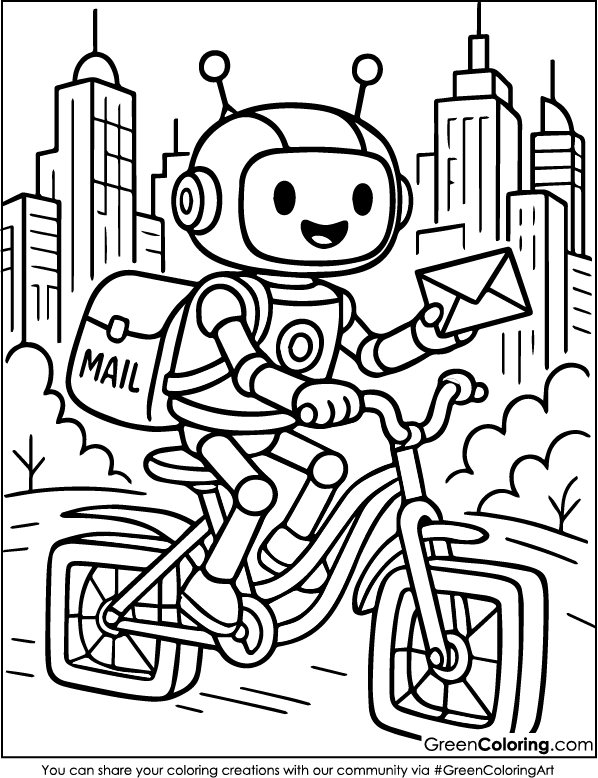
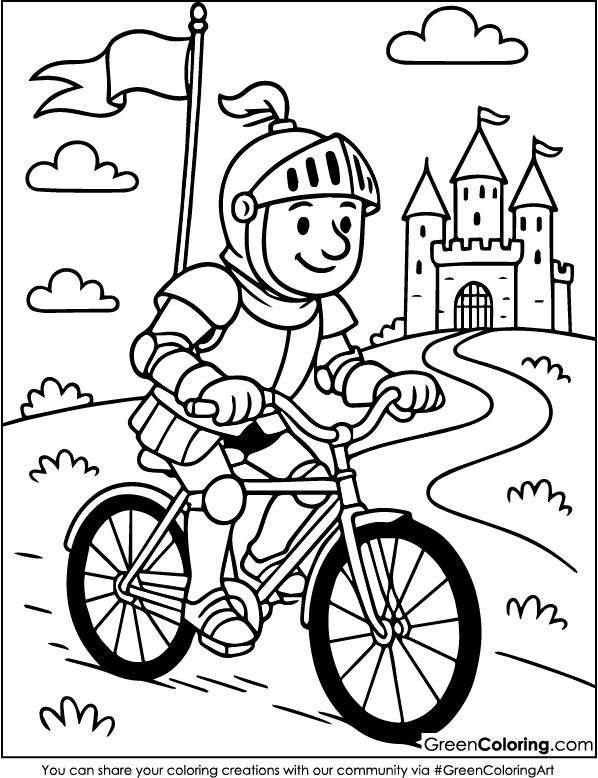
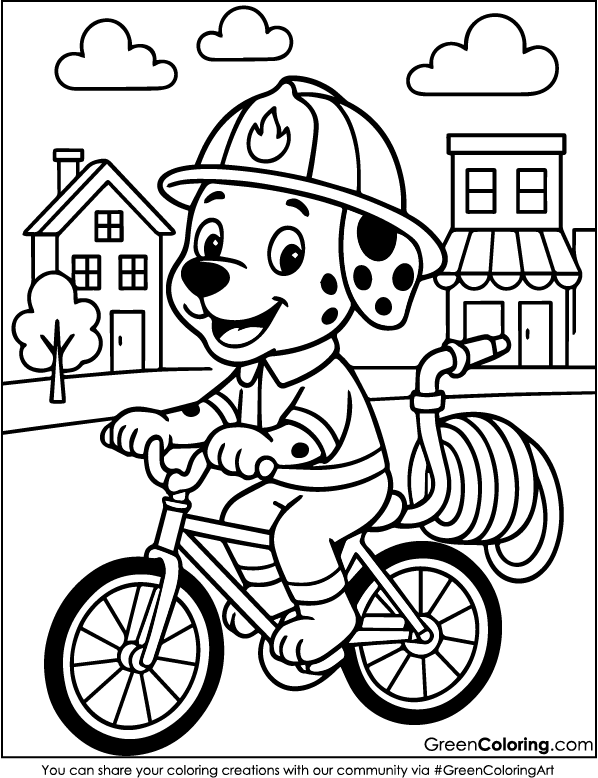
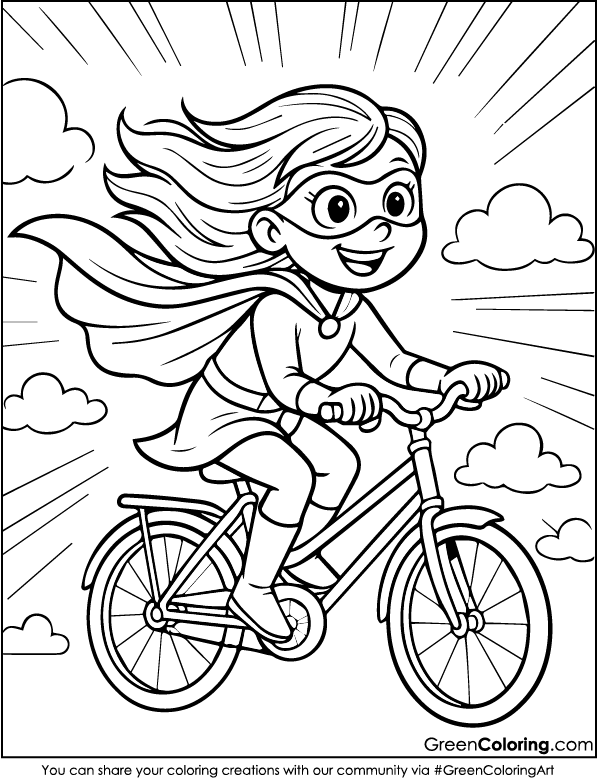
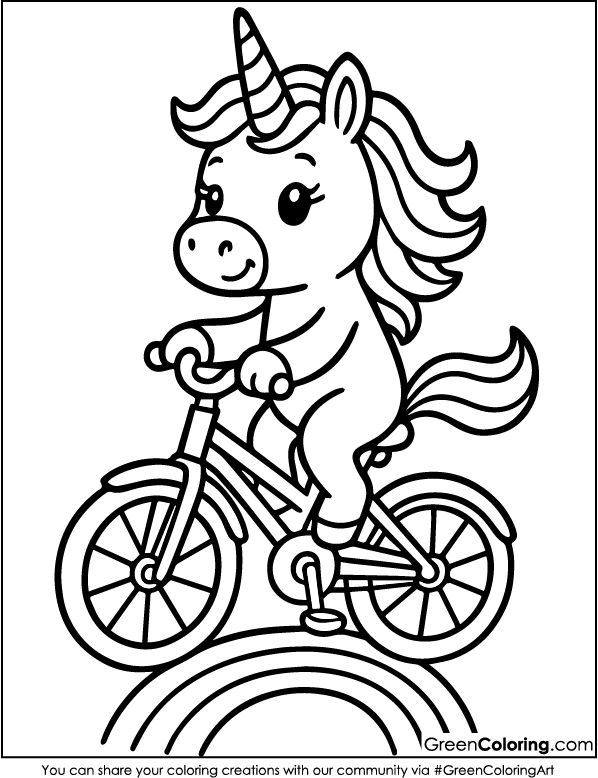
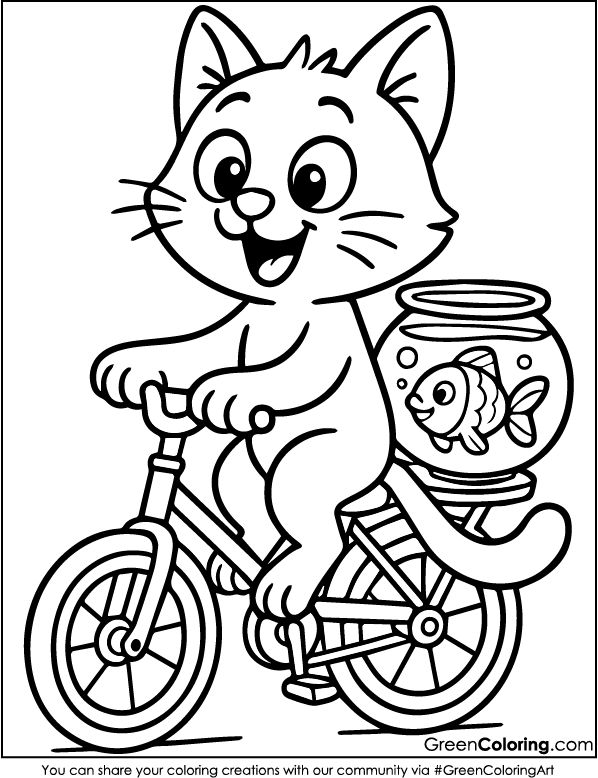
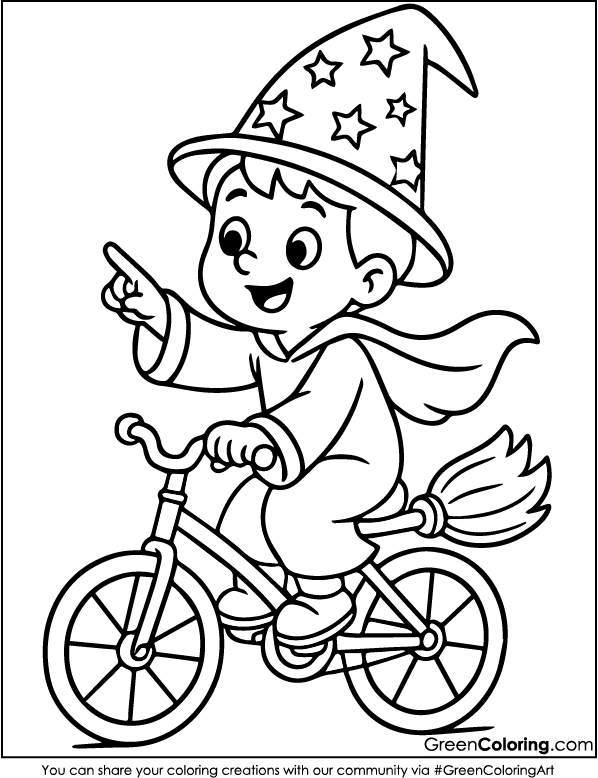
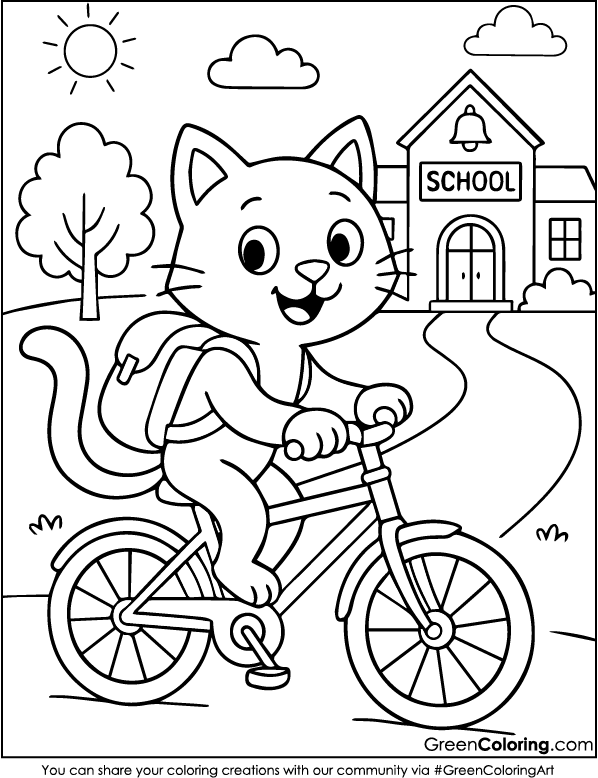
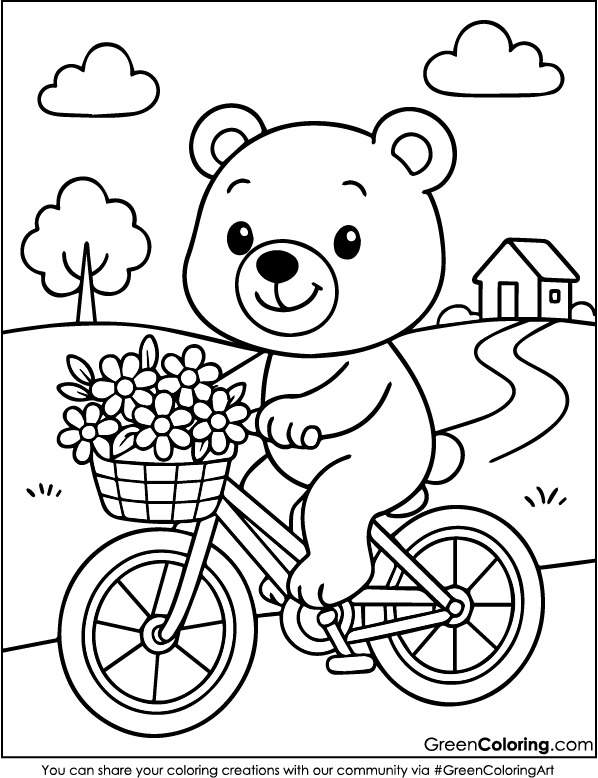
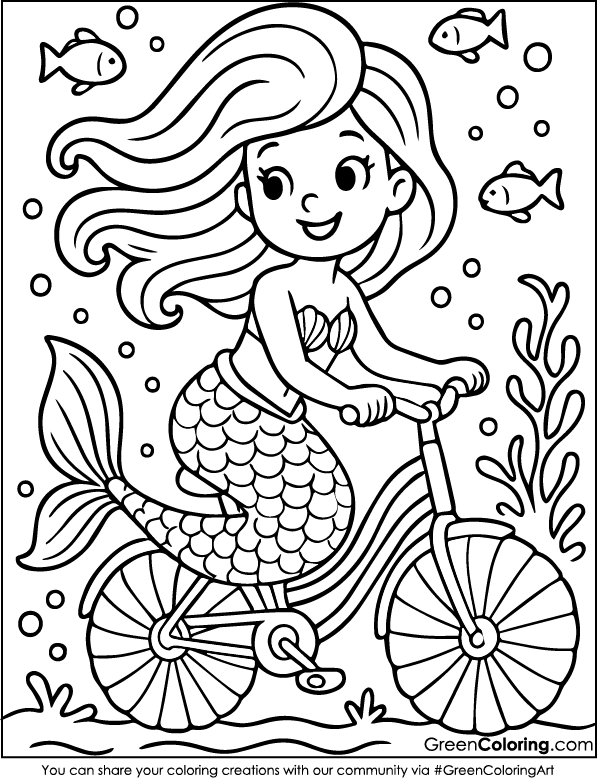
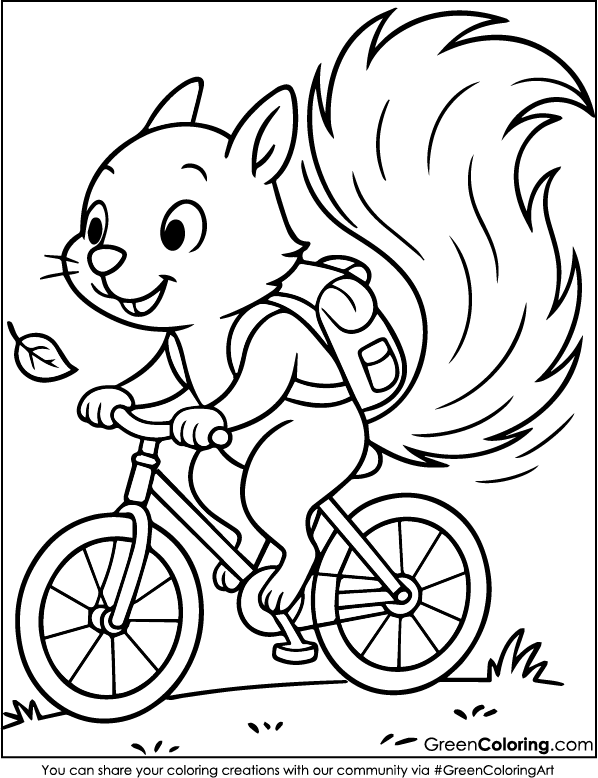
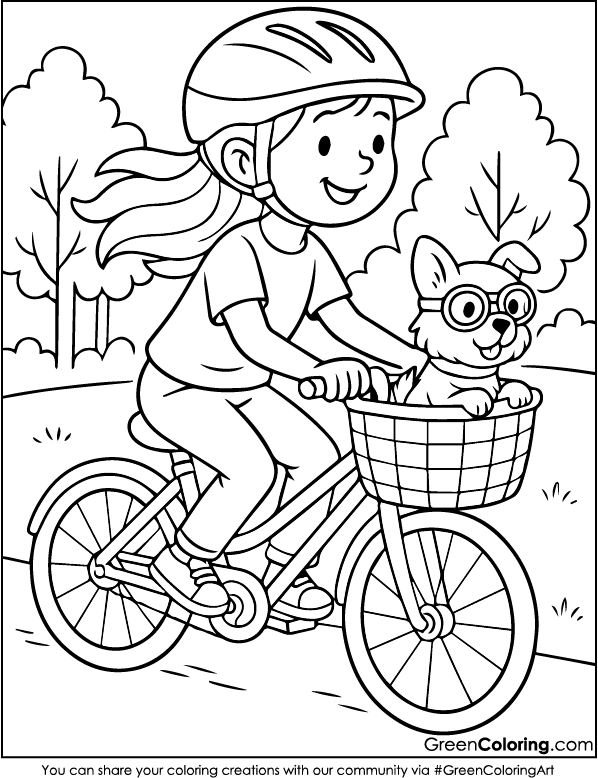
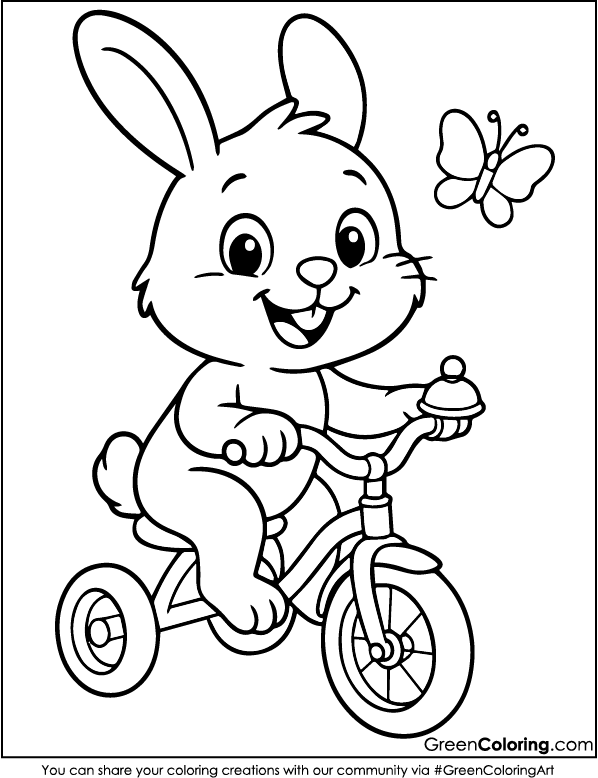
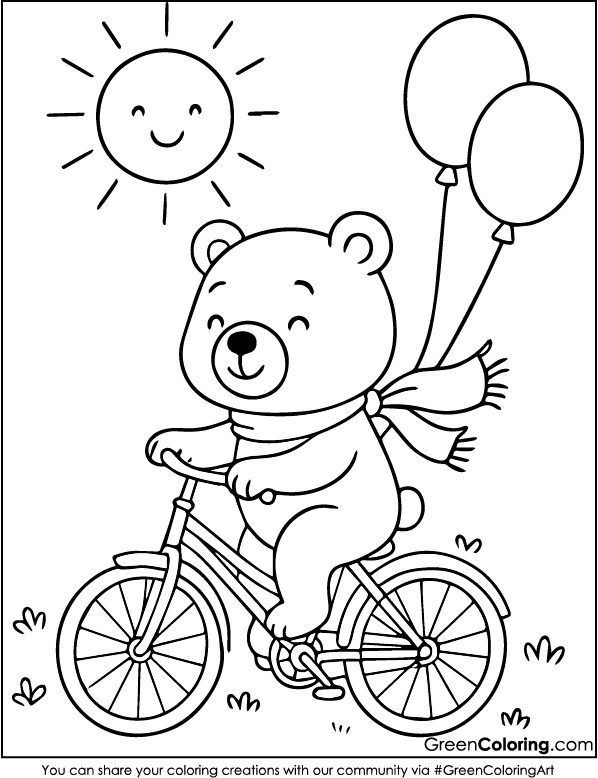
7 Crafts for Kids Using Bicycle Coloring Pages
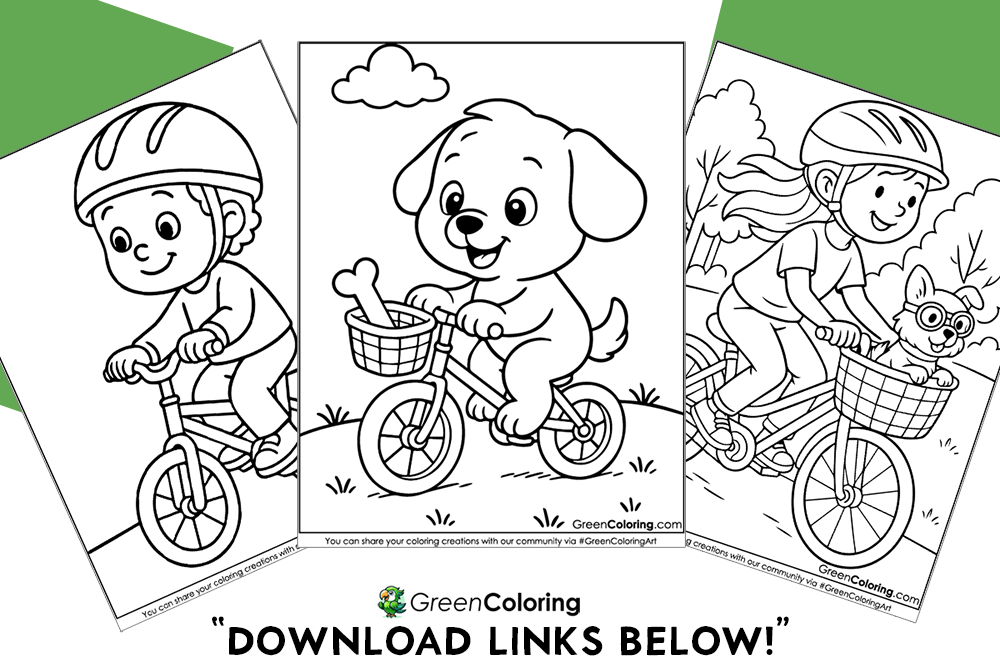
Hi! I’m James, and I’m a dad and a former teacher. I’ve spent years turning normal things that happen with my kids, Lisa and Mike, into adventures that we will remember forever. You’ll find a bunch of fun bicycle-themed crafts in this guide that are perfect for kids with curious minds and creative hands. Our free printable bicycle coloring pages (links below!) and simple things you already have at home are used for each project. These activities are more than just art; they make kids laugh, tell stories, and feel confident. You’ve come to the right place for ideas that combine creativity with meaningful connection, whether you’re planning a cozy afternoon at home or a themed birthday party.
1. Bicycle Art Collage
Materials Needed:
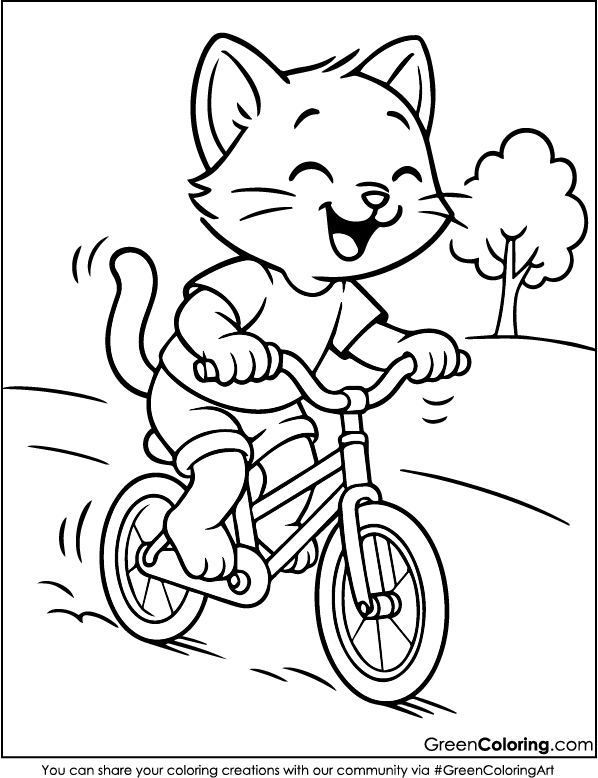
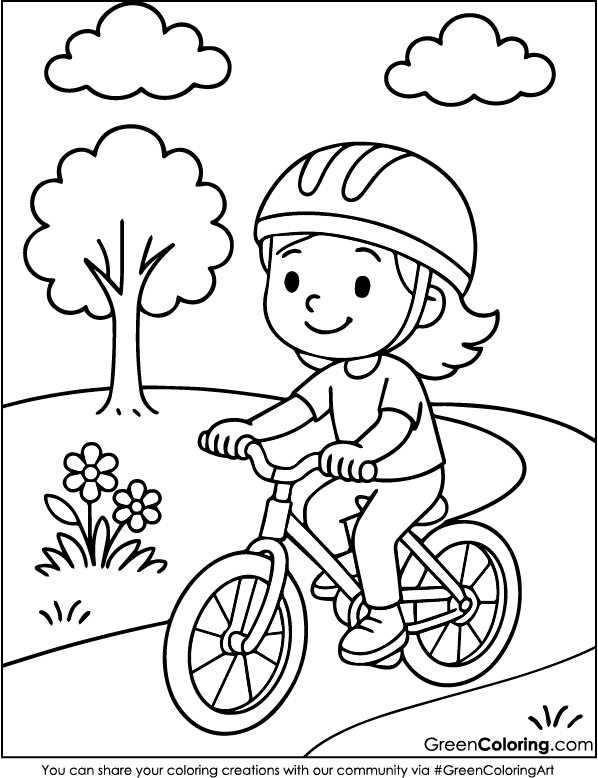
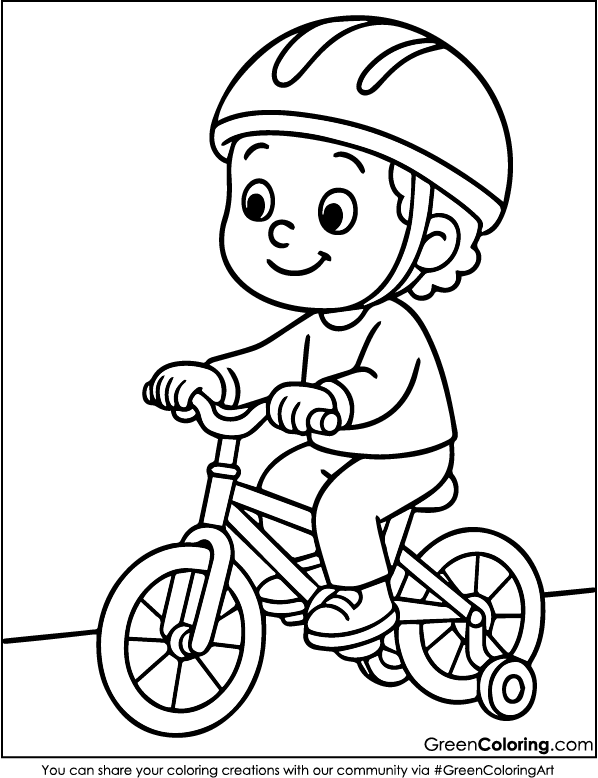
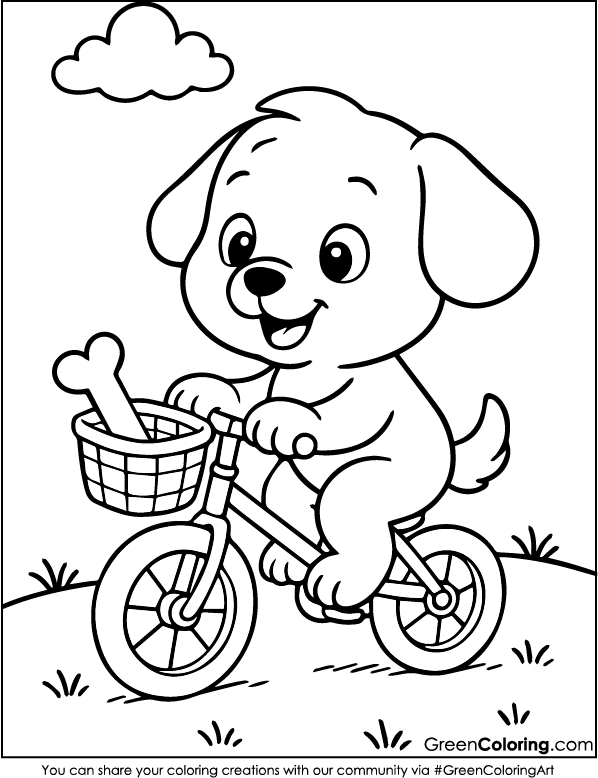
- Bicycle Coloring Pages
- Safety scissors
- Non-toxic glue sticks
- Colorful construction paper
- Washable markers or crayons
Steps:
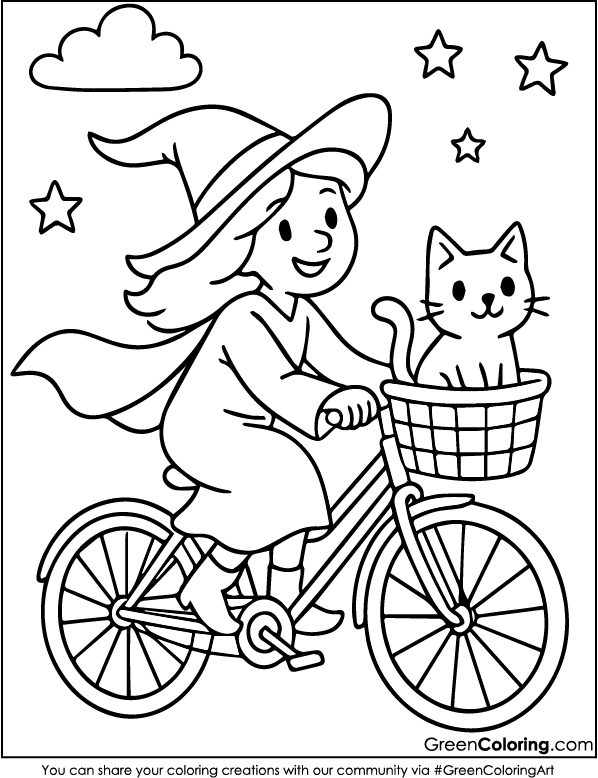
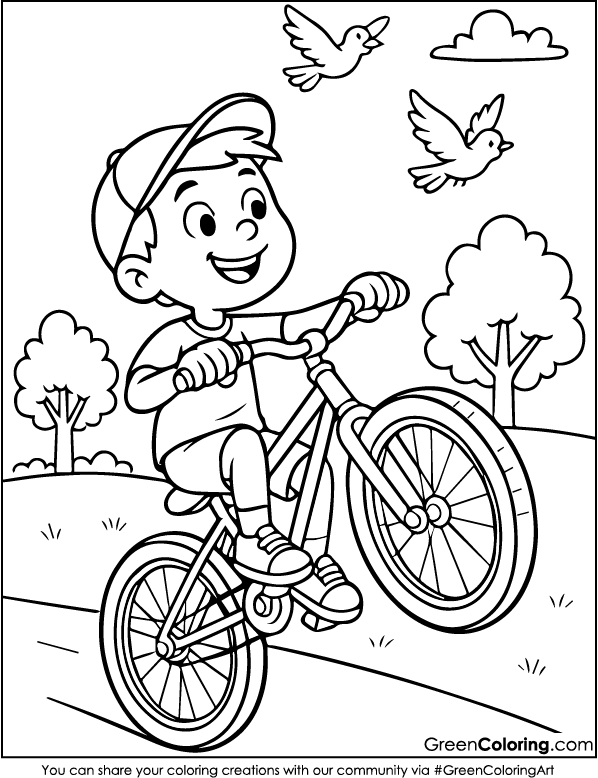
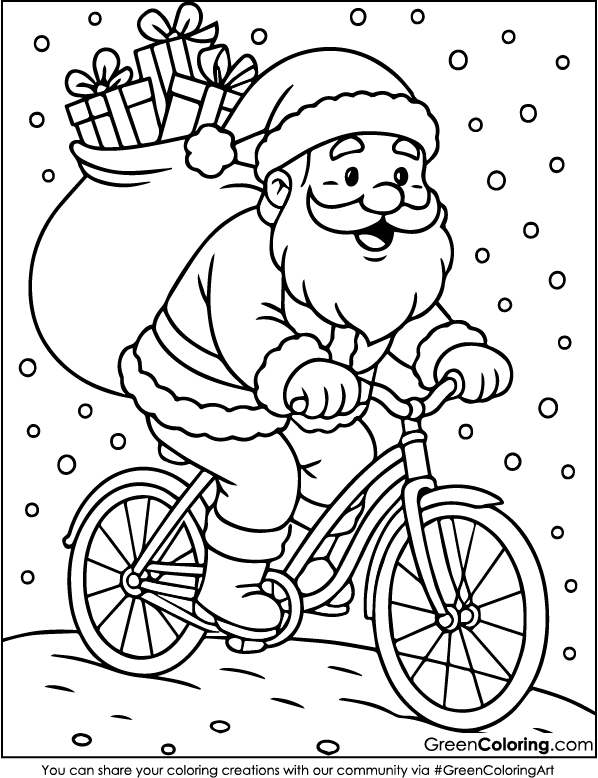
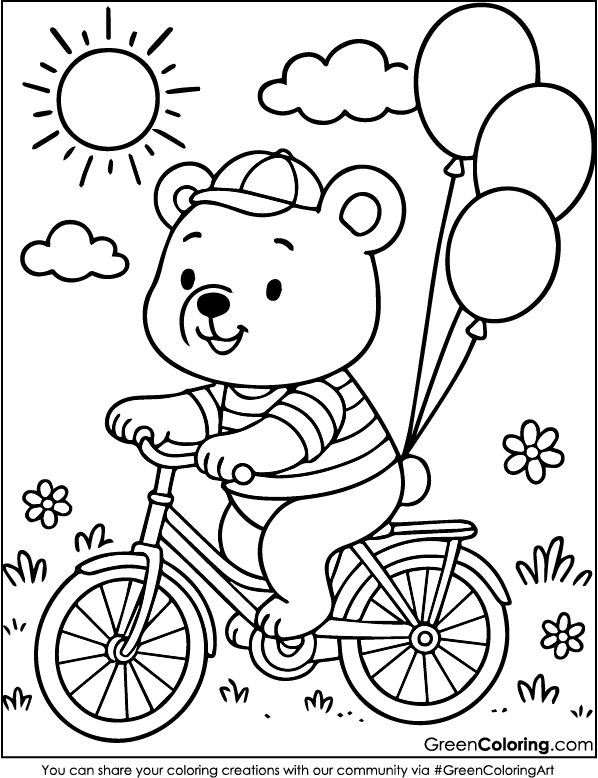
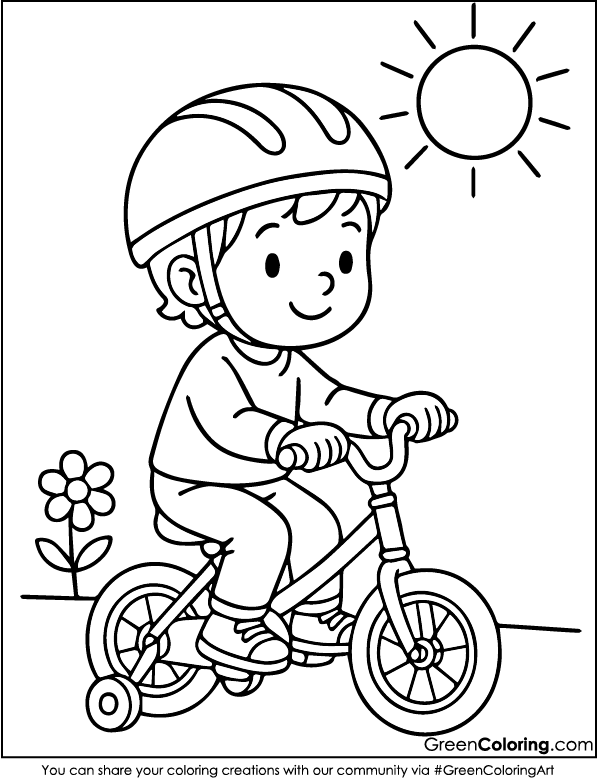
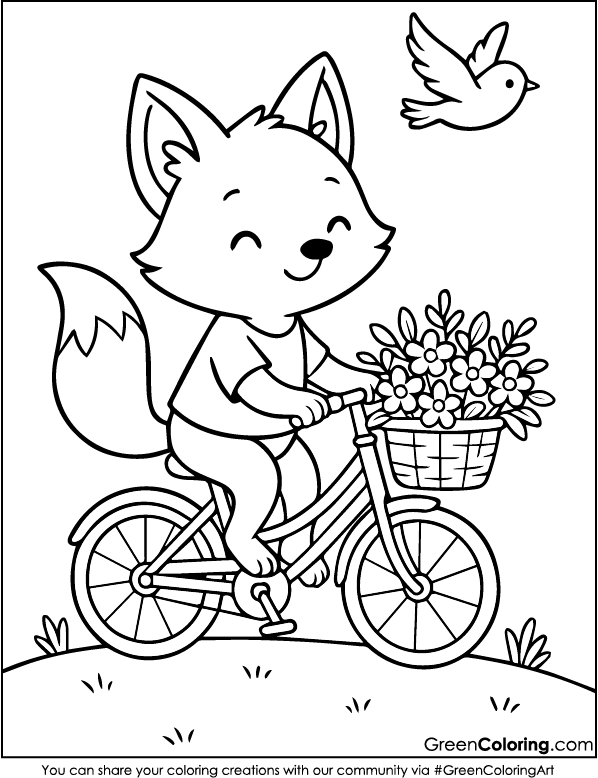
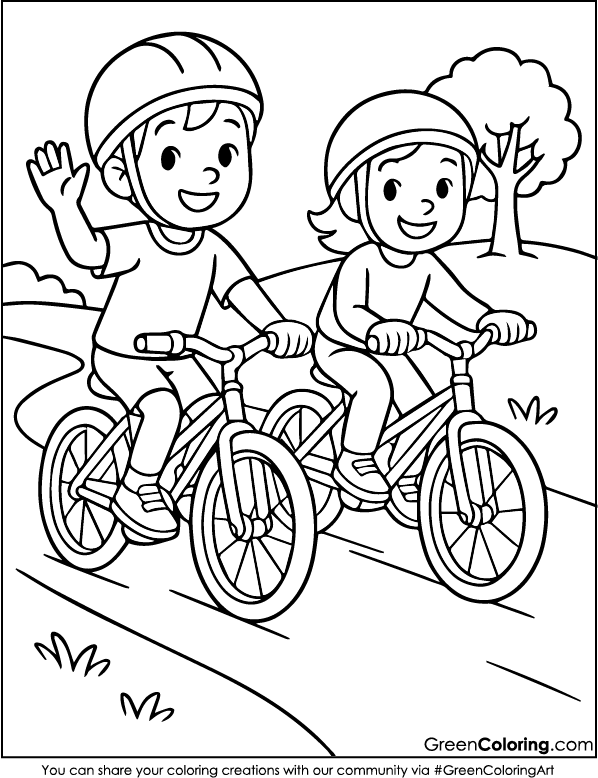
- Print several different bicycle coloring pages from the free PDF collection I supplied first. Let your children choose the bikes with thick wheels and strong frames; Lisa always chooses the ones with adorable basket designs.
- Once printed, spend some time coloring together. Encourage your kids to express their style. I love how Lisa adds glittery hearts and purple streamers to her bikes. It really lights her up when I compliment her creativity!
- After the coloring is done, carefully cut out each bike. This part is best done with adult supervision, especially if your little one is like Mike, who is still learning to use scissors. I usually help him, and we turn it into a bonding moment.
- Place the bicycles on a large piece of colorful construction paper. Arrange them to look like a parade or a scene in a park. Glue them down one by one, and let your kids decide where everything should go.
- Add background elements like trees, clouds, a sun, or even a road. We once used a brown piece of string as a bike trail, and Lisa loved it so much she made a second one for her room.
Fun Tip: Use textured materials like cotton balls for clouds or buttons for bike wheels. It makes the collage come alive and gives it a fun sensory touch.
2. Creative Sun Catcher Made from Bicycle Coloring Pages
Materials Needed:
- Clear contact paper
- Bicycle coloring pages (print in smaller sizes if possible)
- Tissue paper
- Safety scissors
Steps:
- Pick out one or two small bike designs in the PDF file and print them out. For this, smaller ones work best. You can print up to four on a page if you’d like.
- Let your child color the bicycles using bright, happy colors. Lisa once used gold and silver markers for her bike; it looked amazing when the sun hit it.
- Help your child cut out the bicycles. If you’re working with younger kids like Mike, offer to do the cutting or trace the shapes for them first.
- Cut a square of contact paper and place it sticky side up. Position the bike cutouts where you want them.
- Tear or cut small pieces of tissue paper and let your child layer them around the bikes. This part always reminds me of autumn leaves falling, especially if you use reds, oranges, and yellows.
- Put another piece of contact paper on top of the design, sticky side down, when the design is done. Put a soft seal on it, press out any bubbles, and cut the edges.
- Put it in a window that gets a lot of sun and enjoy the bright colors with someone.
Smart Tip: Use suction hooks for easy hanging and repositioning. Kids love seeing their work brightening up the room!
3. My Bike Adventure Story Poster
Materials Needed:
- Bicycle coloring pages
- Markers, crayons, or colored pencils
- Glue and white poster board
Steps:
- Have your kids select a bicycle design to color. Let them add unique touches. One time, Mike drew flames on his tires and called it his “super speed bike!”
- Cut out the bike and glue it at the bottom of a poster board. Explain that this is where the journey begins.
- Talk to your child about making up an adventure. Ask them silly things like, “Where are you going today on your bike?” or “Who’s riding the bike?”
- Make a path that goes from the bottom to the top and add landmarks, animals, or even made-up places along the way. Lisa drew a unicorn castle with a rainbow roadway one time.
- As you go, add speech bubbles and story tags. Encourage kids to use descriptive and story-like language.
Genius Tip: Add small photos of your child as the rider. It helps them connect with the story and sparks even more creativity.

4. Bicycle License Plate Craft
Materials Needed:
- Bicycle Coloring Pages
- Cardstock paper
- Markers, glitter pens, stickers
- Hole punch and yarn
Steps:
- Print a bike from the PDF and let your child color it as they wish. Lisa always goes for pinks and purples with hearts and flowers around the wheels; it’s her signature style.
- Cut out a rectangle from sturdy cardstock. Let your child write their name or a nickname in big, bold letters. One time Mike wrote “Captain Zoom” and wouldn’t respond to any other name for a whole afternoon.
- Now comes the fun part. Pull out the glitter pens, stickers, and washi tape, and let them decorate it to their heart’s content. Lisa once added glow-in-the-dark stickers and was so excited to see them light up in her room at bedtime.
- Put the colored bike picture on top of the name with glue. You can draw stars, lightning bolts, or even their favorite characters on it. I always let them decide what to do and only help when they ask.
- Make two holes in the top with a hole punch. They can hang the plate on their bike or even on the doorknob in their bedroom by threading yarn or string through the holes. Lisa loves putting it up as a sign for her reading nook.
Helpful Tip: Use clear packing tape over the entire surface to make it waterproof and weather-resistant, especially if it goes on their real bike.
5. Bicycle Maze Board
Materials Needed:
- Bicycle Coloring Pages
- Clear sheet protector
- Dry erase markers
Steps:
- Start by printing out a large bicycle coloring page from the PDF and let your child color it in. Make it fun with patterns, stripes, or even wheels that look like donuts, Mike’s idea last spring.
- Slide the finished artwork into a clear sheet protector. This makes it reusable and keeps the page clean.
- Using a dry erase marker, draw a maze or obstacle course around the bike. Keep it simple for younger kids and more detailed for older ones like Lisa, who loves a challenge.
- Invite your child to trace the maze with a dry erase marker or their finger. Pretend they are riding through the path, avoiding imaginary puddles, crossing bridges, or picking up coins like in a video game.
- After solving one maze, erase it and draw a new one together. I once made a path shaped like a heart, and Lisa added a message inside: “I love my bike adventures with Daddy.” I kept that one.
Pro Tip: Let older kids create mazes for their younger siblings. It builds teamwork, and they feel proud teaching each other. For printable maze templates and logic-building activities, visit Education.com.
6. Pedal Power Wall Clock
Materials Needed:
- Bicycle Coloring Pages
- Cardboard or foam board
- Clock hands kit (cheap ones online)
- Glue, crayons
Steps:
- Together with your kids, color a big bike coloring page. Have fun with them. Lisa got princess crowns to put on hers one time, and Mike put a lightning trail behind the wheels.
- Cardboard or foam board should be used to make a circle. Attach the coloring page that’s done to the top. Don’t fold it up.
- Numbers 1 through 12 should be written around the circle’s edges with a marker. Kids can make the numbers stand out by choosing their favorite color.
- Gently put the clock hands kit through the middle with the help of an adult. What’s written on it should be followed. Showing how clocks work and practicing telling time can be a lot of fun.
- Hang the clock on their bedroom wall or playroom. You’ll be surprised how kids love checking the time when they helped build the clock themselves.
Smart Hack: Add little icons for snack time, playtime, or reading hour. Lisa says it helps her stay on schedule without needing reminders. For more guidance on teaching kids to tell time, visit PBS Kids for Parents.
7. Bicycle Scene Shadow Box
Materials Needed:
- Bicycle Coloring Pages
- Small box (like a shoebox)
- Markers, glue, tape, scissors
Steps:
- Choose a few bicycle and background images from the PDF. Sit down and color them with your kids. These shared quiet moments are some of the best. Lisa often hums her favorite songs while we color.
- Cut out the images carefully. If your child struggles with scissors, trace and let them tear gently along the line or just help them with the trickier parts. Mike usually tells me where to cut while he picks the next color.
- Cover the inside of the shoebox with colored paper. Blue for sky, green for grass. Lisa added pink clouds once because she said it was a magical bike land.
- Glue the background images onto the back and sides of the box. These create the depth of your scene. Add foreground images like bikes or trees using folded tabs of paper or foam pieces to make them stand out.
- Let your kids add figurines or toys. Lisa used her mini Hello Kitty figure and taped her on the bike. She still keeps it proudly on her bookshelf.
- You can even let the kids add a small light inside. It makes everything glow and adds a magical effect, especially on rainy evenings.
Fun Tip: If you have old cereal boxes, cut them down to make smaller shadow boxes. Kids love making mini-scenes they can stack or collect.
Final Thoughts
When the glue dries, the crafting doesn’t end; it’s the start of new adventures. What your child does when they turn a coloring page into a clock, hat, or shadow box is more than just making art. They’re also creating stories, exploring their feelings, and bonding with you in ways that will last a lifetime. Lisa has made whole worlds out of a single bike sketch from our bicycle coloring pages, and Mike once used his art to make our hallway look like a racetrack.
So keep going with the flow! Combine the projects above. You can use your child’s finished bike art from bicycle coloring pages to decorate gift wrap, make a scrapbook of their bike trips, or even make magnets for the fridge with their favorite designs. There is no wrong turn here; there are only fresh, creative ways to go.
And if your little one is ready for something with a bit more vroom, check out our scooter, car, and motorcycle coloring pages for another set of fun, free printable adventures on two wheels!
Download Free Coloring Pages:
Leave a Reply