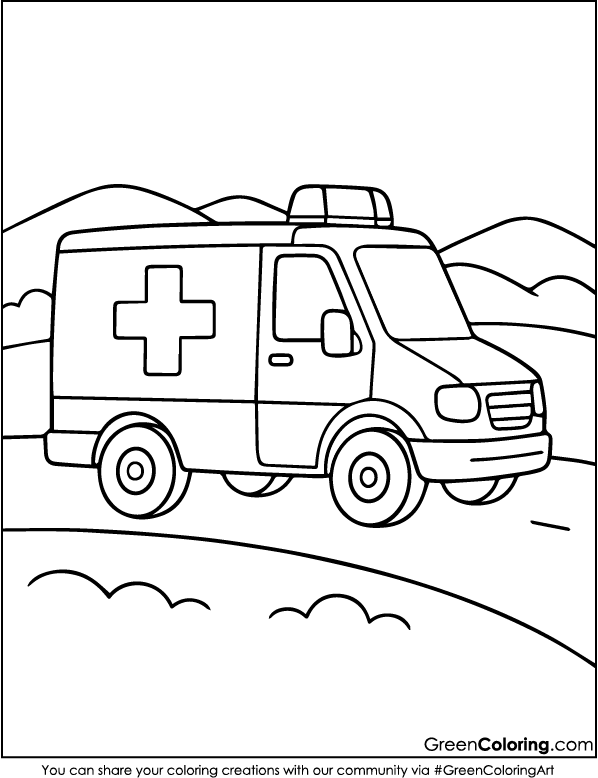
6 Crafts for Kids Using Ambulance Coloring Pages
Kids can learn, grow, and have fun while crafting with ambulance coloring pages. Lisa and Mike are my two kids, and I’ve seen how much fun (and learning!) they have making coloring pages into something amazing.
I’m going to show you 6 fun ambulance crafts that you can make with my free coloring pages. These activities are great for getting kids to be creative, improve their fine motor skills, and learn about real-life heroes like paramedics.
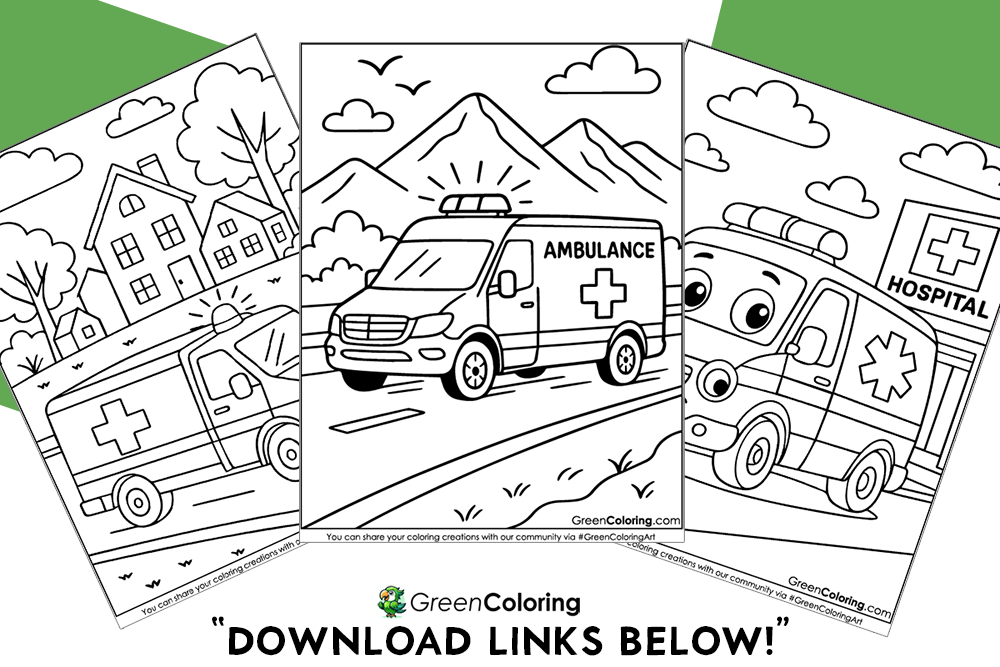
As a bonus, there are 40 free PDF ambulance coloring pages at the end for you to download and print. Let’s spend time together while coloring!
1. Ambulance Pop-Up Card Scene
Materials Needed:
- Ambulance coloring pages
- Construction paper (white, red, blue)
- Safety scissors
- Glue stick
- Markers or crayons
- Tape
Steps:
- First, let your child choose their favorite ambulance design from the PDF that you can print for free. Mike always picks the one with the big blue lights because it makes him think of his favorite Paw Patrol show.
- Let them color it in using crayons or markers. Encourage them to use different colors for sirens, wheels, and windows to make it more realistic.
- Once the coloring is done, carefully cut out the ambulance. If your child is too young (like Mike), step in to help with the cutting part.
- To make a card, fold a piece of construction paper in half. To make a pop-up tab on the inside, cut two small slits in the middle fold.
- Push the tab in slowly, and then tape the colored ambulance’s base to it. It now shows up when you open the card!
- Add hospital signs, hearts, or even a happy sun to the corner of the inside and outside of the card. Lisa likes to add a sweet touch by drawing pink hearts all over the place.
Genius Tip: Add a folded piece of paper inside with a personalized message like “You’re our hero!” or “Thank you for helping people!” Great way to turn this into a thank-you card for real EMTs!
2. Emergency Road Rescue Craft
Materials Needed:
- Ambulance coloring pages
- Large sheet of cardboard or poster board
- Black paper (for the road)
- Cotton balls
- Scissors, glue, and crayons
Steps:
- Choose and color your favorite ambulance from the printable pack. This is a great time to talk to your kids about what ambulances do and how they help during emergencies. I did this with Mike last week, and he was amazed they even help with broken legs!
- Cut out the colored ambulance and set it aside.
- To create a winding road, cut the black paper into long strips. Glue it on the poster board or cardboard.
- Though you should not glue the ambulance yet, place it on the road. Using crayons or extra paper, add fun background objects, including trees, stop signs, and buildings. Lisa created a little park scene, including a picnic table!
- Glue the ambulance down once everything is ready and create puffy clouds or smoke effects with cotton balls.
Pro Tip: Use small toy people or animals to turn this into a rescue scene! It’s a great way to combine pretend play with crafting.
3. Ambulance Rescue Game Board
Materials Needed:
- Ambulance coloring pages
- Cardboard
- Dice
- Markers
- Small toy cars or buttons as game pieces
Steps:
- First, draw a path with lots of turns on a big piece of cardboard. Draw a square or circle path for the players to move along. Lisa helped me plan the last path, which went around like a real city block.
- Color and cut out ambulance pictures from the printable set. Glue one at the starting point, a few at checkpoints, and one at the end point to represent the hospital.
- Add fun instructions inside some of the path boxes. For example, “Turn on the siren and wait one turn” or “Patient pick-up ahead! Move forward two spaces.”
- Pick your game pieces. Buttons work great, but if your child has small toy vehicles, use those for extra fun. Roll the dice and move along the road.
- Play the game together. Mike loves to add his own rules, like making ambulance sounds when someone lands on a rescue spot.
Fun Tip: Create a “hospital checkpoint” where players must answer a fun health or safety question before continuing. It turns into an educational experience too.
4. 3D Ambulance Craft
Materials Needed:
- Ambulance coloring pages
- Empty tissue box
- White paper
- Markers
- Glue and tape
- Bottle caps (for wheels)
Steps:
- Take the empty tissue box and wrap it in plain white paper. This forms the base structure for your ambulance.
- Let your child pick an ambulance design from my printable pack and color it however they like. Lisa always adds personal touches like tiny hearts or a nurse waving out the window.
- Cut out the colored ambulance pieces and glue them on each side of the tissue box. Try matching the windows, lights, and doors like a real ambulance. It’s a good time to discuss the different parts of an ambulance.
- Attach bottle caps as wheels by taping or gluing them firmly on the bottom corners. If they’re loose, reinforce with extra tape so your ambulance rolls properly during play.
- Decorate with a red cross, lights on the roof made from folded paper, or even draw an EMT driver. The more details, the more realistic.
Helpful Tip: This craft becomes a toy. Mike zoomed around the hallway for a whole afternoon, rescuing stuffed toys from imaginary accidents.
5. Window Ambulance Art
Materials Needed:
- Ambulance coloring pages
- Contact paper
- Tissue paper (red, blue, yellow)
- Scissors
Steps:
- Choose an ambulance design with windows and gently and precisely cut it out. Particularly pay close attention to cutting out the window sections to allow the light to pass through later on. Doing this, Lisa pretended she was a “window designer.”
- Place the cut-out ambulance on a sheet of contact paper, sticky side up. Stick the outline gently in the center, making sure the window areas are fully open.
- Tear or cut up small squares of tissue paper. Let your kids fill in the window spaces by sticking tissue pieces over the sticky sections. Mike layered blue and yellow pieces and called it his “sunset siren window.”
- Once all the windows are filled, seal it with another piece of contact paper to protect the art and keep everything in place.
- Gently press the finished piece onto a sunny window and admire the glowing colors. It will look like a stained-glass ambulance!
Smart Tip: These look especially magical during golden hour. Lisa made one in spring, and she still moves it around to follow the sun. Great for a cozy afternoon craft session. For more inspiration on using stained glass techniques in kids’ crafts, check out the National Gallery of Art’s family art resources.
6. Emergency Services Matching Game
Materials Needed:
- Ambulance coloring pages
- Images of other emergency services (police car, fire truck, helicopter)
- Cardboard
- Scissors
- Markers
Steps:
- Print two copies of every vehicle picture you wish to use. From this post, pick ambulances; add police cars or fire trucks. We even included a rescue helicopter! Let the children color them all for a striking collection of game cards.
- Cut every image into a tidy square or rectangle once you have colored them. Lisa, for extra flair, used pink scissors with zigzag edges.
- To create strong game cards, glue each cutout to bits of cardboard. Patterns or initials will help you decorate the backs. Mike wrote the letter “M” on all of his cards to claim them as Lisa sketched stars.
- Thoroughly mix the cards; then, lay them face-down in a grid on a level platform. Every player flips two cards in turns looking for a match. Half the fun is the thrill of turning them over!
- A player keeps the pair when they come upon a match. You keep playing until every card matches. Add ridiculous incentives like dancing funny or producing siren sounds.
Genius Tip: On the rear of every card, note a little emergency fact. Like “Ambulances carry stretchers,” for instance. Learning starts to be part of the game, free from any pressure. You can find more engaging facts to share with kids at KidsHealth.org’s First Aid Guide, a trusted resource for family learning.
Bring Learning and Play Together!
Using coloring pages of ambulances isn’t just a pleasure. Spending quality time with your kids and teaching them about the important job of first responders at the same time is a beautiful combination. These six craft ideas for kids are made to be easy, safe, and fun so that kids can use their imaginations while they learn. Being a parent and teacher, I know how powerful creative moments like these can be for encouraging compassion and curiosity.
And if you enjoyed these ideas, be sure to check out my other free PDF sets, like the helicopter, fire truck, and bus coloring pages; they’re perfect for more hands-on fun.
Download Free Coloring Pages:


Leave a Reply