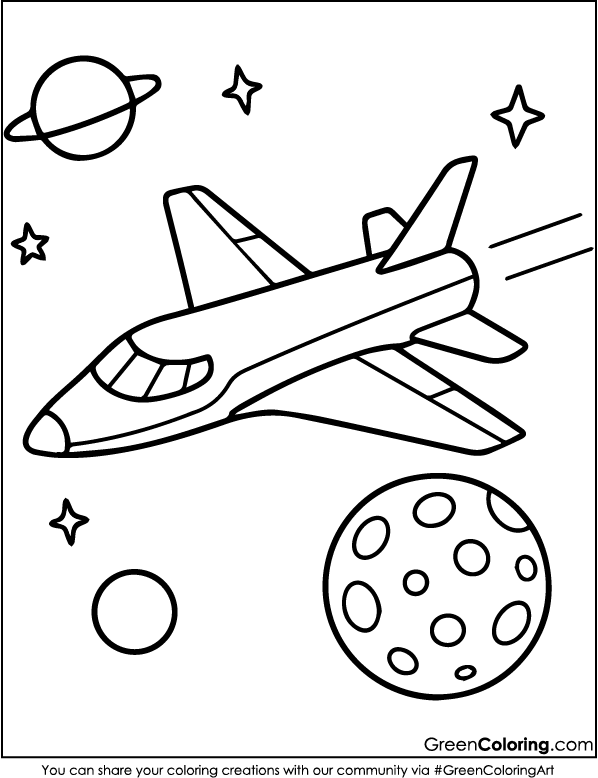
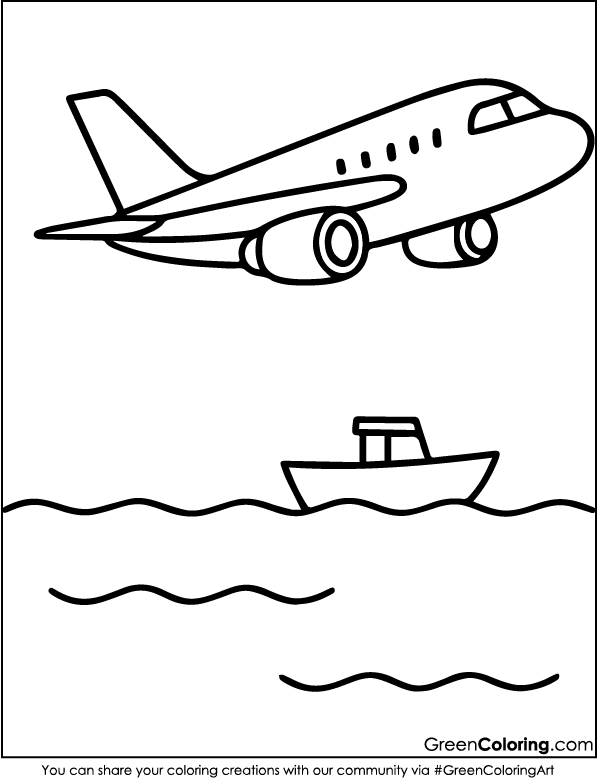
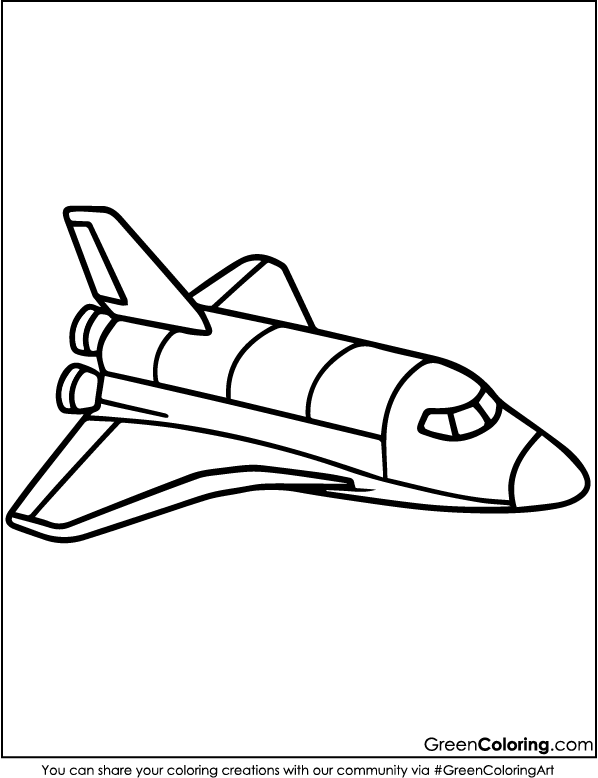
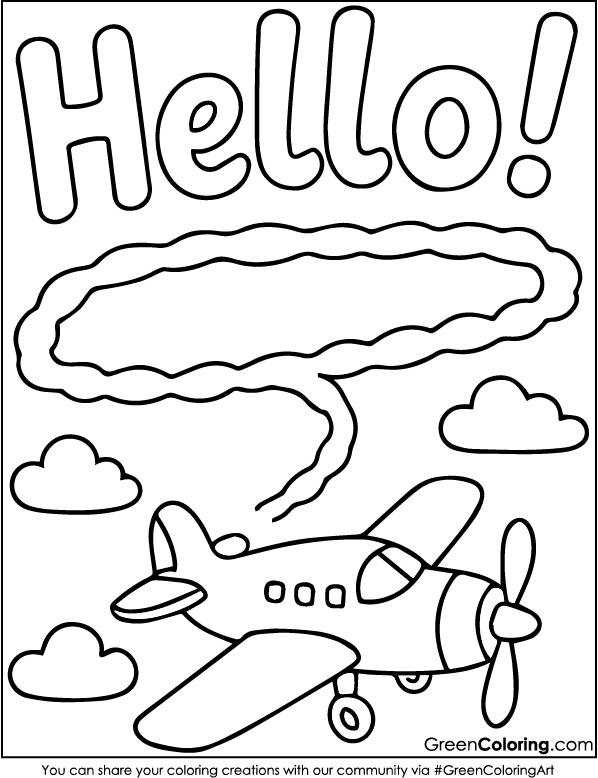
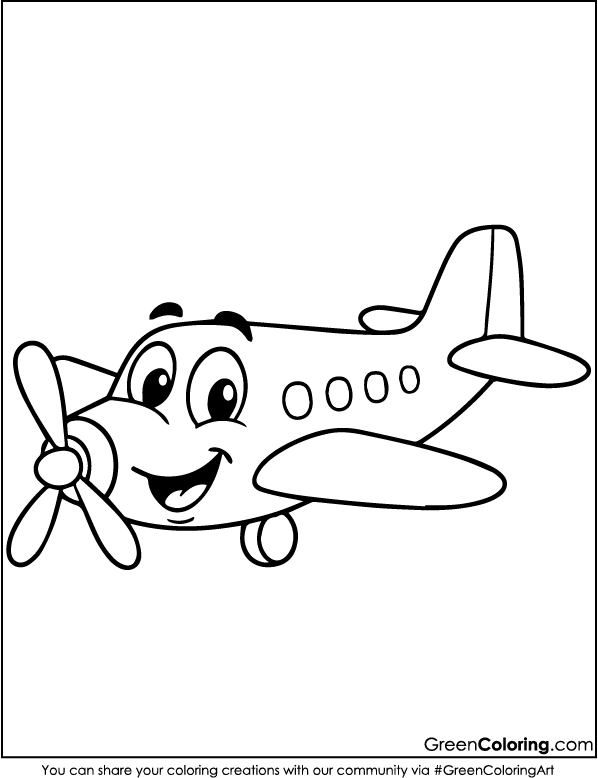
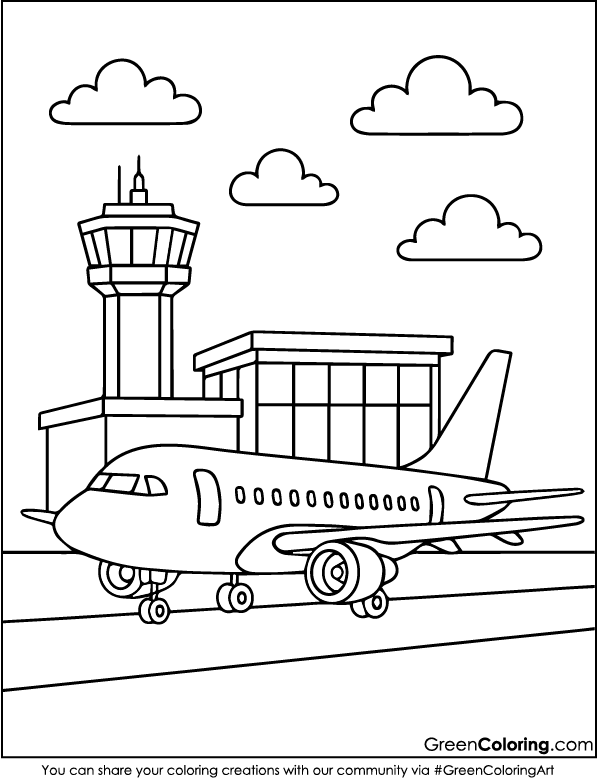
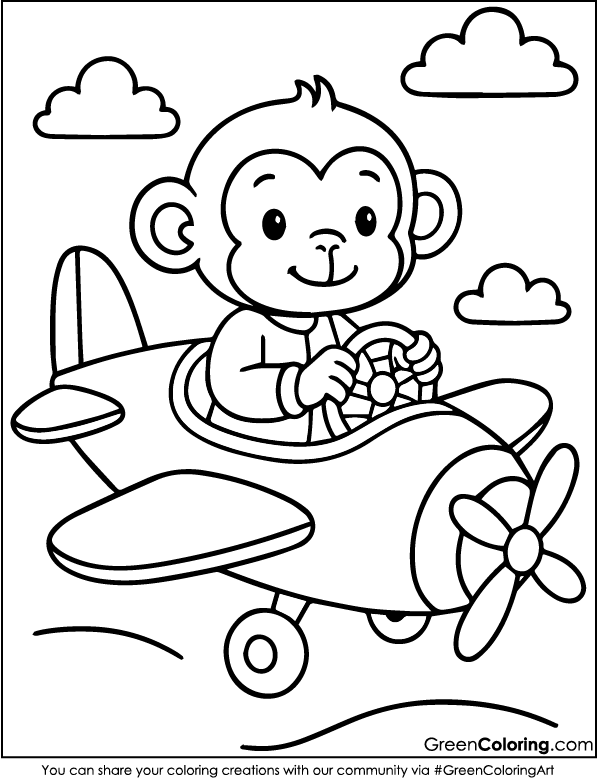
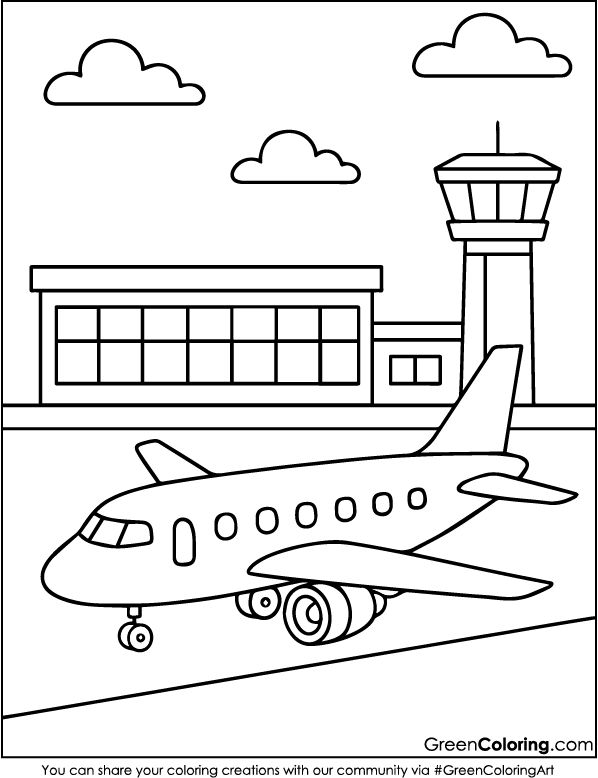
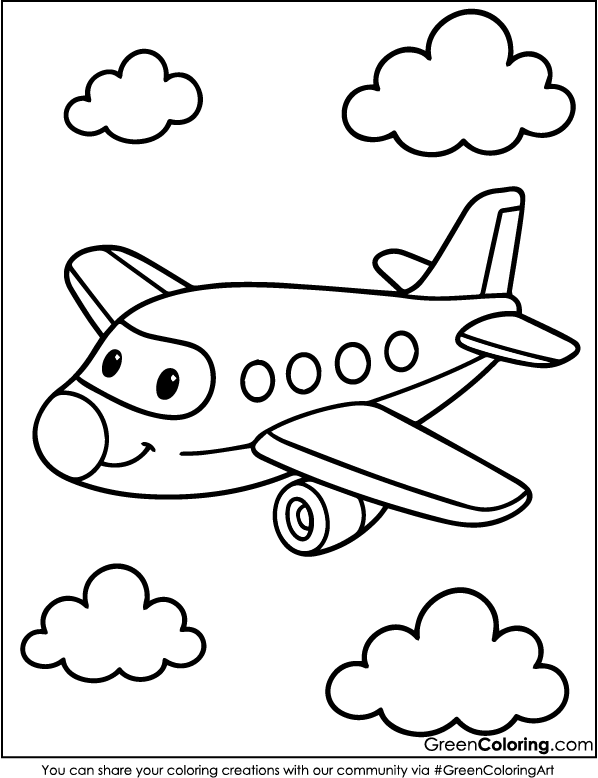
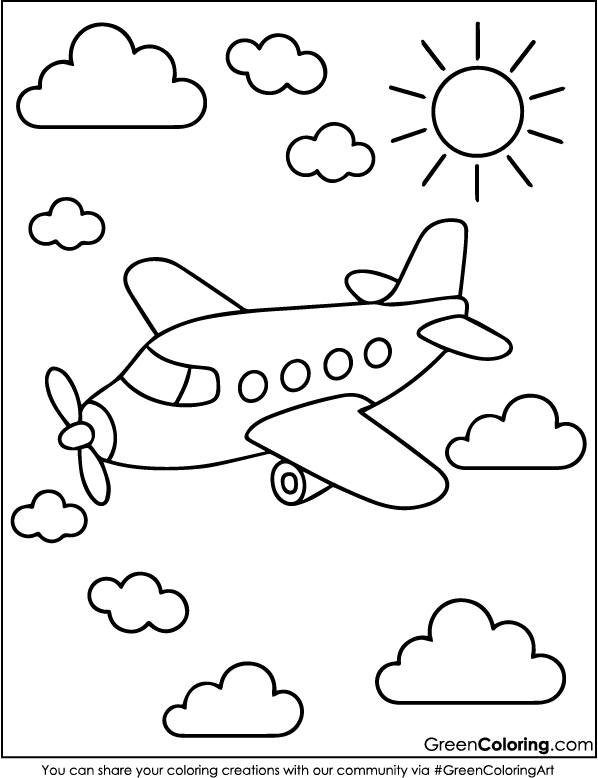
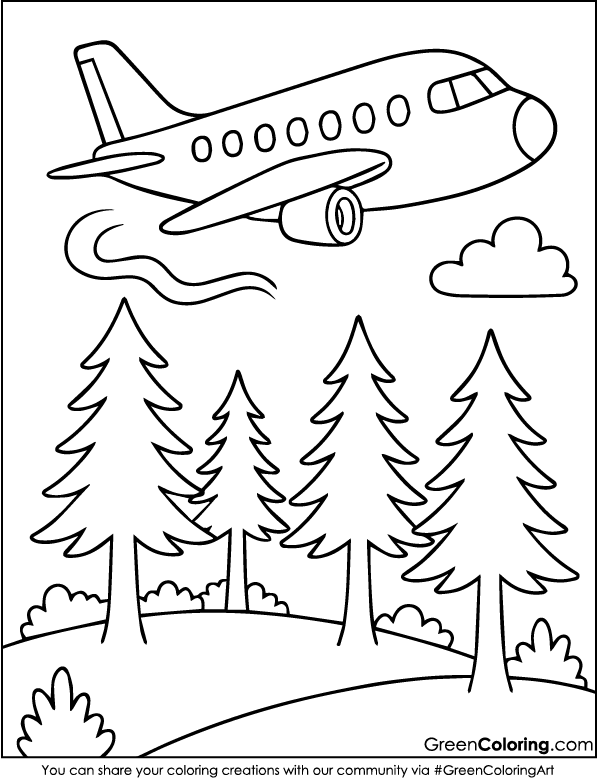
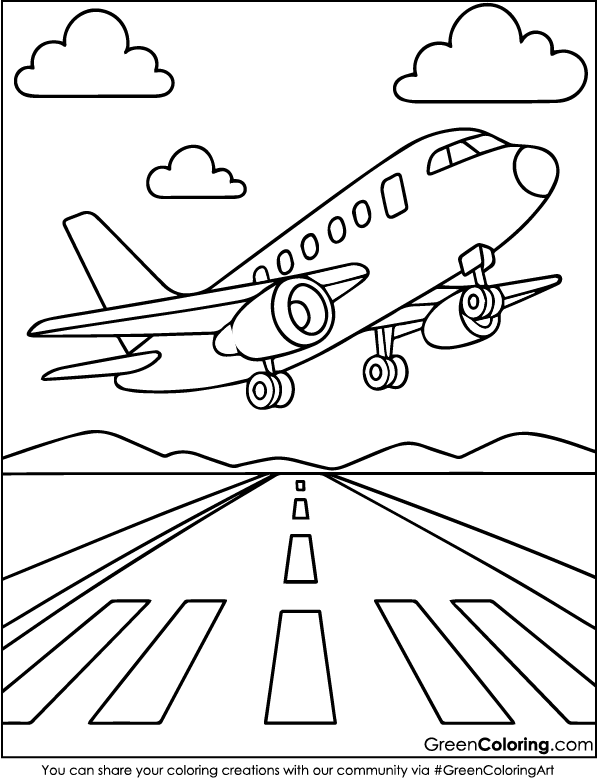
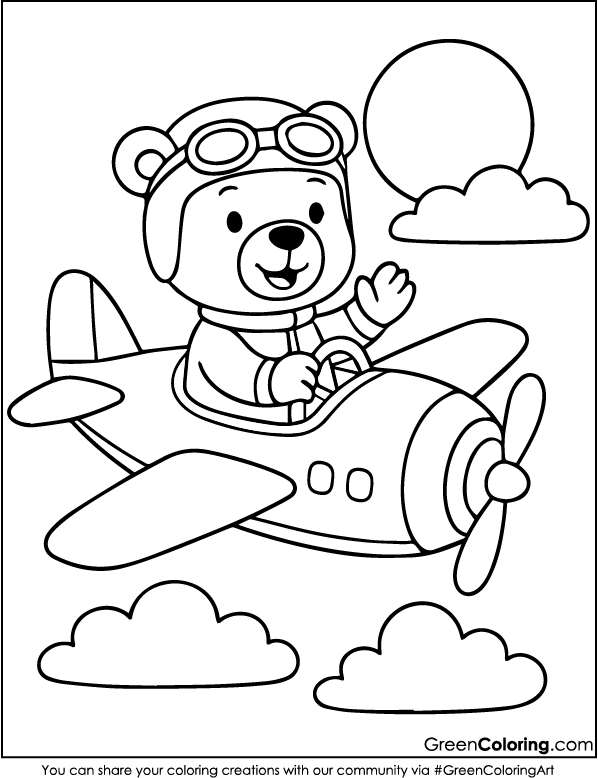
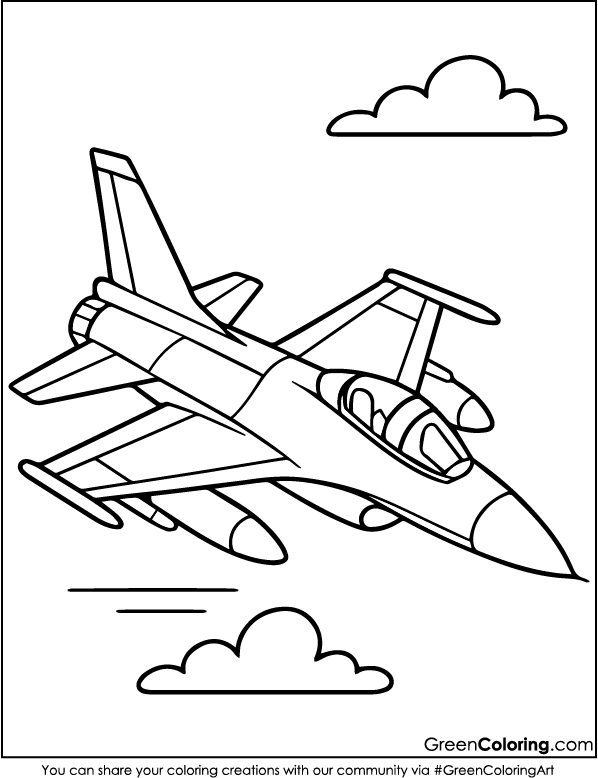
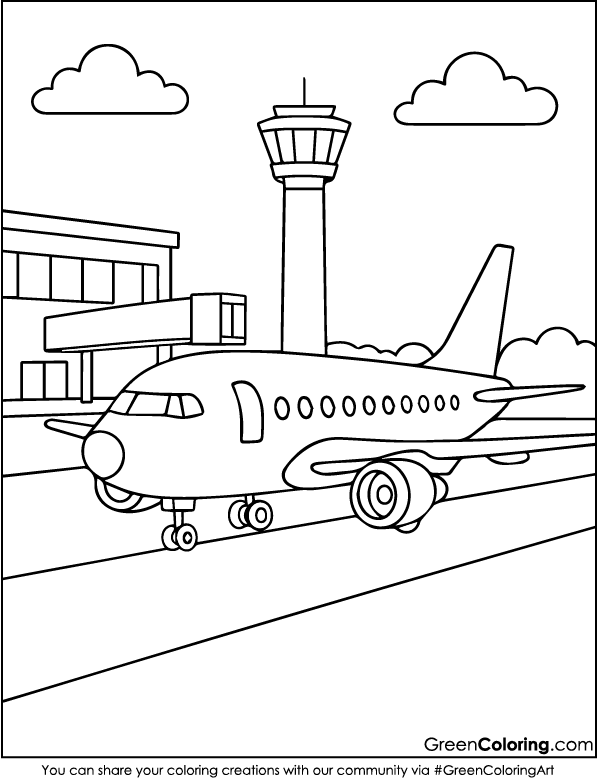
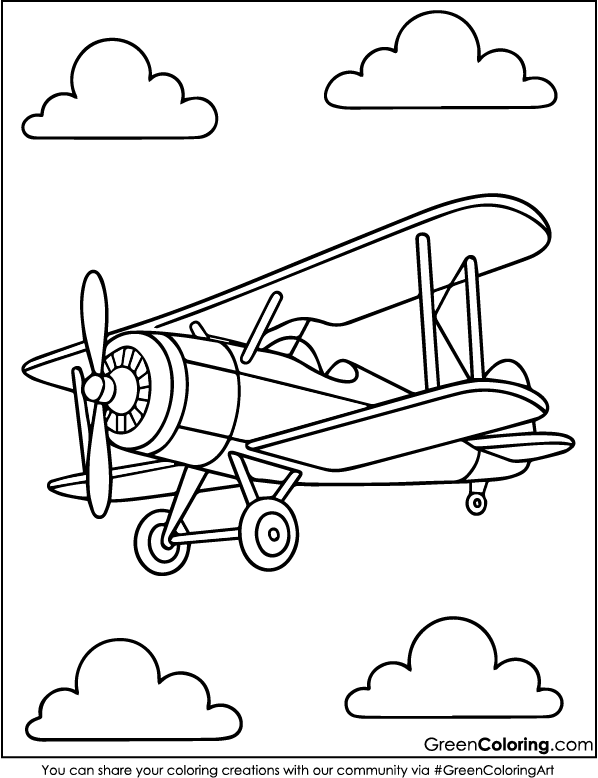
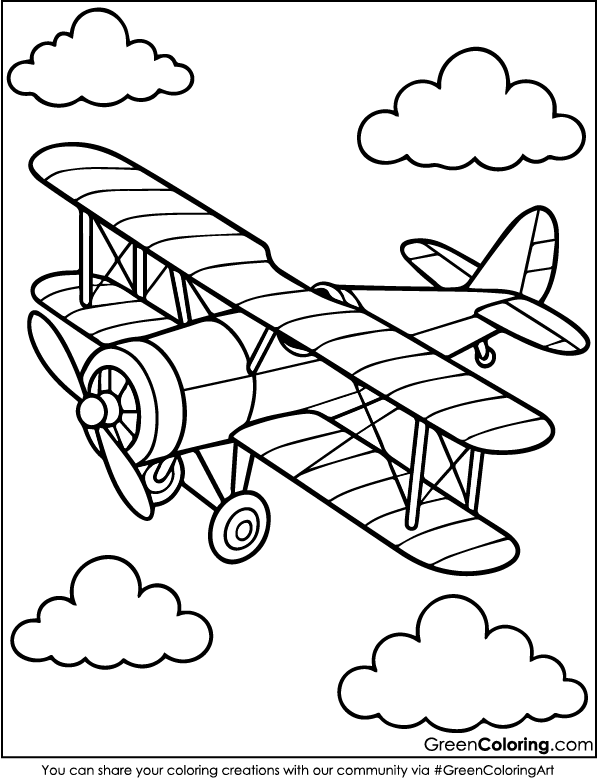
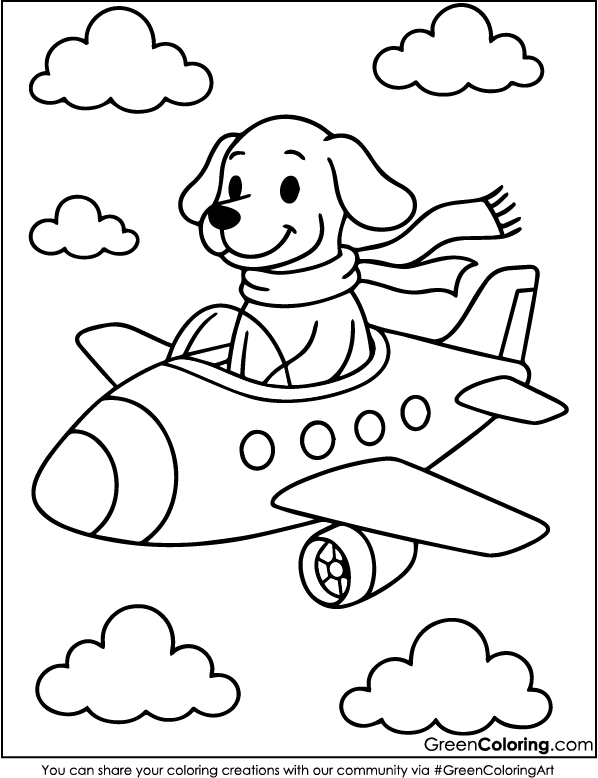
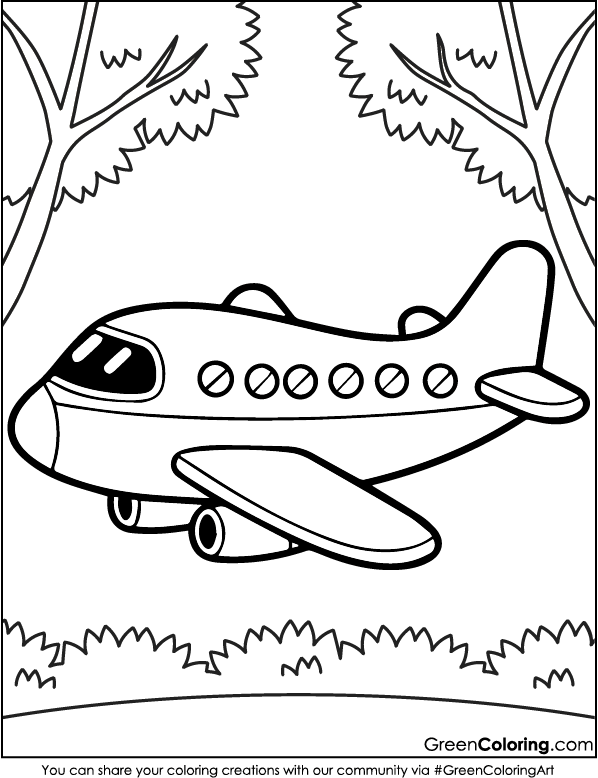
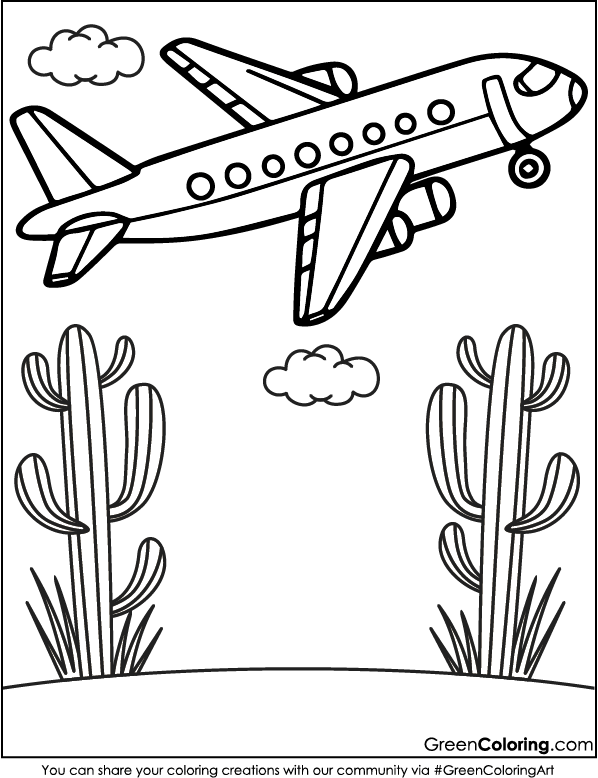
8 Crafts for Kids Using Airplane Coloring Pages
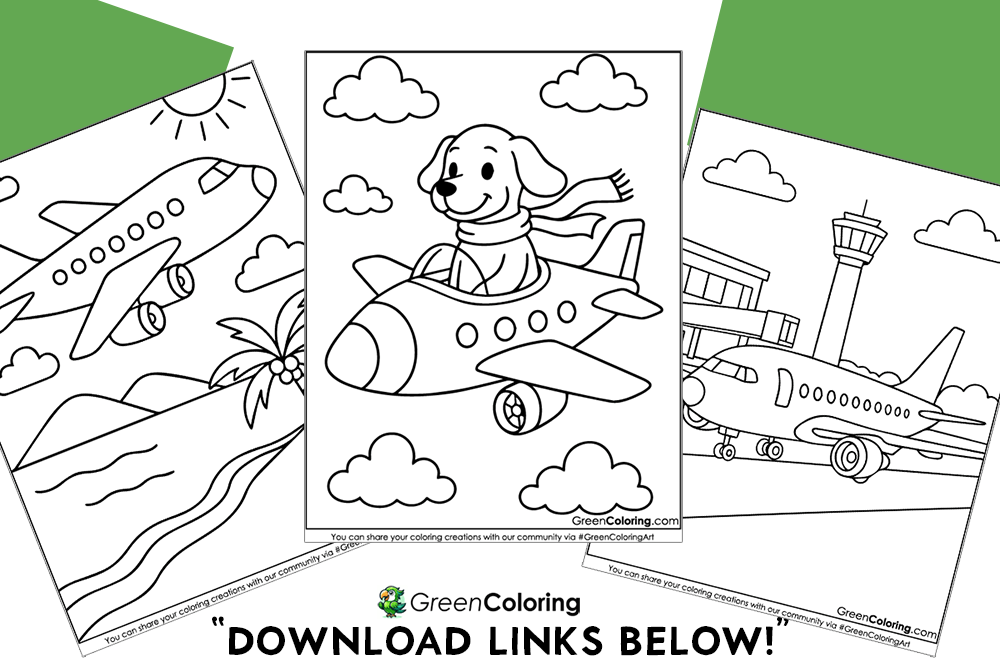
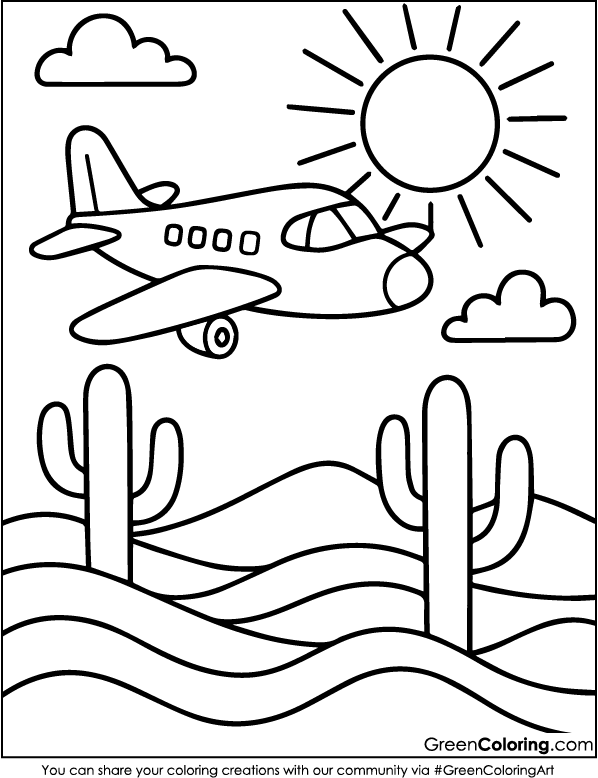
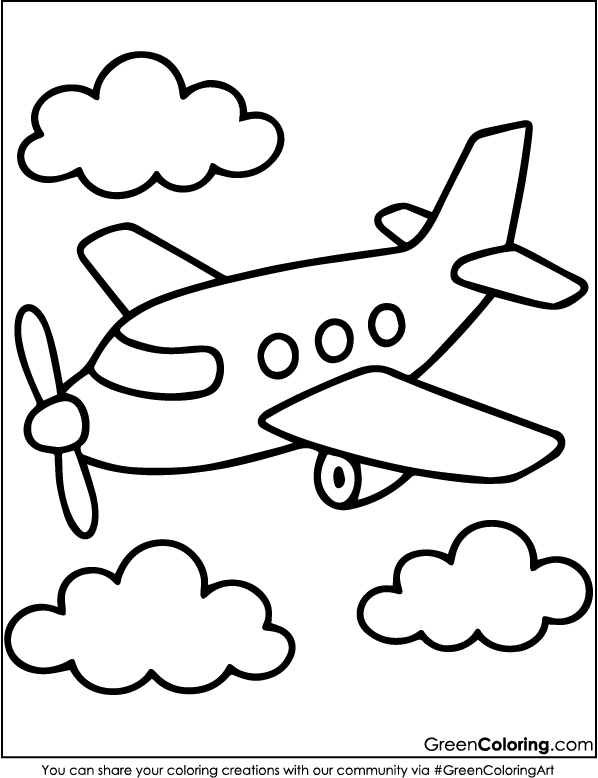
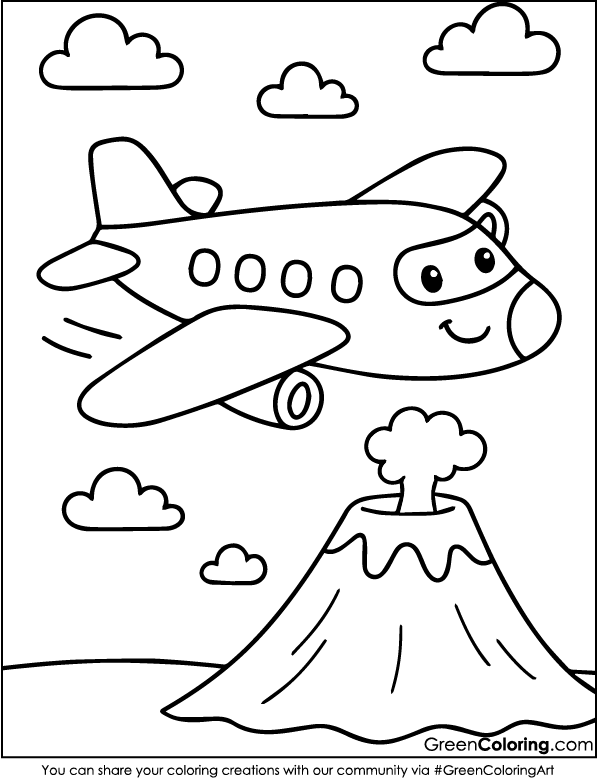
If your kids love airplanes as much as mine do, you’re in for a fun and creative adventure! Last weekend, my son Mike and I spent hours making crafts with airplane coloring pages. We laughed, experimented, and even made a cool airplane mobile for his room. And guess what? You can join in too! Just below this article, I’ve published 66 free airplane coloring pages in a printable PDF. Grab them, and let’s get started!
1. DIY Airplane Mobile
Materials Needed:
- Printed and colored airplane coloring pages
- String or fishing line
- A wooden embroidery hoop or a wire hanger
- Tape or glue
- Hole puncher
- Scissors
Steps:
- Let your kid pick out a coloring page of an airplane that they really like and color it in bright colors. This part is always interesting. Mike used a lot of greens, and Lisa put pink clouds around hers.
- Cut out the plane very carefully. If your child is younger, you can help them cut to keep things from going wrong.
- Make a small hole in the top of each plane with a hole puncher. Here is where you will tie the string.
- Cut varying length pieces of thread. Affix one end of an airplane to your hoop or hanger. They thus seem to be flying at different heights.
- Hang the mobile from the ceiling with a longer piece of string once all the aircraft are hooked in. Mike loves seeing them swing before he sleeps, thus we put them near his bed!
Smart Tip: Use glow-in-the-dark paint on some airplanes to create a cool nighttime effect when the lights go out! For more ideas on making DIY mobiles, visit Pinterest.
2. Airplane Greeting Cards
Materials Needed:
- Airplane coloring pages
- Colored airplane cutouts
- Folded cardstock or construction paper
- Glue or double-sided tape
- Markers and stickers
Steps:
- Choose an airplane coloring page and vividly color it in cheerful tones.
- Carefully cut out the airplane, then glue it onto the front of a folded piece of cardstock. We experimented with several designs, and Lisa created one that seemed to be soaring out of a cloud!
- Decorate the card with stickers, glitter, or small drawings.
- Write a sweet message inside. Lisa made one for her grandma that said, “You’re the best pilot of my heart!”
Helpful Idea: These make perfect birthday or thank-you cards. Handmade cards always feel extra special! For more greeting card craft inspiration, visit Crayola.
3. 3D Paper Airplane Craft
Materials Needed:
- Printed and colored airplane coloring pages
- Extra thick cardstock
- Scissors
- Glue
- Cotton balls for clouds
Steps:
- Select and color your preferred airplane coloring page. For a creative variation, we chose one that resembled a vintage plane.
- Cut out the airplane and glue it onto a thick cardstock sheet to make it sturdy.
- Make accordion shapes out of thin strips of paper after cutting them. You can make the airplane look cool in 3D by sticking behind it and raising it off the background.
- Add fluffy cotton balls as clouds around the airplane for an extra creative touch.
- Hang it on the wall or frame it as a piece of art. Mike insisted on putting his right next to his bed!
Genius Hack: Use a popsicle stick instead of paper backing to turn it into a flying toy!

4. Airplane Puzzle Game
Materials Needed:
- Printed airplane coloring pages
- Scissors
- Laminator (optional)
Steps:
- Color an airplane page with bold, exciting colors. Lisa once tried making a rainbow airplane, and it turned out amazing!
- Cut it up into pieces that look like puzzles. It will be easier for younger kids if the pieces are big. Mike spent a long time putting together a puzzle we made with very small pieces!
- Shuffle the pieces and challenge your child to solve it. For extra fun, time yourself and try to beat your record!
- Laminate the puzzle for durability. Mike gets super excited and sometimes bends the pieces, so this was a lifesaver!
Pro Tip: Make multiple puzzles with different designs and mix them up for an added challenge!
5. Airplane Sun Catcher
Materials Needed:
- Airplane coloring pages
- Transparent sheet (or wax paper)
- Markers
- Tape
- Scissors
Steps:
- Print out an airplane coloring page. Place it under a clear sheet and trace the outline. You can make it any size you want, which is fun!
- Color it in with bright markers. Lisa loved blending colors together, making a glowing sunset effect!
- After cutting it out, use double-sided tape to stick it to a window. We stacked them all up over the kitchen window, and the light made them look magical!
- See how the light shimmers through to make it look like stained glass. Mike was very happy when he made three in one afternoon.
Lisa loved making these because they look like a real airplane flying through the sky when the light hits them.
6. Airplane Paper Chain
Materials Needed:
- Airplane coloring pages
- Several airplane cutouts
- Hole puncher
- Yarn or paper rings
Steps:
- Print several airplane designs, color, and cut out multiple pieces. We tried several designs; Lisa chose adorable little biplanes, while Mike created sleek fighter planes!
- Punch holes on both sides of each airplane. Lisa loved using a star-shaped hole puncher to add a little extra flair to hers!
- Link the airplanes together using paper rings or yarn. We tried alternating colors, and the result was a super cool pattern that looked great in our room!
- Find the perfect spot to hang your airplane chain. We draped ours across the doorway, and even our neighbor asked how to make one!
Lisa’s Favorite Touch: She added glitter, which made her airplanes sparkle like stars in the sky!
7. Shoebox Airplane Diorama
Materials Needed:
- Shoebox
- Cotton balls
- Printed airplane coloring pages
- Glue and scissors
- Paints or markers
Steps:
- First, paint the shoebox’s interior to resemble the sky. Lisa decided on a gentle sunset theme using pink and orange hues, while Mike painted tiny birds to make his look realistic.
- Select your preferred planes, color them, and then carefully cut them out. Mixing sizes creates a cool layered effect where they appear to be flying at different heights.
- Attach the aircraft inside the shoebox using glue, orienting them in several directions to provide scene depth. Mike became so engrossed in it that he even slightly tilted one aircraft to create the impression of mid-flight!
- Stretch out some cotton balls to create wispy clouds and glue them around your airplanes. Lisa got extra creative and shaped one into a heart!
- To add more detail, draw a tiny airport scene at the bottom. Mike made a control tower, while Lisa added a mini runway. We even used tiny pebbles to make it look more realistic!
Creative Idea: Use real sand or small stones for the runway for an incredible 3D effect!
8. Airplane Bookmark
Materials Needed:
- Airplane coloring pages
- Printed airplane cutouts
- Laminating sheet or tape
- Scissors
- Ribbon
Steps:
- Choose an airplane shape, color it, and carefully cut it out. For a unique look, try using metallic or gel pens. Lisa liked adding a gold outline the most.
- To keep your bookmark sturdy, laminate it or cover it with clear tape. Mike learned the hard way when his unlaminated bookmark got all bent in his backpack!
- Punch a hole at the top and thread a ribbon through it. Lisa used a bright red ribbon because she said it reminded her of a pilot’s scarf!
- Put it in your favorite book and have fun. Mike made Lisa one too, and she loved it! She now reads bedtime stories with it every night.
Perfect Gift Idea: These bookmarks are great personalized gifts for people of all ages who love reading.
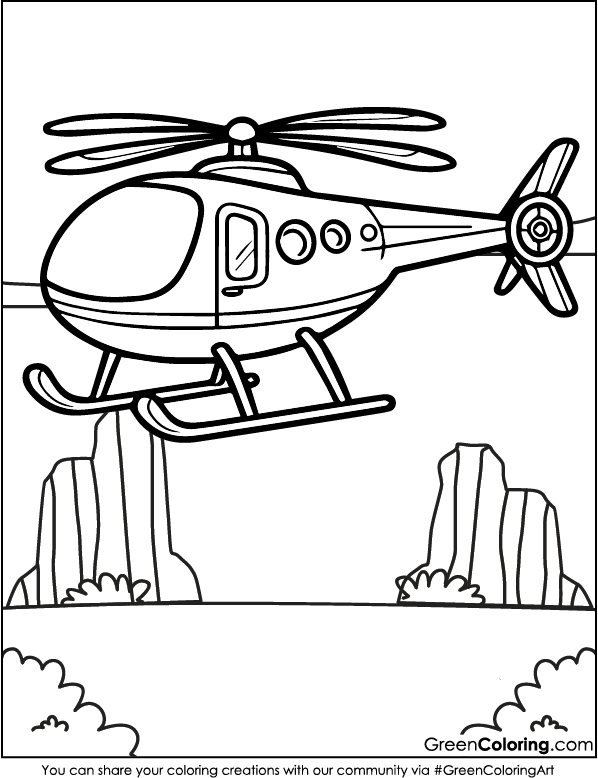
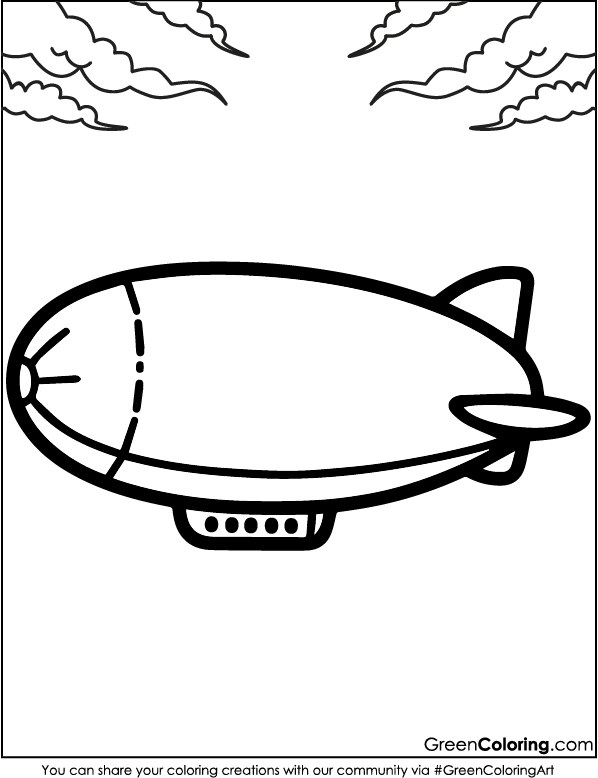
Airplane coloring pages are more than just a fun activity—they can become amazing crafts too! Whether it’s a mobile, a puzzle, or a diorama, these activities help kids develop fine motor skills while sparking creativity. If your kids enjoy aircraft of all kinds, they’ll also love exploring my helicopter, rocket, and even blimp coloring pages for more sky-high fun. Don’t forget to grab my 66 free airplane coloring pages in a printable PDF below and start crafting today!
Download Free Coloring Pages:


Leave a Reply