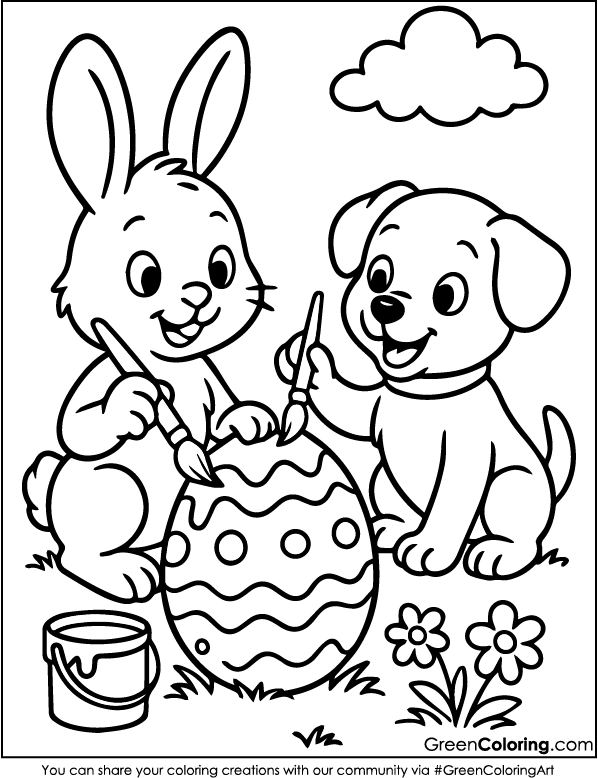
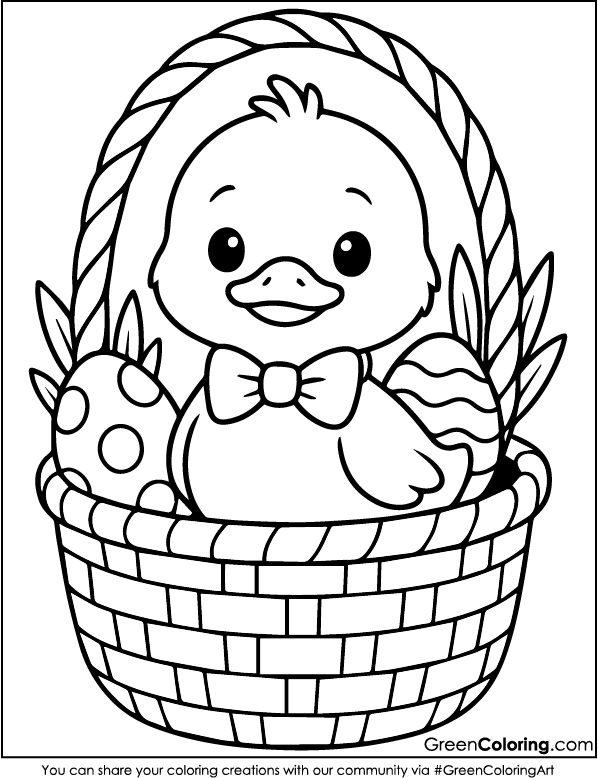
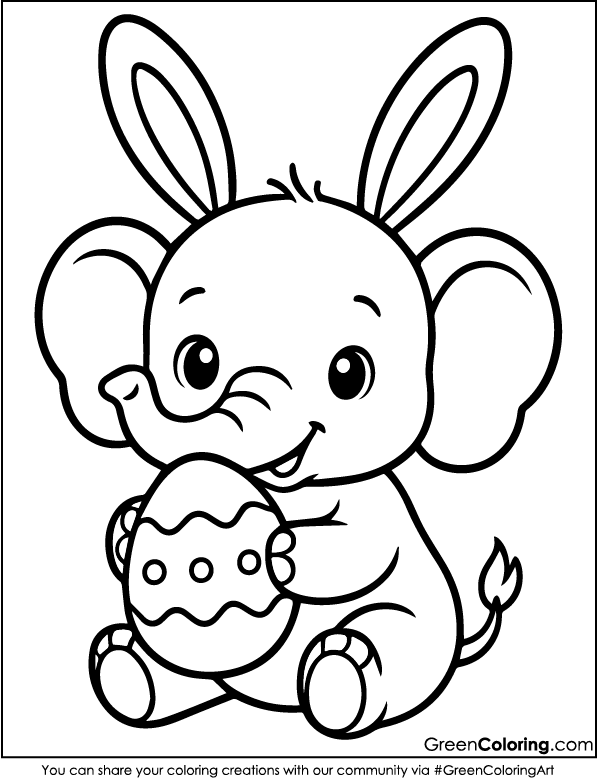
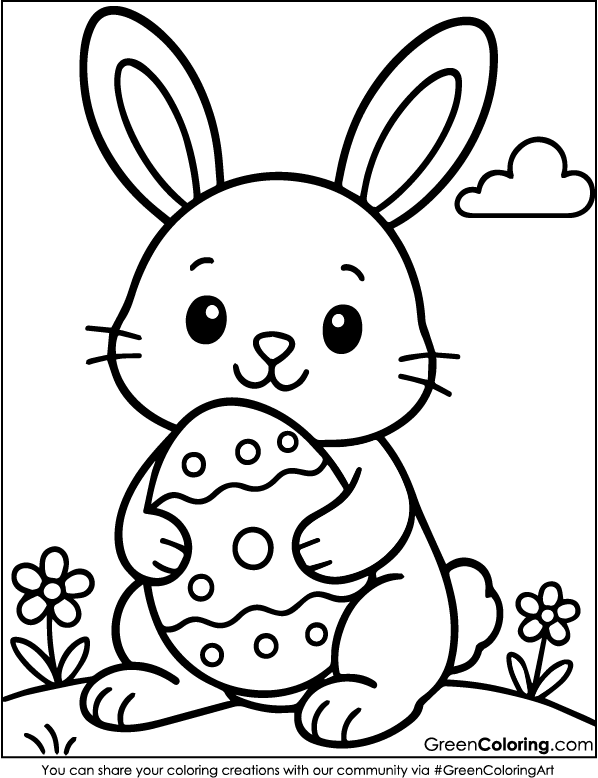
7 Crafts for Kids Using Easter Coloring Pages
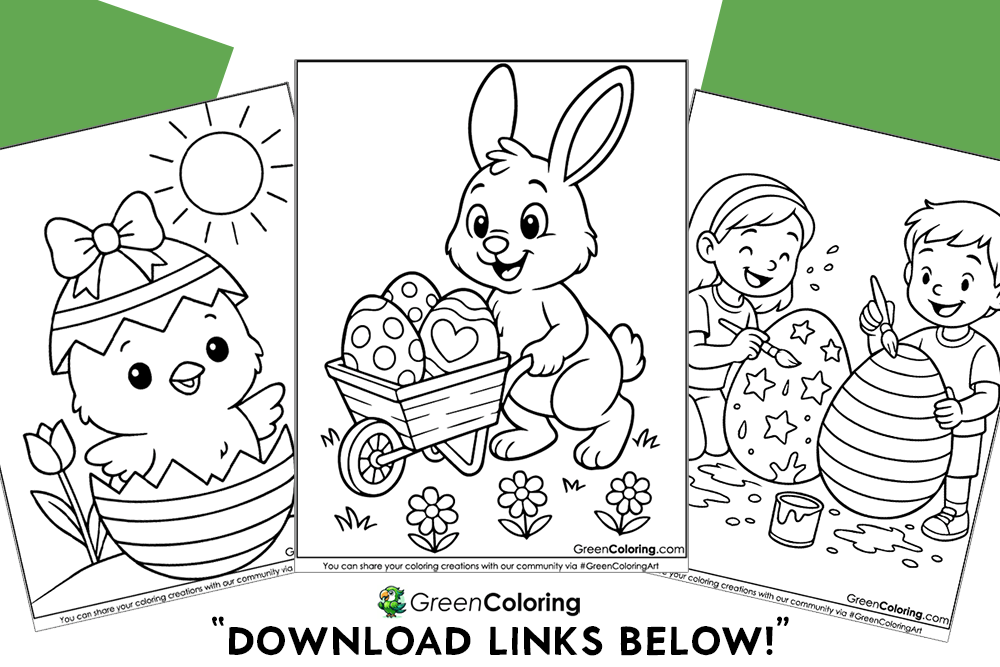
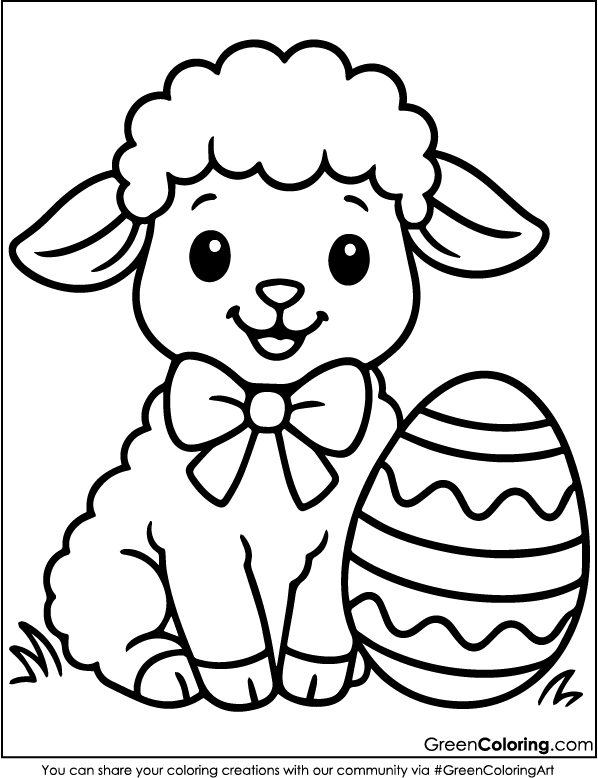
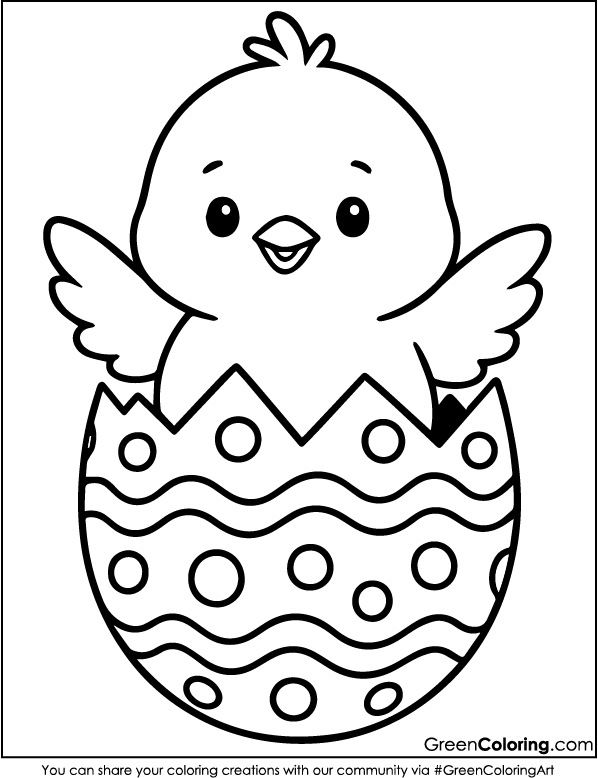
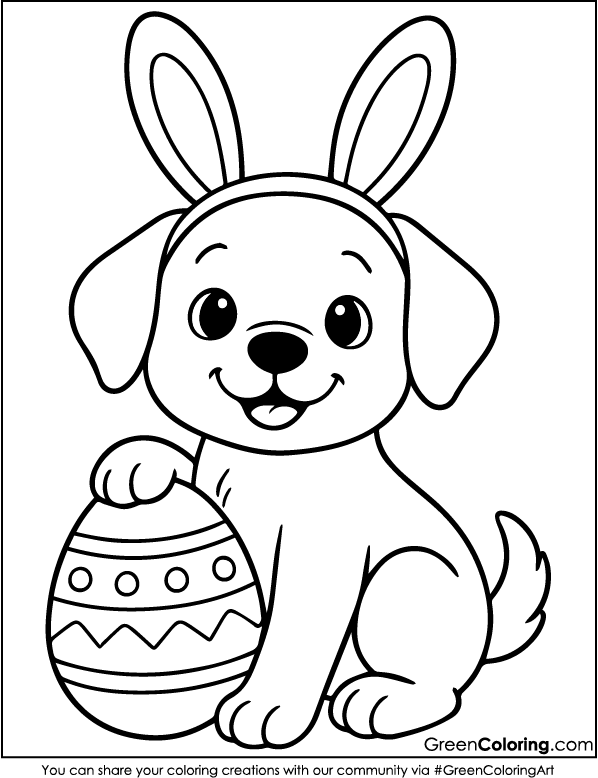
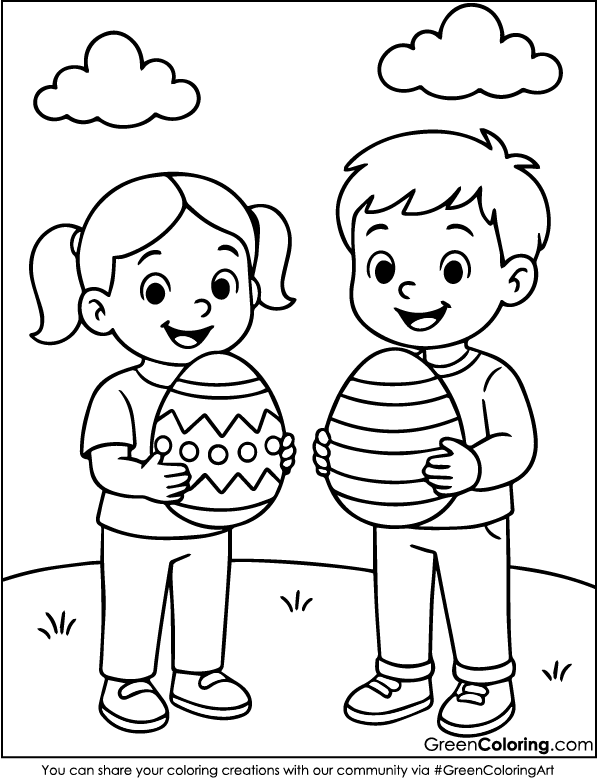
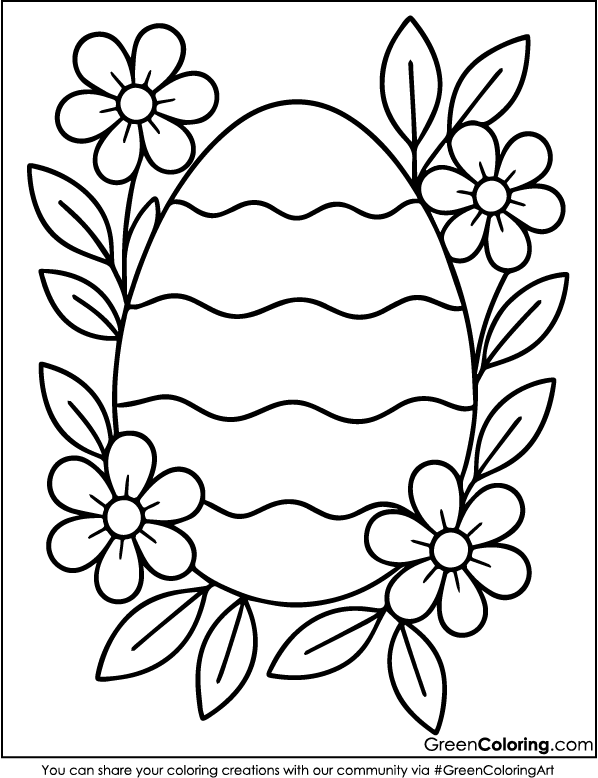
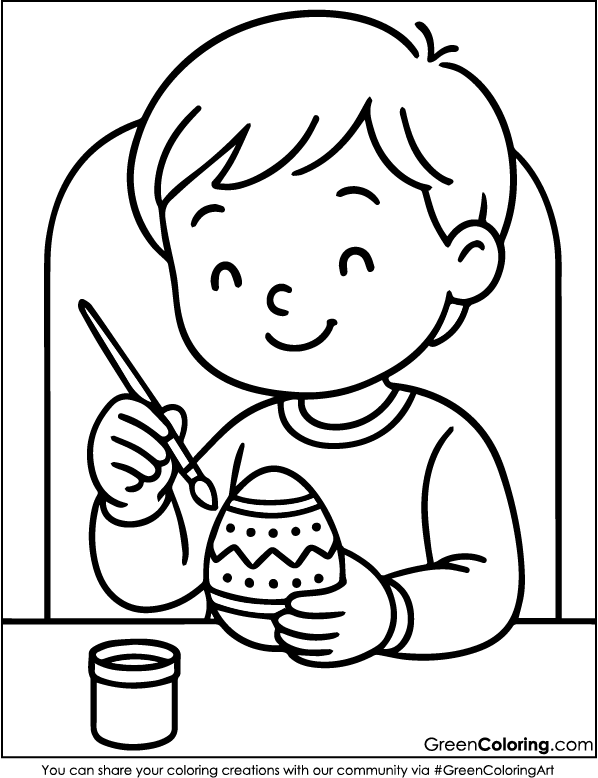
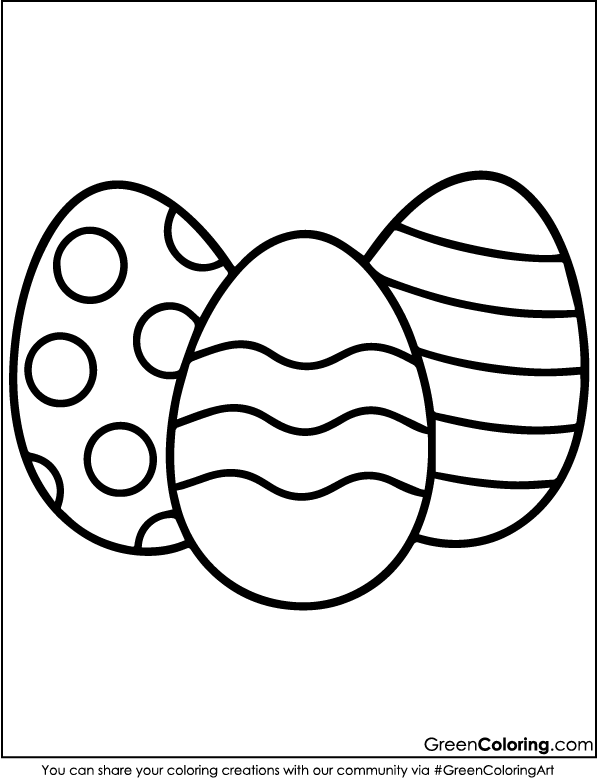
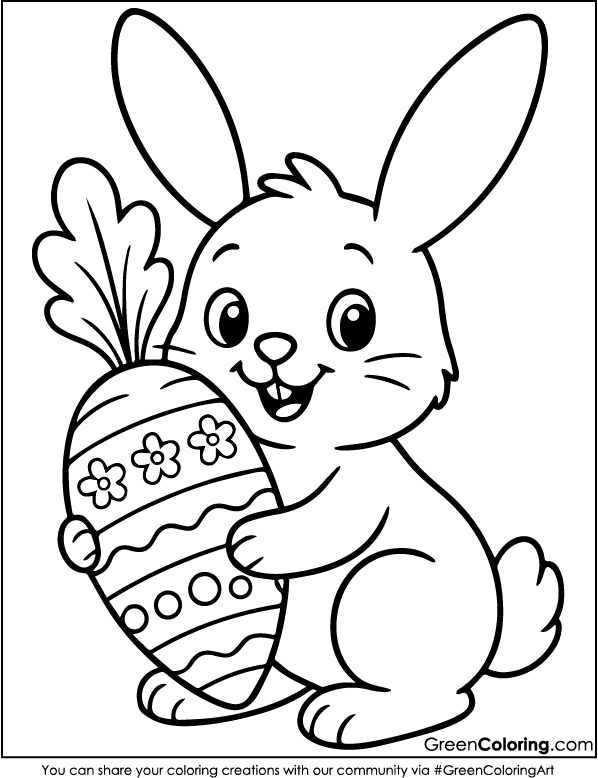
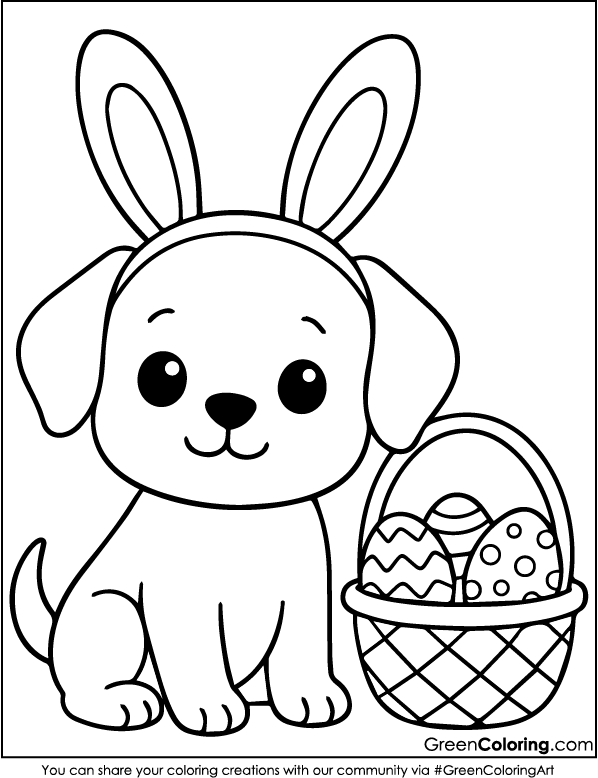
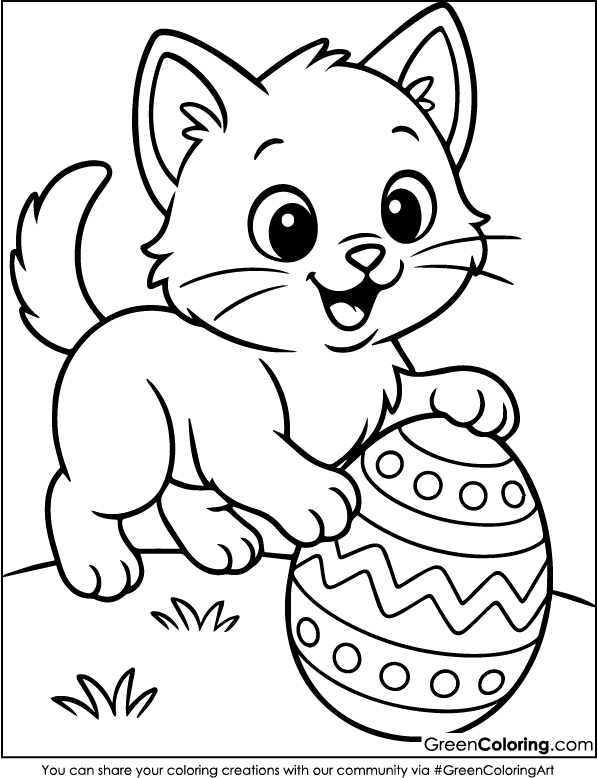
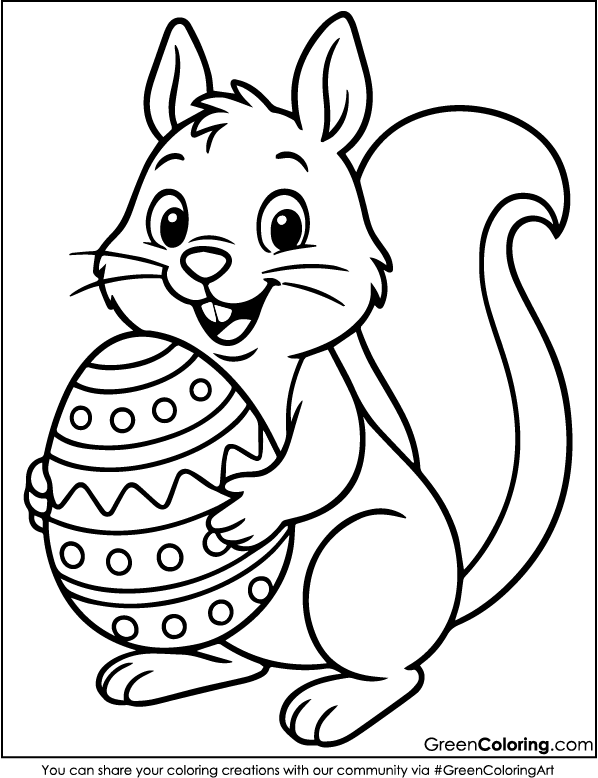
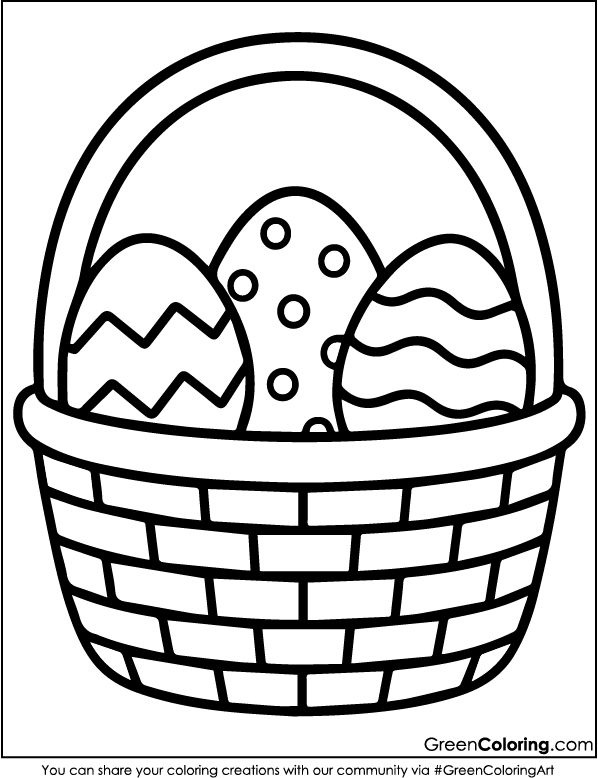
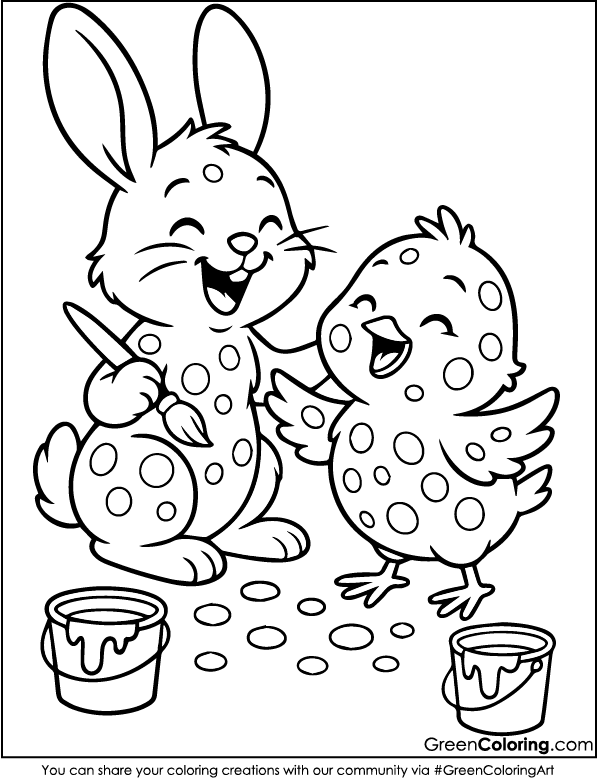
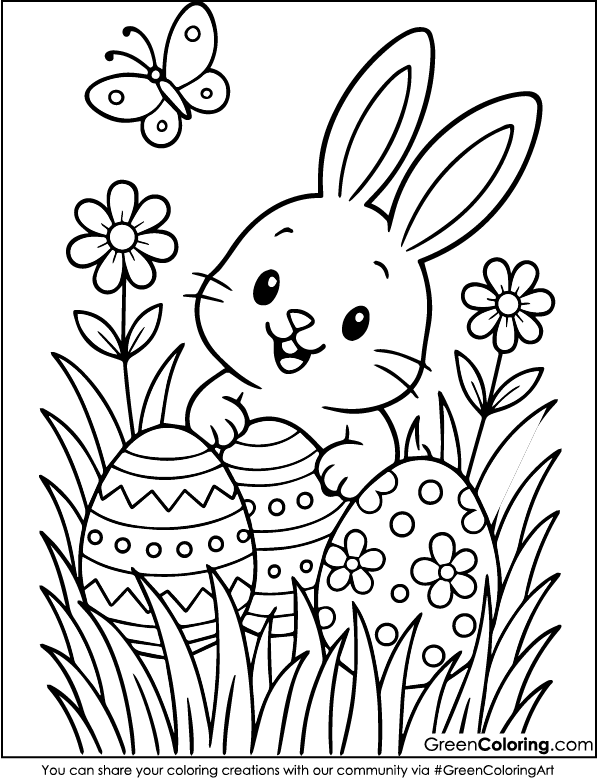
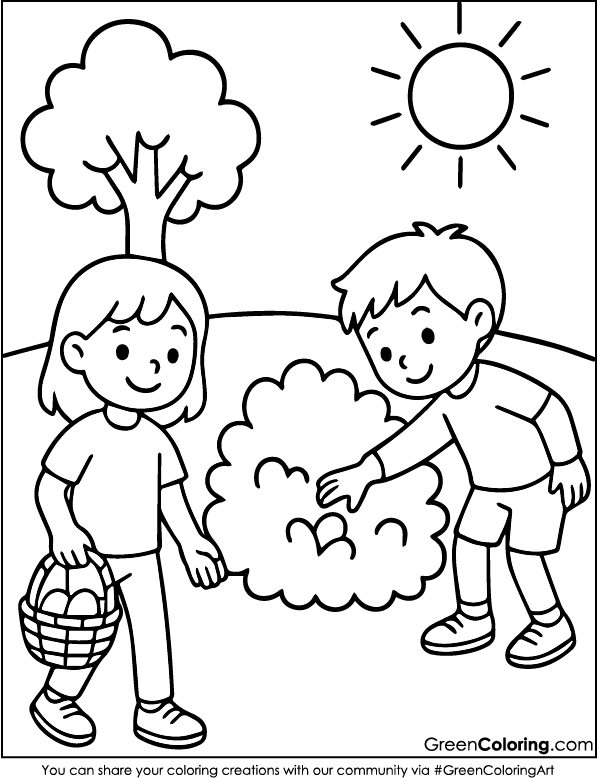
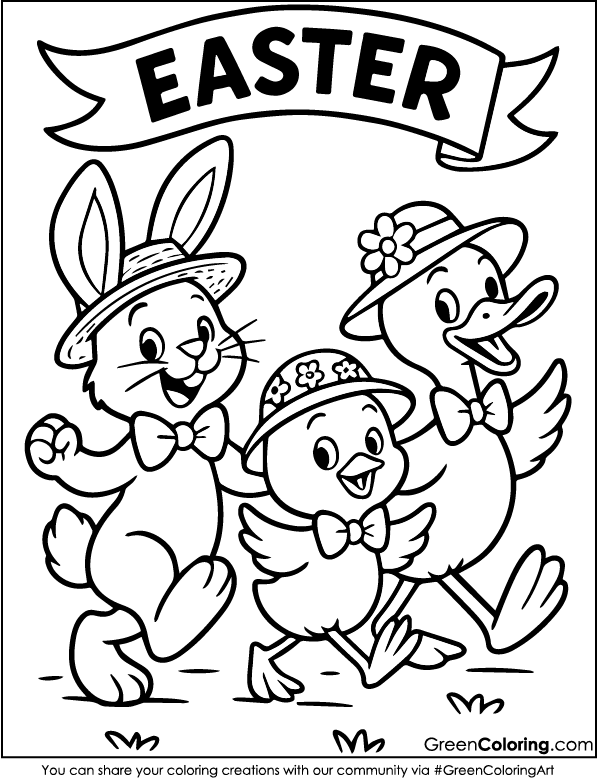
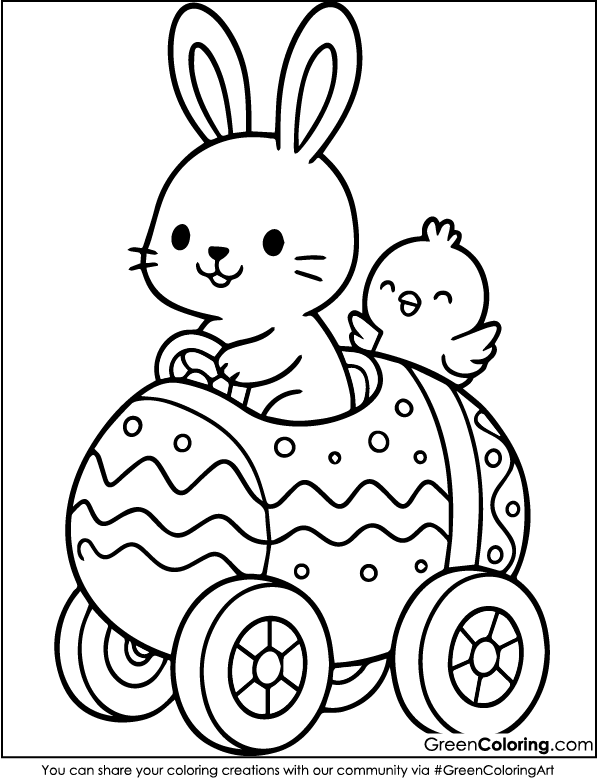
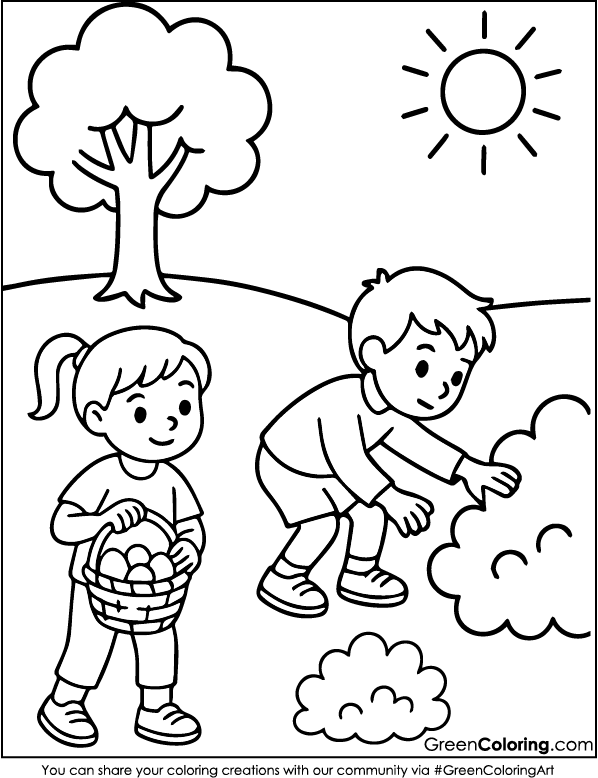
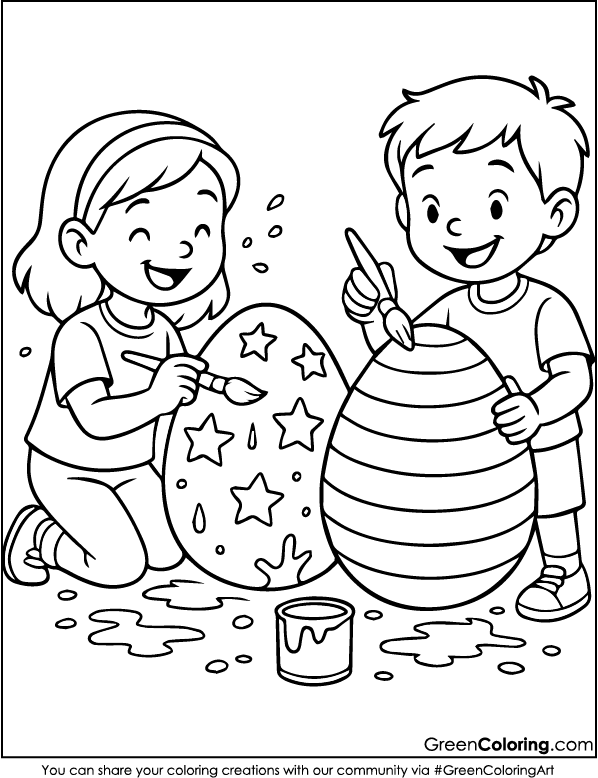
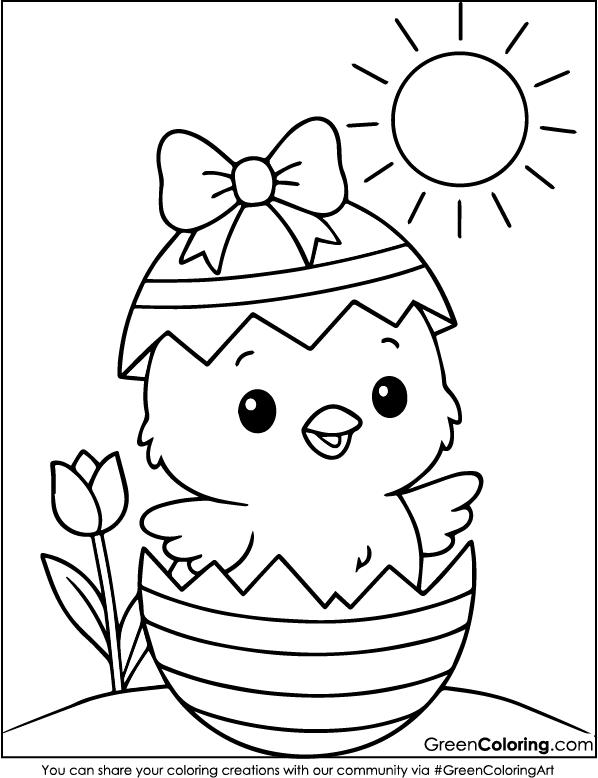
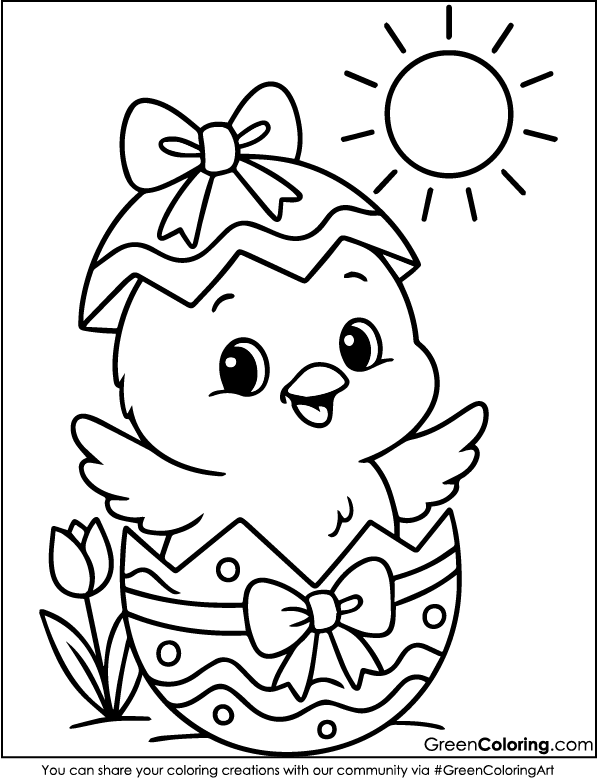
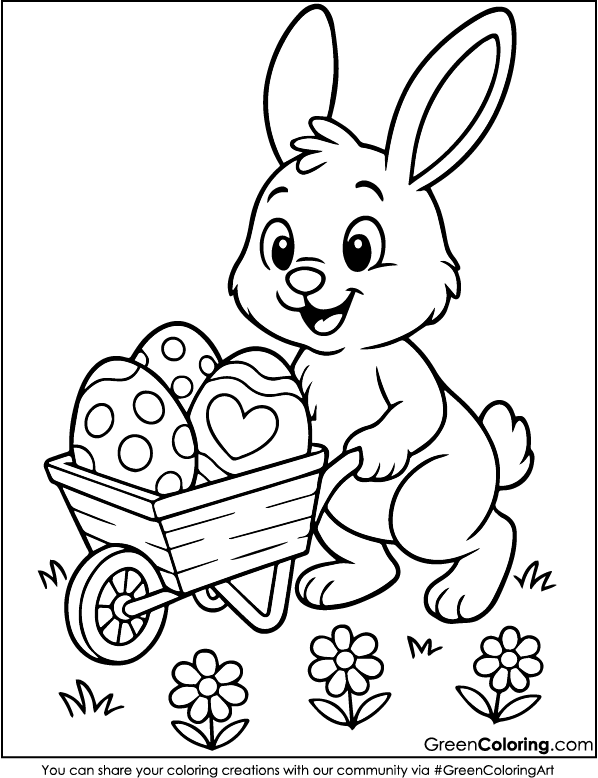
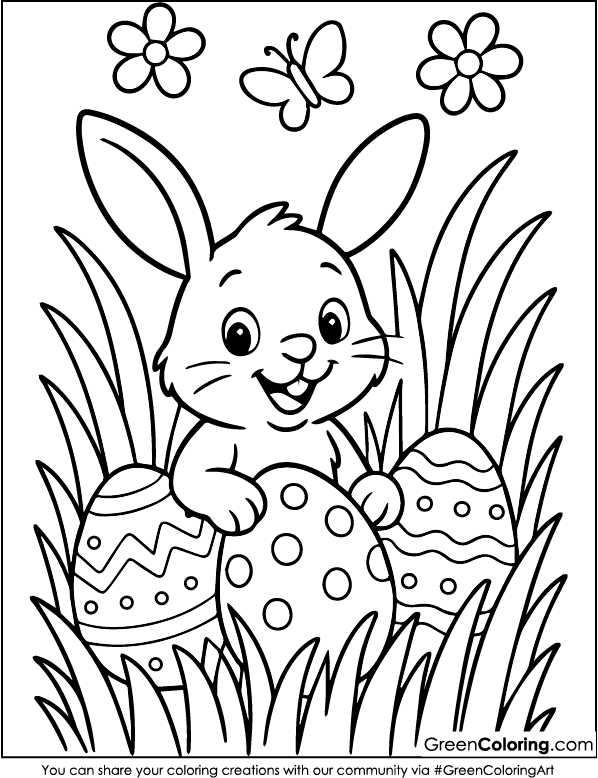
Looking for creative ways to use your Easter coloring pages? I’ve got you covered! I’m James, a former private school teacher and a proud dad to Lisa and Mike. I’ve spent years designing activities that spark creativity while supporting sensory and motor development in kids. In this article, I’m going to share seven original and fun crafts you can do with your kids using free, printable Easter coloring pages like the 28 Easter-themed PDF sheets we just published below this post. They’re all totally free to download, so make sure to grab them when you’re done reading!
1. Bunny Gift Bags
Materials Needed:
- Easter coloring pages
- Paper lunch bags (white or pastel colors work best)
- Glue stick
- Cotton balls
- Safety scissors
- Ribbon
Steps:
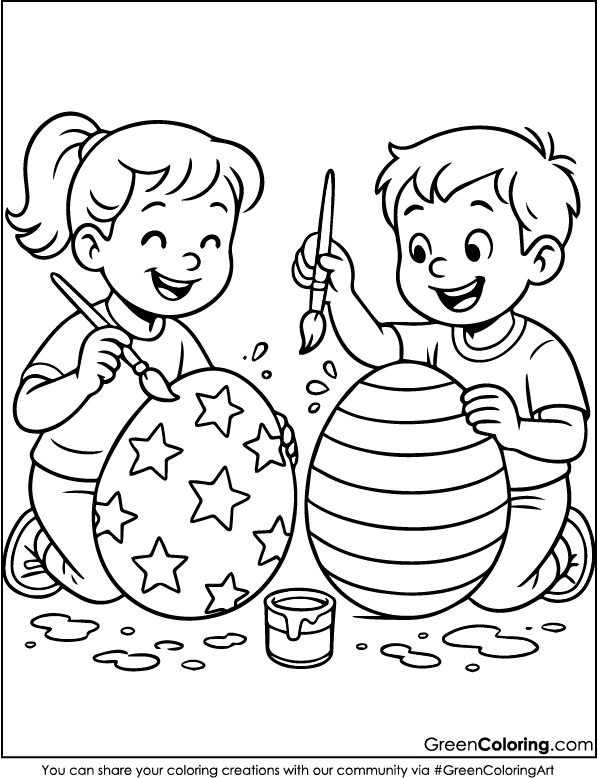
- Print first our free Easter coloring pages. Lisa and I decided to spend a nice Saturday morning coloring a lot of bunnies, chicks, and Easter eggs by the window. Mike boldly filled his pages with green and blue; she used pastel pinks and purples.
- Once all the pages were colored, I helped Mike with cutting while Lisa carefully cut out her characters on her own. She’s very precise with the scissors now, but Mike still needs a little guidance. It’s such a great bonding time when we craft side-by-side.
- Grab a paper lunch bag and let your kids decide which cutouts they want to glue onto the front. Lisa glued on a chick with a ribbon hat, and Mike chose a bunny holding a carrot. We added glitter glue around the edges to make it pop.
- Flip the bag over and glue a cotton ball to make a fluffy bunny tail. Mike called it a marshmallow and tried to sneak a real one into the bag! That made all of us laugh.
- Fill the inside with goodies like small chocolate eggs, jellybeans, or even tiny notes. Then fold the top, punch a hole, and tie it with a colorful ribbon. Lisa tied hers into a perfect bow and even helped Mike with his.
Smart Tip: Add a custom name tag to the handle. This turns the bag into a personalized gift that friends and neighbors will love.
2. Easter Egg Treasure Hunt Clues
Materials Needed:
- Free Easter coloring pages
- Markers
- Safety scissors
- Small plastic eggs
- Paper and tape
Steps:
- Print and color a few pages with tiny icons or characters that could be cut out and hidden first. Mike bestowed upon every bunny superhero powers, and Lisa designed a vibrant egg family with personalities.
- Cut out each design once it’s colored. I let Lisa handle hers while I took care of Mike’s with him on my lap, pointing out the parts he wanted to keep.
- Flip each cut-out and write fun riddles or directions on the back, like “I’m hiding where you find your shoes!” We had fun brainstorming clues as a family. Lisa even tried to make hers rhyme.
- Tuck each cut-out, with the clue, inside a plastic egg. Should it keep unrolling, you can fasten it with a little piece of tape. Mike liked stuffing them and shaking every egg to listen for flutter.
- Hide the eggs in your yard or house, selecting secure, easily reachable areas. Lisa helped me arrange them low enough for Mike to find without climbing.
Pro Tip: Use different color eggs for each child and create individual hunt paths. It adds structure and makes it more fair and exciting.
3. Easter Window Sun Catchers
Materials Needed:
- Transparent contact paper
- Tissue paper (cut into small squares)
- Easter coloring pages
- Black marker
- Glue
Steps:
- Trace the outline of your favorite character from a colored page onto a piece of contact paper. Lisa chose a cute bunny while Mike traced an egg. This helps them practice hand coordination.
- Peel back the sticky side and place it on the table. Then let your kids stick down tissue paper squares to fill in the outline. Mike loved the feeling of sticking the papers. Lisa organized her colors like a rainbow.
- When finished, cover with another contact paper sheet to seal it. Press from the center outward to prevent air bubbles. Lisa took great care to smooth everything.
- Cut around the shape and tape it onto a sunlit window. The next morning, we were all amazed at how the light shone through and made the kitchen glow.
Fun Tip: Make multiple suncatchers and create a window border. It turns your window into a cheerful Easter display. For more inspiration and visual examples of suncatcher crafts, visit DIY & Crafts, which shares fun and educational family-friendly projects.
4. Bunny Ear Crowns
Materials Needed:
- Printable Easter coloring pages
- Safety scissors
- Tape or stapler
- Headband or cardboard strip
- Markers or crayons
Steps:
- From your Easter coloring pages, choose a bunny ear template and color it with your child. Lisa added tiny hearts on hers and used spring hues. Saying his bunny was quite fast, Mike wanted green lightning bolts on his ears. There were lots of giggles and color combinations at this coloring point.
- Once the ears are beautifully decorated, cut them out carefully. If your child is still learning to use scissors, like Mike, it’s a great opportunity to model cutting while letting them help guide your hand.
- Cut a long strip of cardboard or thick paper to use as the crown band. Let the kids color and decorate this base as well. Lisa added stickers and wrote her name, while Mike just scribbled and called it “my bunny power band.”
- Tape or staple the ears onto the band. Be sure to attach them high enough so they’re visible when worn. Adjust the fit by wrapping the band around your child’s head before closing it up. Lisa helped her brother fasten his, and the moment was sweet and sibling-perfect.
- Let the imaginary play start once the crowns are ready. In the living room, we staged a little fashion show. Lisa performed a sophisticated bunny walk, and Mike bounced about as though he had a mission. Even Emily came to have a family picture sporting her own crown!
Pro Tip: You can attach little bells or use metallic paper for extra flair. The sound and shine add a sensory layer to the experience.
5. Easter Treat Toppers
Materials Needed:
- Free Easter coloring pages
- Lollipop sticks or toothpicks
- Tape
- Safety scissors
Steps:
- Let your kids select small designs from the coloring pages. These can include eggs, mini bunnies, or Easter flowers. Lisa chose sparkly eggs and drew little eyes on them, turning them into egg characters.
- After coloring, help them cut the designs out neatly. This can be a great time to talk about shapes and symmetry. Mike passed me each cutout with pride, saying, “This one’s the superhero egg.” If you’re looking for food-safe crafting tips and more ways to involve kids in holiday kitchen fun, check out the Homeschool Preschool website.
- Attach the cutouts to sticks using tape or glue. Make sure to press firmly and allow time to dry if using glue. Lisa figured out a way to tape them from the back so the stick didn’t cover any artwork.
- Decorate your cupcakes, muffins, or fruit with the toppers. Mike stuck his into a banana and said it became a “banana bunny.” Lisa’s toppers turned even simple sandwiches into a festive Easter tray.
Fun Tip: Wrap a few treat toppers in clear plastic and tie them with ribbon as party favors. They look store-bought but come with a handmade touch.
6. Easter Scene Shoebox Theater
Materials Needed:
- Old shoebox
- Printed and colored Easter coloring pages
- Popsicle sticks
- Glue and tape
Steps:
- Help your children pick characters and backgrounds from their Easter coloring sheets. Lisa picked a picnic meadow scene, while Mike chose a racetrack with egg cars. The creativity starts before the scissors even come out.
- Glue the background design inside the shoebox. We turned ours on its side, so it created a stage-like view. Let it dry completely. Lisa used this moment to start planning the story she wanted to act out.
- Cut out character figures like bunnies, chicks, and decorated eggs. Tape each one to a popsicle stick to create puppet handles. Mike decided his bunny needed a cape, so we made one out of tissue paper.
- Cut narrow slits in the top of the box for inserting the stick puppets. These become the hidden entrances for your characters to move around the stage. We used a ruler to keep the spacing even.
- Let the show begin! Lisa narrated while Mike jumped the characters in and out of scenes. Emily filmed the performance, and we all laughed during the bunny-and-egg dance scene.
Helpful Idea: Use a flashlight to cast shadows on the back of the box and make your puppet theater even more dramatic.
7. Bunny Basket Tags
Materials Needed:
- Easter coloring pages
- Hole punch
- Ribbon or yarn
- Safety scissors
- Markers or pens
Steps:
- Find a small character or cute Easter element from your coloring sheets. Lisa picked a chick with a bow, and Mike went for a smiling egg with arms. We had fun picking who was giving their tag to whom.
- Let your kids color the designs with their favorite tools. Lisa added sparkles, while Mike used stickers and crayon shading. This step also helps build fine motor skills.
- Cut out the finished image. Punch a hole at the top and use that space to string ribbon through. Lisa asked for a purple ribbon with polka dots. Mike wanted to use yarn because “it’s soft.”
- Help your child write a name and short message on the back. Lisa wrote, “To Grandma, Love Lisa,” while Mike asked me to write his message but signed it with a big green M.
Pro Tip: You can laminate the tag before adding it to a basket so it becomes a keepsake or even a bookmark afterward.
If your little ones enjoyed these Easter activities and exploring our Easter coloring pages, there’s a whole world of seasonal fun waiting. Be sure to check out our summer coloring pages, Christmas printables, Halloween crafts, and Thanksgiving sheets for more creative moments with your family. Every season brings a new reason to color, laugh, and grow together!
Download Free Coloring Pages:
Leave a Reply