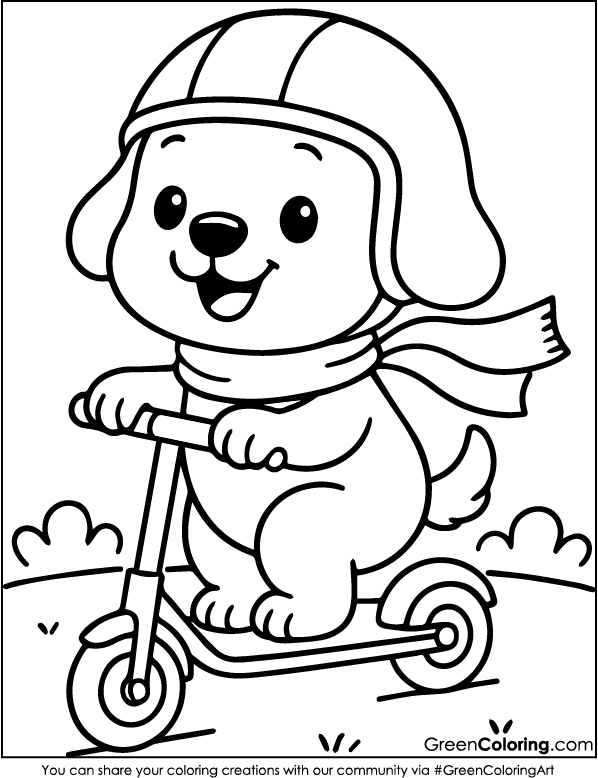
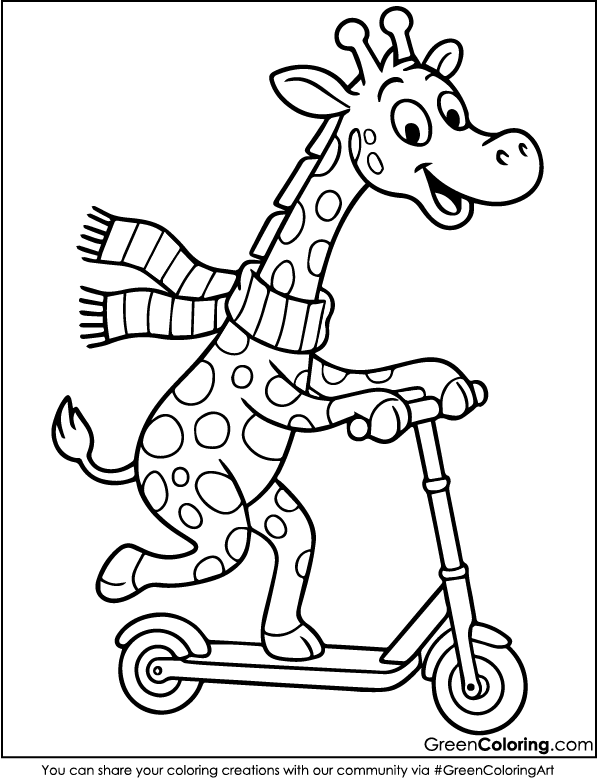
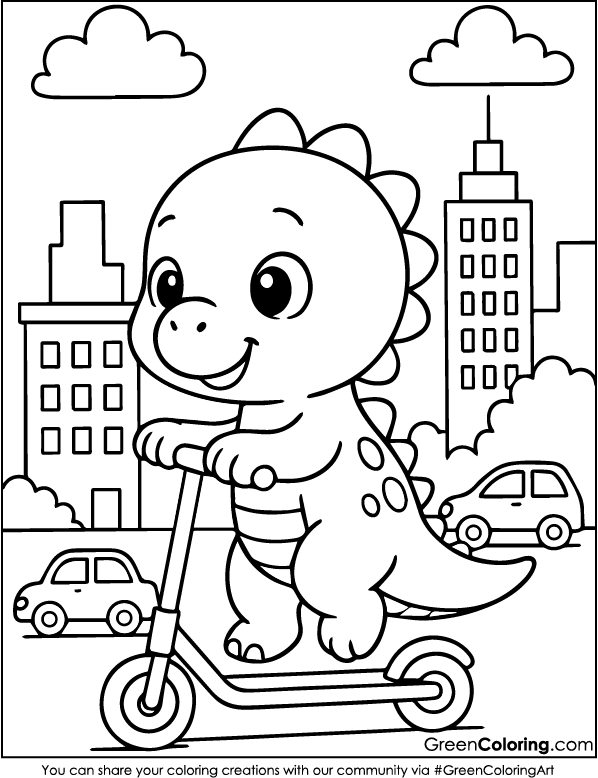
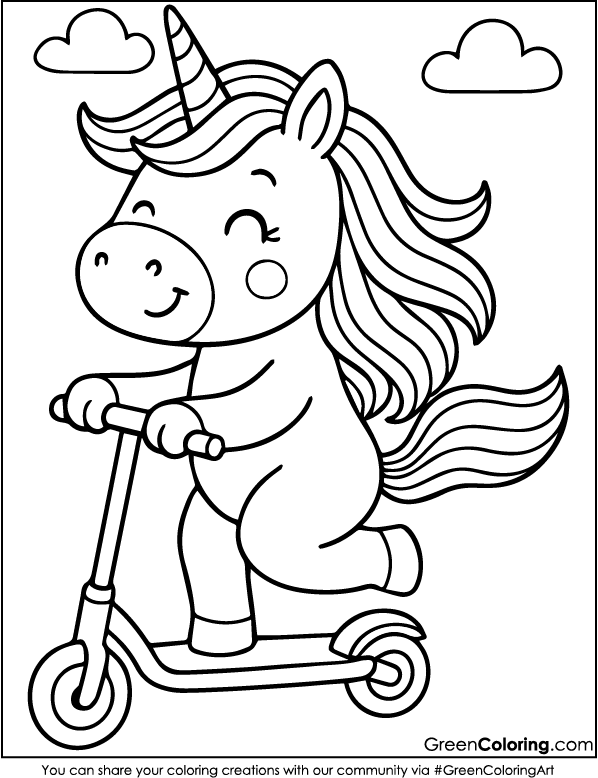
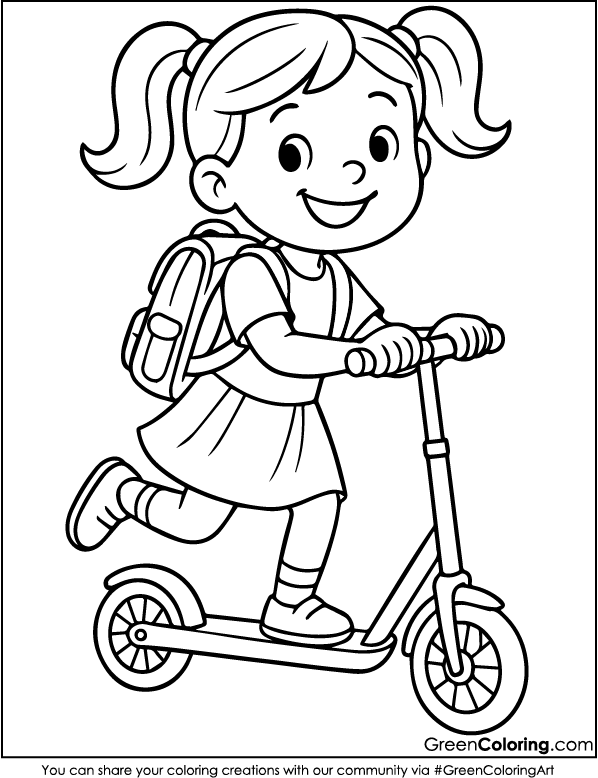
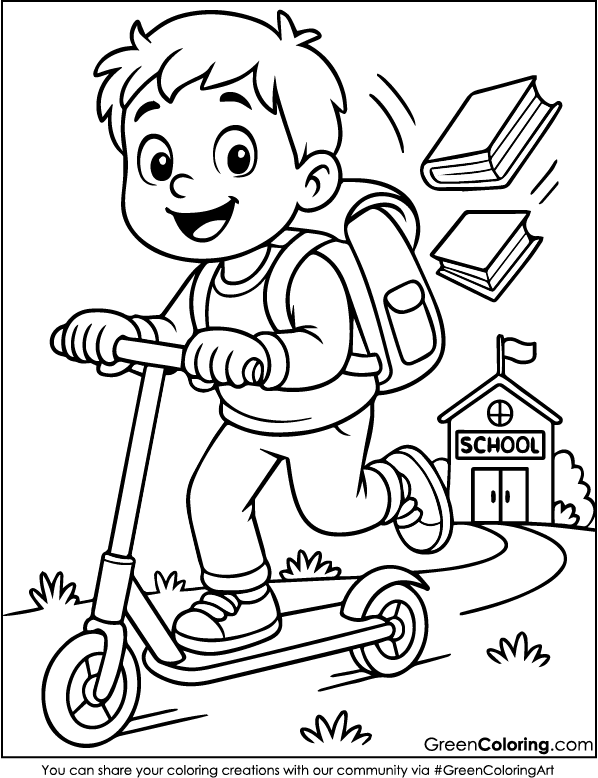
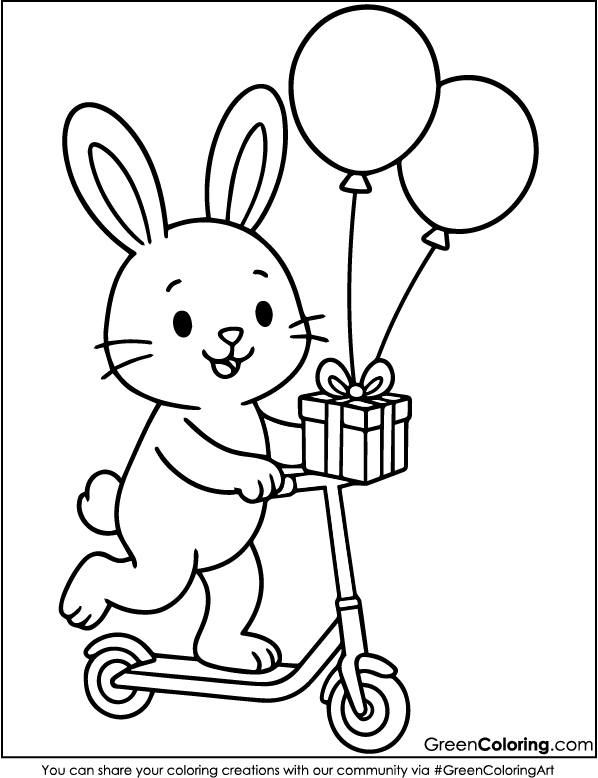
7 Crafts for Kids Using Scooter Coloring Pages
Hey, my name is James, and I’m a crafty dad who has spent years making fun, easy projects with my kids, Lisa and Mike. People at home call me the “printer boss” and the “glue stick king” because I’m always ready to make something new out of a blank page, especially when it comes to scooter coloring pages.
In this article, I’ll show you 7 of our all-time favorite scooter-themed crafts. My kids have tried, loved, and laughed at all of them. These activities, like putting together puzzles, making thank-you walls, or lighting up jars, are all about getting to know each other, being creative, and having fun.
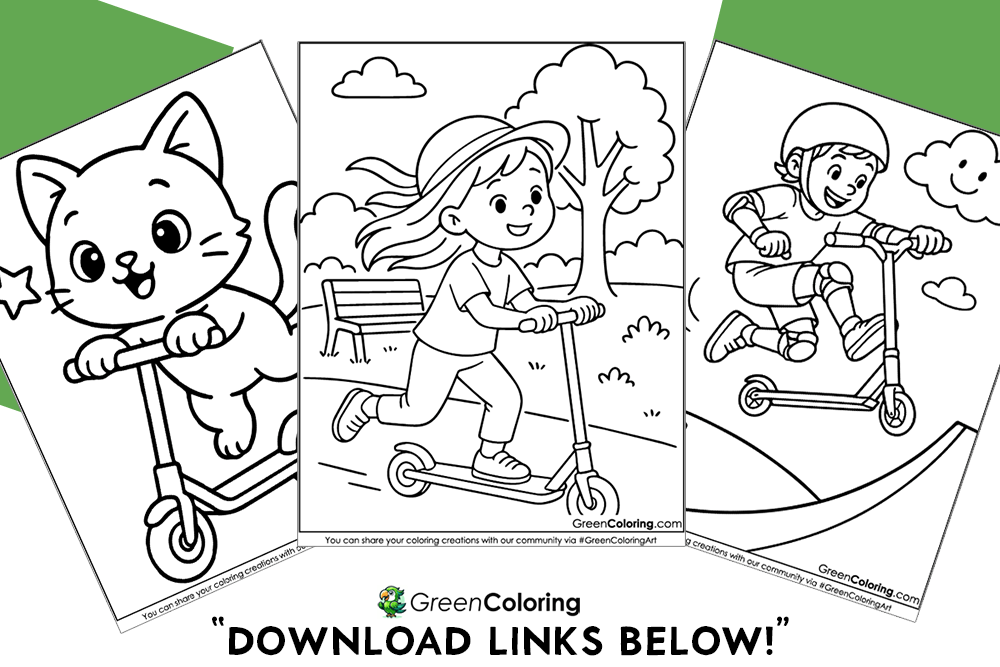
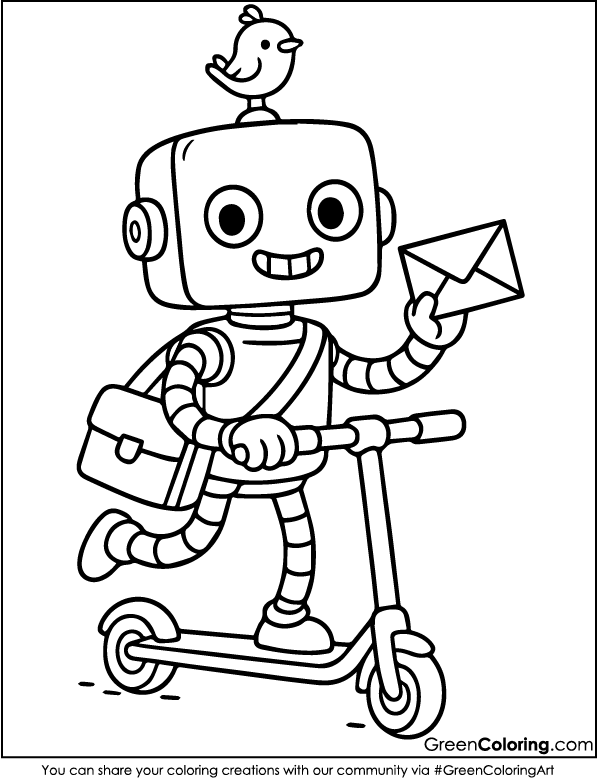
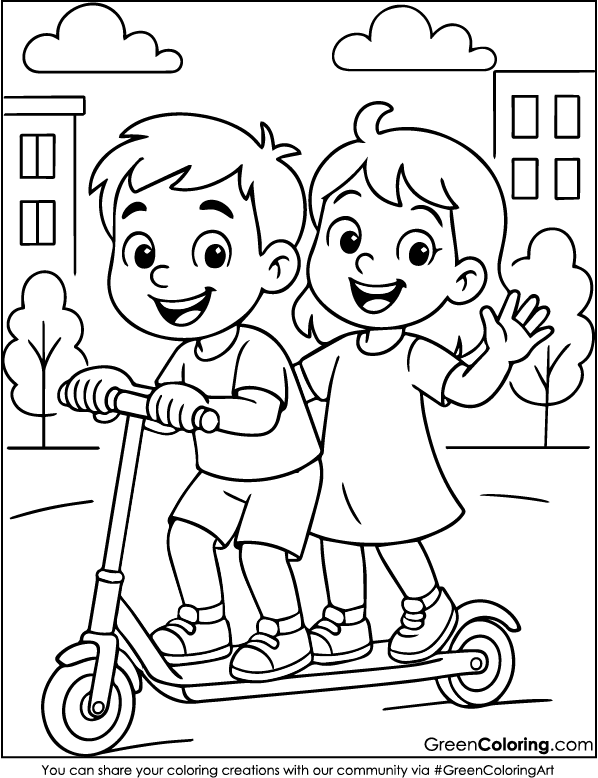
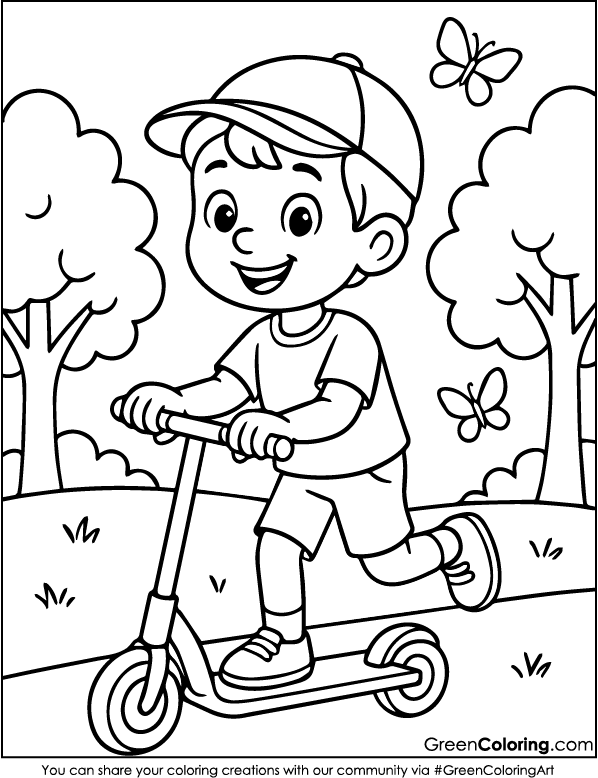
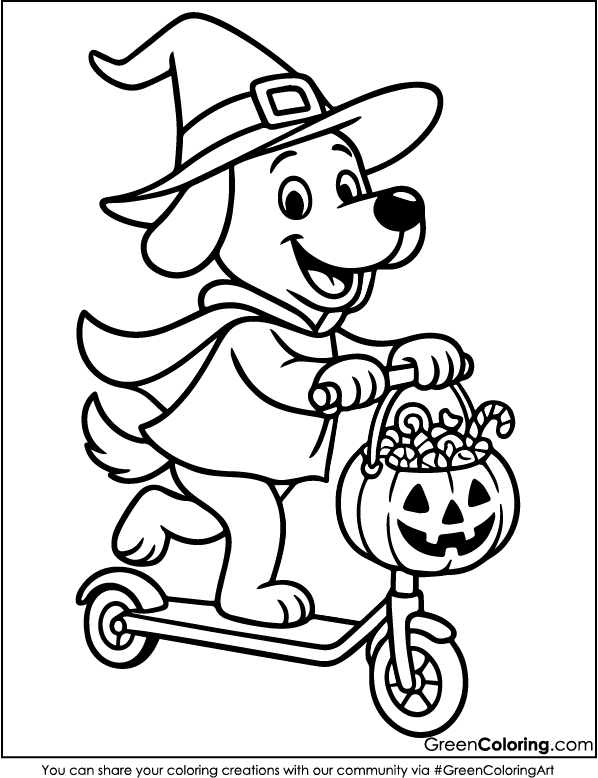
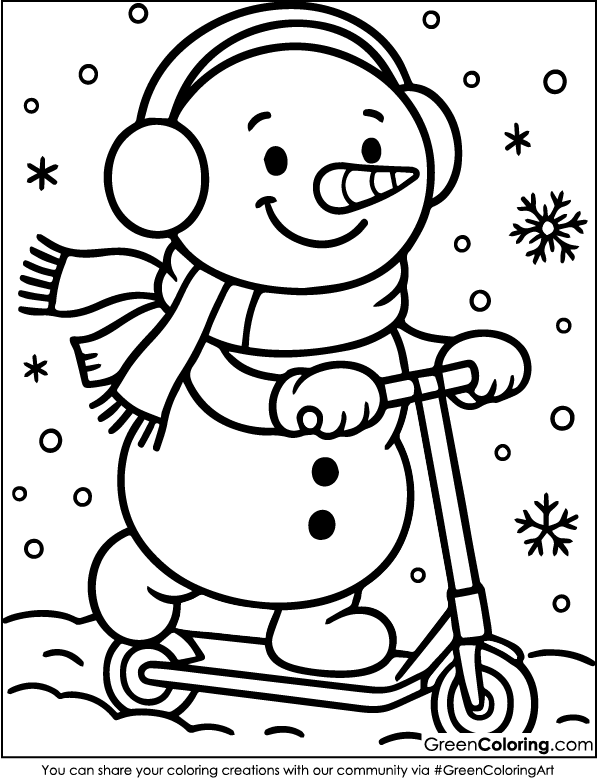
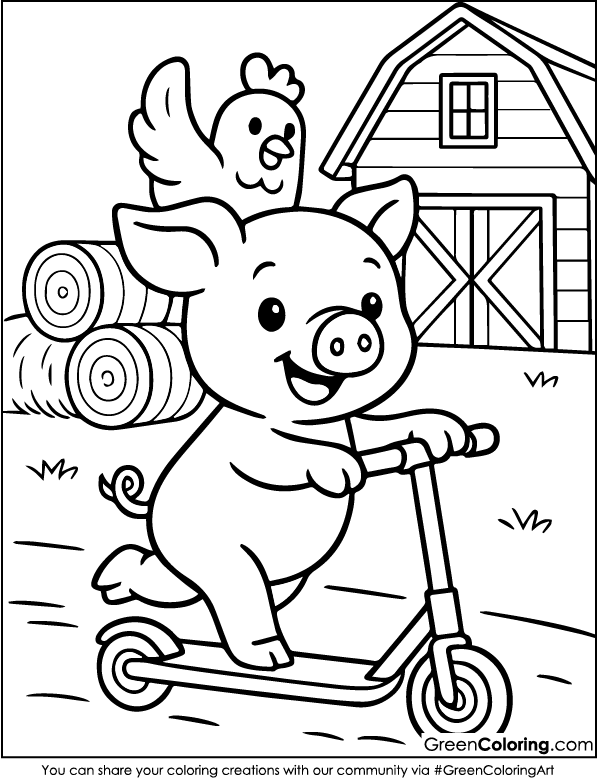
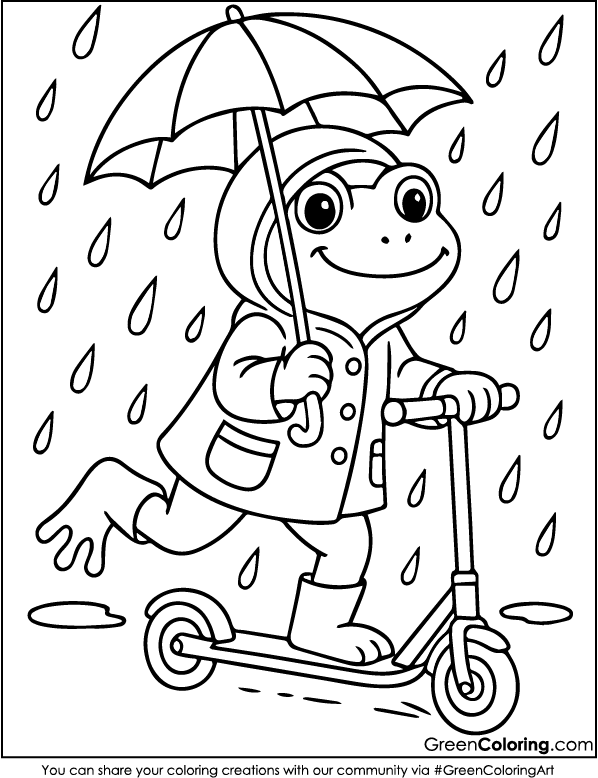
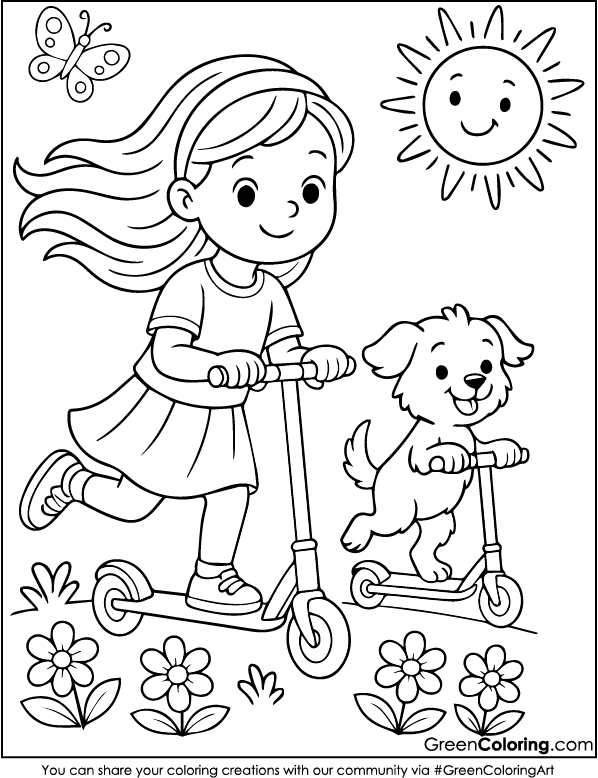
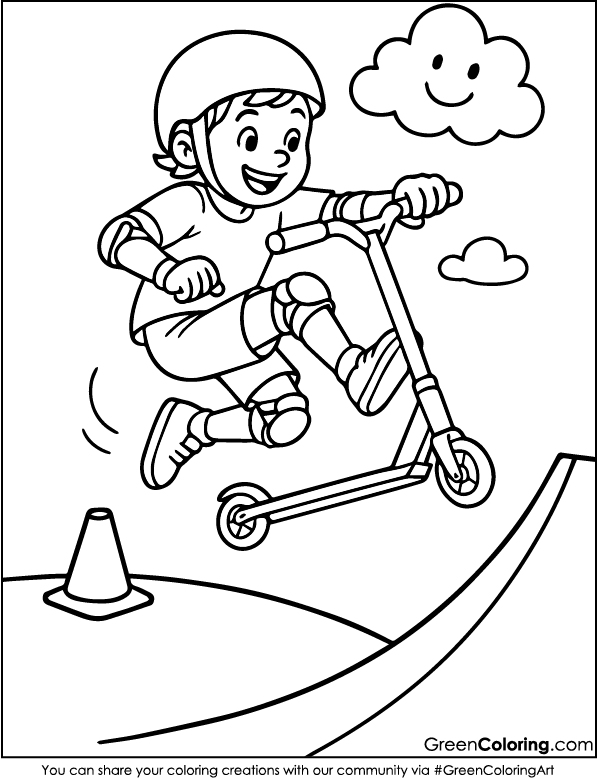
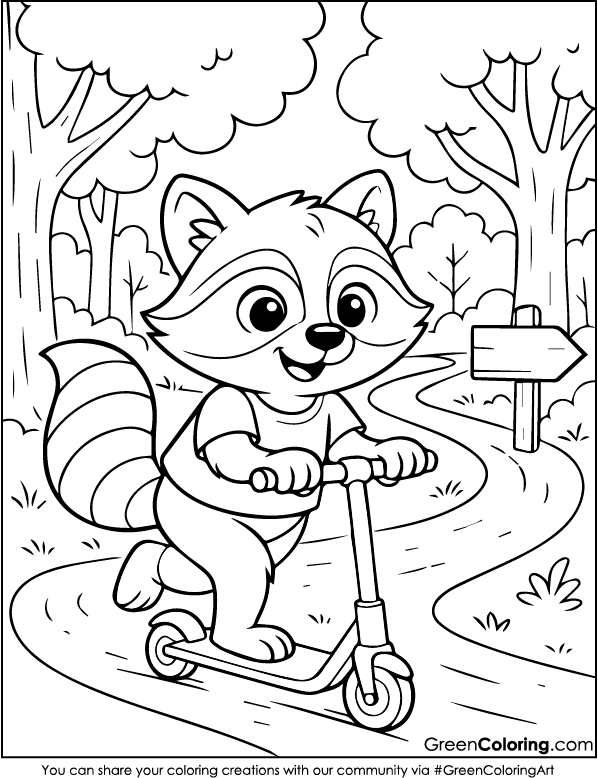
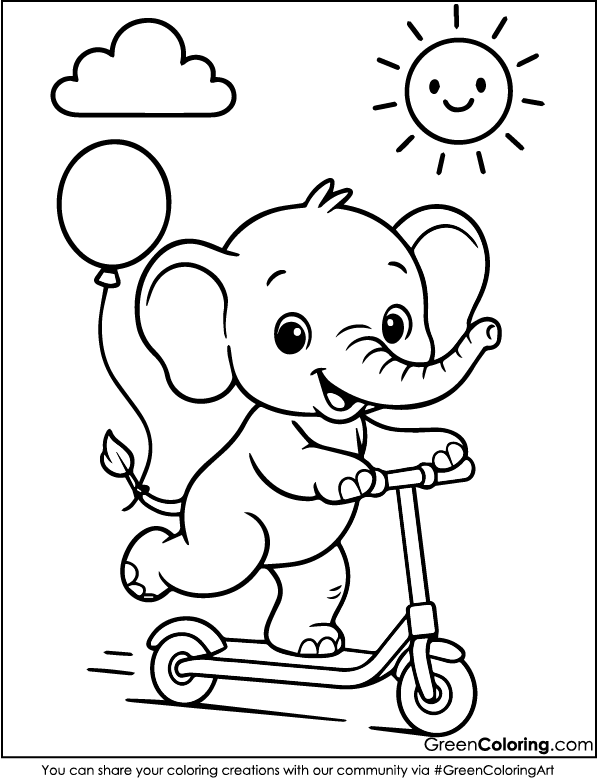
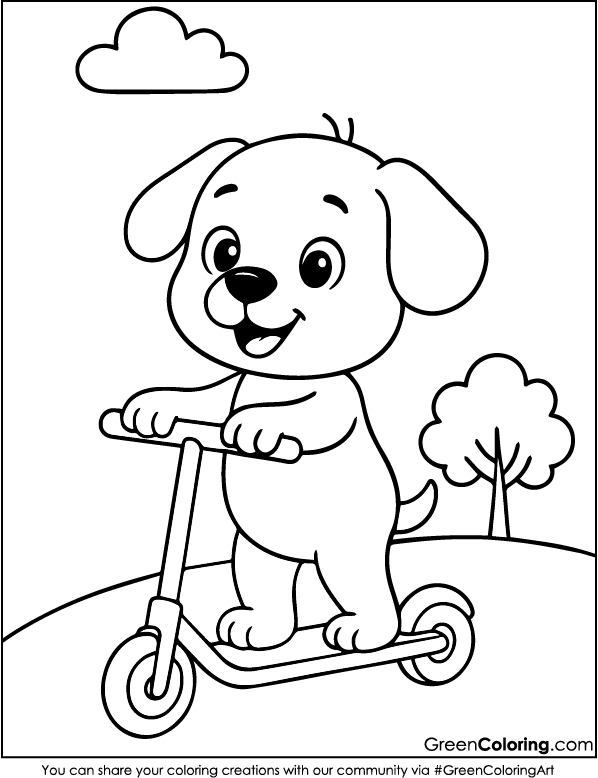
The best part? You can print out these free scooter coloring pages right below. Get some crayons and print them out. Then, sit back and watch your child’s imagination run wild.
1. Scooter Collage Adventure
Materials Needed:
- Printed scooter coloring pages
- Safety scissors (or ask an adult for help)
- Glue stick
- Large sheet of colored paper
- Markers, crayons, or colored pencils
Steps:
- First, pick your preferred scooter coloring pages from the free printable PDF down below. Let your child choose the ones they most enjoy. Mike loves the ones with cool forms and bold wheels; Lisa always goes for the ones with swirls and flowers.
- Let your children color them in their preferred hues. Seeing Lisa meticulously color with pinks and purples while helping Mike keep his colors within the lines makes me very happy.
- Carefully cut out the scooters. Since Mike is only six, I always help him with the scissors. It’s also a great chance to teach him about safety and patience.
- Use the large colored sheet as your base. Let your kids glue the scooters in fun arrangements: racing, parked, jumping over ramps. Last week, Lisa made a racetrack, and Mike added a tree for the finish line!
- Around the scooters, add more details, including grass, sun, clouds, animals, or buildings. This allows them to create their own scooter universe and get imaginative.
Fun Tip: Add cotton balls as clouds or sponge-paint the background for texture. It makes the scene pop!
Pro Tip: If you laminate the collage afterward, it becomes a long-lasting memory piece you can hang in your child’s room.
2. Scooter T-Shirt Stencil (with Supervision)
Materials Needed:
- Scooter coloring pages
- Craft knife (adult use only)
- Plain T-shirt
- Fabric paint or markers
- Cardboard (to insert inside the shirt)
Steps:
- Print one of the bold PDF free scooter designs. It works better as a stencil if you choose one that is simple and with strong outlines.
- As a parent, carefully cut out the scooter shape using a craft knife. This part should never be done by a child.
- Place a piece of cardboard inside the T-shirt to keep the paint from seeping through. Mike once skipped this step and ended up with scooter prints on both sides. Lesson learned!
- Tape the stencil gently onto the shirt. Then let your child use fabric paint to dab over the stencil. Lisa loves using glitter fabric paint for an extra sparkle effect.
- Allow the shirt to dry fully. It usually takes 24 hours, so we hang it by the window where the sun can help.
Safety Tip: Always do the cutting in a well-lit area away from kids. Let your child handle only the painting part.
Smart Tip: Use a sponge instead of a brush for smoother edges. Emily showed us this hack, and it works wonders!
3. Scooter Mini Parade Float
Materials Needed:
- Shoebox
- Colored paper
- Colored sticks or straws
- Scooter coloring pages
- Tape and glue
- Stickers, buttons, or any fun craft leftovers
Steps:
- Allow your child to choose their preferred scooter designs and color them in their own original manner.
- While they’re coloring, prepare the shoebox by wrapping it with colored paper. We like using bright yellows and blues to make it festive.
- Help your child glue or tape the scooter cutouts onto the sides of the shoebox. Lisa always adds glitter glue trails behind the scooters to look like speed sparks.
- Add flags made with straws and small paper triangles. Mike loves using stickers on the flags to represent his imaginary scooter teams.
- Let them decorate the float with anything they like: buttons for wheels, pom-poms for balloons. It’s about expressing their creativity.
Pro Tip: Add action figures or small toys as drivers for the scooters. It adds life to the float and makes storytelling even more fun.
We made this during a rainy afternoon last fall, and Lisa even made one for her Hello Kitty doll to ride on. Mike made his float crash into the wall (on purpose), and we all laughed so much!
4. Scooter Matching Game
Materials Needed:
- 2 copies of 6 different scooter coloring pages (mini versions)
- Cardstock
- Glue stick
- Scissors
Steps:
- From the free coloring pages, pick six different scooters; print two of each in smaller versions (around three inches tall).
- Color each set. This part is super fun. Lisa loves to create a theme like “princess scooters” or “rainbow racers.”
- Glue each scooter onto a small piece of cardstock to make them more durable. Mike always wants to add googly eyes to his cards; it makes the game even sillier.
- Cut out the cards neatly. We usually use a corner cutter to round the edges for safety.
- Shuffle the cards and lay them face down. Play a memory matching game; flip two at a time to find the pair.
Fun Tip: Time your game for an extra challenge. Lisa and I do “Speed Match,” where she has 2 minutes to find all the pairs.
Genius Tip: Laminate the cards to make them last longer. Great for car rides or waiting at the doctor’s office.
5. Scooter Scene in a Jar
Materials Needed:
- Clean jar with lid
- Scooter coloring pages
- Cotton balls
- Construction paper
- Tape
- Glitter (optional)
Steps:
- Choose a small scooter from the coloring pages and color it to match a theme. Lisa once made a sunset scooter with orange and pink tones. Cut out the scooter carefully, making sure it’s small enough to fit inside your jar.
- Cut a strip of blue construction paper and tape it to the inside back of the jar to create a sky or road background. You can also draw clouds or trees directly on the paper.
- To make the scooter stand up, fold a strip of paper like a little stand and tape it to the bottom of the scooter. Then, tape the base of the stand to the jar’s bottom. Mike once put his scooter on a “grassy hill” made from green felt; it was adorable.
- Fill in the bottom of the jar with cotton balls to look like clouds, bushes, or even puffs of exhaust. You can glue them down or let them float freely for a more playful look.
- Add a sprinkle of glitter to give the scene a magical feel. Carefully screw the lid back on and shake gently to see the sparkle settle.
Pro Tip: Add a small battery-powered tea light under the jar to turn it into a cozy night light. Lisa keeps hers glowing on her shelf.
Last month, Lisa made one for her grandma with pink clouds and a scooter flying through them. Grandma loved it so much she put it right by the kitchen window. For more inspiration on creating sensory jars for kids, check out the Understood.org guide.
6. Scooter Puzzle Cube
Materials Needed:
- 6 small cardboard squares (3×3 inches)
- Scooter coloring pages (mini designs)
- Glue
- Clear tape
Steps:
- Print on a small scale six unique scooters from the free printable sheets. Let your children color every one using a whimsical theme. Lisa employed rainbow colors, and Mike created “thunder scooters” featuring lightning bolts. Talk about the personality of every scooter; it gives the craft narrative.
- Glue each finished drawing to one of the cardboard squares. Press down firmly and let them dry completely. Sometimes we lay a book on top to keep them flat.
- Once dry, cover each drawing with clear tape or self-adhesive film. This gives the surface a shiny finish and protects the artwork.
- Use the pieces to play a puzzle game. Stack them into a cube, or lay them flat and mix them up. Ask your child to arrange them in the correct order to complete the scooter designs. Mike often mixes the pieces up just to laugh when the scooters look “all jumbled.”
- Write numbers on the rear for an additional challenge to assist your child in direction. Lisa enjoys playing this as a “Scooter Detective,” using the numbered clues to help solve the puzzle.
Smart Tip: Store the puzzle pieces in a small cloth bag or sandwich bag. Include a small printed image of the full puzzle so your kids can use it for reference. For more ideas on puzzle-based activities for early childhood development, visit earlychildhood.qld.gov.au.
7. Scooter Thank You Wall
Materials Needed:
- Large poster board
- Scooter coloring pages
- Markers and glitter pens
- Photos of family or friends
- Tape
Steps:
- Start by printing and coloring several scooters together. Lisa likes to dedicate each scooter to someone she loves. She made a sparkly pink one for her aunt and a rainbow scooter for her teacher. Let your kids take their time adding hearts, stars, and even little messages on the scooters.
- Divide the poster board into sections for different people: parents, grandparents, friends, or teachers. Use colorful markers to label each one.
- Glue one scooter into each section, then write a short thank-you message underneath. Mike needed help writing his, so I asked him what he wanted to say and wrote it down for him. He said, “Thank you, Daddy, for pushing me on the scooter even when I was scared.” It made me smile so big.
- Decorate each area with glitter pens, stickers, or ribbon. Lisa added flower stickers all over hers, and it looked like a scooter garden.
- Add photos of the people you’re thanking. We glued a family photo of us riding scooters at the park last spring. Every time we walk by the wall, it brings warm memories.
Helpful Tip: This project makes a perfect gift for holidays, Mother’s Day, or even the first day of school.
Final Thoughts
These 7 scooter crafts are more than just a good way to pass the time. They bring kids and their parents closer together, spark their imaginations, and turn simple materials into keepsakes that kids will treasure forever. Lisa says, “Crafting is like going on a scooter ride; you never know what fun you’ll find around the corner!”
Whether you’re building puzzles, glowing up jars, or making thank-you frames, you’re also growing your child’s confidence, creativity, and emotional expression. If your little one loves things that go, be sure to check out our bicycle, motorcycle, and car coloring pages for even more fun, movement-themed activities.
These projects are a celebration of connection, colors, and creativity. So grab your scissors, fire up your imagination, and roll into an afternoon of joyful crafting.
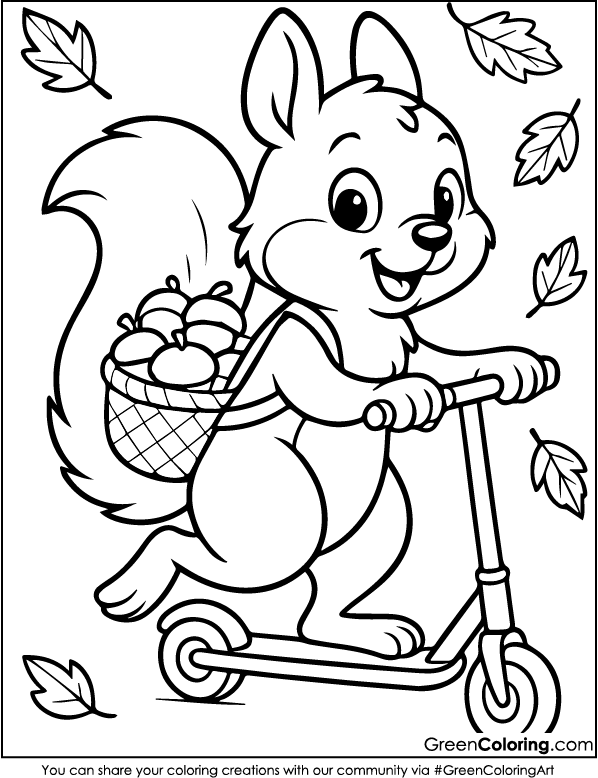
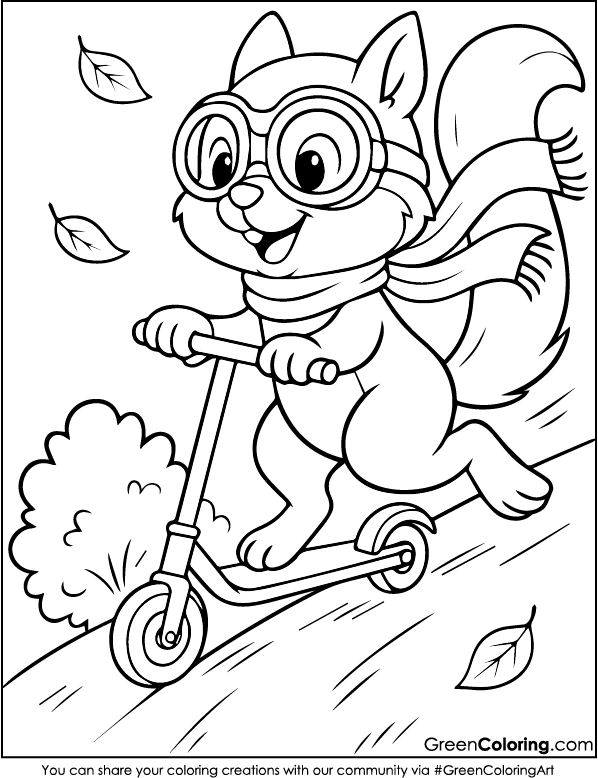
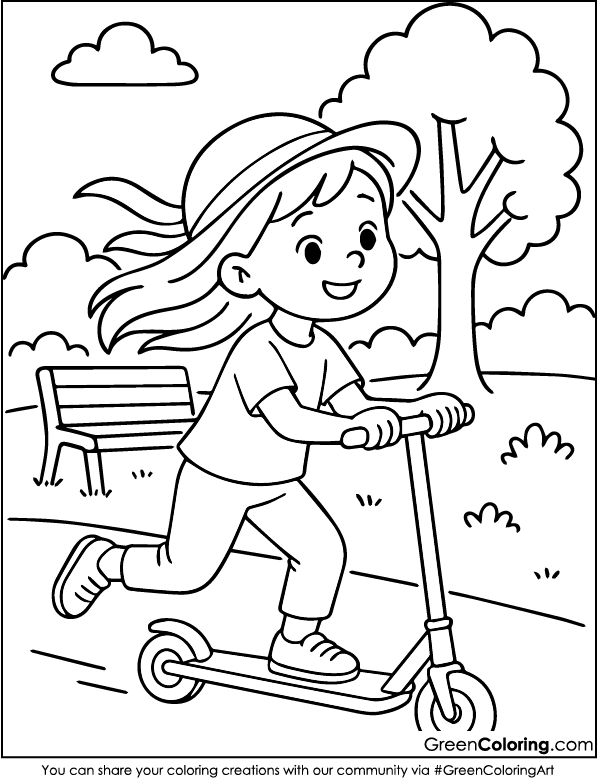
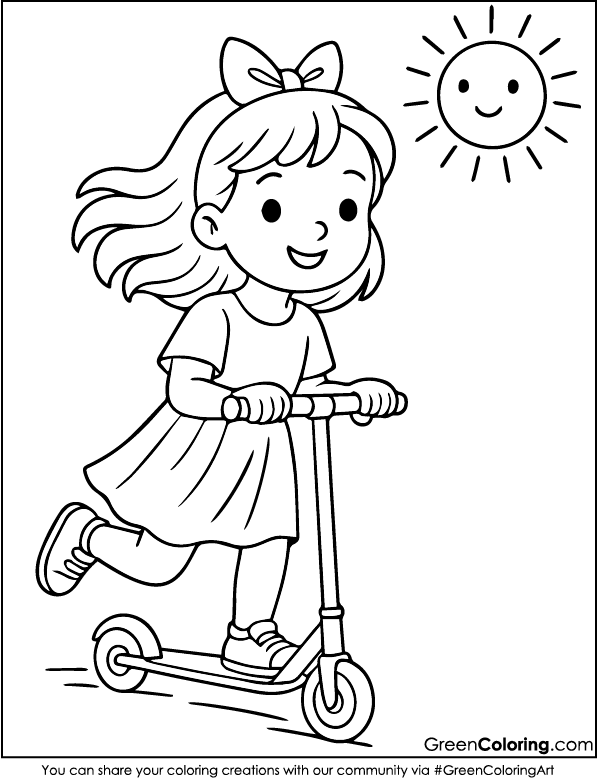
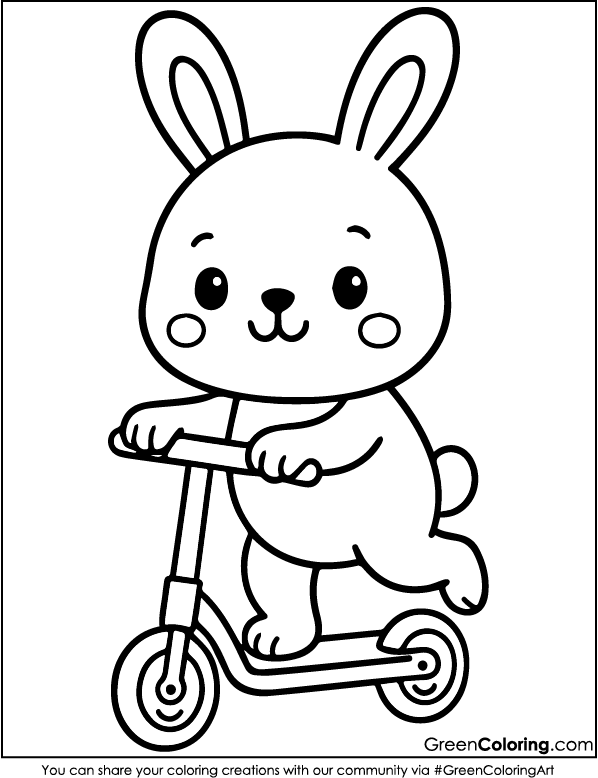
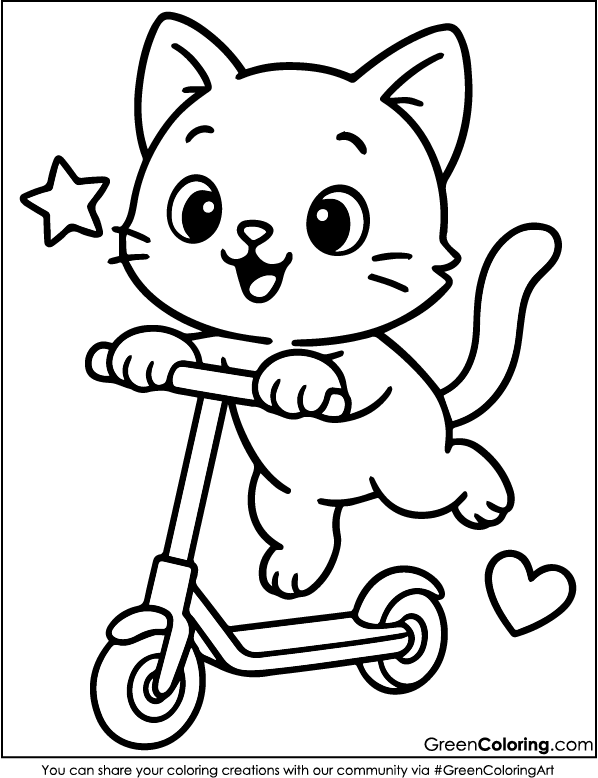
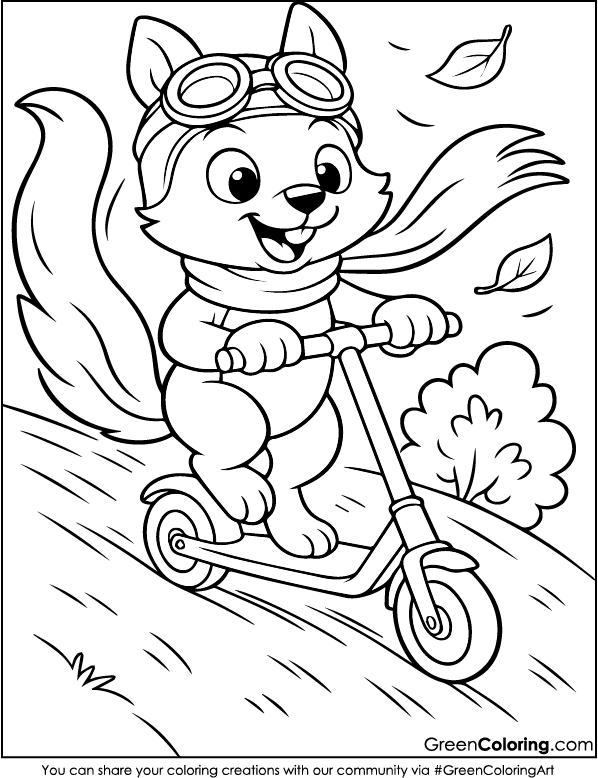
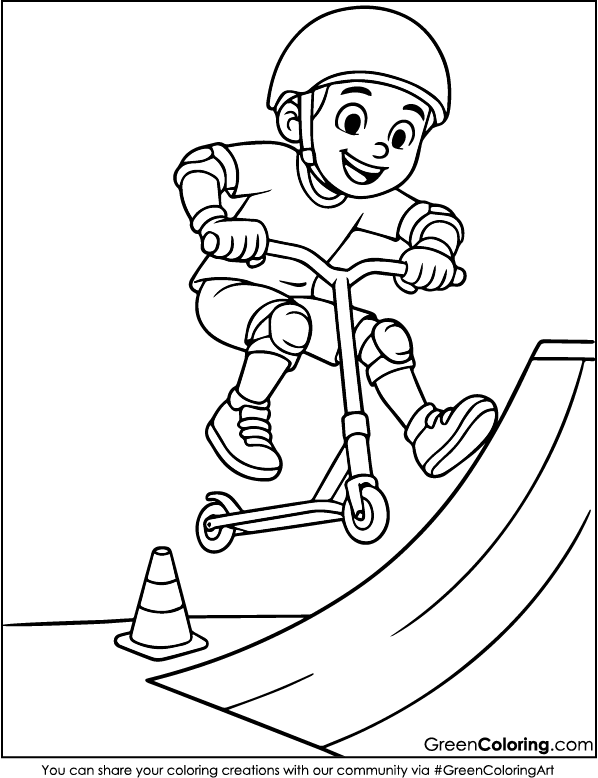
Download Free Coloring Pages:
Leave a Reply