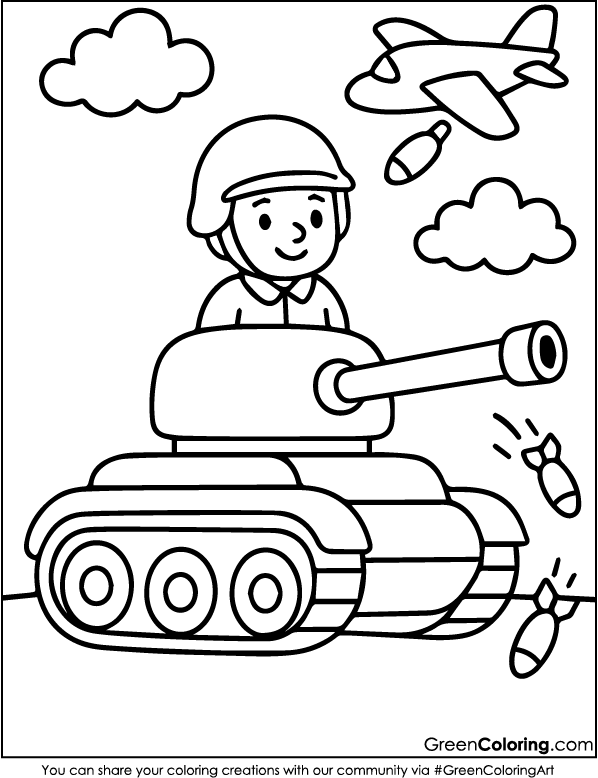
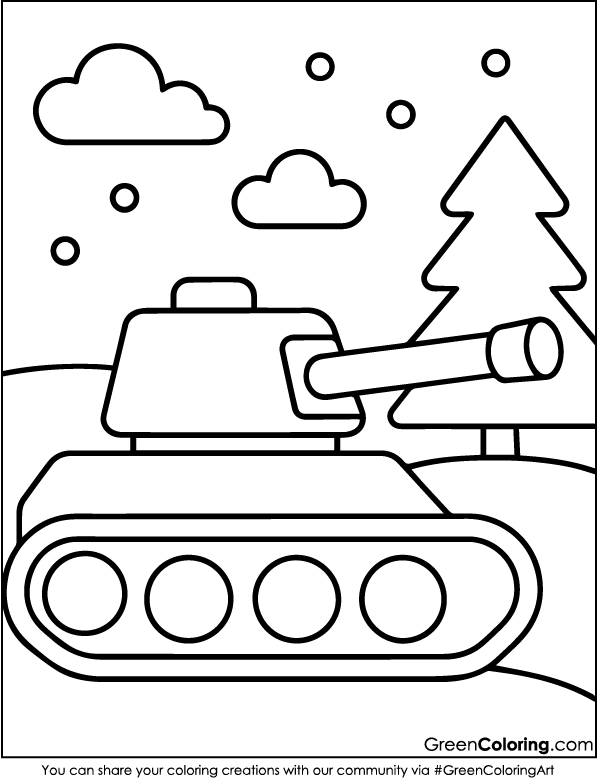
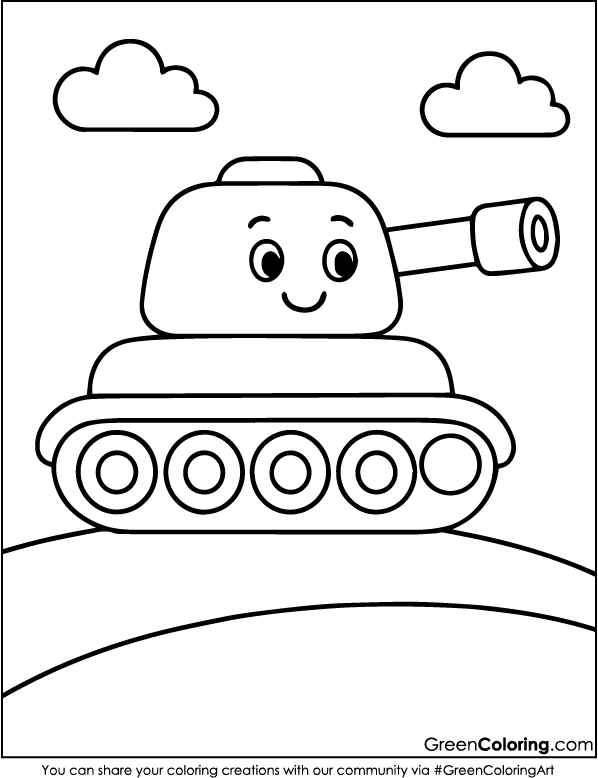
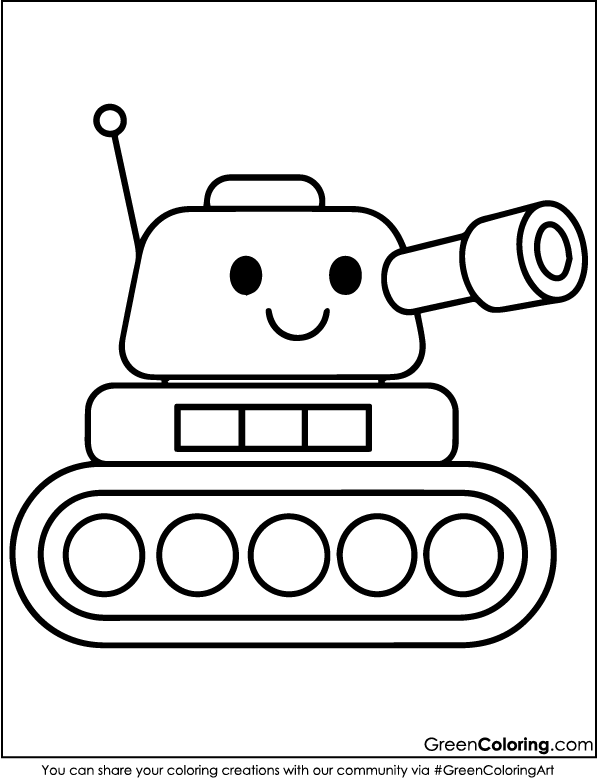
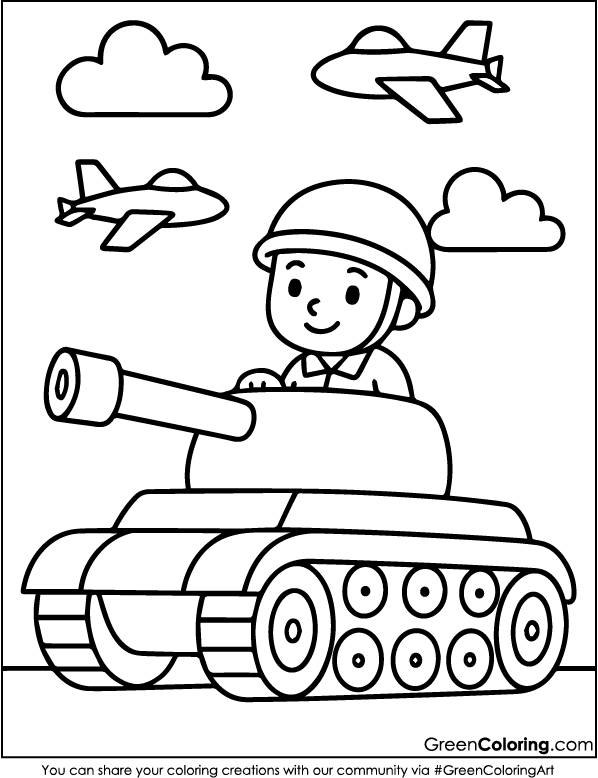
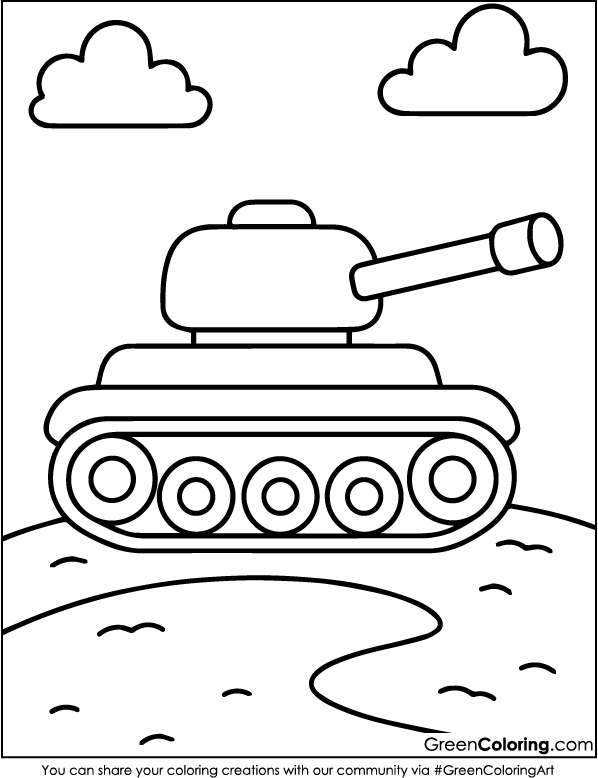
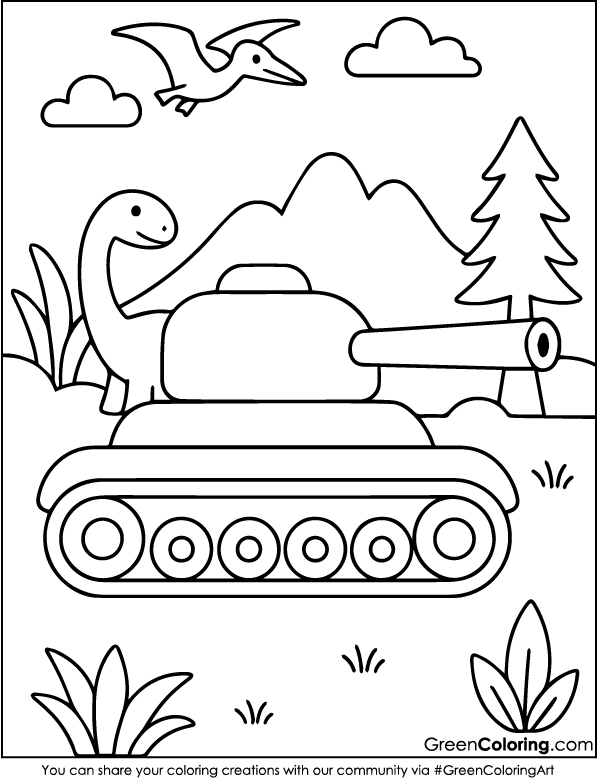
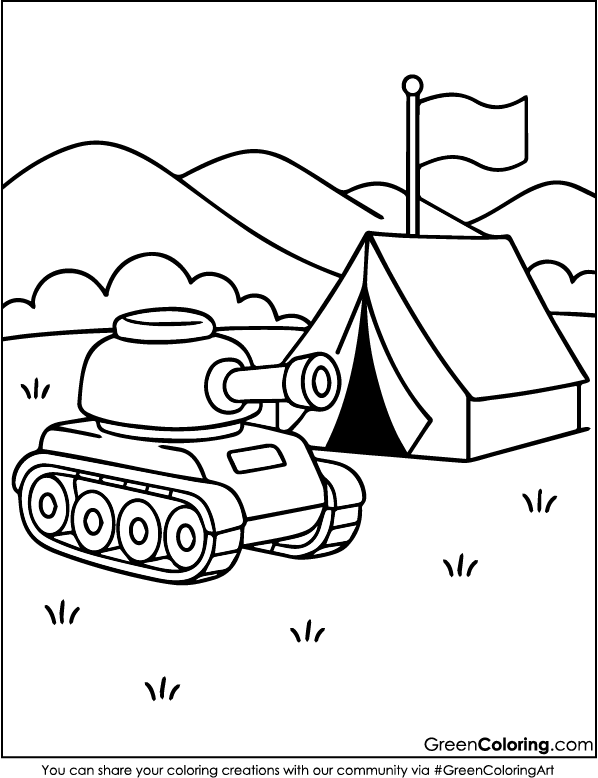
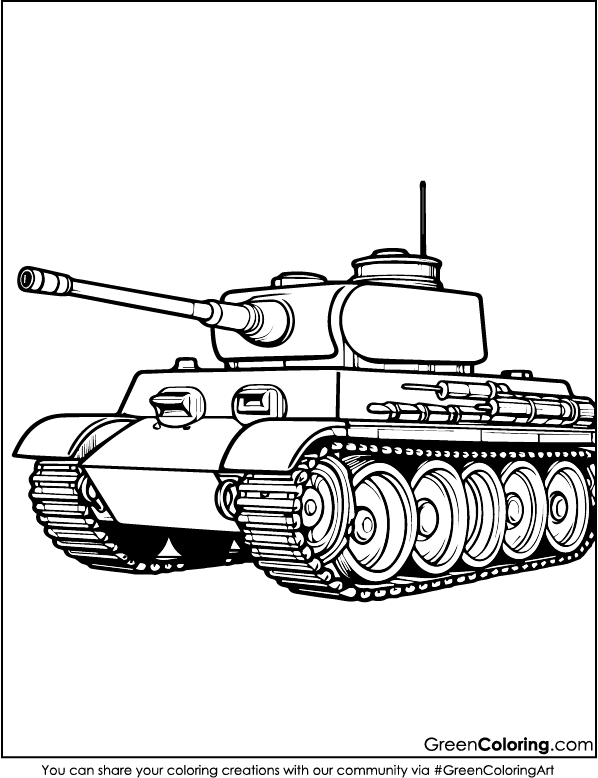
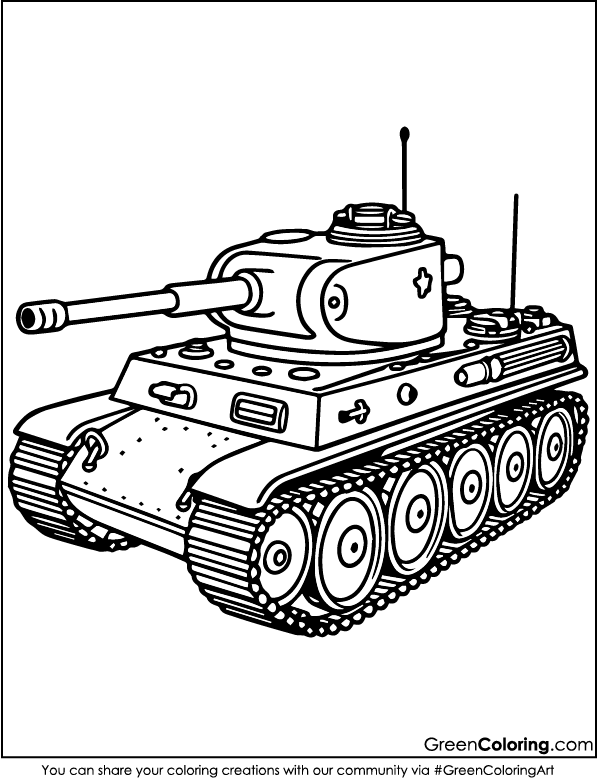
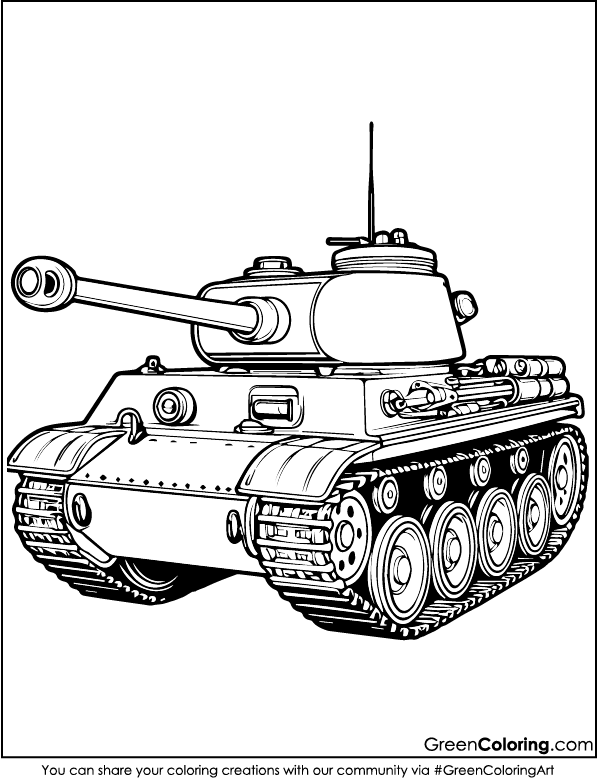
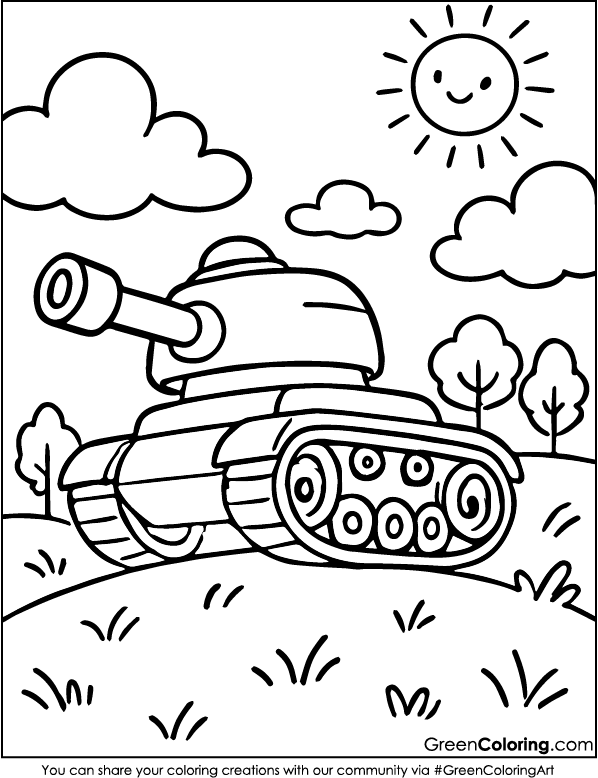
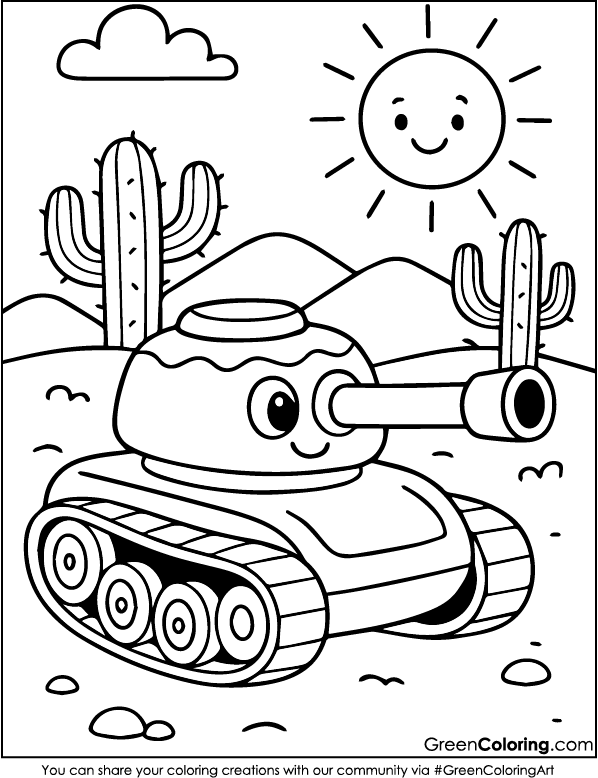
7 Crafts for Kids Using Tank Coloring Pages
Last week, on a cool and rainy Saturday afternoon, we were stuck indoors with nothing exciting planned. That’s when I printed out a few of the free tank coloring pages in PDF format that I uploaded for you just below this article, and boom, an entire afternoon of laughs, glue, crayons, and a lot of tank adventures began.
As a former private school teacher and now part of the GreenColoring community, I’m James, and I love creating hands-on projects with my two wonderful kids, Lisa and Mike. These crafts are great for building fine motor skills, boosting creativity, and having good, old-fashioned family fun.
Let me show you 7 original, safe, and exciting crafts using tank coloring pages. Whether it’s a rainy day, summer break, or you just want to disconnect from screens for a bit, these activities will keep your little ones busy, happy, and learning. For more insights into why crafting helps child development, visit The Children’s Museum of Sonoma County.

1. Tank Pop-Up Card
Materials Needed:
- Tank coloring pages
- Cardstock or thick paper
- Glue stick
- Scissors (adult supervision required)
- Markers or crayons
- A ruler
Steps:
- First, print out one of the free tank coloring pages. I remember last week Mike chose a tank with big wheels and said it looked like a dinosaur with armor! We colored it together using green and blue, his favorite colors.
- After coloring, help your child cut around the tank drawing. Since Mike still struggles with scissors, I usually do this part for him while Lisa carefully cuts out her own. It’s a good idea to use safety scissors or supervise closely.
- Take a piece of cardstock and fold it in half. Then, using a ruler, make two small horizontal slits in the middle of the folded side (about 1 inch apart). Gently push that part inwards to create the pop-up base.
- Now glue the tank drawing on the pop-up tab. It should stand up when you open the card!
- Decorate the background. Lisa loves adding rainbows and stars to everything, even tanks! Let your kids add clouds, grass, or even a cartoon sun to make it cheerful.
Pro Tip: Use stickers or foil stars to make the scene more vibrant. Lisa once added a tiny Hello Kitty waving from inside the tank. For more inspiration on pop-up scenery crafts, visit Red Ted Art’s 3D crafts guide.
2. Tank Photo Frame
Materials Needed:
- Tank coloring pages
- Old photo frame or cardboard cut into a frame shape
- Glue
- Scissors
- Crayons or colored pencils
- One family photo
Steps:
- Let your children color one of the tank coloring sheets. We did this last month on a cool autumn evening beside hot chocolate. Emily even participated, and we had a great art night.
- Cut around the tank image, leaving a thin border once the tank is colored.
- Glue the tank around the edges of the photo frame or cardboard, like a border. You can cut and place parts of the tank (like wheels or a cannon) on the corners to make it look fun.
- Slide your favorite photo into the frame, maybe from a park trip or birthday.
Genius Hack: Add your child’s name with glitter glue on the top of the frame. Lisa loves seeing her name sparkle! For more expert advice on safe crafting tools and materials for kids of different age groups, check out Crayola’s official guide on child-safe art supplies.
3. Tank Puppet Show Set
Materials Needed:
- Tank coloring pages
- Popsicle sticks
- Glue
- Cardboard box (a shoebox works well)
- Scissors
Steps:
- Begin by picking and printing out a few different tank designs. Lisa and Mike like to name their tanks before they color them. Lisa once called hers “Princess Tanky,” while Mike shouted “Boom Boom Zoom” for his green-striped one. It makes the craft more exciting and personal.
- After coloring, help your child cut out each tank. If your little one is still learning scissors, like Mike, you can help while talking through what you’re doing to make it educational.
- Glue each tank onto a popsicle stick. Let them dry for a few minutes.
- Take your shoebox and cut out a window on one side to make a puppet show stage. Mike decorated his with stickers, while Lisa added stars and rainbows!
- Decorate the inside of the box with markers, cotton ball clouds, and paper trees. Let the kids imagine the battlefield or adventure zone.
- Use the puppets to put on a silly show. One time, Mike’s tank rolled into Lisa’s cardboard castle, and she dramatically declared a tank tea party. We laughed for ten minutes straight!
Fun Tip: Add voice effects or sound buttons (use a smartphone app) to make your puppet show feel like a real performance. Bonus points for audience toys like stuffed animals!
4. Tank Trophy Craft
Materials Needed:
- Tank coloring pages
- Paper or plastic cup
- Gold paint or yellow paper
- Glue
- Tape
- Scissors
Steps:
- Print and color a tank design using your child’s favorite colors. Lisa loves using sparkly purple markers, while Mike usually mixes in blue and brown. As they color, you can talk about what kind of award the trophy is for, “Best Tank Driver” or “Creative Commander.”
- Take a paper cup and paint it gold or wrap it in yellow paper. This will be the base of the trophy. While we waited for the paint to dry, Lisa made a paper crown for her trophy tank!
- Once the tank coloring is done, cut it out carefully and glue it on top of the upside-down cup.
- Add a custom label with your child’s name. Use a fun title like “Mike the Brave” or “Lisa the Tank Queen.”
- Decorate the trophy with paper stars, leftover stickers, or even old ribbon pieces. The more fun and colorful, the better!
Smart Tip: Save these trophies to give out during your own family craft award night. We tried it once on a quiet Sunday and turned it into a surprise ceremony with cheering and drumrolls!
5. Tank Battle Playmat
Materials Needed:
- Large paper or poster board
- Tank coloring pages
- Markers and crayons
- Scissors
- Glue
Steps:
- Get your kids to help create a battlefield on a big poster board. Consider hills, trees, rivers, roads, and even secret havens. Mike insisted on a volcano while Lisa sketched a lake, including a duck!
- Print and color many tank designs from the free PDF below. Promote diversity in colors; Lisa’s were pastel with hearts, and Mike created his look undercover.
- Cut out the tanks, either leaving them moveable so they may be rearranged during pretend play or gluing them straight to the playmat.
- Add small objects as tunnels, rolled-up paper strips, or bottle caps for boulders. Mike was quite proud of his hill created from a crumpled paper towel.
- Game time is now upon us. Set easy tasks including “cross the bridge,” “rescue the animal,” or “guard the treasure.”
Genius Hack: If you wish to move the tanks but still keep them in place, the genius hack is to use sticky tack under them. It’s reusable and kid-friendly.
6. Tank Door Hanger
Materials Needed:
- Tank coloring pages
- Cardstock
- Glue
- Scissors
- Ribbon or yarn
Steps:
- Let your child choose their favorite tank coloring page and go wild with colors. Mike once made a neon rainbow tank and declared it “The Rainbow Rumble 3000.” Lisa, of course, gave hers a royal crown and sparkly wheels. This is their chance to let their imagination shine.
- Cut out a big rectangle or oval from sturdy cardstock for the base of the door hanger. We usually let the kids pick their background color. Lisa loves light blue, while Mike always grabs the brightest red he can find.
- Glue the colored tank right in the center of the cardstock. Around it, add extras: star stickers, hearts, lightning bolts, or even cotton for smoke effects. Lisa once added feathers because her tank “needed wings.”
- Punch a hole at the top of the hanger and thread a piece of ribbon or yarn through it. Help your child tie a knot so it hangs securely on a doorknob.
- This is the best part: let them write a fun and personal message. Lisa read, “Keep out! Princess Tank on Patrol,” and Mike said, “Quiet! Tank Garage Repairs in Progress.” We laughed so hard the first time he said his tank needed an oil change.
Pro Tip: Clip a mini clothespin at the bottom to hang your kid’s latest drawing or message. Lisa uses hers to leave secret notes for me, sometimes it’s a doodle, sometimes a snack request.
7. Tank Memory Cards
Materials Needed:
- Tank coloring pages
- Cardstock
- Glue
- Scissors
Steps:
- Pick a few of the same tank designs and print two copies of each. Get your kids coloring. Lisa enjoys making each pair identical, like a puzzle, while Mike adds “spy disguises” like sunglasses and mustaches to his tanks. They’re always proud when they recognize their own silly touch.
- Cut out the tank images into equal-sized squares. This part can be great for practicing careful scissor skills, so take your time.
- Glue each square onto a piece of cardstock to make them thicker and more durable. Mike calls them “battle-ready cards.” Let them dry completely before the next step.
- Shuffle all the cards and lay them face down in rows. Take turns flipping two at a time to find matching tanks. When Lisa finds a pair, she does a happy dance every single time.
- Want to make it even more fun? Add in a couple of “wild tanks” with no matches and make up silly stories for them. One of ours was the “Lost Disco Tank” that danced around instead of fighting.
Fun Tip: Cover the cards with wide clear tape or self-adhesive laminating sheets to protect them from sticky fingers and accidental juice spills. Ours have survived long car rides and a beach day!
Final Thoughts
Tank coloring pages aren’t just for crayons; they can turn into action-packed, imaginative, and educational crafts. If your kids love things that fly too, make sure to check out the rocket, airplane, and helicopter coloring pages we’ve shared on our website for even more adventures.
As a dad, I always look for ways to connect with my kids that also help them learn and grow. Lisa gets creative, Mike burns off some energy (in a good way), and Emily usually joins in with smiles and snacks.
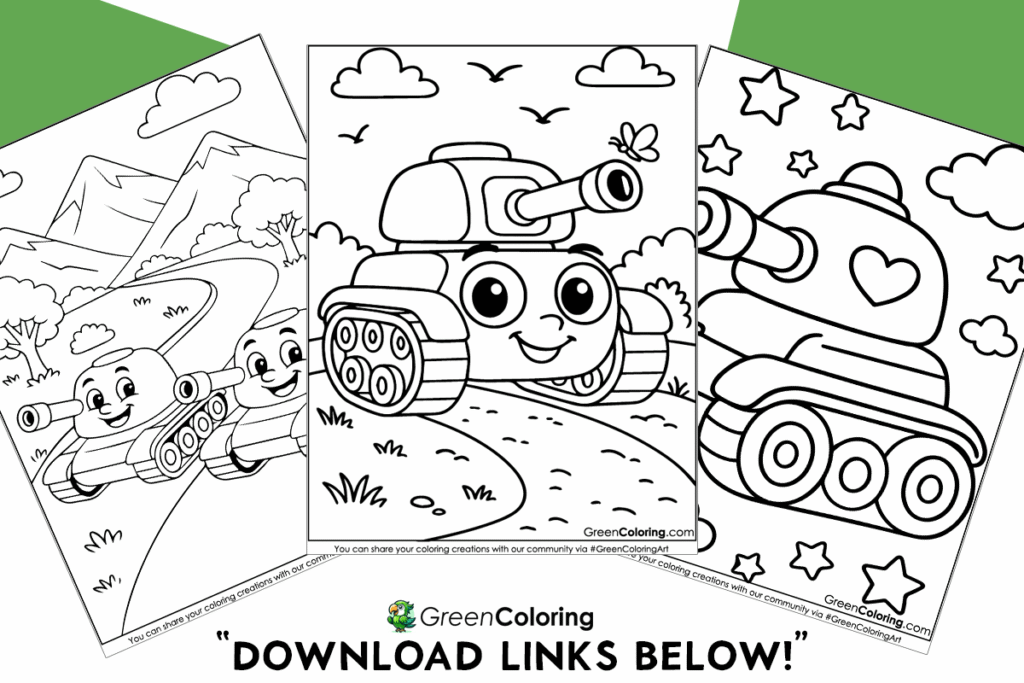
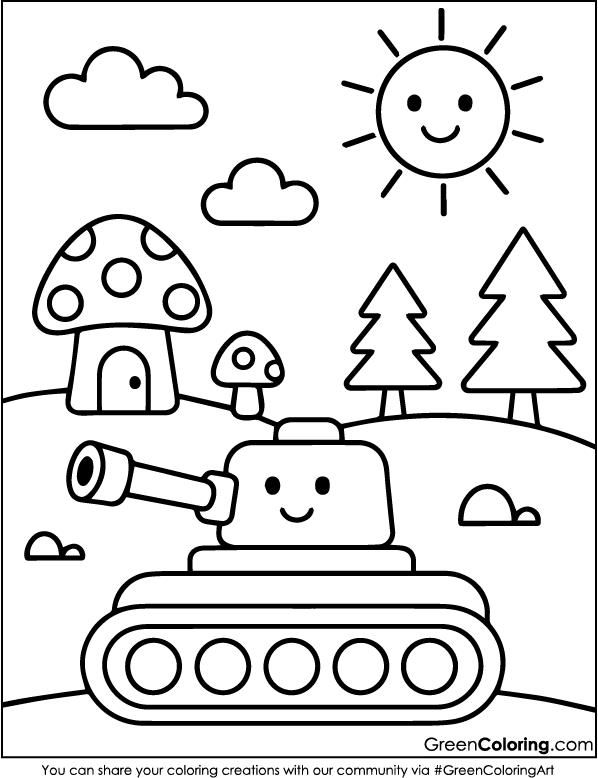
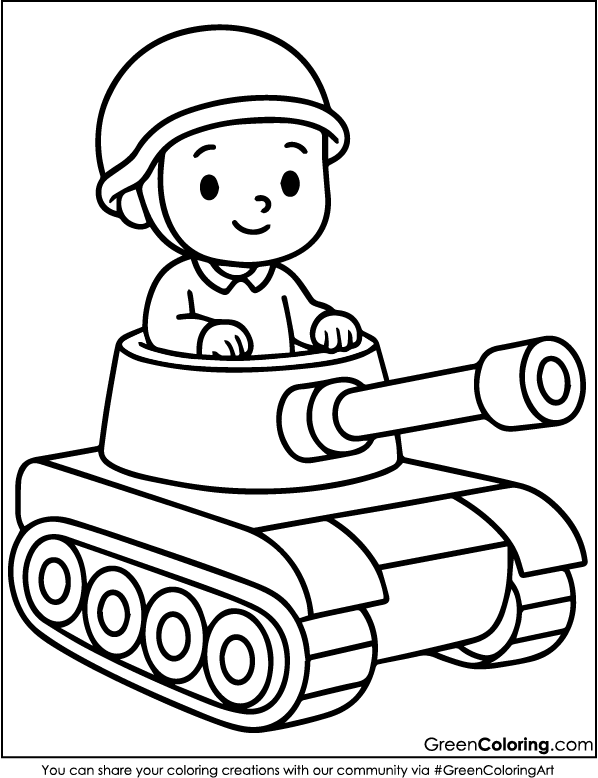
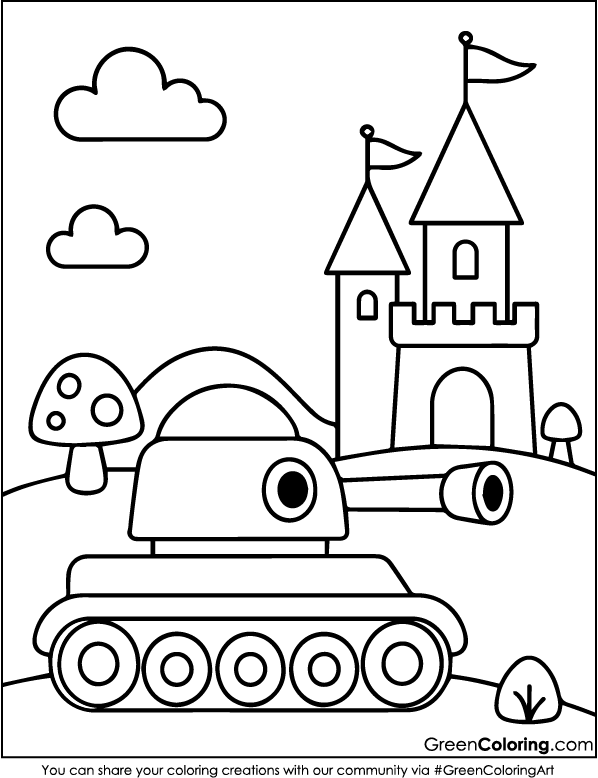
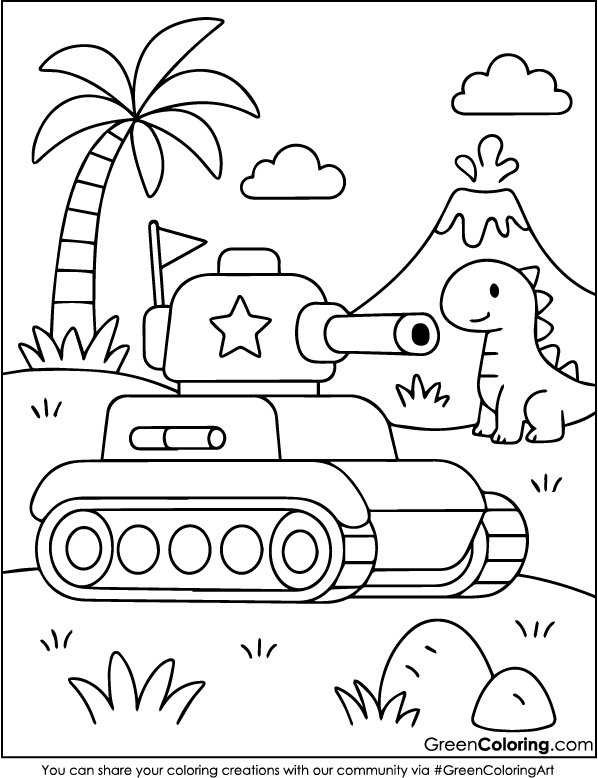
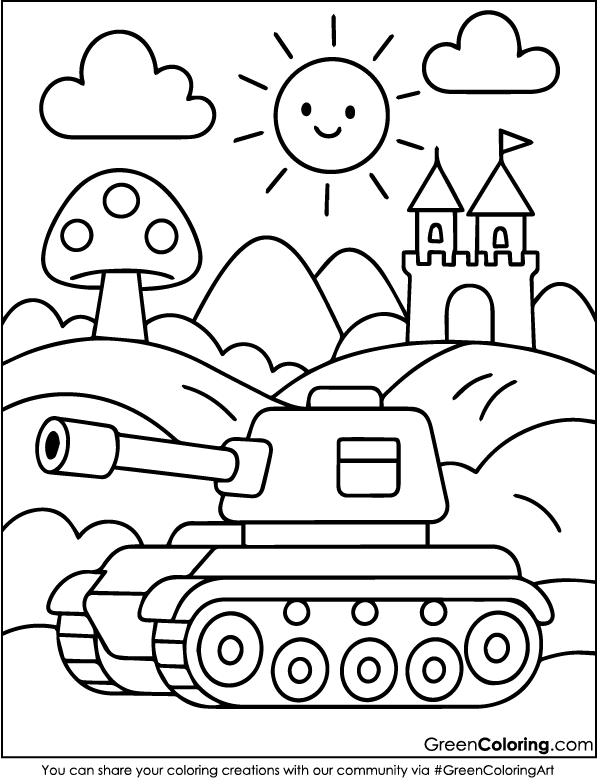
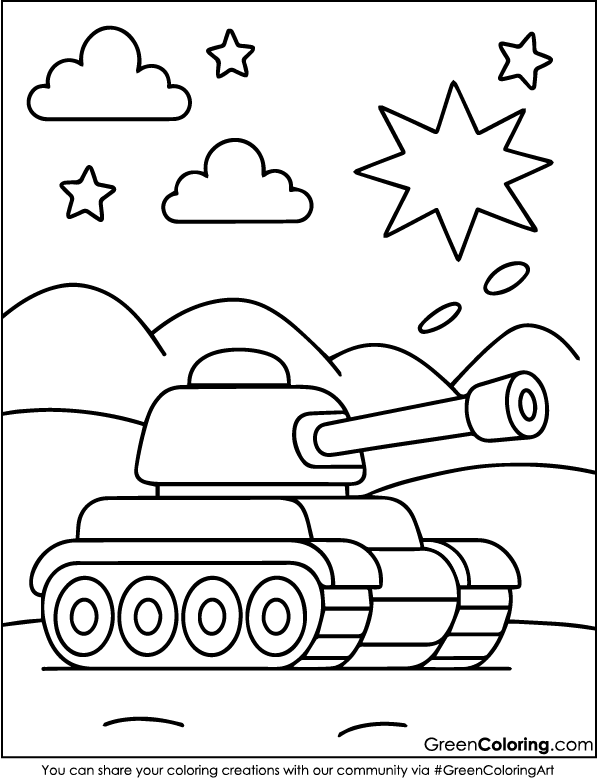
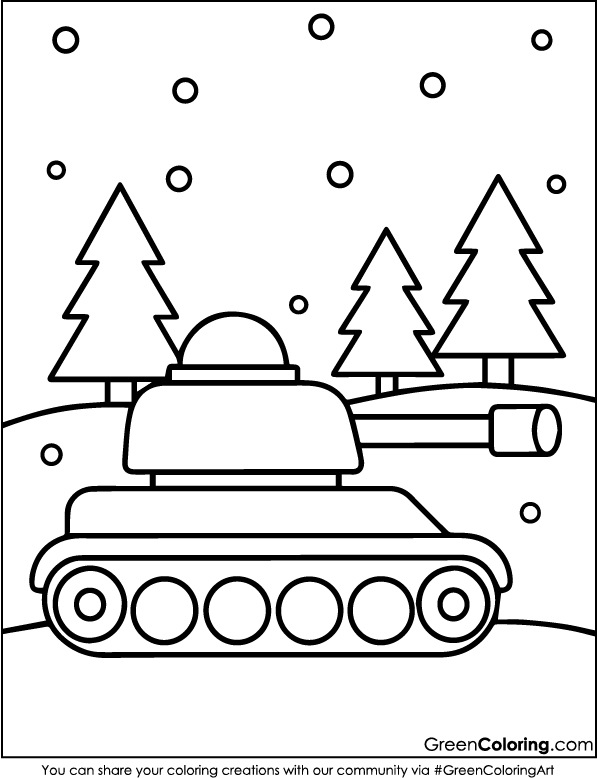
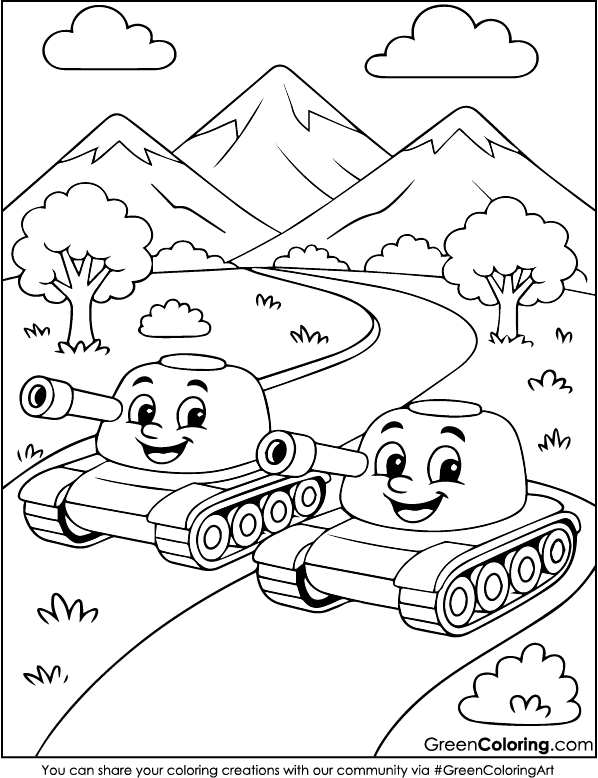
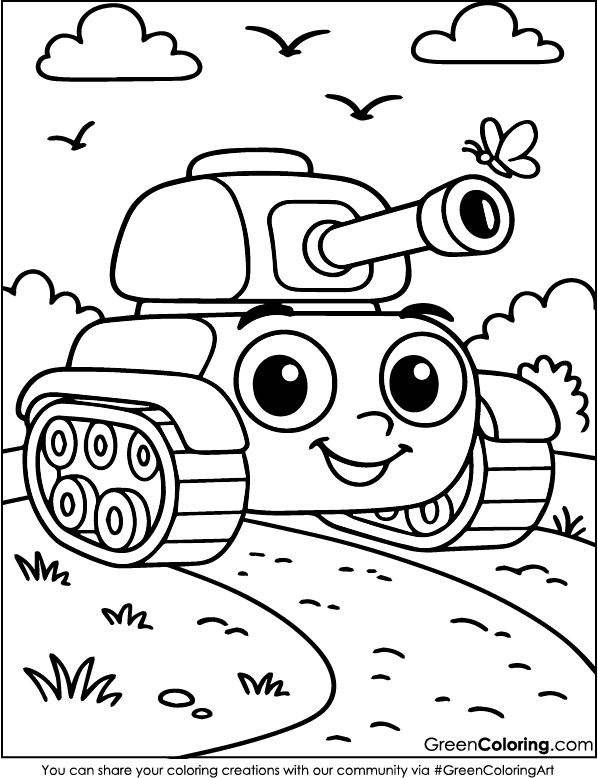
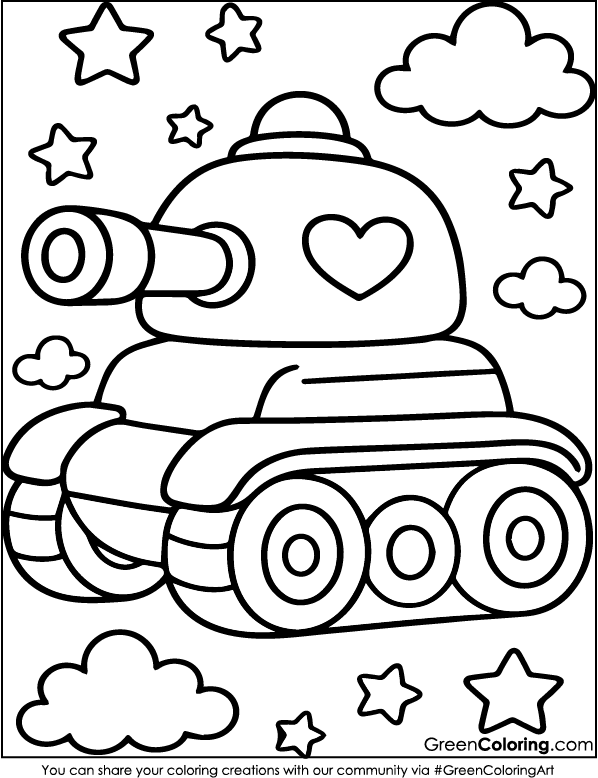
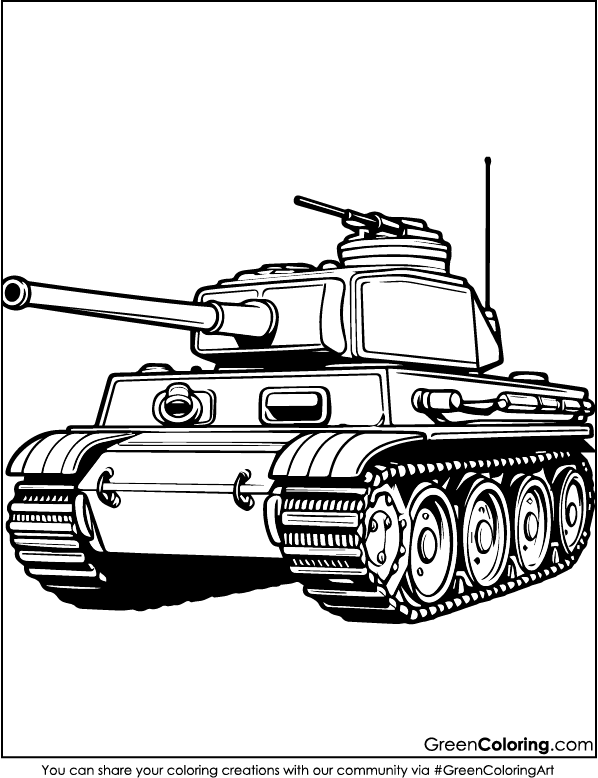
And don’t forget, I’ve already uploaded 30 free, printable tank coloring pages in PDF format right below this article, ready to download and start your adventure.
Try one or try them all. And next time you’re indoors with the kids on a rainy afternoon, just grab some paper, glue, and a tank or two.
Download Free Coloring Pages:

Leave a Reply